

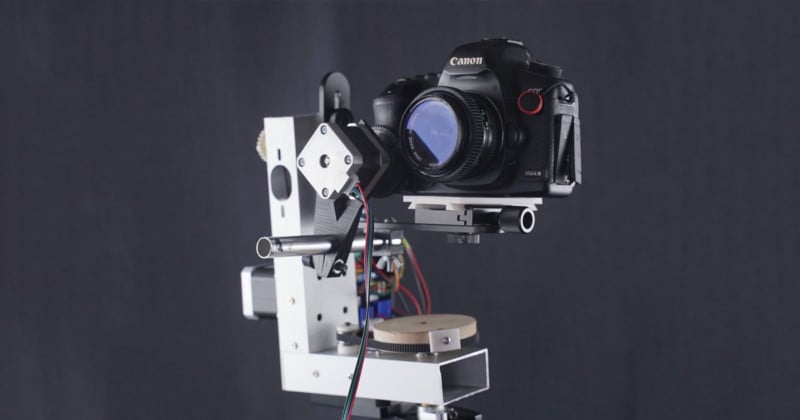
A filmmaker has built a home-made motorized camera rig out of the recycled parts from an aging 3D printer.
The remote four-axis camera slider, which the device’s creator calls “EdelKlone” — an apt joke that makes reference to the company Edelkrone — utilizes not only the stepper motors but also the Arduino and ramps board that controls the movement with Pan and Tilt, as well as movement along a slider.
The design was noticed by Hackaday, which noted that the rig isn’t made from 3D printed parts, so much as parts from a 3D printer.
“I was watching a video about Edelkrone and Rhino’s motorized camera rigs, and I noticed their prices,” says the filmmaker who goes by the handle DSLR DIY.
“Then I remembered I had an extra 3D printer, which has really good resolution. So, I decided to turn it into a 3-4 axis camera head slider.”

DSLR DIY relied on the existing firmware from the 3D printer to create a set of instructions known as G-Code and used those instructions to move along the X, Y, and Z axis in a manner that the motorized camera mount could translate into movement.
In this case, he translated the X axis to Pan, Y to tilt, and Z to slide along his camera slider. He was also able to adjust speed and program it along a set path forward and backward.
The G-Code instructions were sent using a UART protocol to the ESP32 controller board built into the 3D printer.
Housed inside of the firmware is the ability to not only preprogram a set of movement instructions but also to manually operate the movement through the manual options built into the original menu.

With a simple press of a few buttons, the creator was able to move and create the camera movement along a set path. The path can then be programmed into a file that can replicate the same instructions over and over for multiple takes.
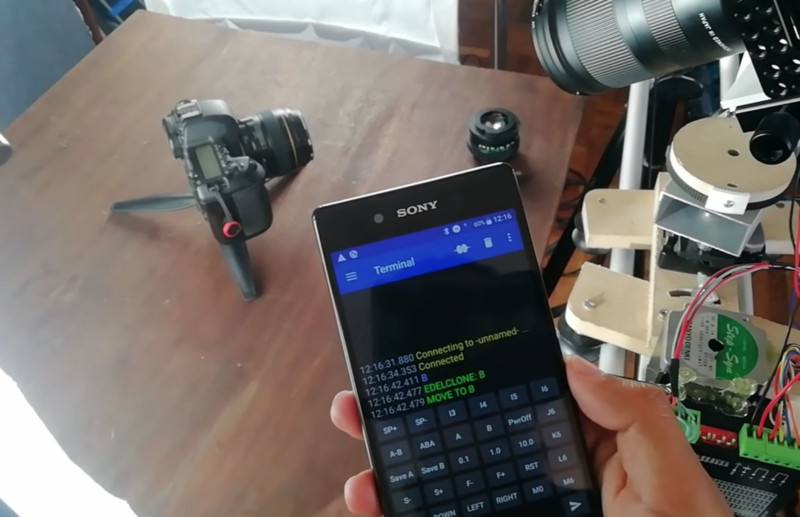
DSLR DIY also used a Serial Bluetooth Terminal app on his mobile phone, which can connect to the rig via Bluetooth and send the G-Code commands wirelessly. With it, he was able to create a motion control that could also be operated remotely.
The design clearly works and DSLR DIY was able to save the $2,750 to $4,000 that photo or video companies would charge for performing the same kind of motorized functions, albeit in a far more elegant fashion.
DSLR DIY has laid out his full build on Instructables for anyone who wants to replicate it.
Image credits: All photos by DSLR DIY.
Author: James DeRuvo
Source: Petapixel
