


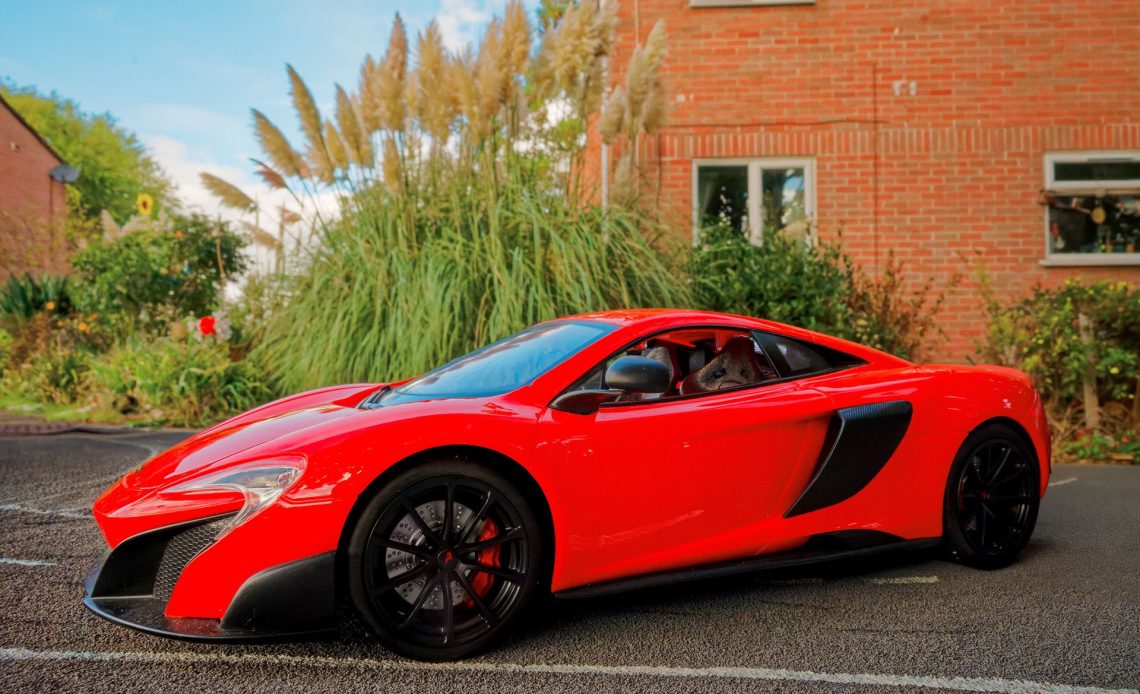
Forced perspective is a camera trick that makes small things appear much larger or smaller than they really are. Filmmaker Peter Jackson didn’t magically make Elijah Wood and his friends smaller in The Lord of the Rings; he just shot it so they appeared smaller (or so that Gandalf looked bigger).
You can use the same idea to make a toy sports car appear as if it’s the real thing, like one you’d buy after having a big win on the lottery.
The first thing to do is create your base for the car to sit on, but there are some things to note. If it’s going to replace the foreground, you can depict it however you want. But if you’re going to blend it into parts of the foreground, making it the same color and texture are essential.
You also need to be able to create enough depth of field so that the background has detail – it doesn’t need to be in sharp focus, just readily identifiable. Here, using a crop sensor system is an advantage over a full-frame camera, as it has more depth of field at the same aperture.
I used a Nikon Z fc with Nikkor Z DX 16-50mm f/3.5-6.3 VR lens, which is a 24-75mm equivalent in full frame terms.
You could use a camera phone, but only if it has a pro mode where you can select a narrow aperture to create suffiicent depth of field. In automatic mode, the depth of field tends to be shallow when faced with an object right in front of it.
Setting it up
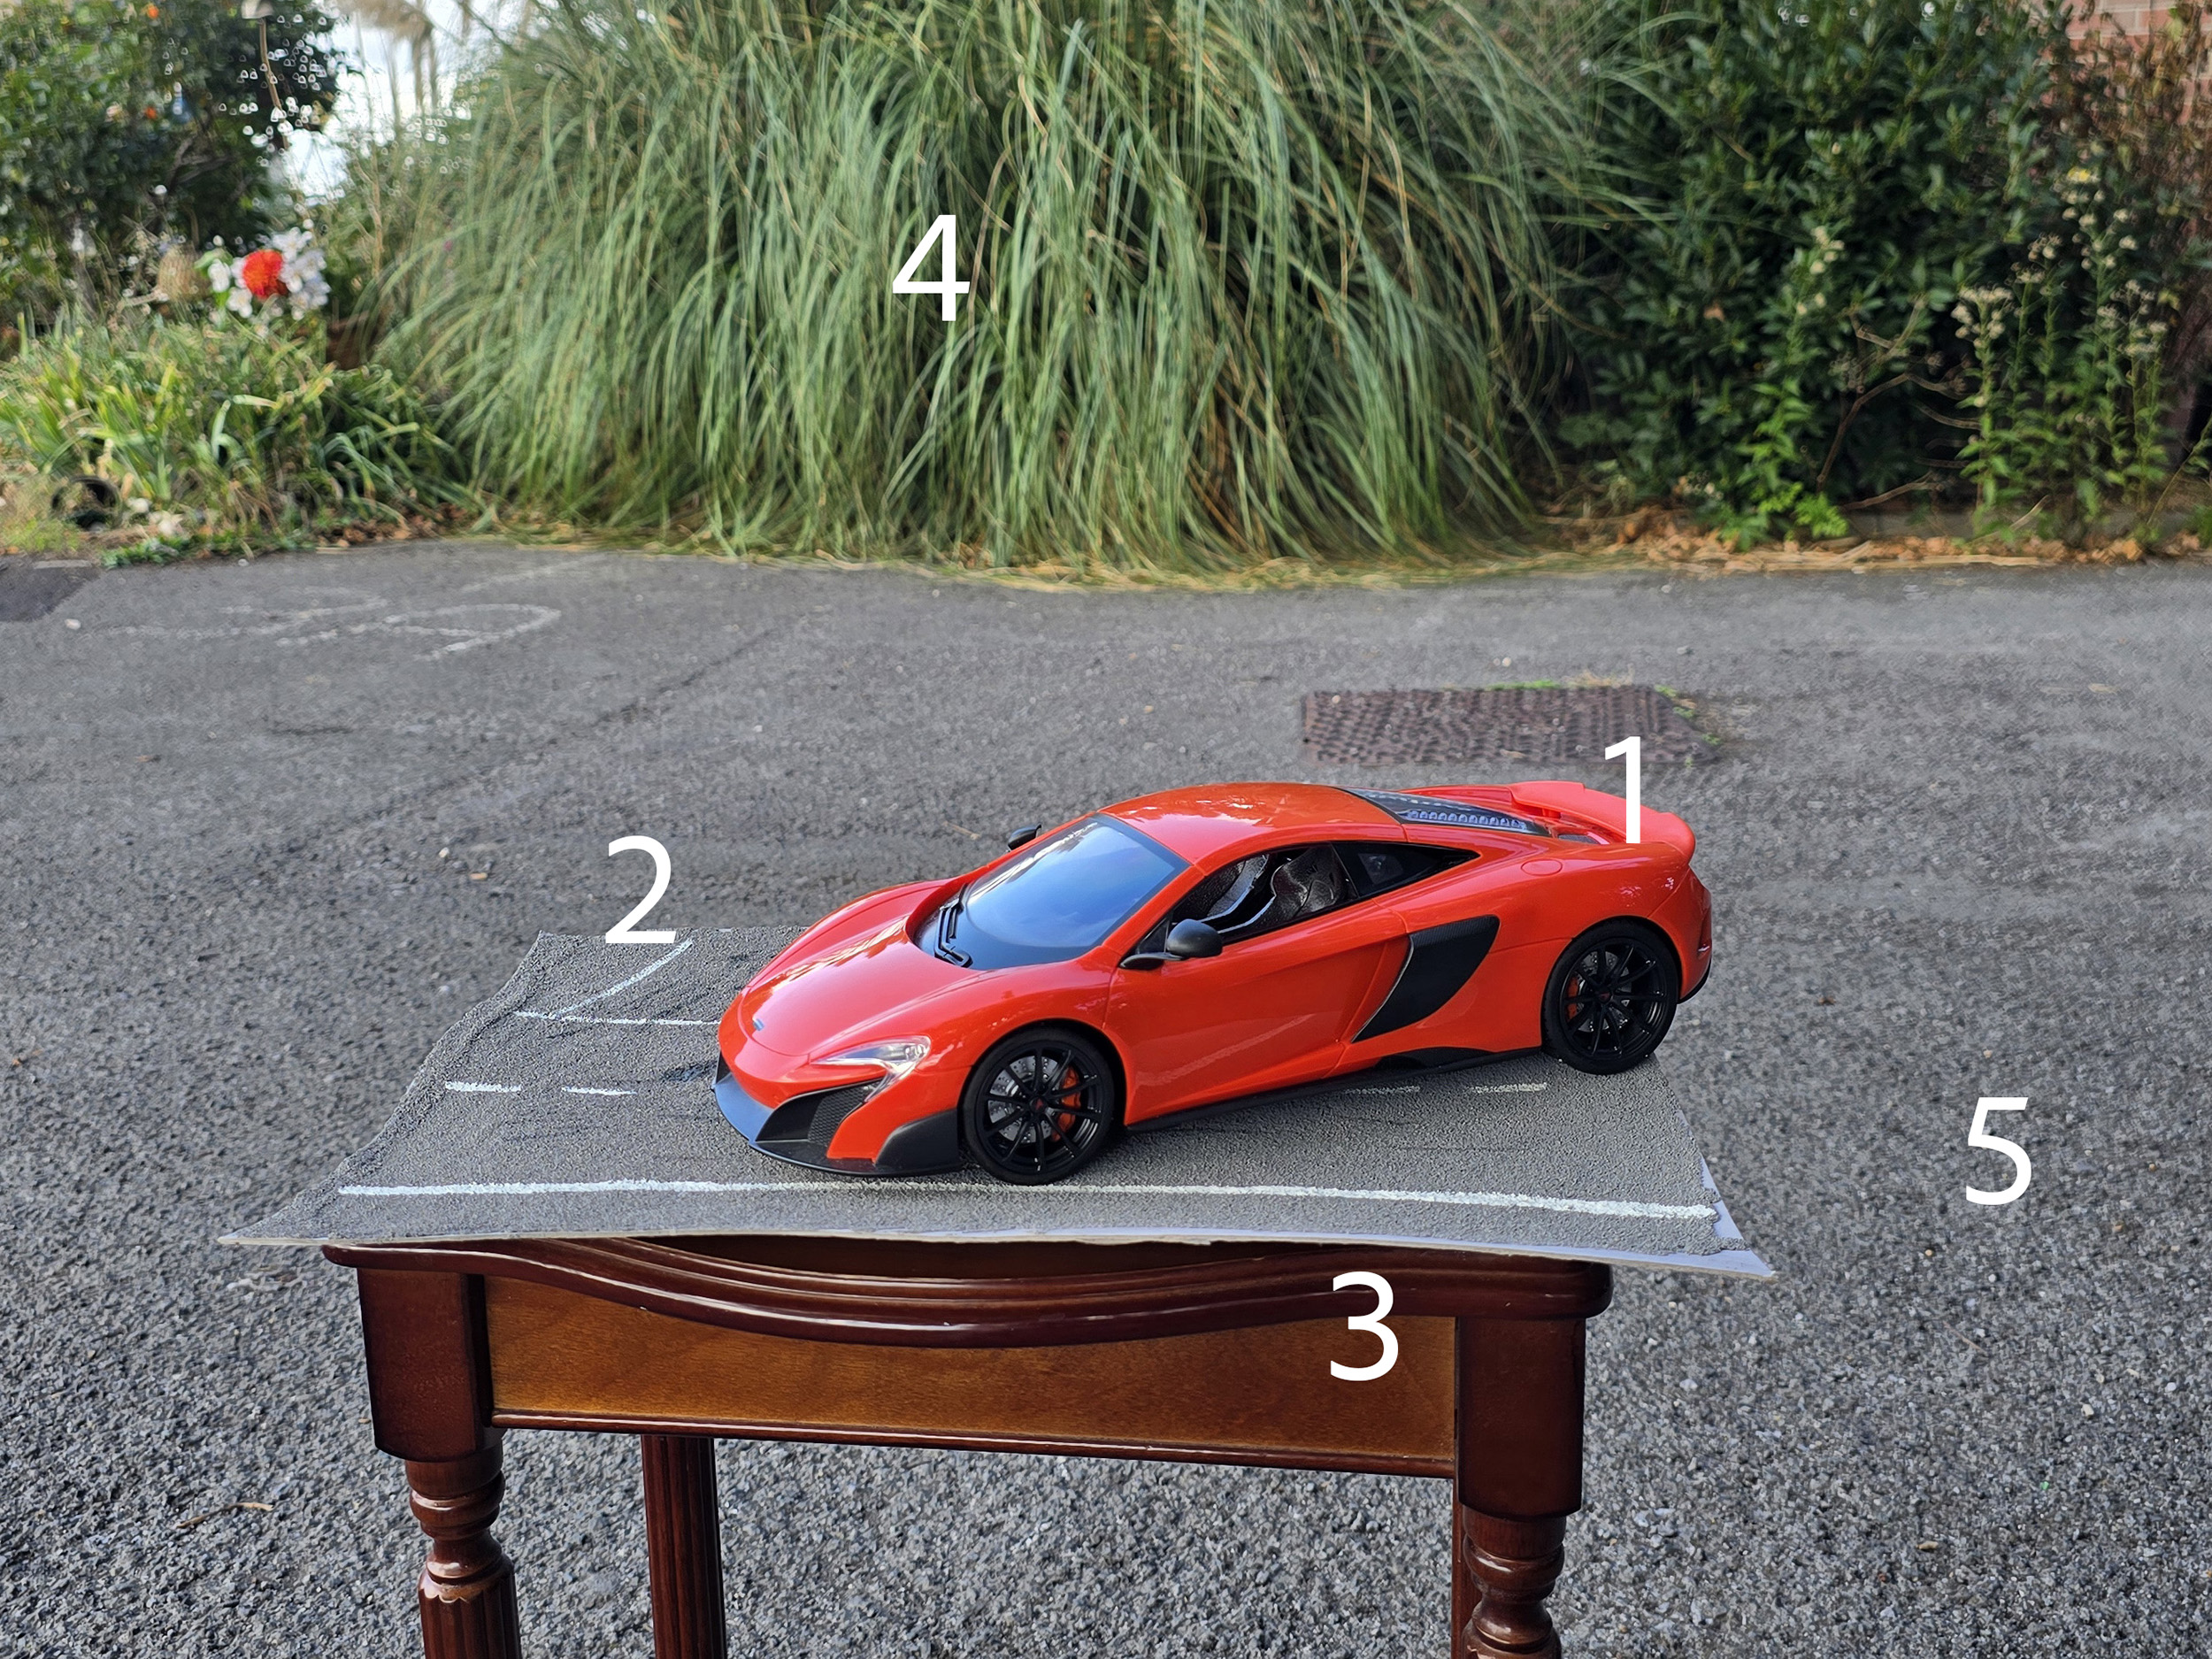
1) Size of the car
The size of your toy car will determine how hard or easy this project is. This is a remote control car that’s about 25cm long. Bear in mind that the bigger the car, the larger the base you need to create for it.
2) Lining the edges up
The idea is to get down low enough so you can line up the back edge of the base with the edge of the scenery in the background. You want to replace the foreground, then smoothly continue on to the greenery.
3) The table
Place the base and car on a table or raised platform so that you can get the angle just right. Too high or too low, and it’s hard to get the perspectives to line up. This is a small table, so I needed to crouch to get the best angle.
4) The background
Find either an interesting or natural-looking background that looks like it would have a road in front of it. You couldn’t set this up in the middle of a field, for example. Using a car park, like here, is ideal.
5) The foreground
Ideally, you are going to replace all of this with the base of your project, but if it doesn’t quite fit then be prepared to blend your base with the actual foreground in post-production. Having them the same color and texture helps.
Step by step: Setting up the shot
1) Create the base
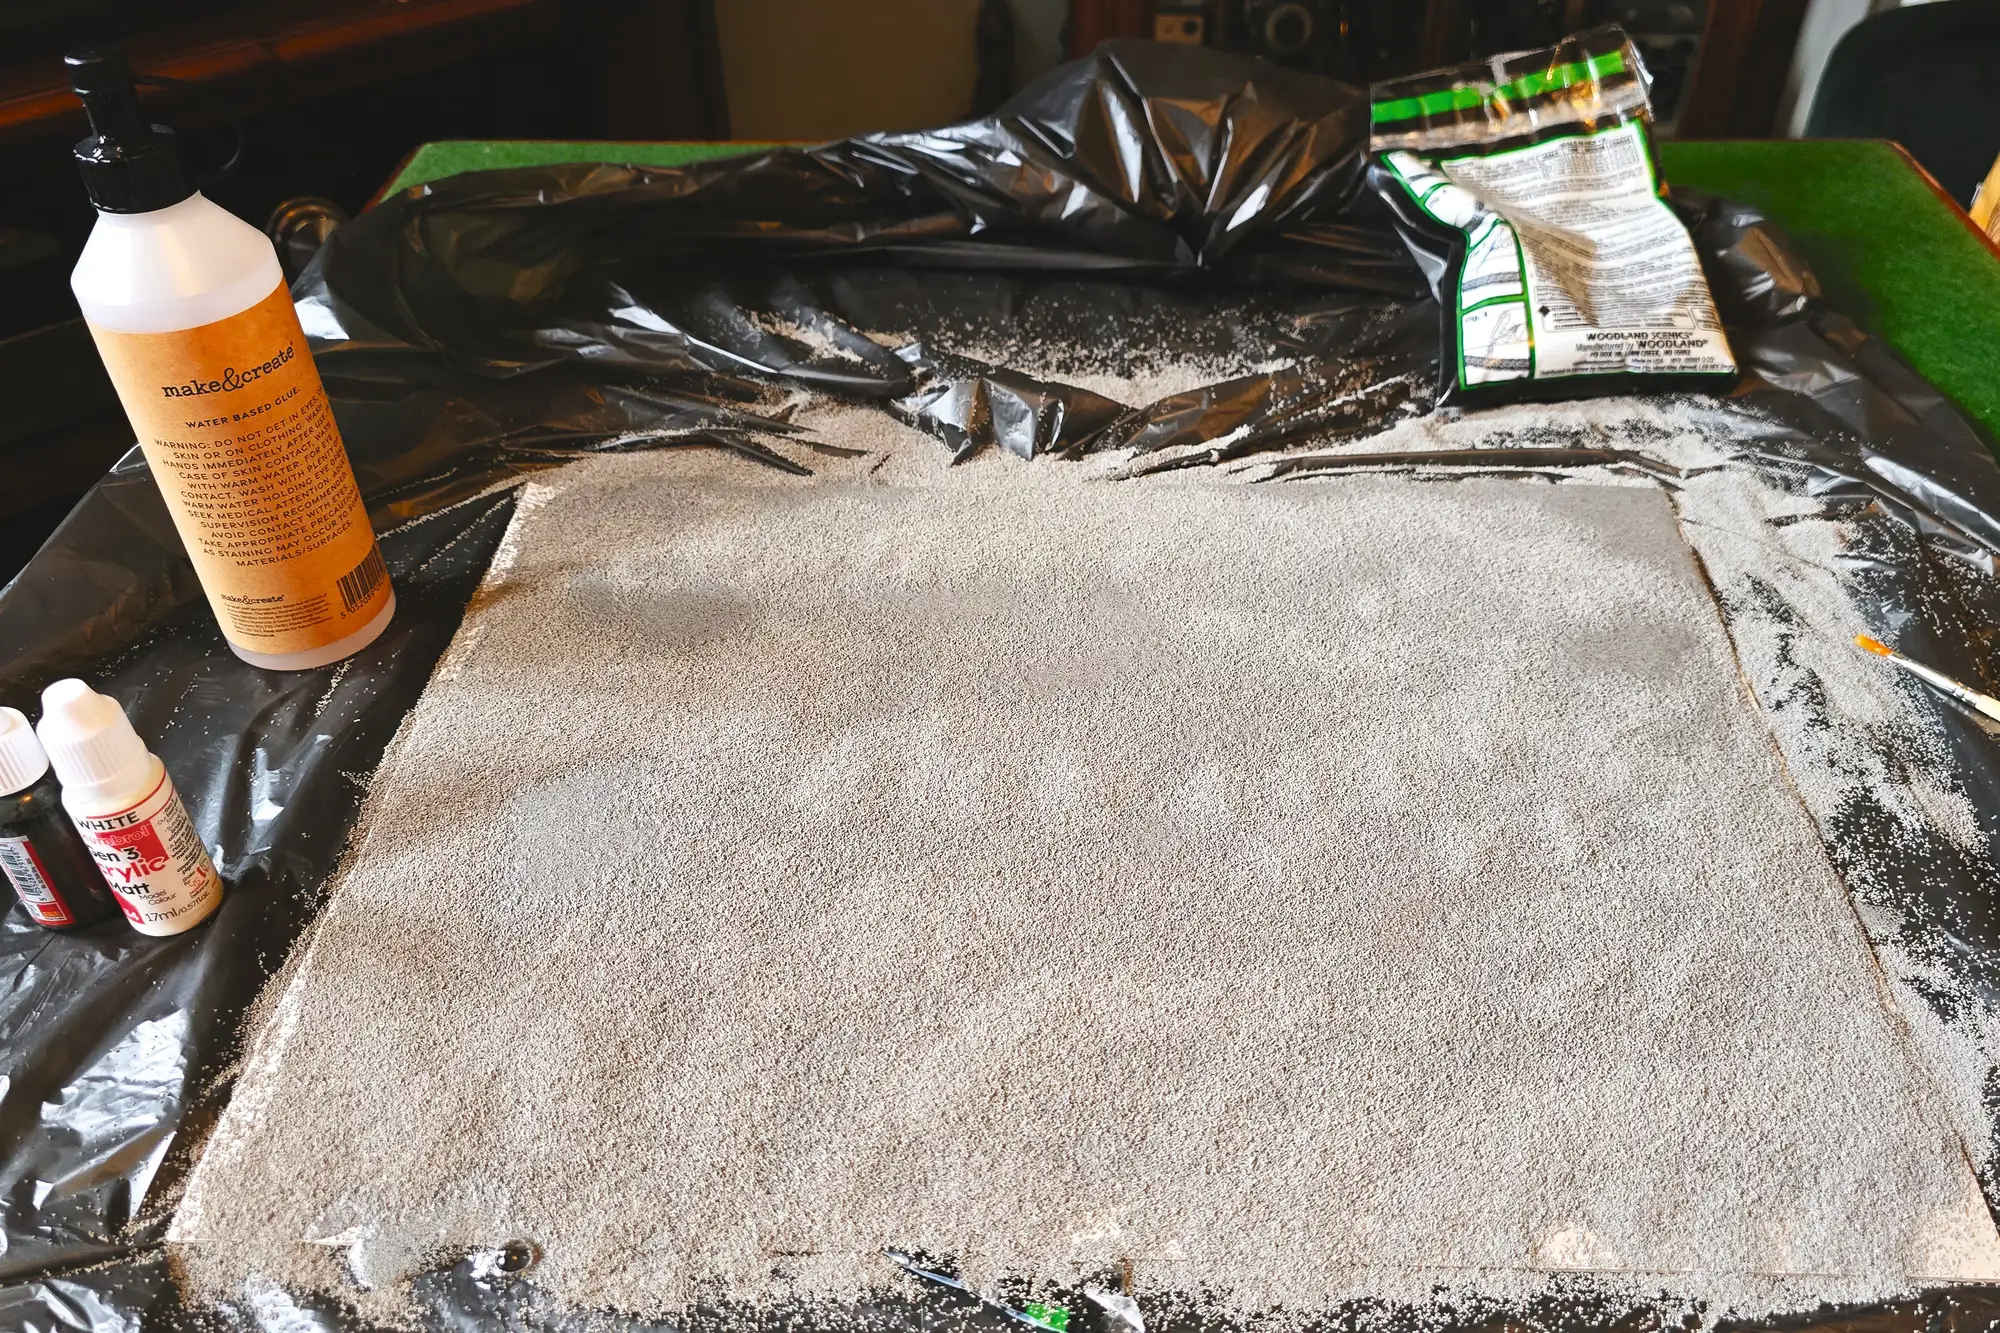
I’d suggest using a thin piece of plywood. I initially used card, but the glue made it warp. Cover the base in water-based glue and sprinkle scenery gravel over it. Then paint on lines or markings. You can get all these items in arts and crafts stores or model shops, particularly those that sell train sets.
2) Set the exposure mode
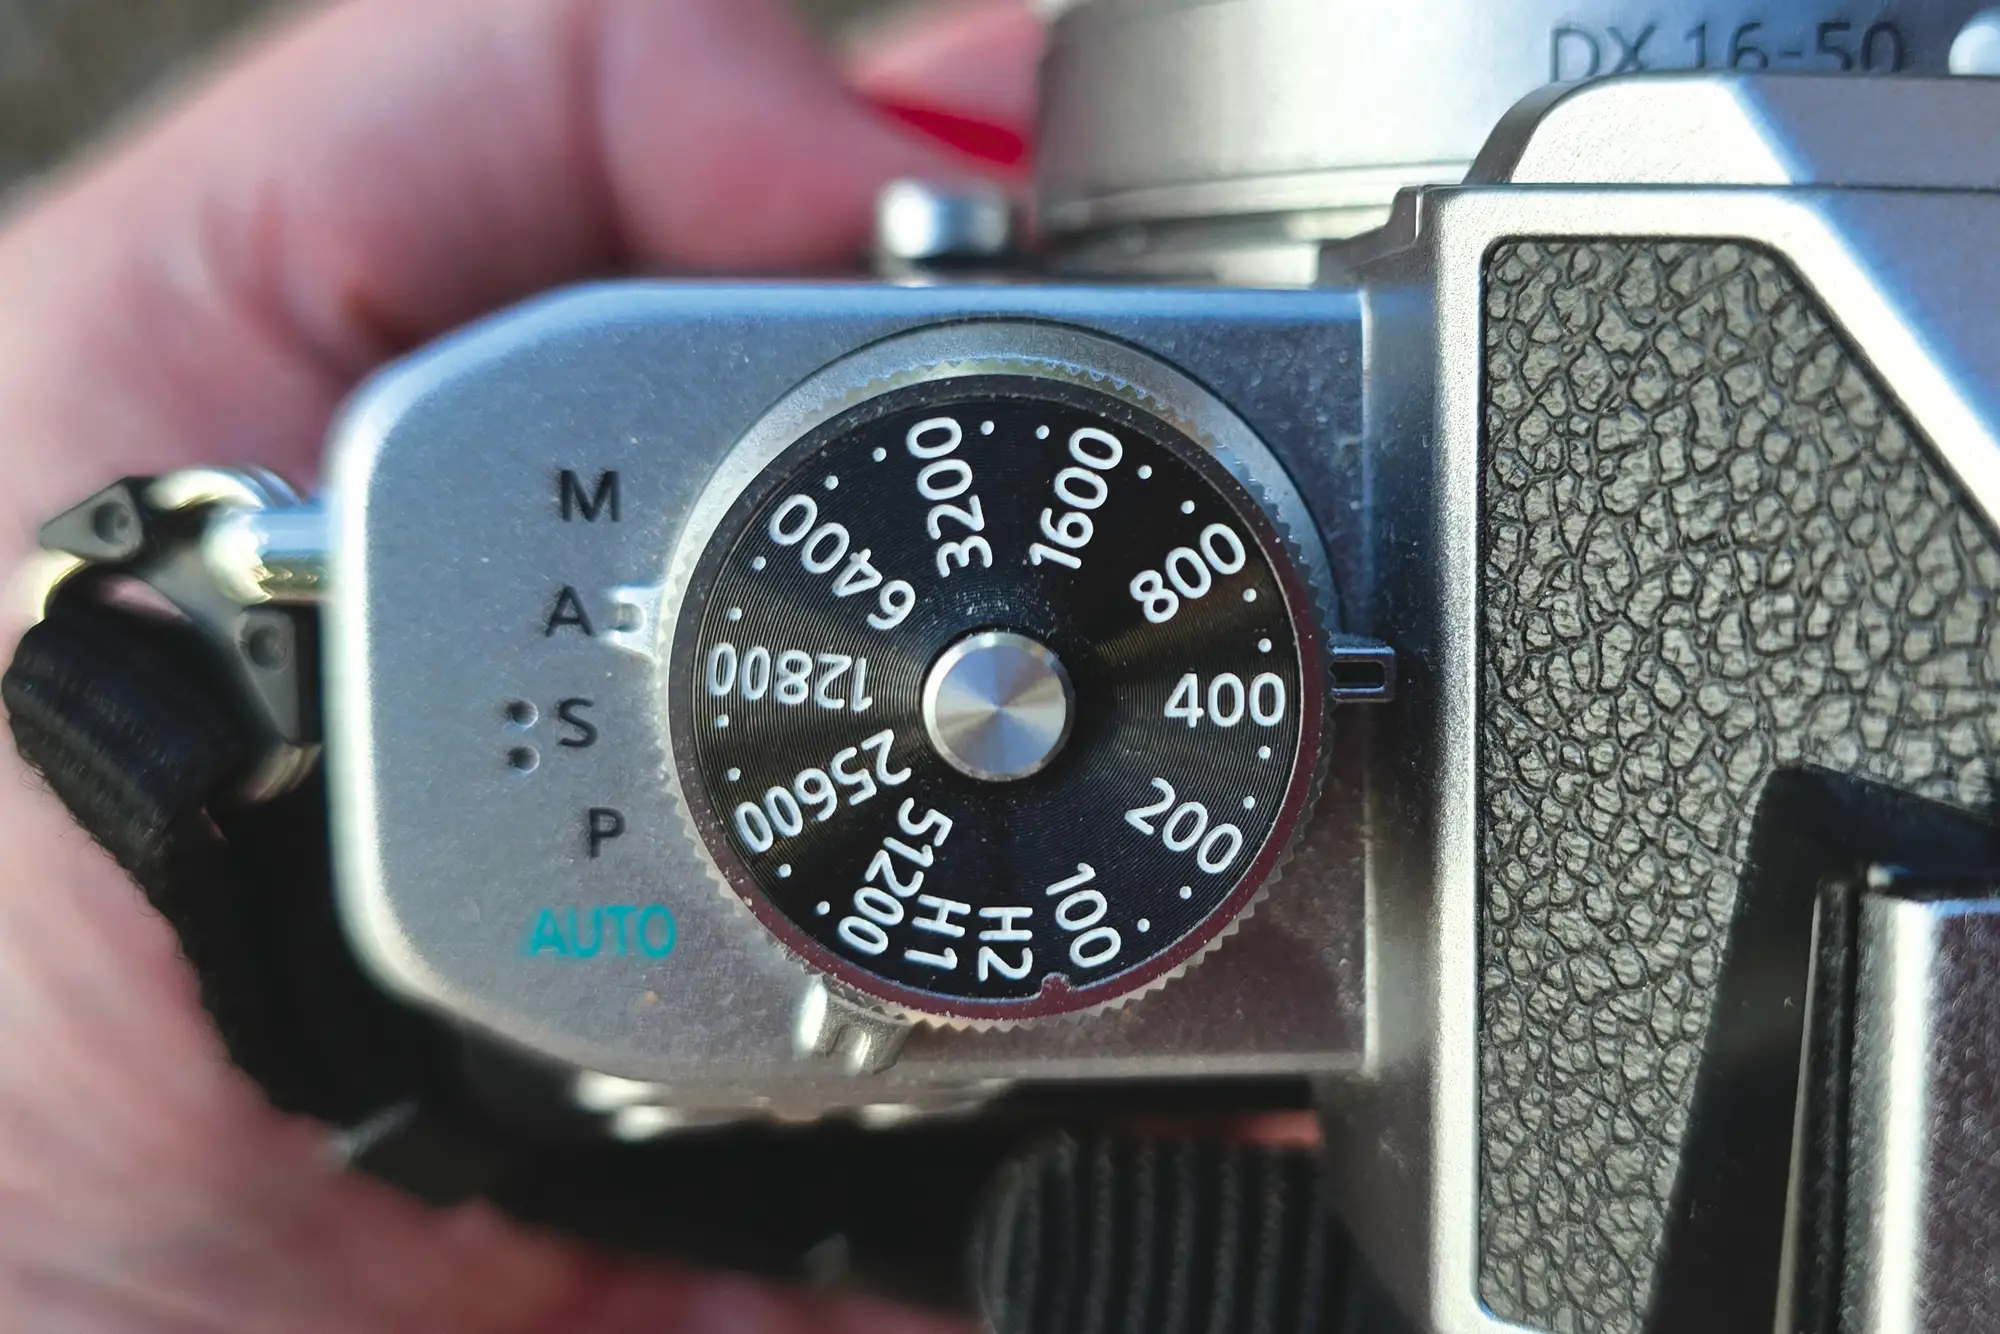
You’ll want to select a narrow aperture for this project, so set the camera to aperture priority mode. You can set up your camera on a tripod, depending on where you are, but if you don’t have one, you may need to increase the ISO to ensure there is no camera shake.
3) Metering the scene
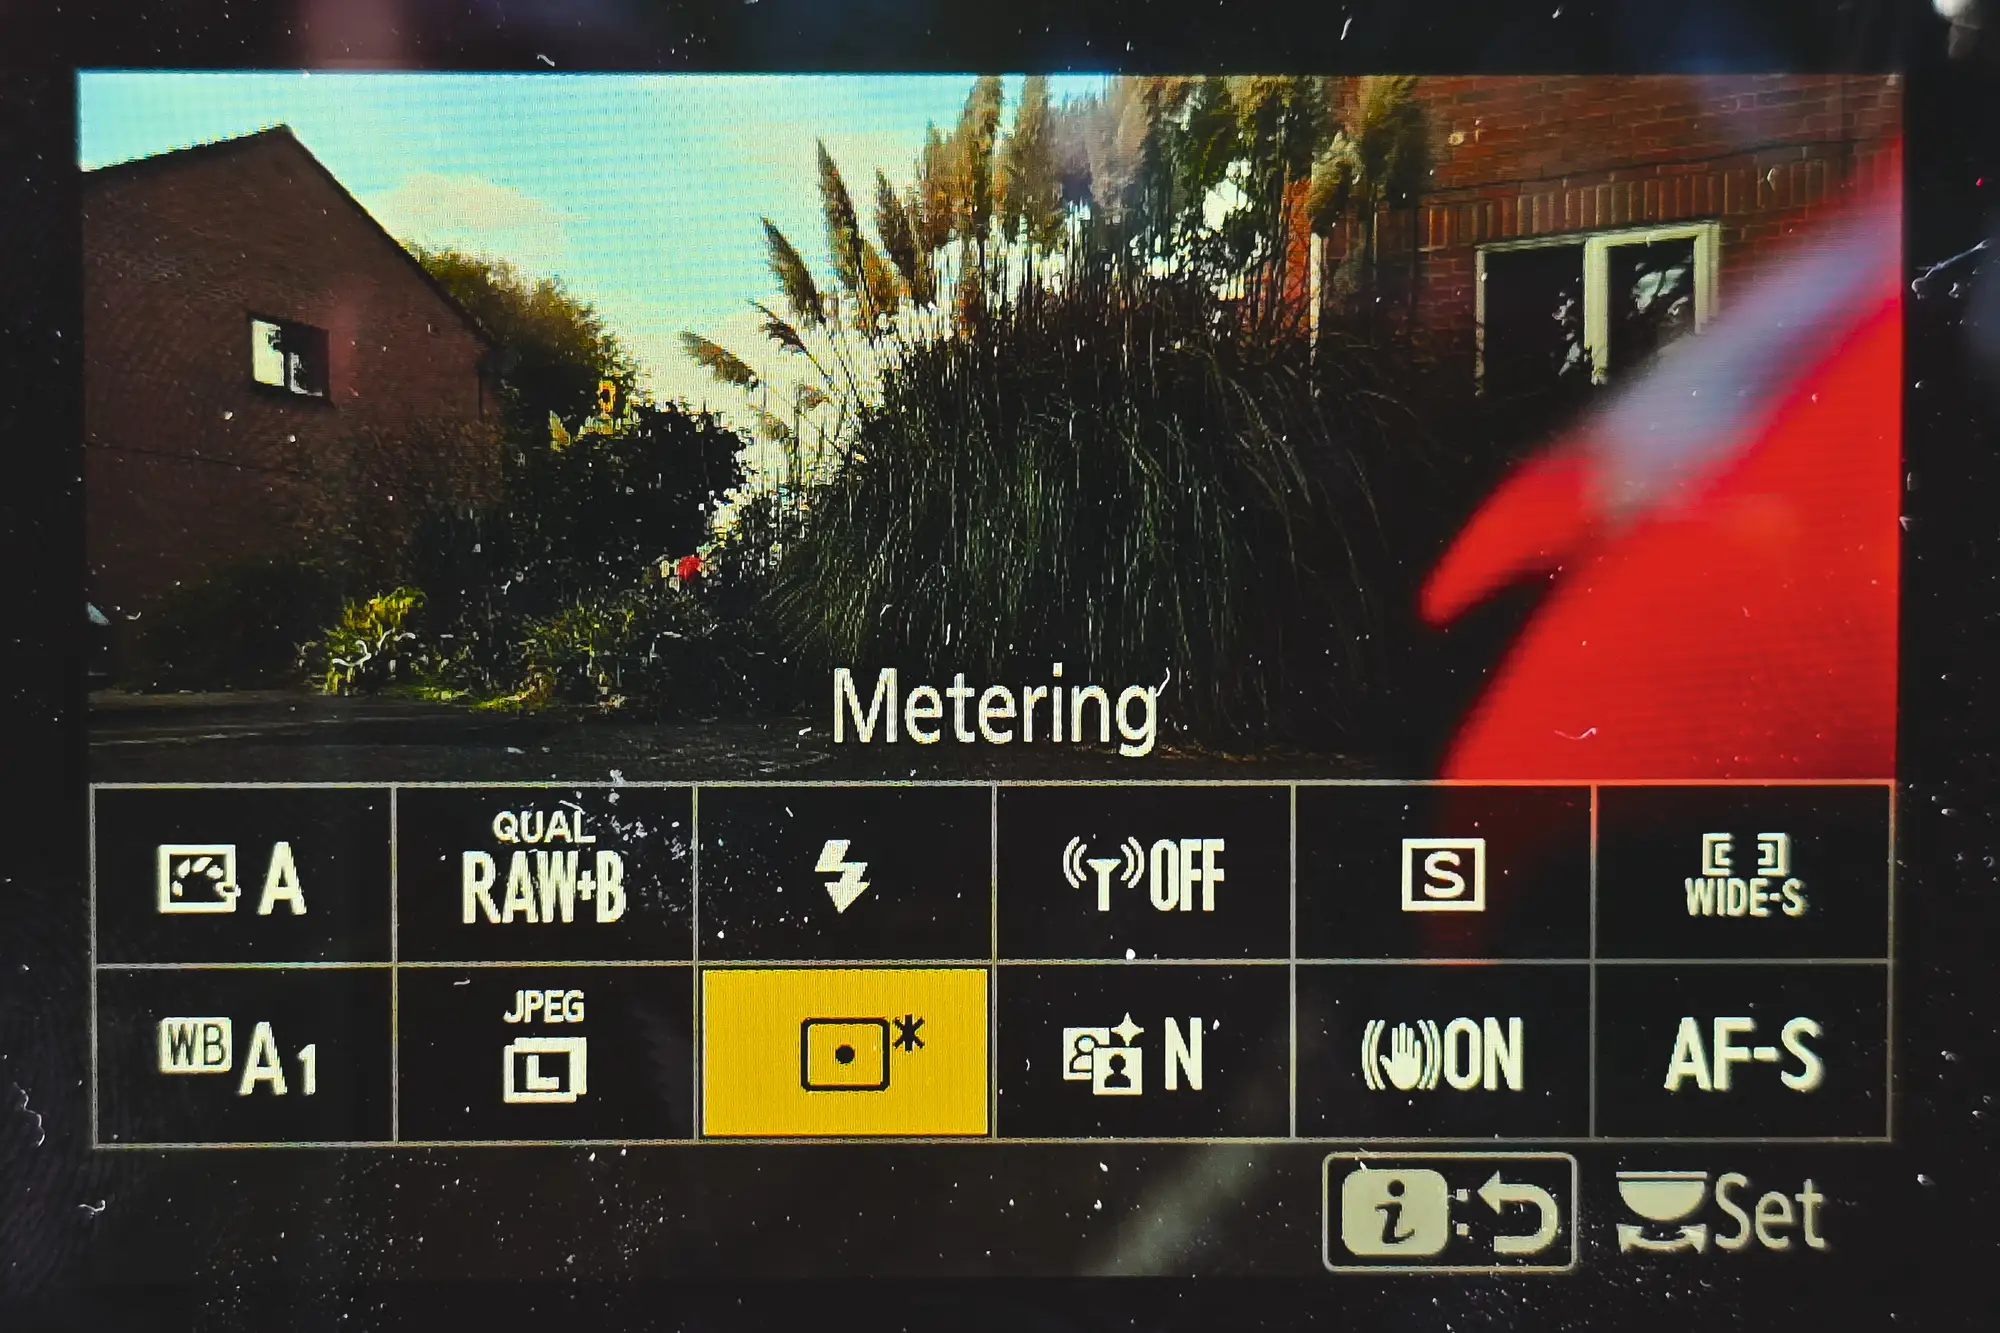
For the first set of shots, I used center-weighted metering. However, because there wasn’t much light in the foreground and plenty in the background, the shots were overexposed. For subsequent attempts, I used highlight metering to retain the highlights.
4) Depth and focus
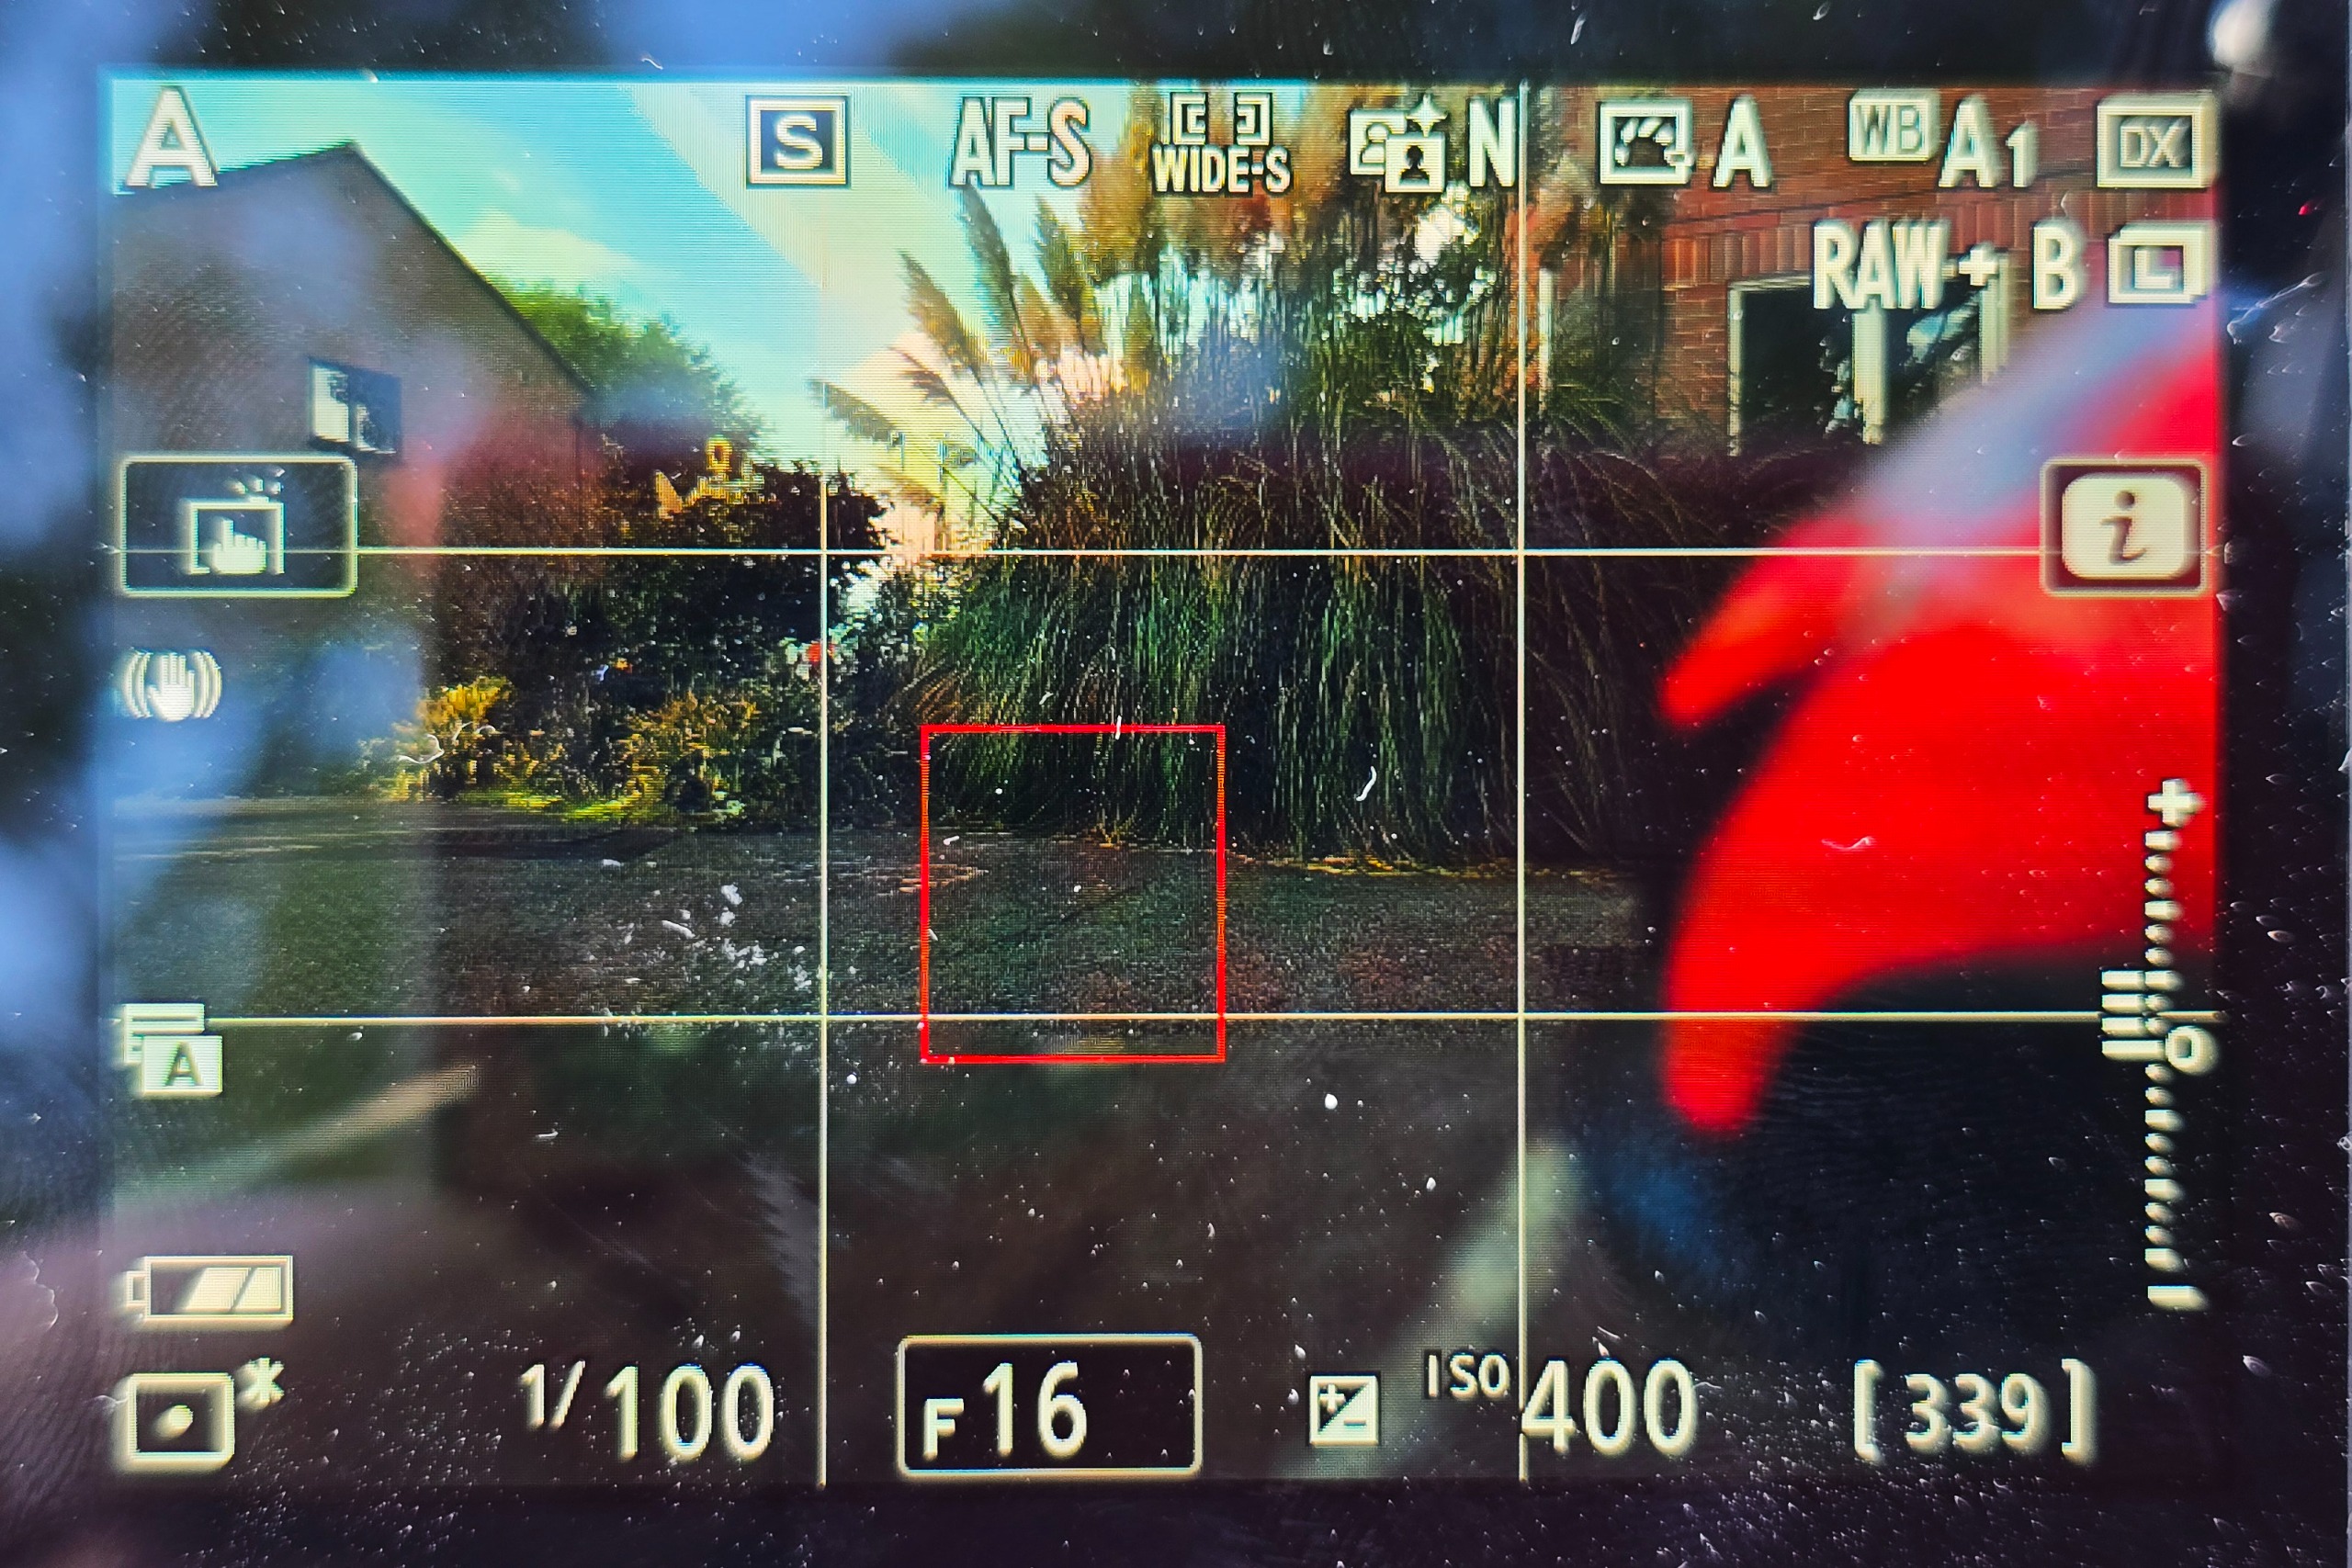
Focus on the part of the car nearest to the camera and use an aperture such as f/16 to ensure that the background retains plenty of detail. I could have chosen f/22 to include more detail overall, in a slightly softer image, but this proved to be the better combination.
Scale and space
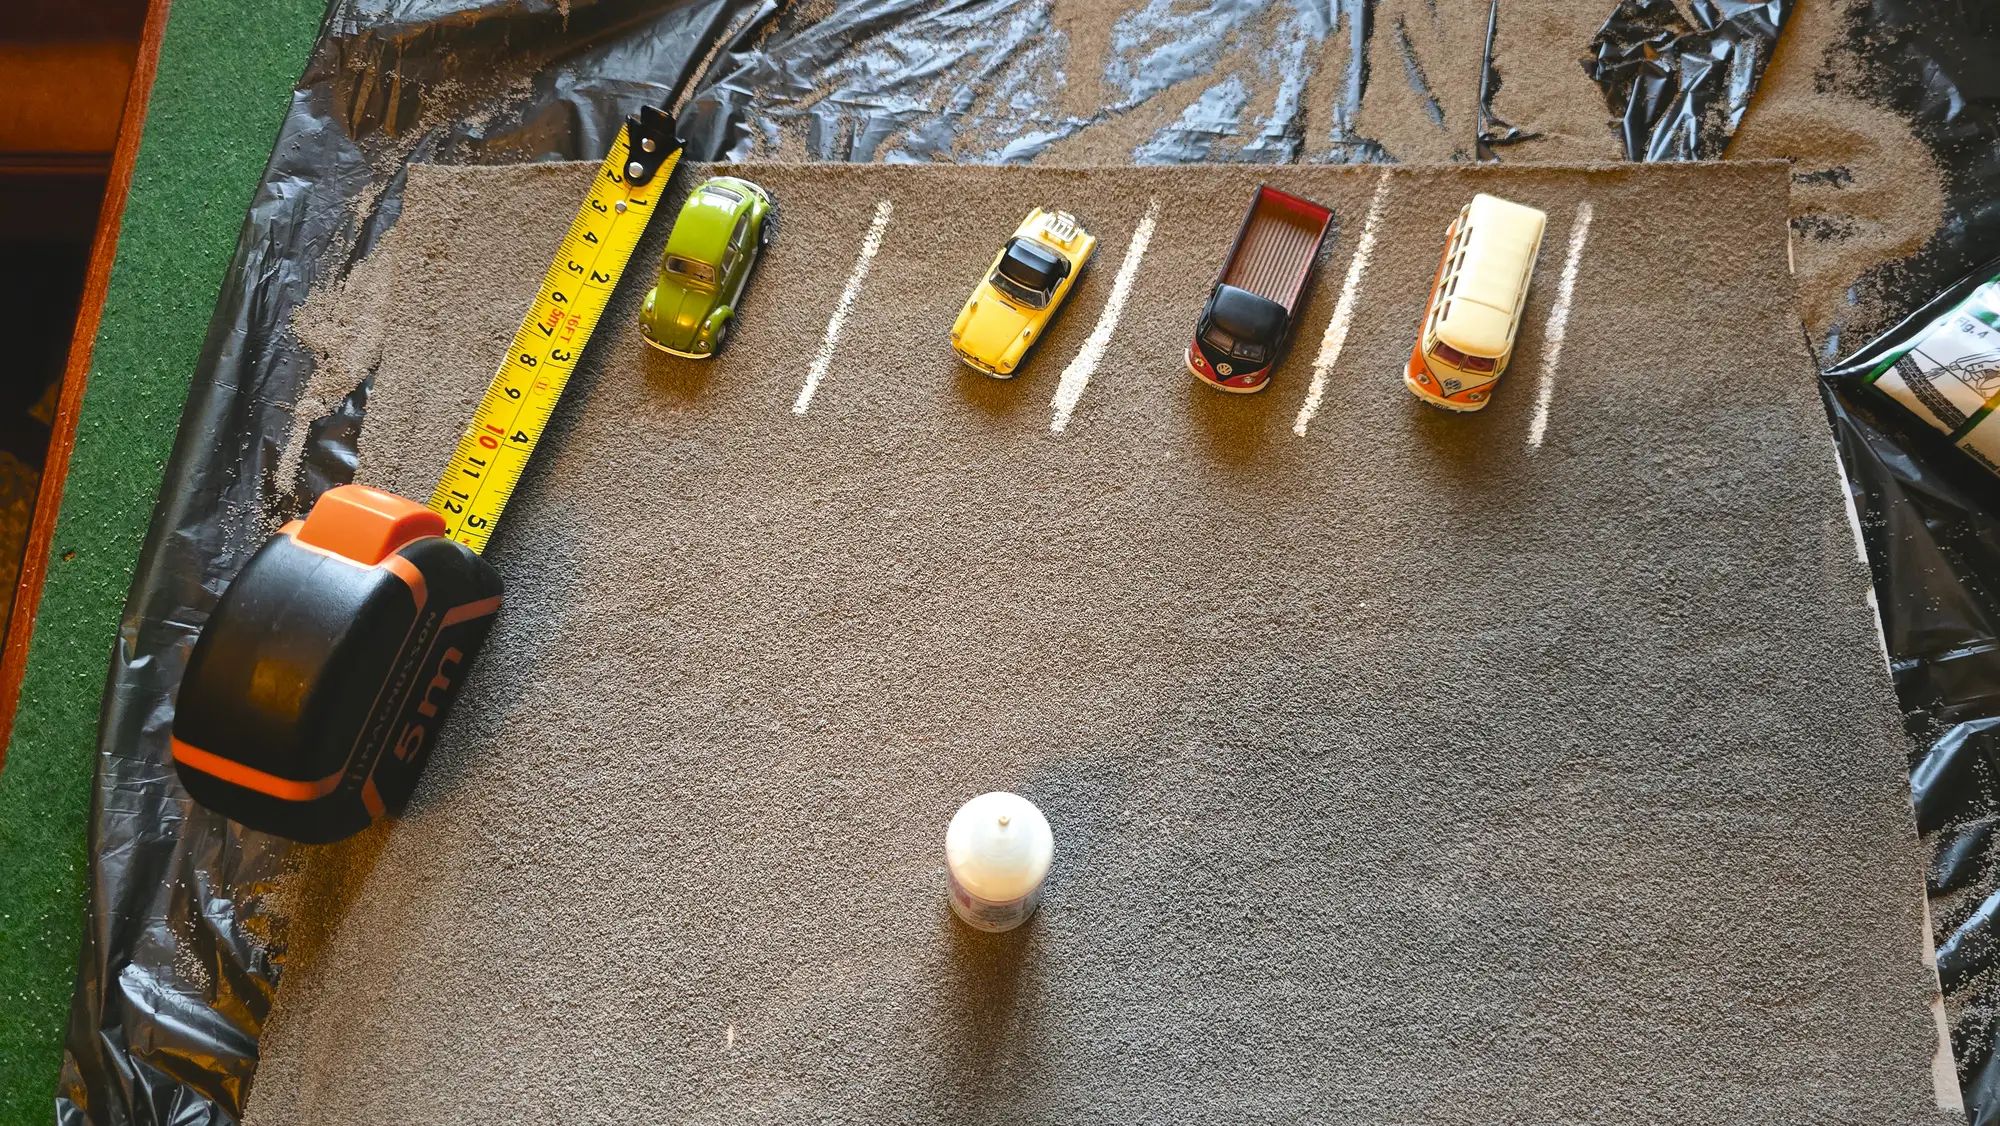
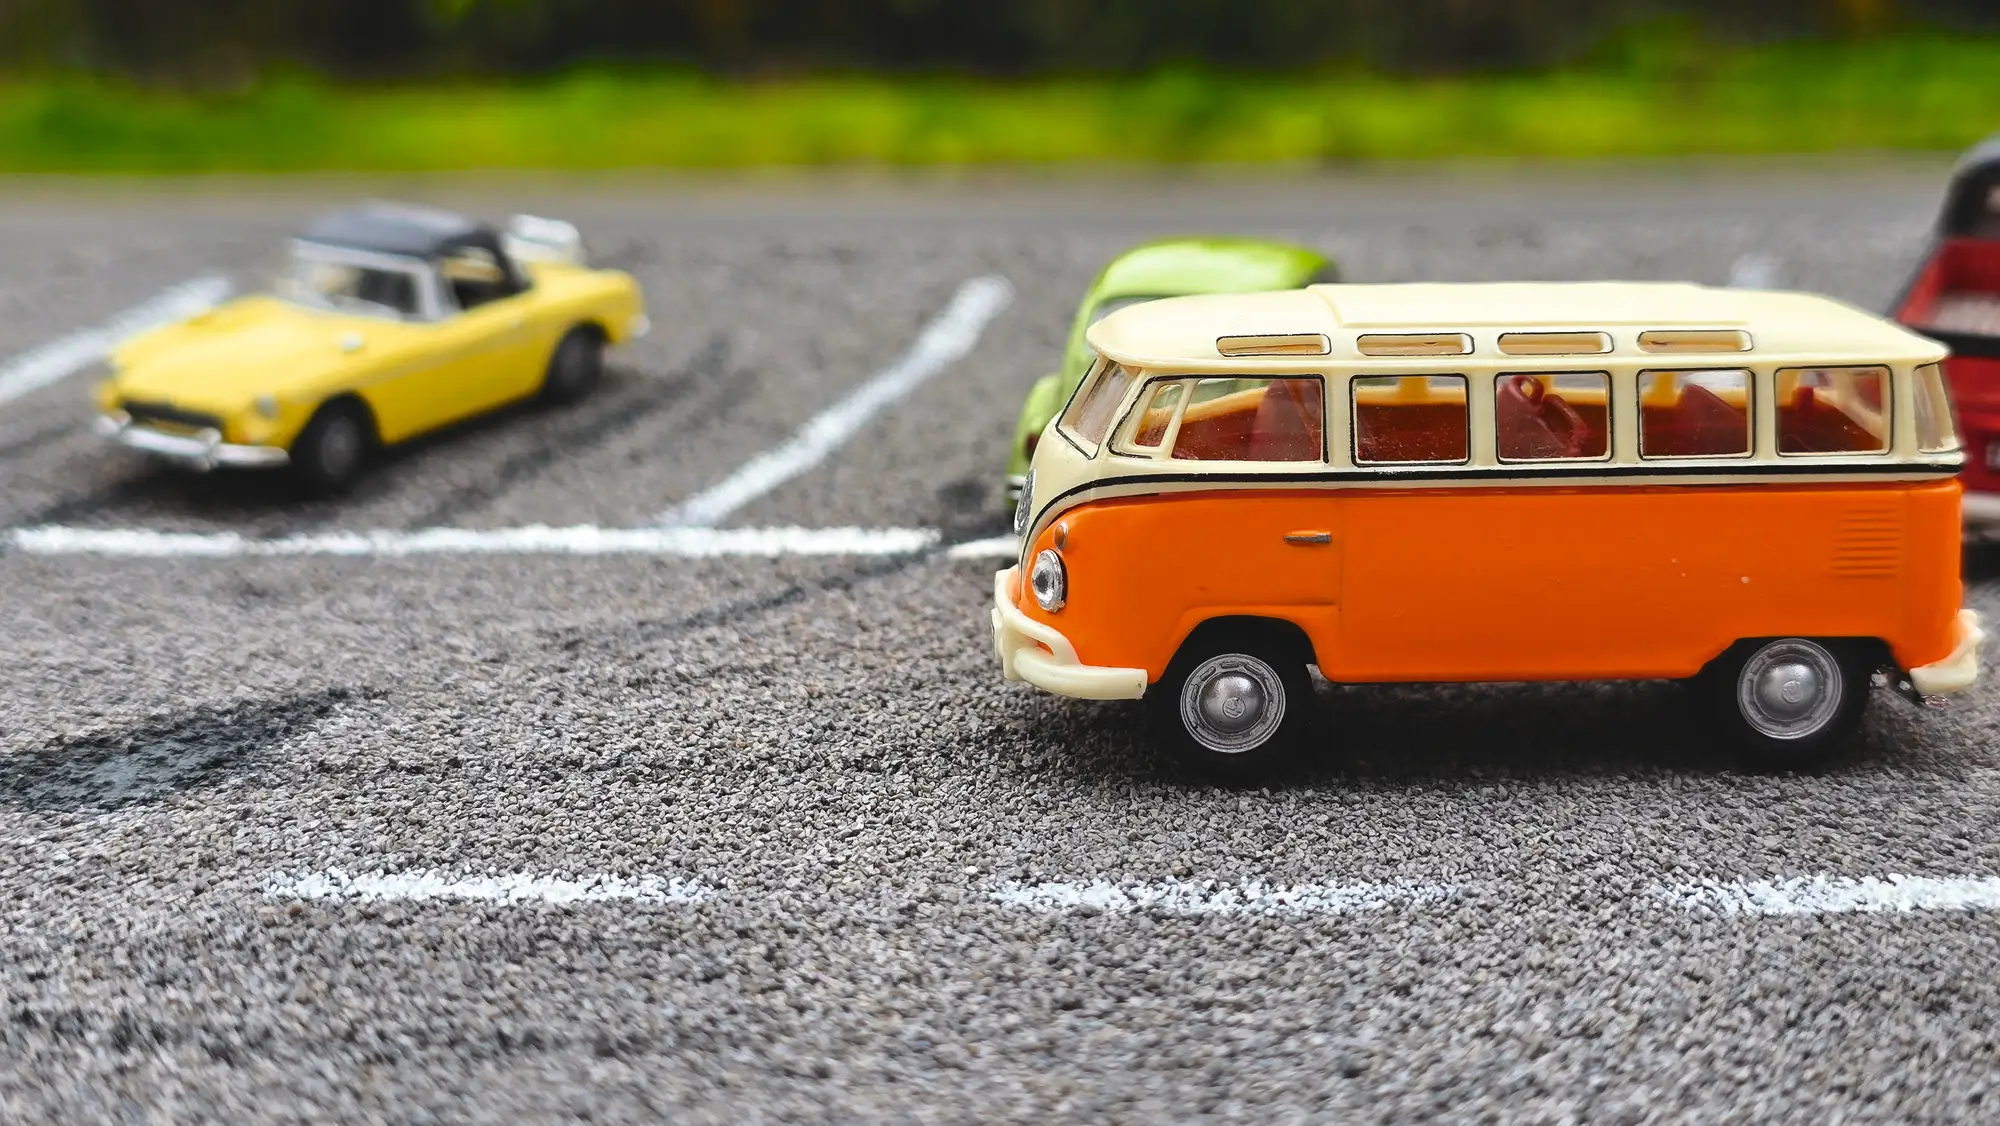
For the first attempt at this project, I used some small metal cars that were around 4-5cm in length. I created the base, leaving plenty of space for the cars, measured the gaps and painted in some white lines to indicate parking spaces.
However, it didn’t work because they were too small – so I had to get extremely close to make them look large, which would have required a macro lens. That made getting the background in focus and lining the base up with it impossible.
For the second attempt, I used a remote-controlled car that was about 25cm long. This time, it worked perfectly.
Before you go…
To shoot a scene like this you need crop sensor camera like a Nikon Z fc, a tripod so you can use a narrow aperture, and maybe some portable lighting to brighten the foreground.
Author: Wendy Evans
Source: DigitalCameraWorld
Reviewed By: Editorial Team
