

Professional photographer and YouTuber Chris Parker explains how to easily take an extremely underexposed image and edit it in a professional way with masks using Adobe Lightroom Mobile. His method even includes adding some special effects like turning on the lights in a room for added ambiance, all done on a smartphone.
Lightroom Mobile is Surprisingly Powerful
It might come as a surprise how powerful Lightroom Mobile has become. What was once a poor facsimile of the desktop application now features a significant amount of power that allows photographers to perform heavy-duty edits all from a smartphone or tablet.
In this particular tutorial, starts by adjusting the overall exposure of the image with some tweaks to the highlights, shadows, and whites in addition to the standard color profile that is applied. From there he moves to the effects category to increase the texture and clarity and then starts making some color adjustments by shifting the hue on the yellow and green channels. Once the global adjustments are done, it is time to start making the targeted edits using the masking tool.
How to Use Masks in Lightroom Mobile
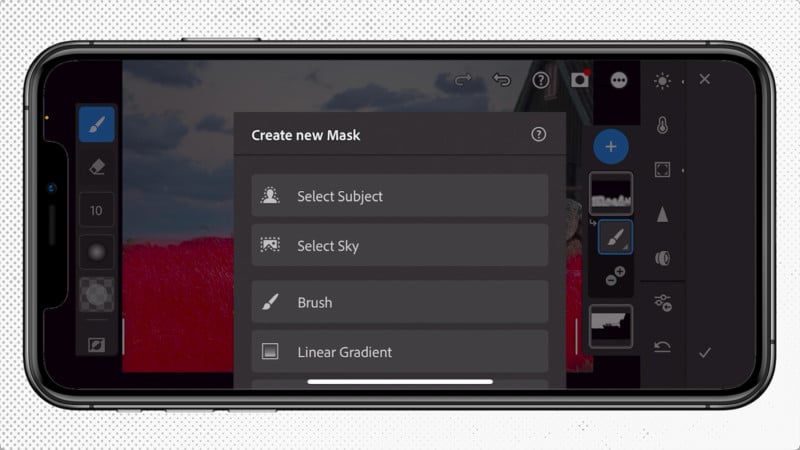
Starting by using the “Select Sky” tool, Lightroom will analyze the image and automatically select the sky to create a mask. From here it is possible to make targeted adjustments to just the sky. Parker opts to darken it up by about one full stop in his example.
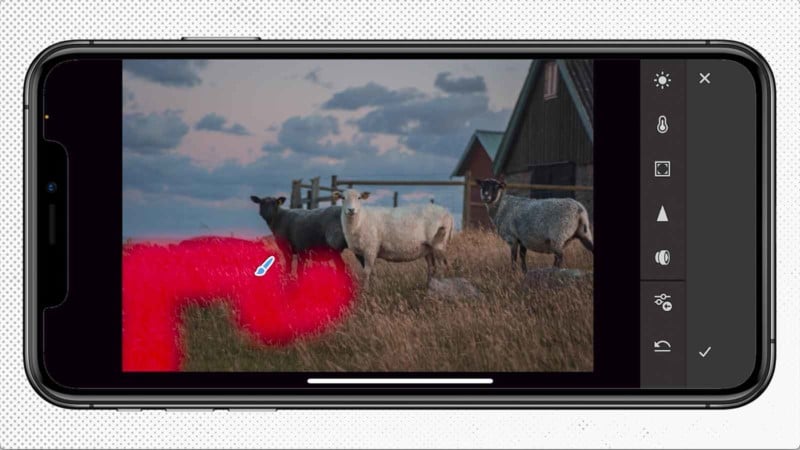
The next step is to grab the foreground using the brush tool to select the field area of his image. Once this is selected, he then makes targeted adjustments to brighten the shadows a little and then increases the sharpening, texture, and clarity to ensure it stands out a bit better.
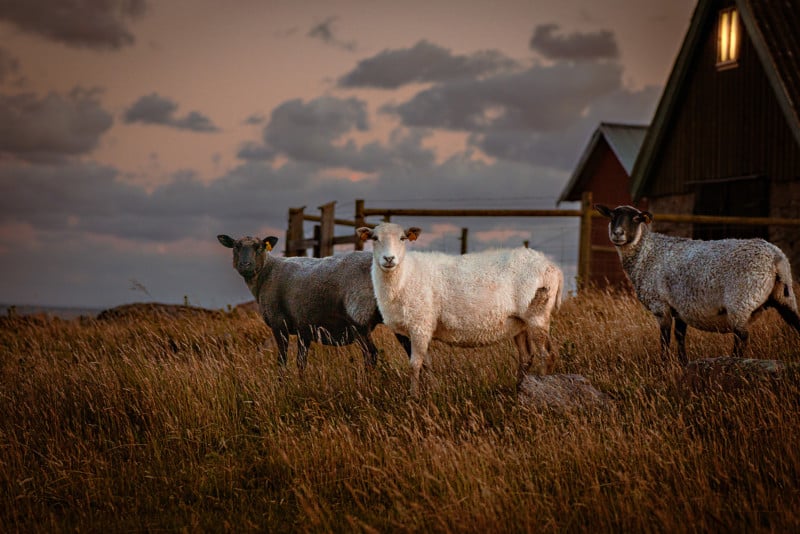
Finally, Parker adds a third mask to just the sheep by using the “Select Subject” tool and Lightroom Mobile automatically analyzed and selected the three sheep and did a pretty great job of masking them cleanly with only a few areas needing to be de-selected (the fencing in the background). With the sheep selected, Parker makes some adjustments to increase the visibility of the sheep’s faces and then compares the difference from the raw image with the quick edits that have been done in the video which are rather dramatic already.
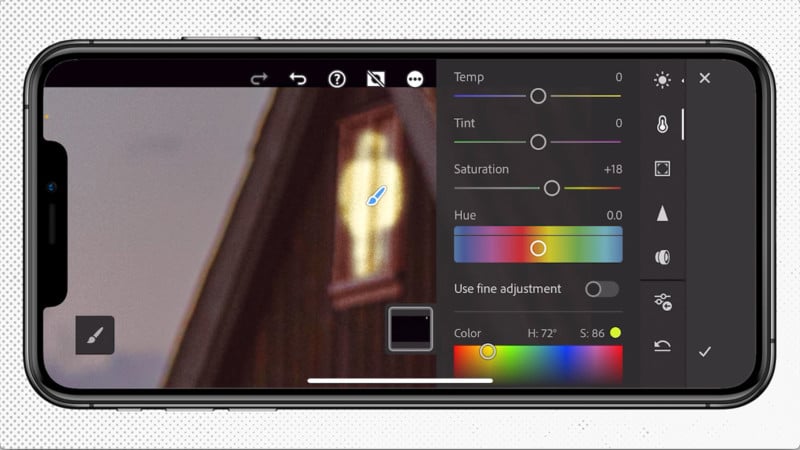
After making some color tone edits, the final step of Parker’s edit is to quite literally turn the lights on in the window in the background of the image. Using the brush tool, Parker manually paints where he wants the mask to be on and around the window where he then makes some light and color adjustments to create a warm light bulb glow emanating from the window and thus adding a final creative touch to the image.
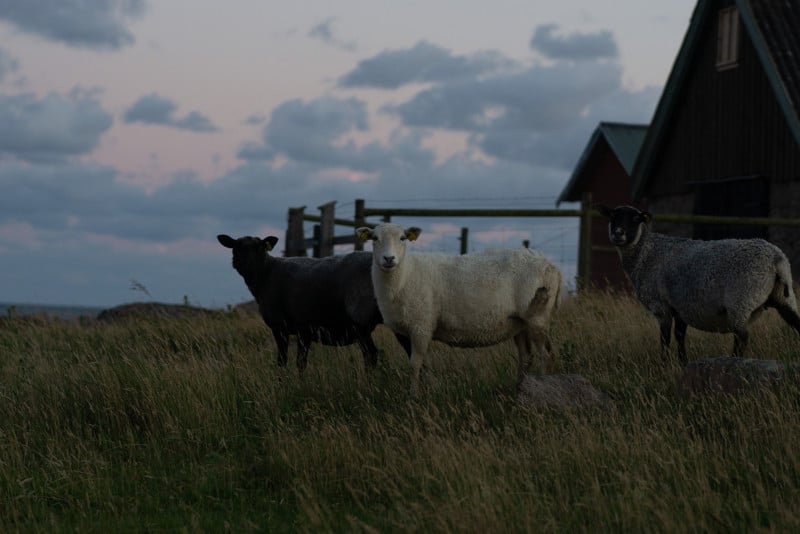
When comparing the raw to the final image, it is a rather dramatic and impressive change that is even more unique considering all the selective masking edits were all done in just a few minutes using nothing more than a smartphone.
For more, Parker has several other detailed photography tutorials on his YouTube Channel and website.
Author: David Crewe
Source: Petapixel
