

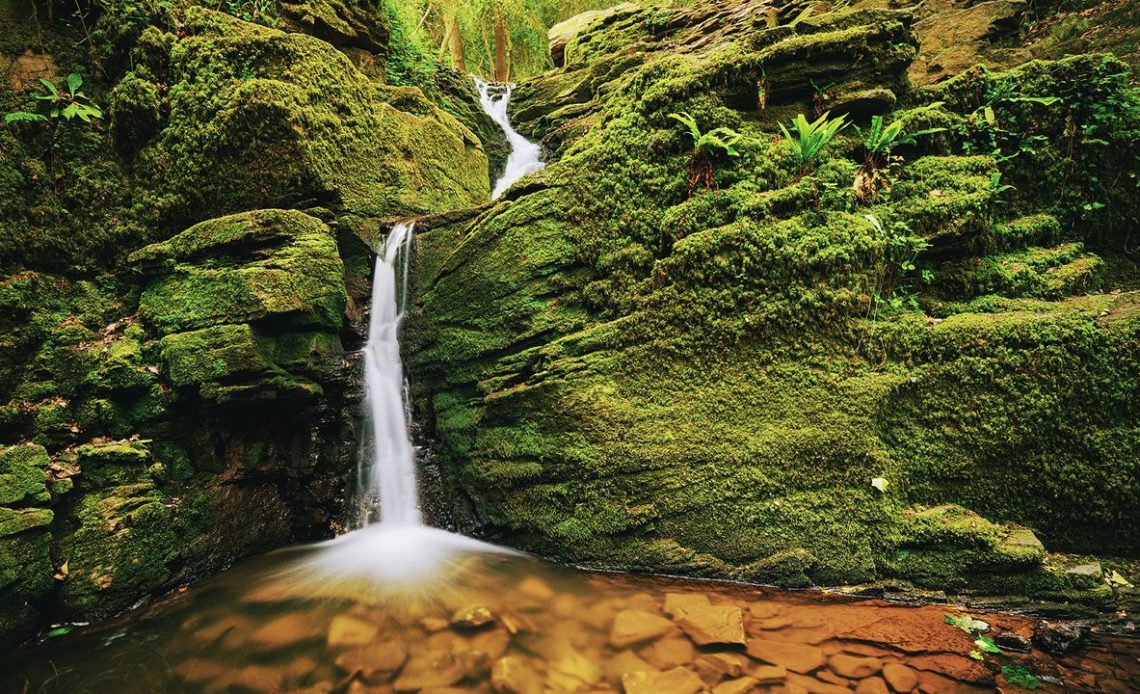
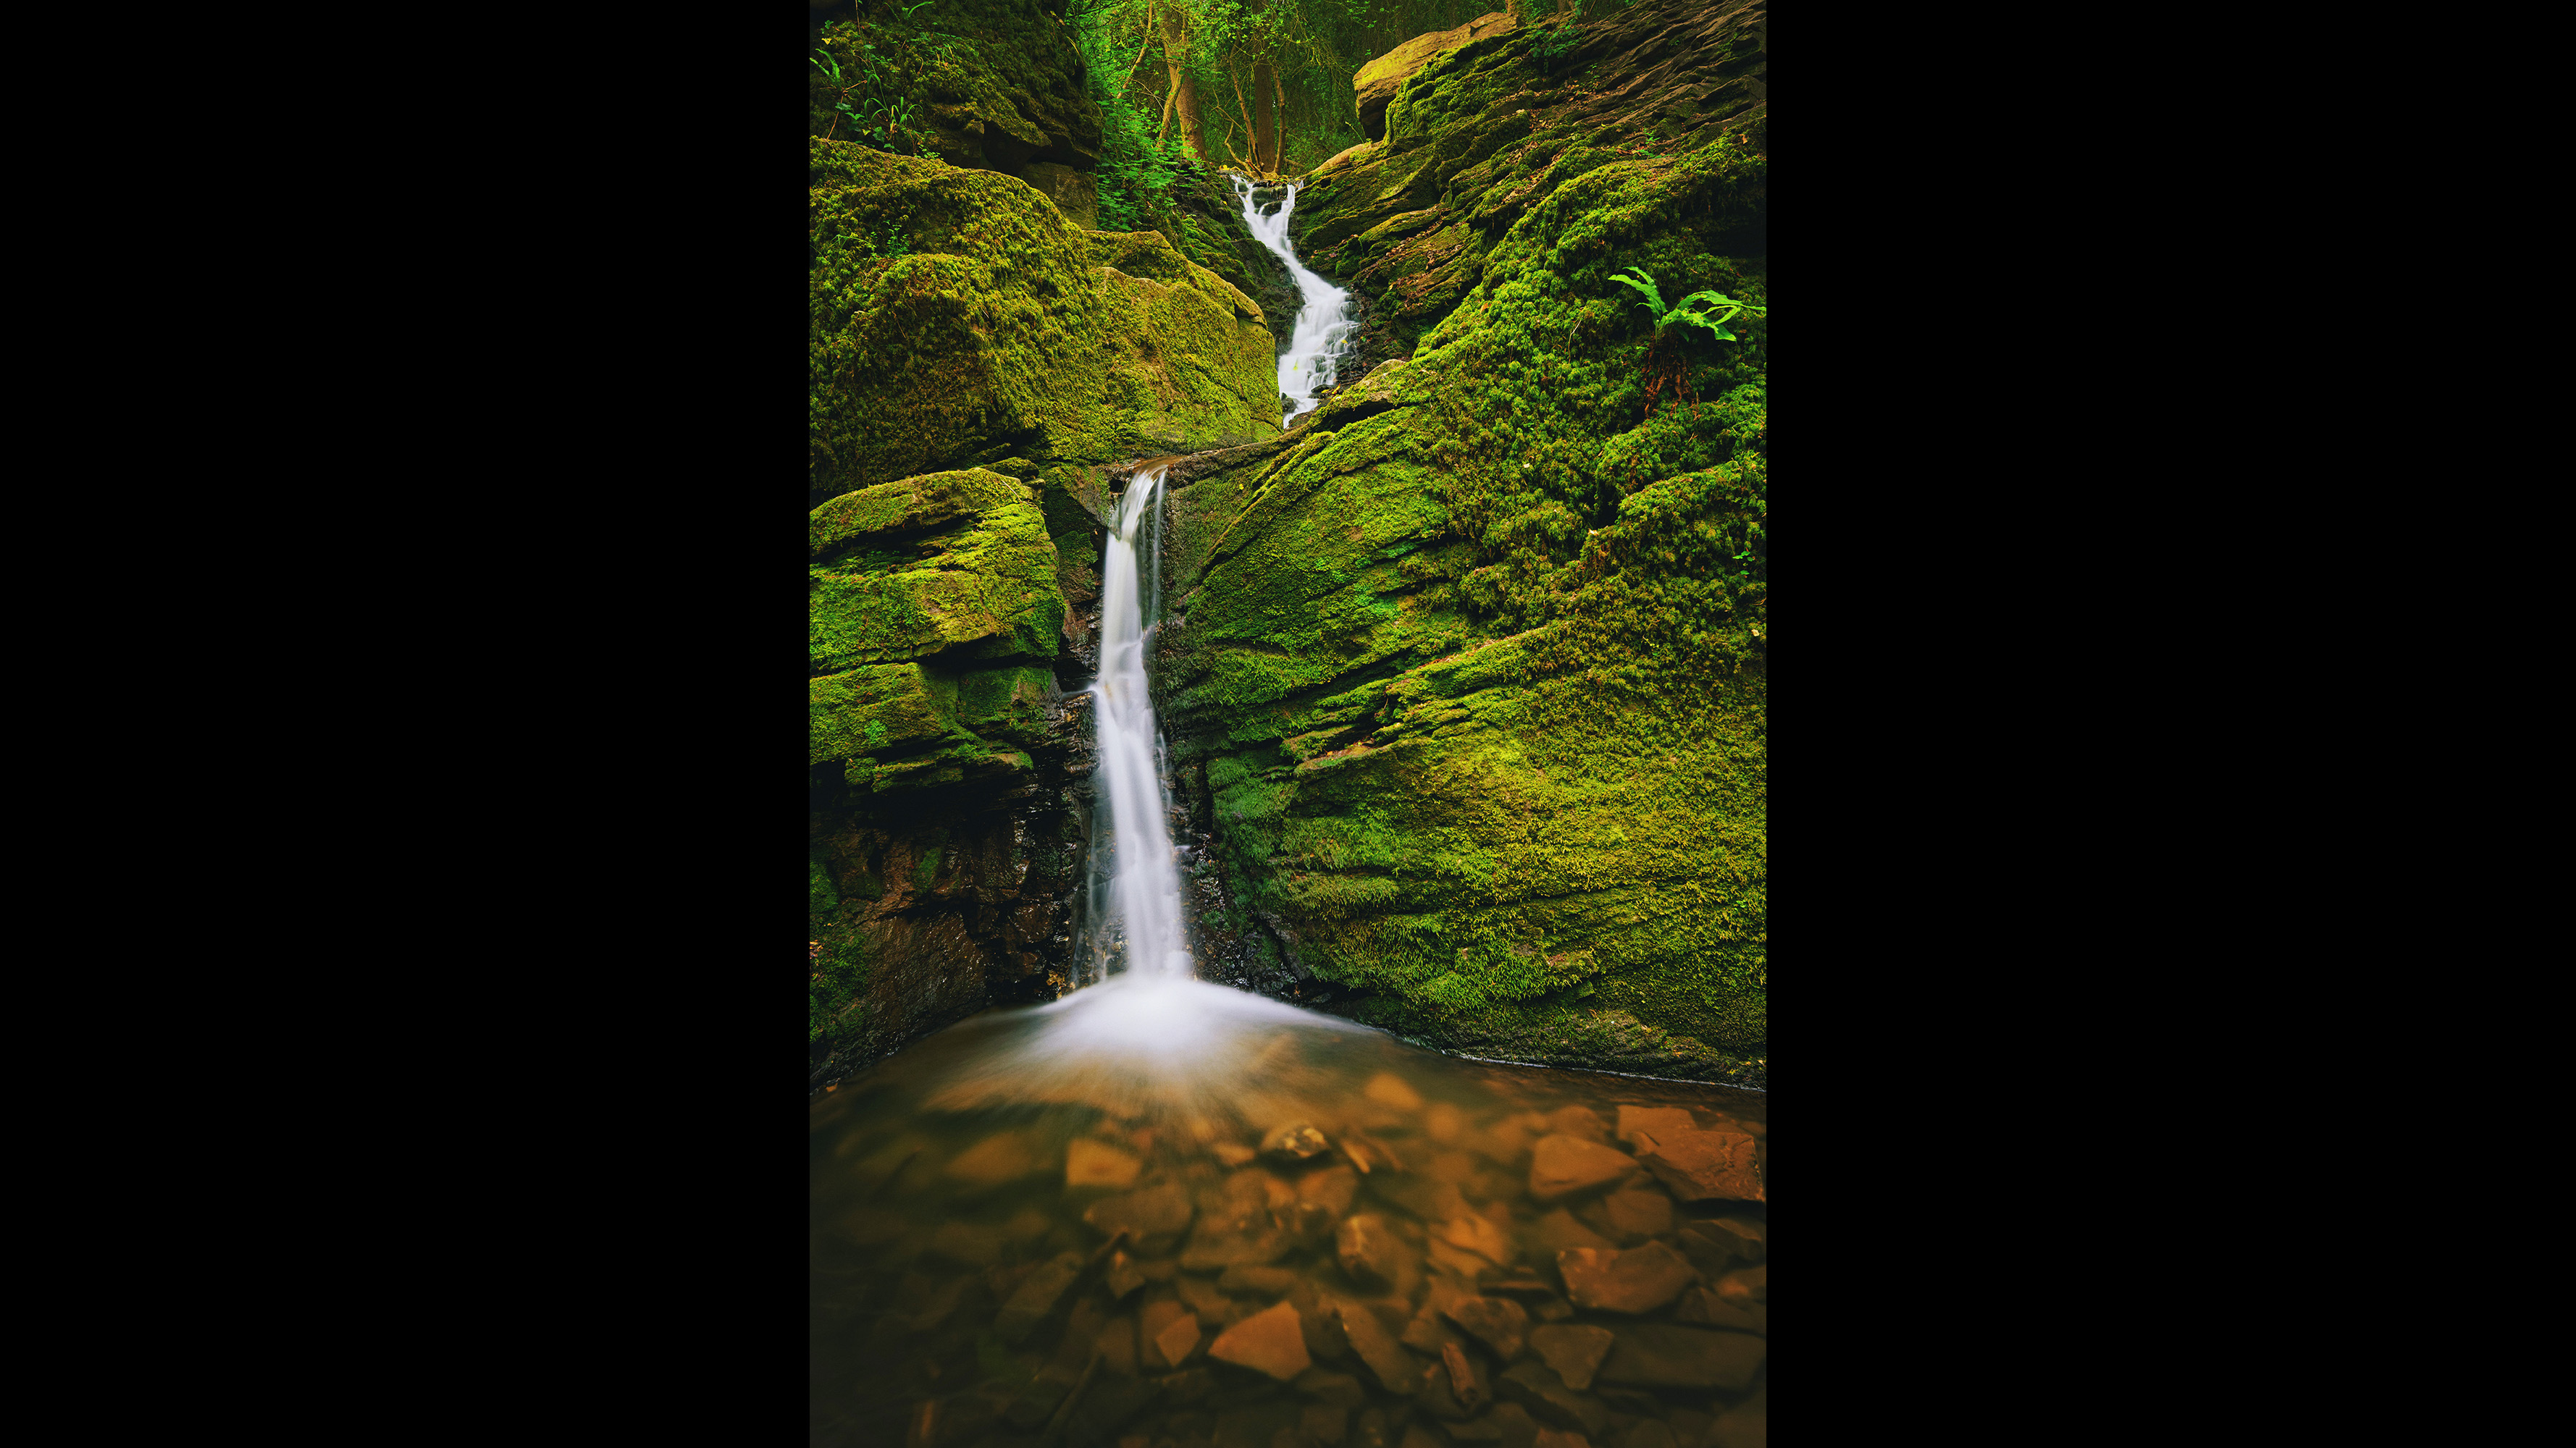
When you visit a picturesque waterfall in the middle of the day, there’s a good chance that there will be a lot of light about, even sunshine. And that makes capturing a long exposure shot of a waterfall much trickier than doing it at dusk. However, don’t let that put you off, you just need strong enough neutral density filters and a circular polariser. And a tripod obviously, don’t forget that. So armed, I headed for my nearest babbling brook complete with tumbling waterfall.
Settings: 20 secs, f/8, ISO 100, CPL, ND8 filter
What gear I used
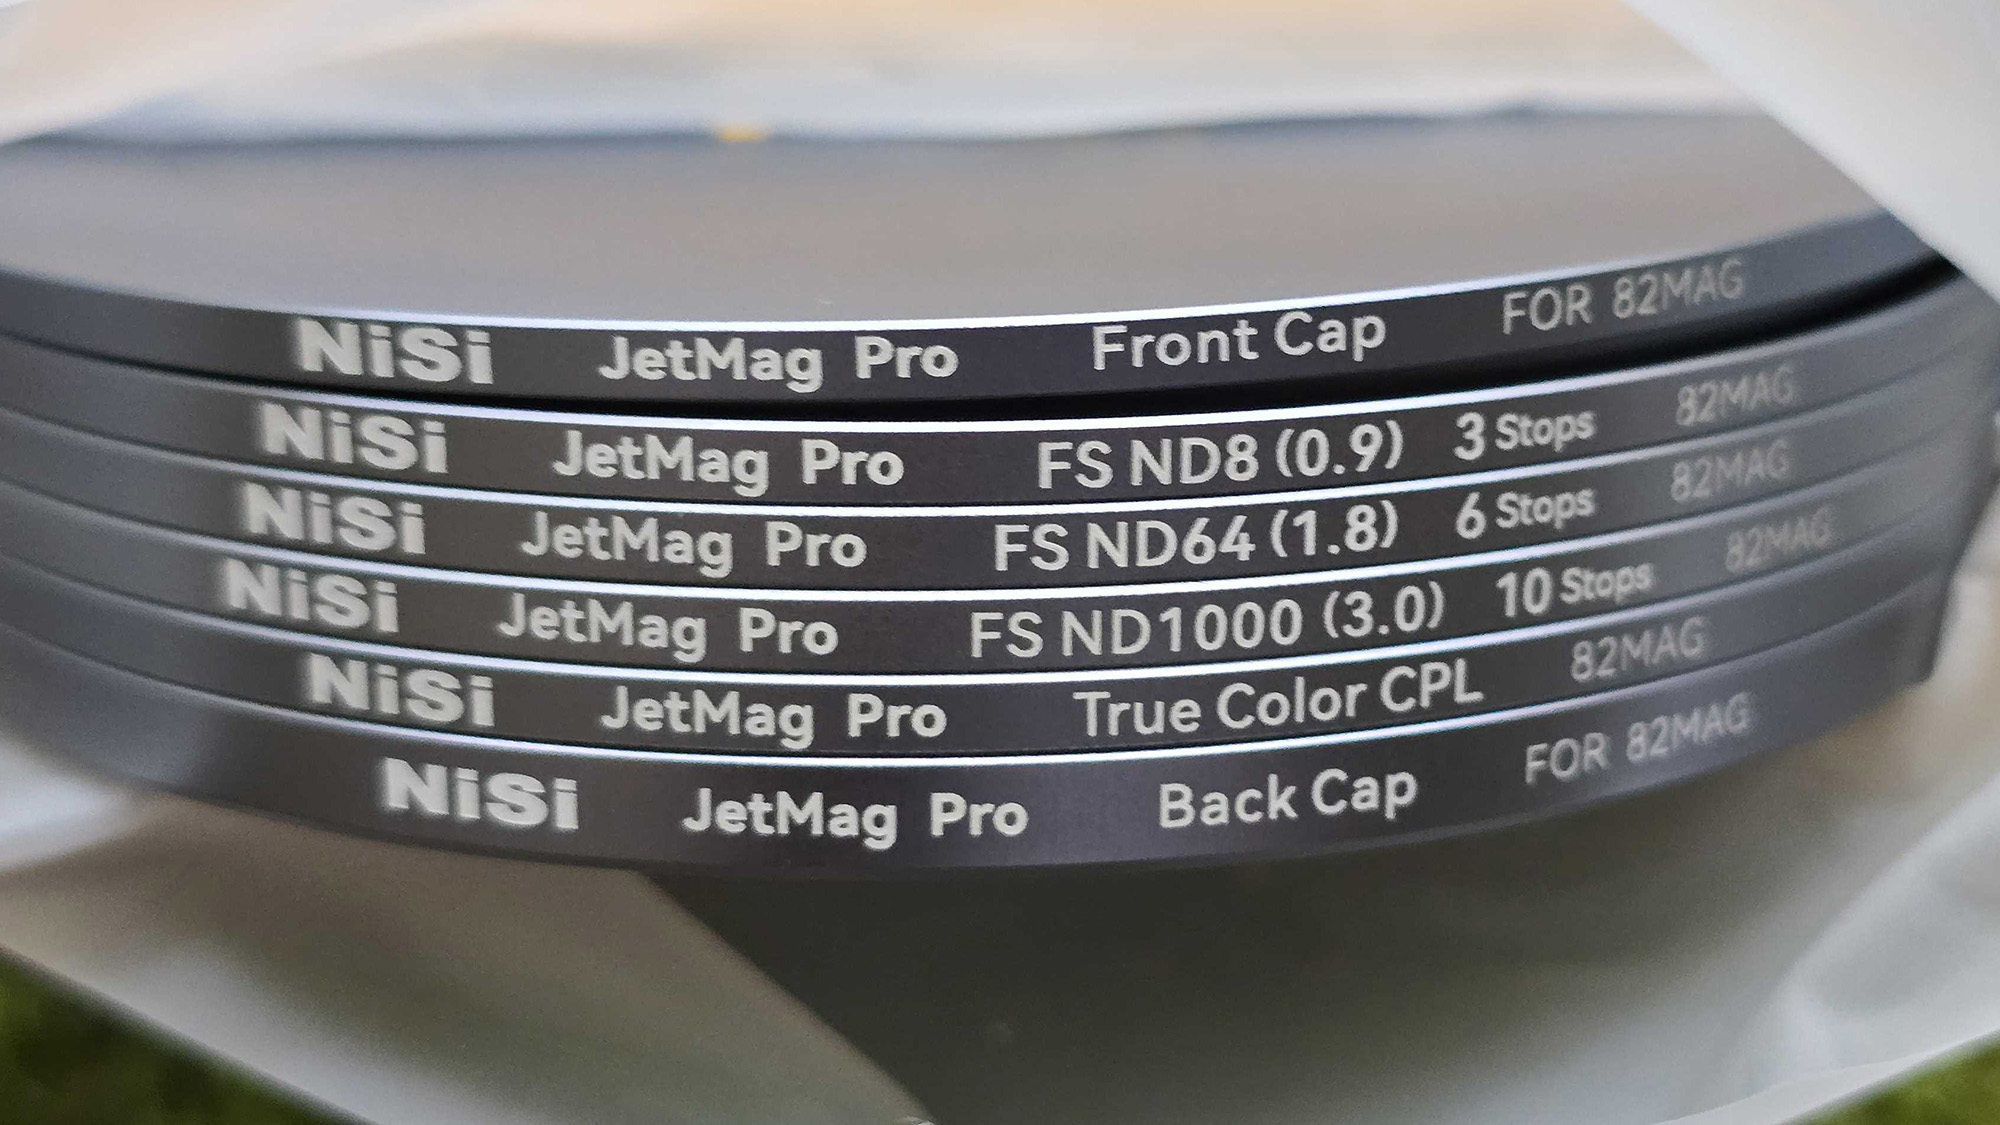
For this feature I used the NiSi JetMag Pro Landscape ND Kit, which contains an adapter ring for your lens, then a circular polarizer, FS ND8 three stop filter, FS ND64 six stop filter and FS ND1000 10 stop filter. It’s available in three kit sizes – you pick the size up from the lens filter size you are fitting it to, so in this case it was the 82mm kit, which costs $499 / £359.
Using the circular polarizer
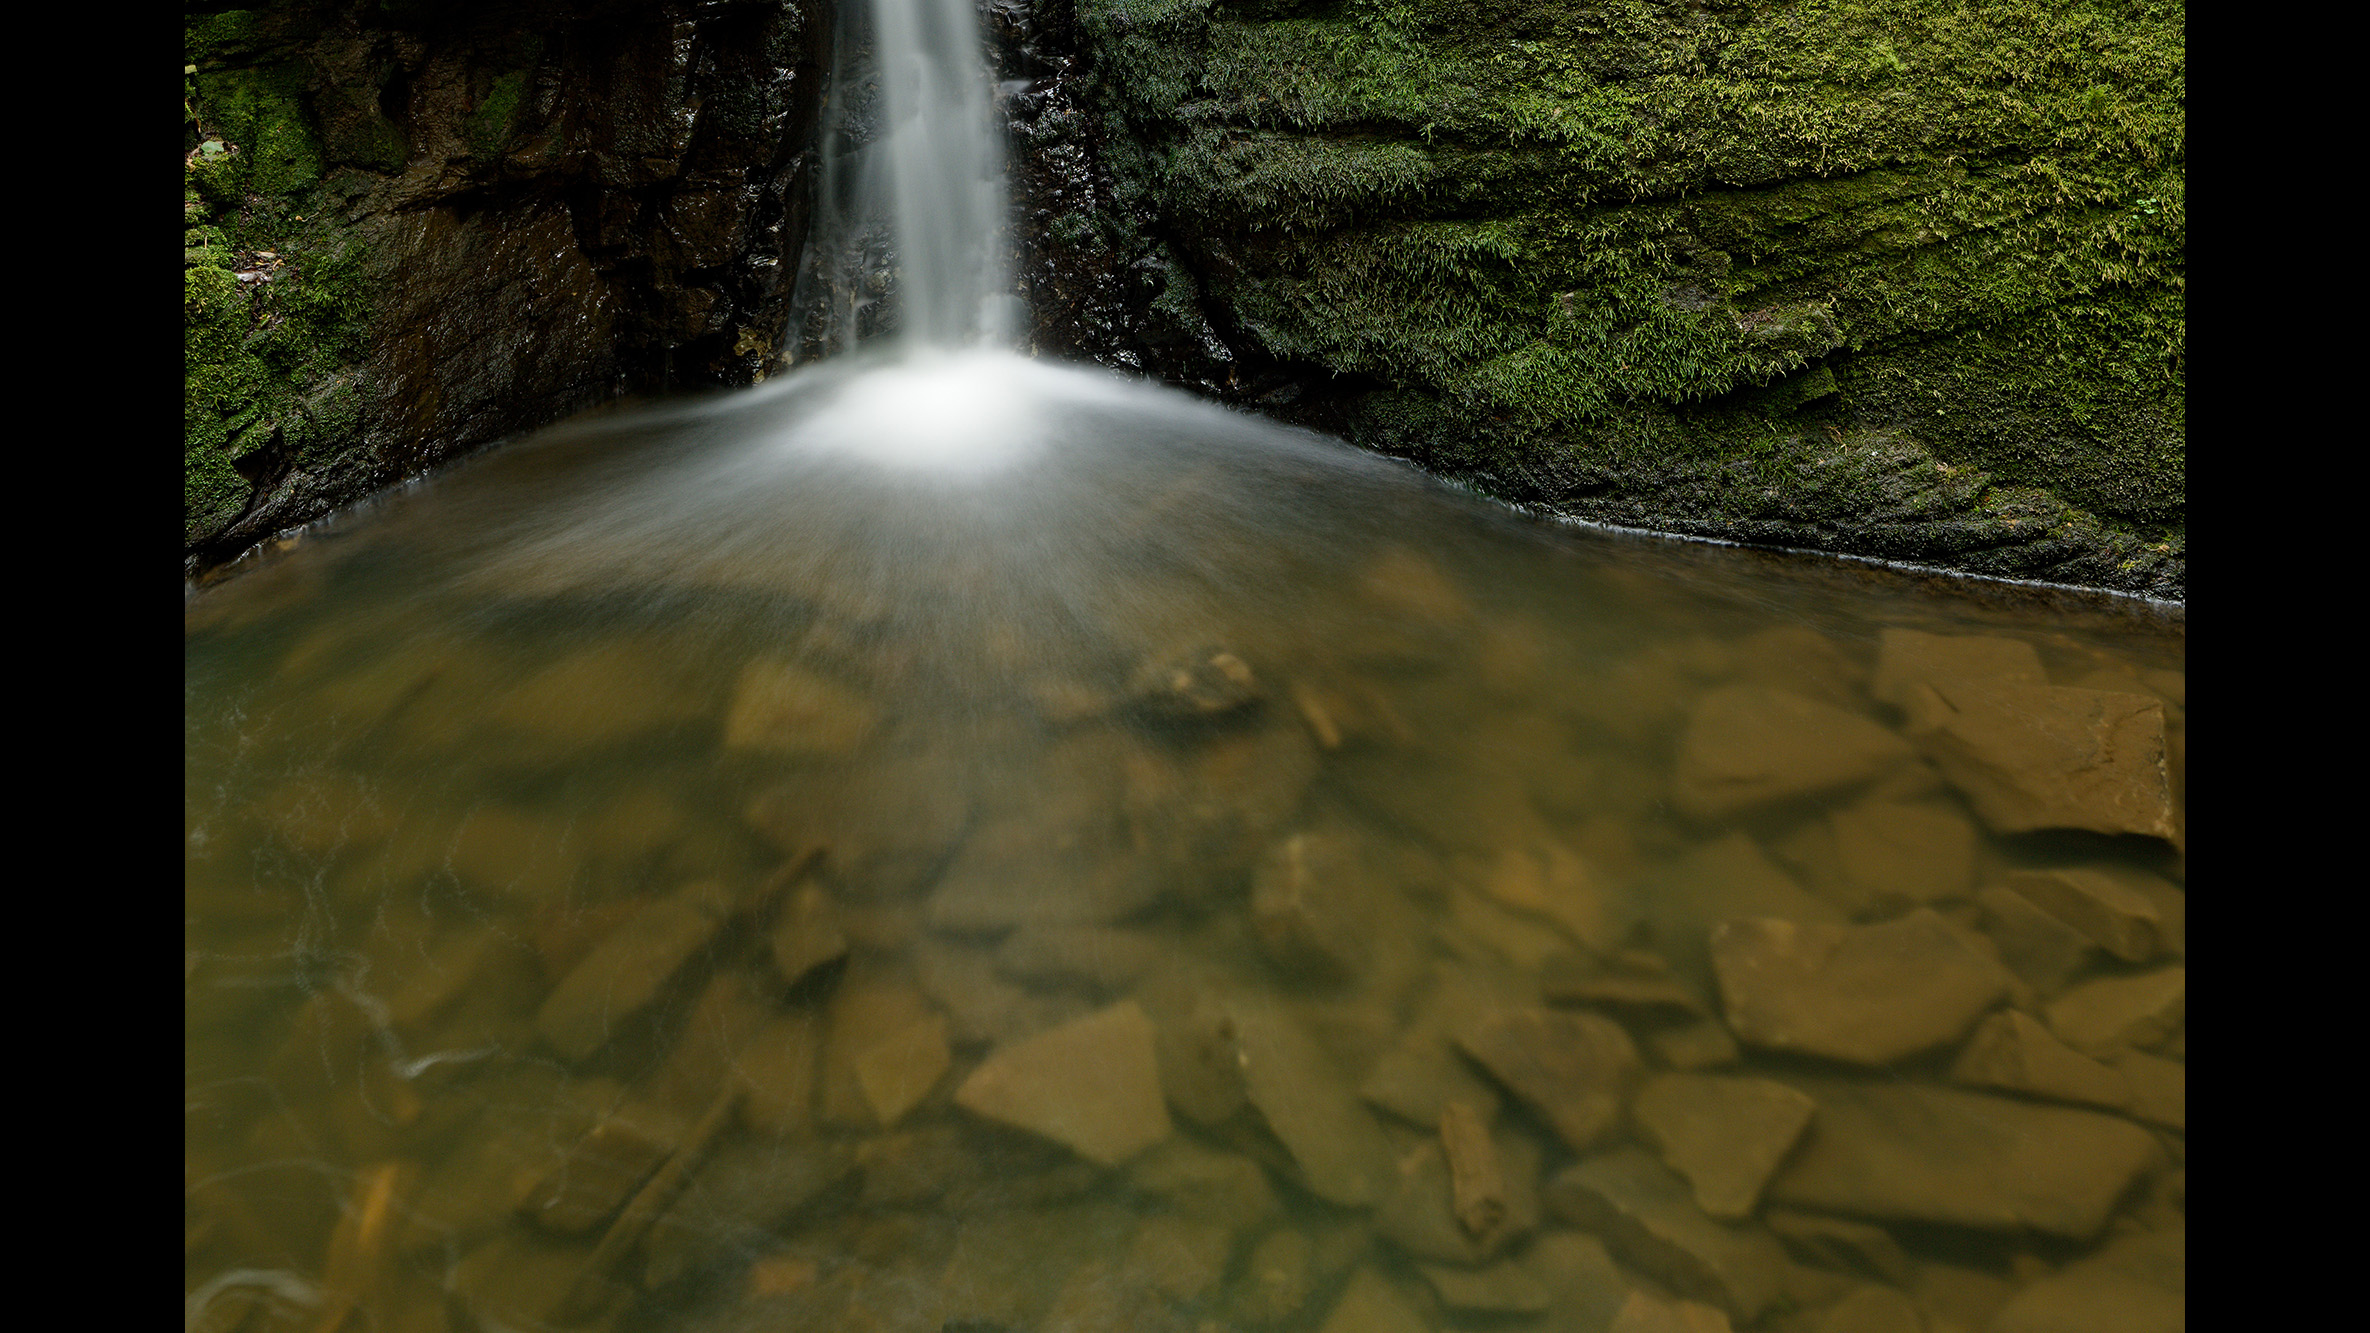
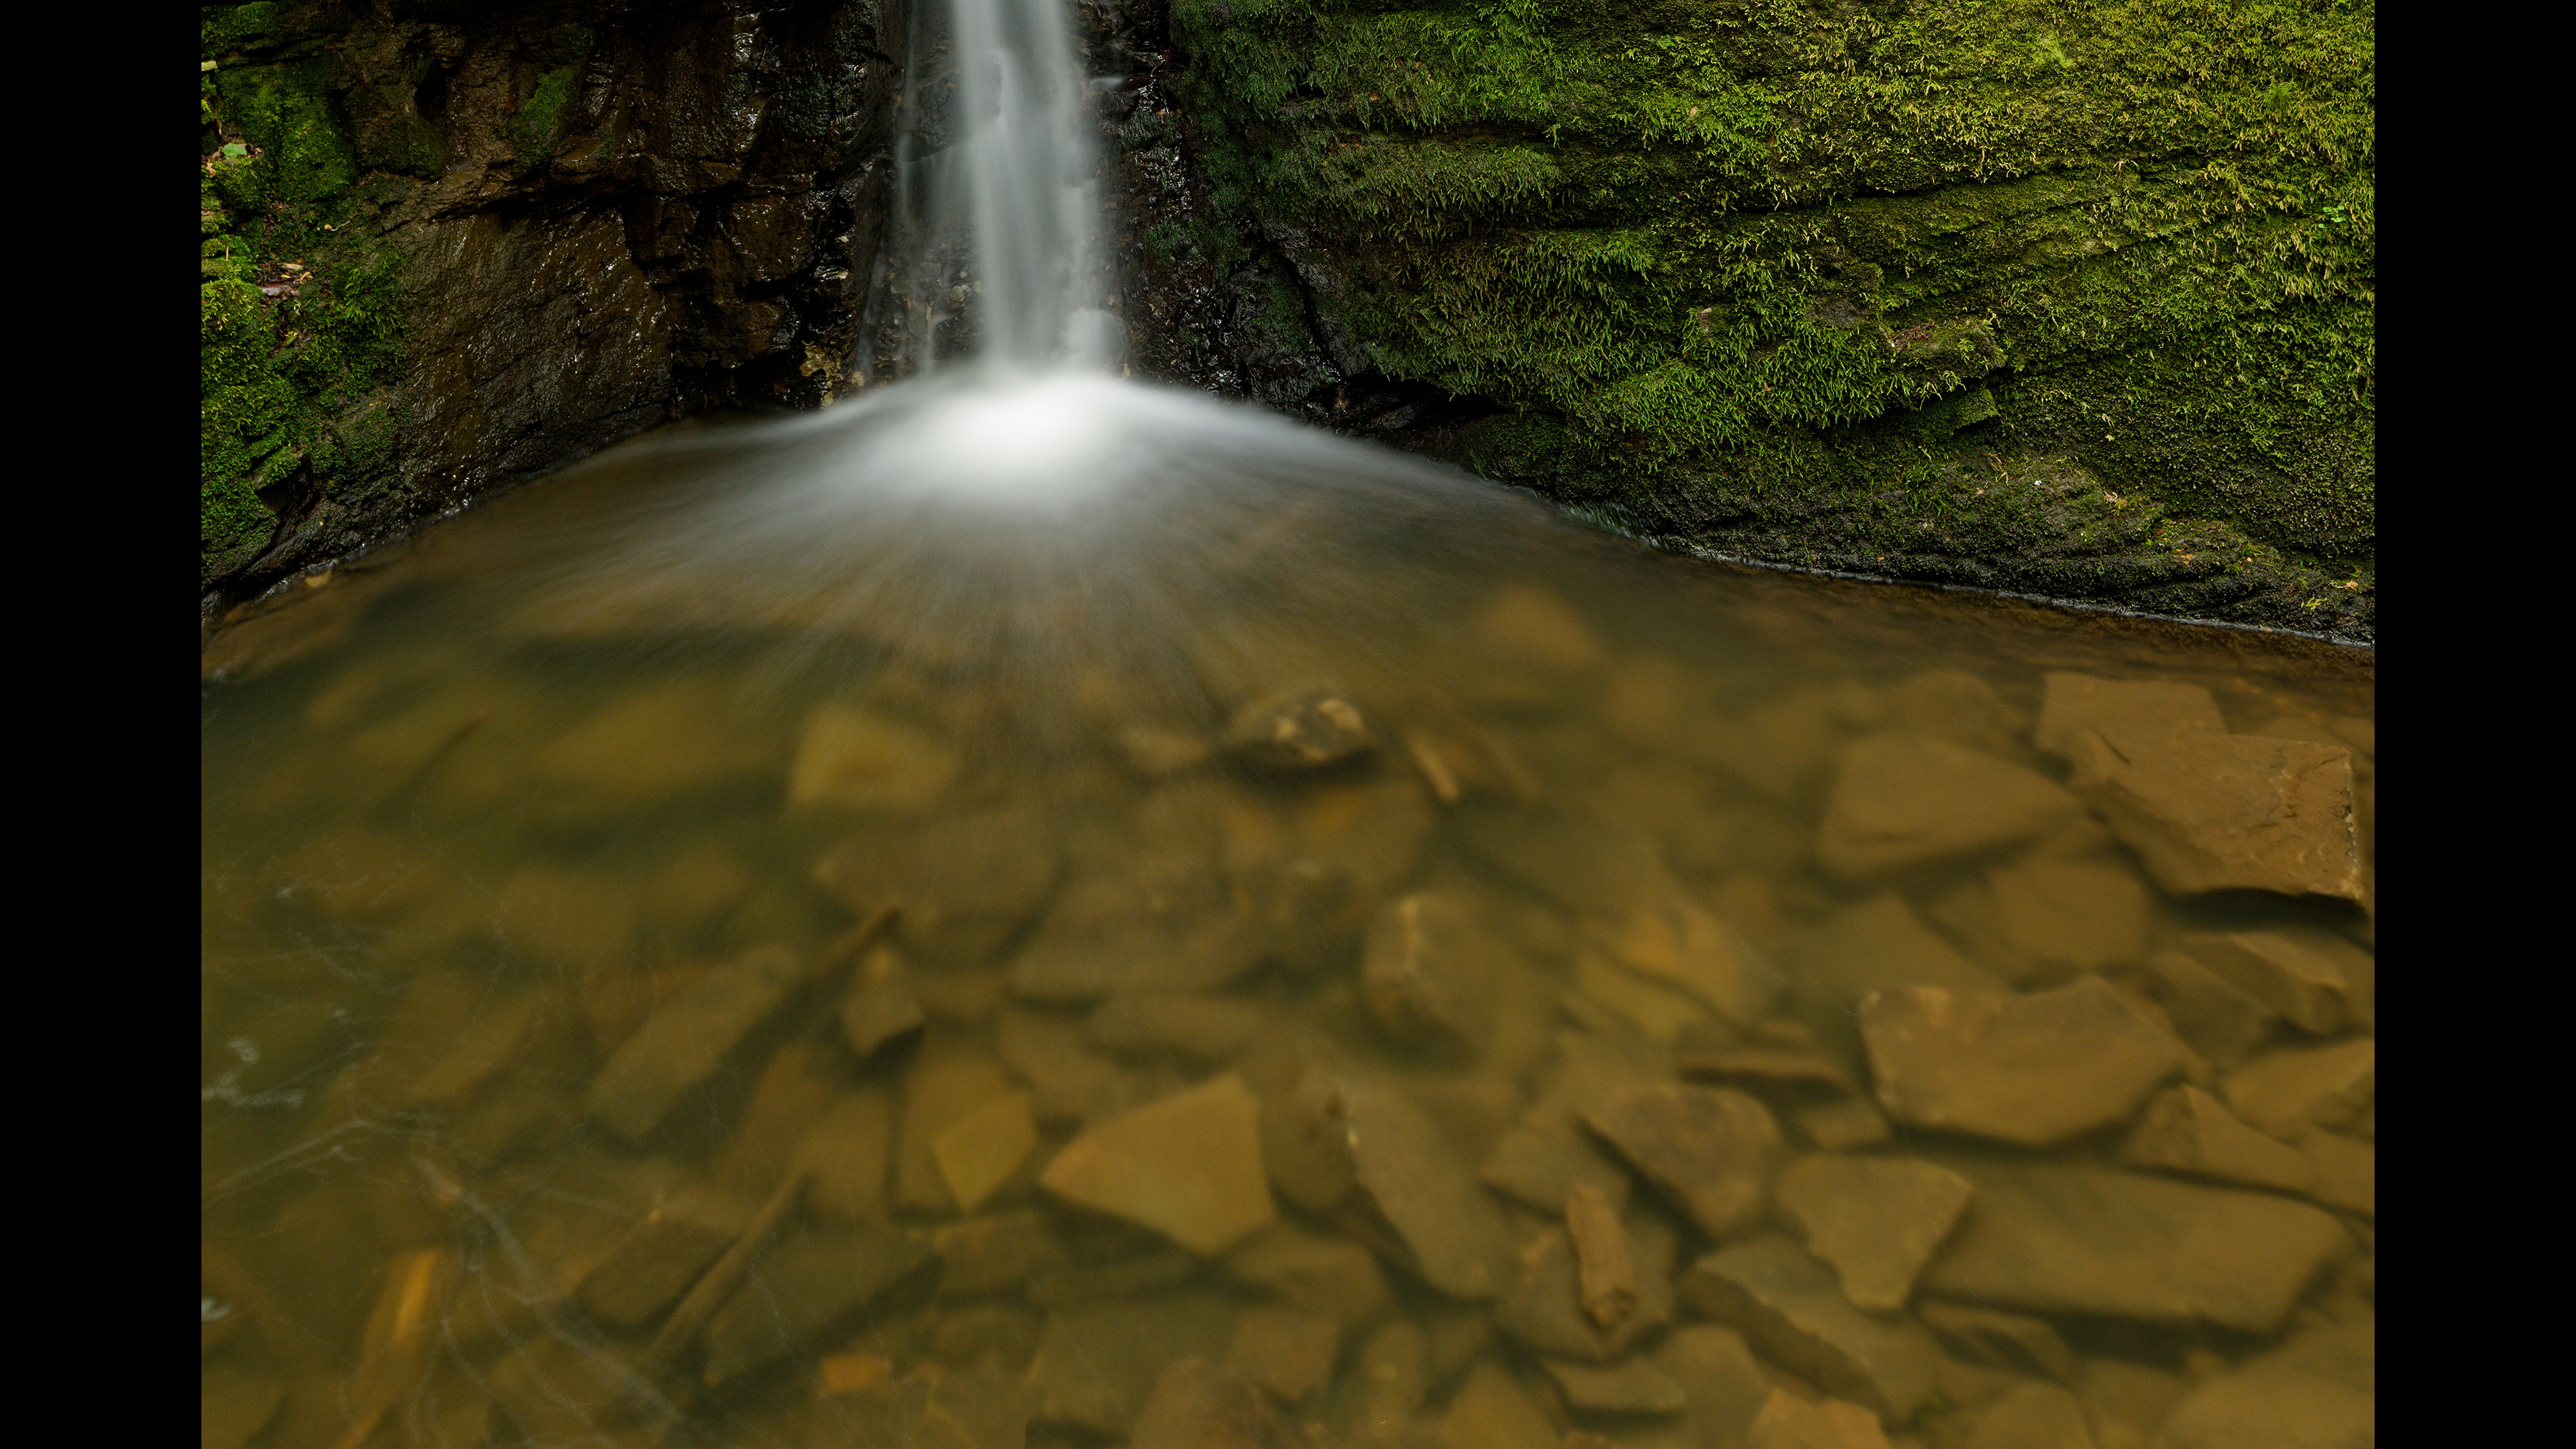
Bright light creates more distinct reflections on the water so with it being cloudy and the pool at the bottom of the fall being in the shade, there was less of it. However, there was still reflected glare from the waterfall in the pool. The effect of the polariser is to remove the reflections on the surface of the water so you can see through, but it also has a secondary effect in reducing the available light, which was ideal when used in combination with the neutral density filter.
Image 1 of 2
(Image credit: Wendy Evans)
Using a circular polariser
One slide shows the scene without a polariser, the other with it, cutting out reflections on the water surface.
(Image credit: Wendy Evans)
Step by step: Setting the camera up
1 Attach filters
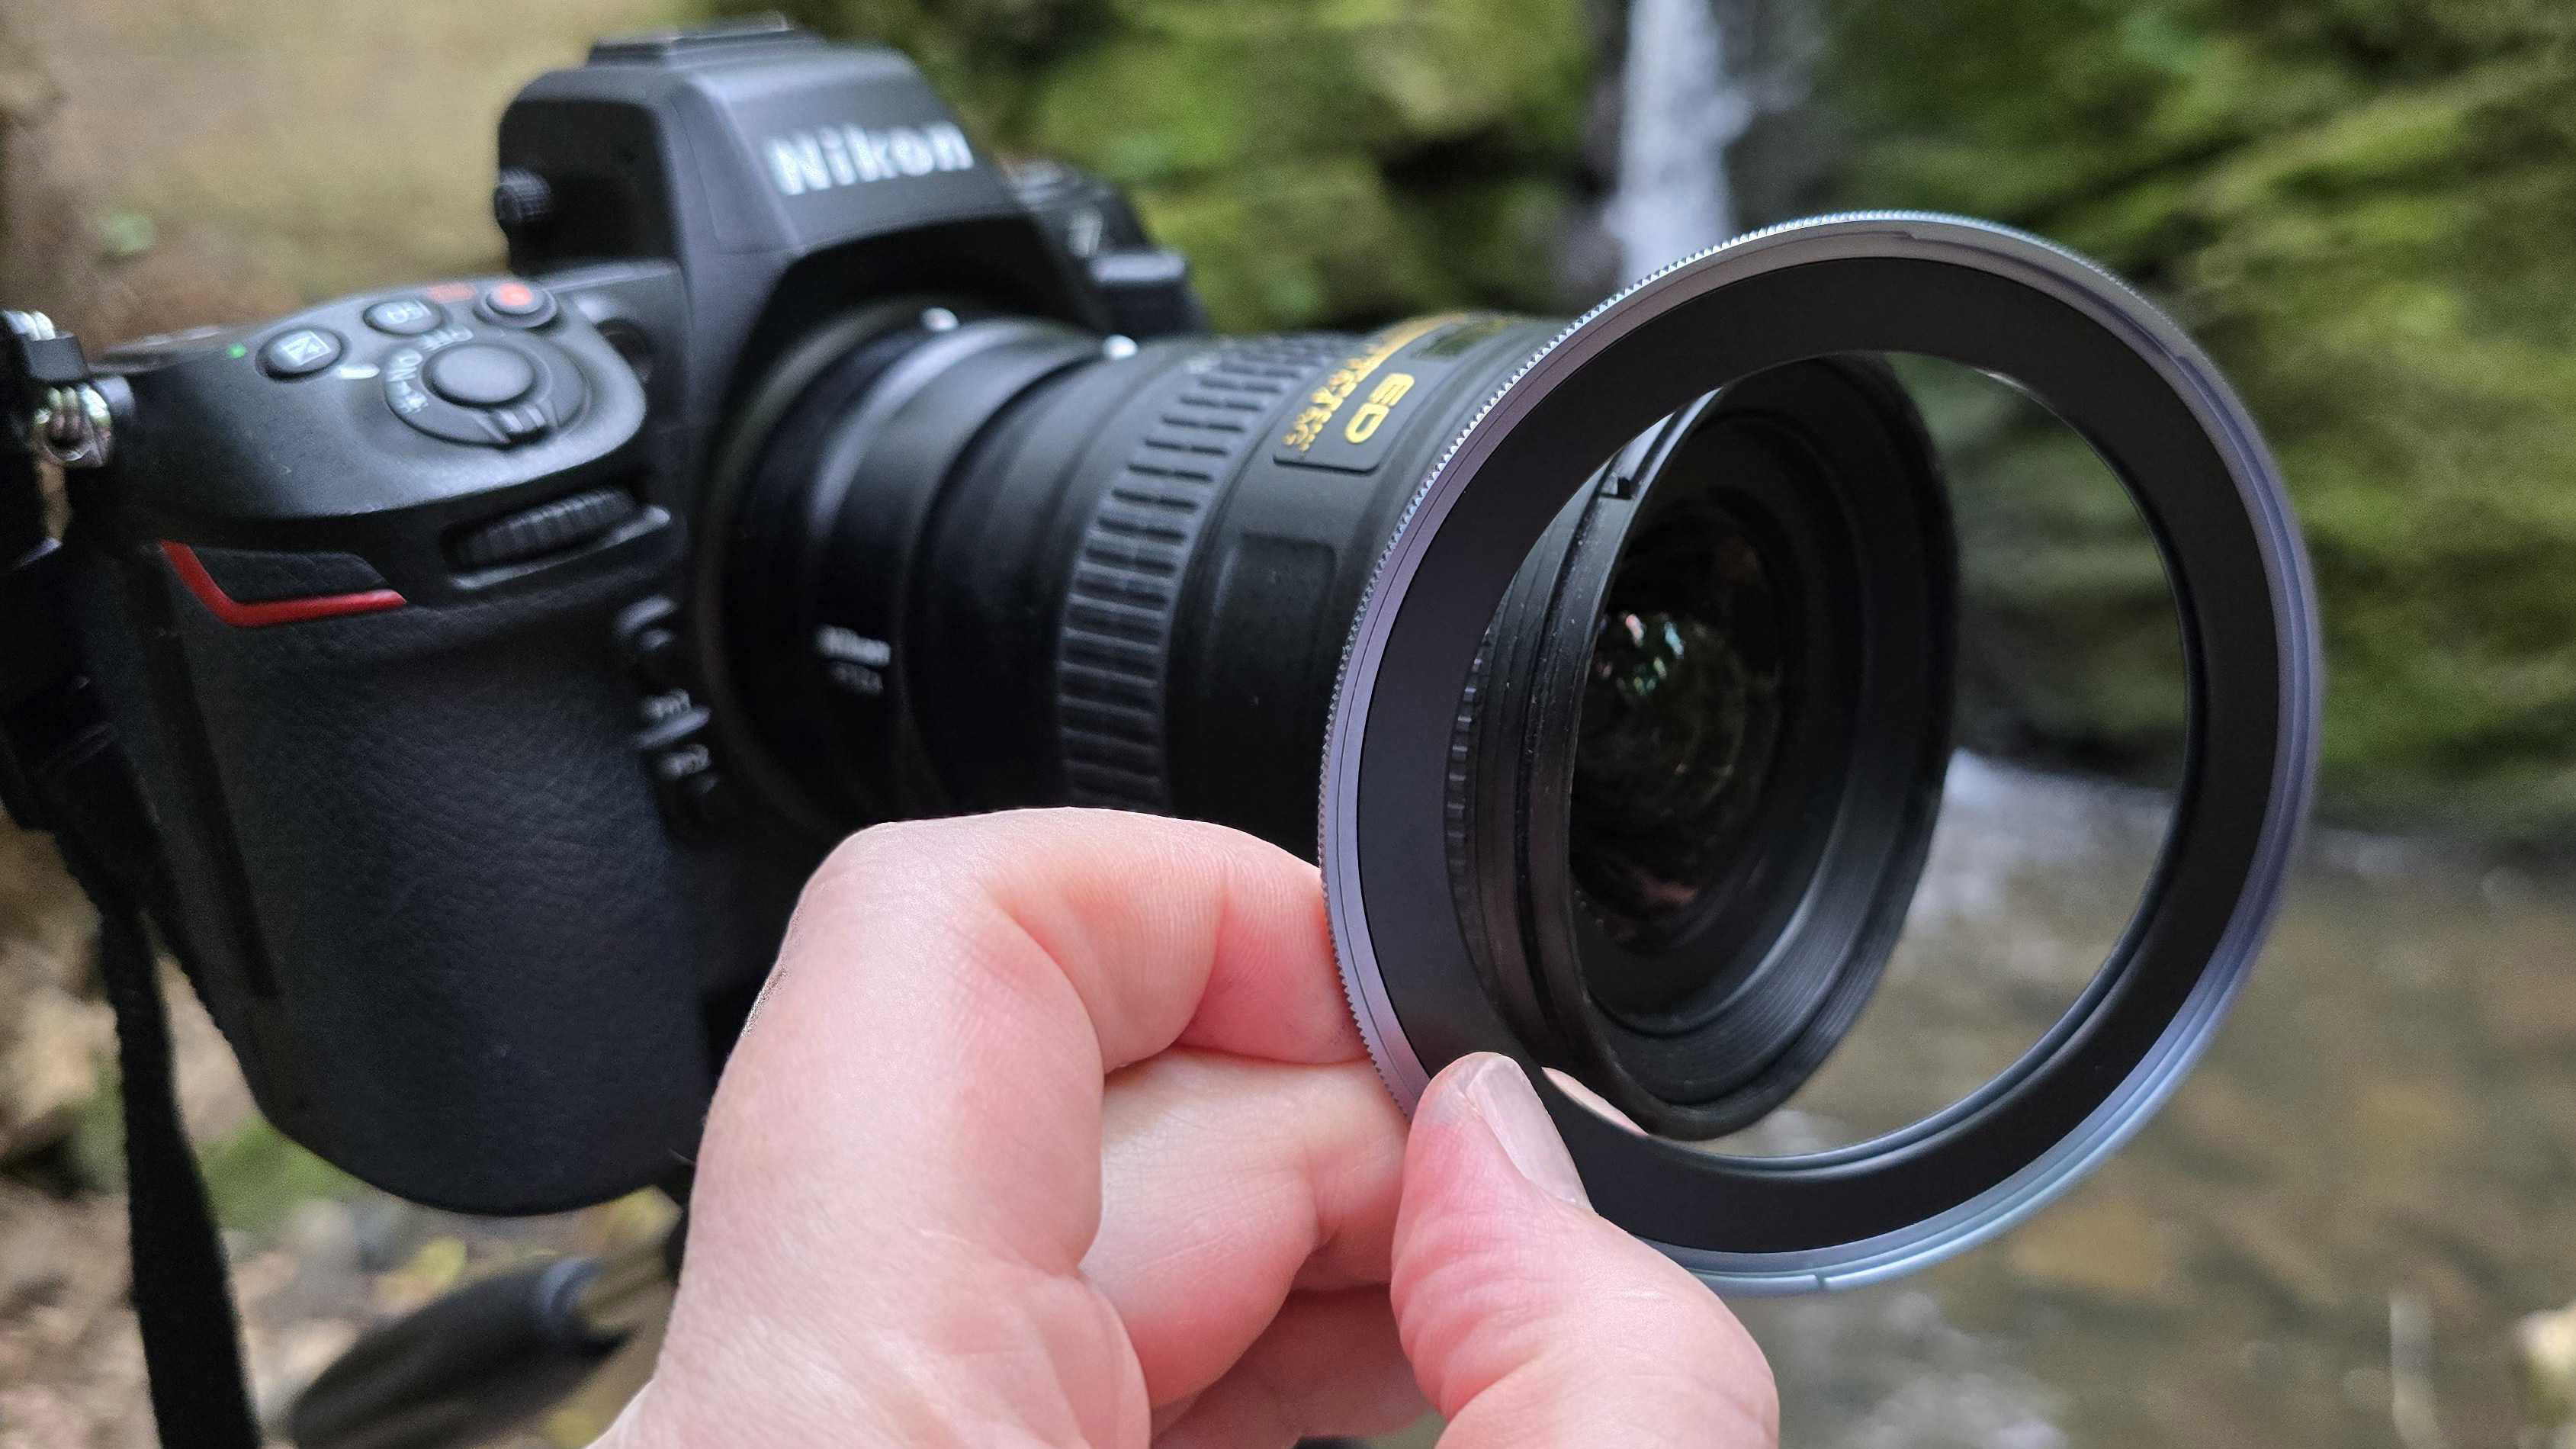
Having found the spot to shoot from the first task is to attach the filter thread for the lens. The filters fit lenses up to 82mm but first you attach the magnetic filter ring that has the same thread as your own lens – 77mm in this case. Then you can simply add the magnetic filters, which snap on. I added the CPL and the ND8.
2 Metering mode
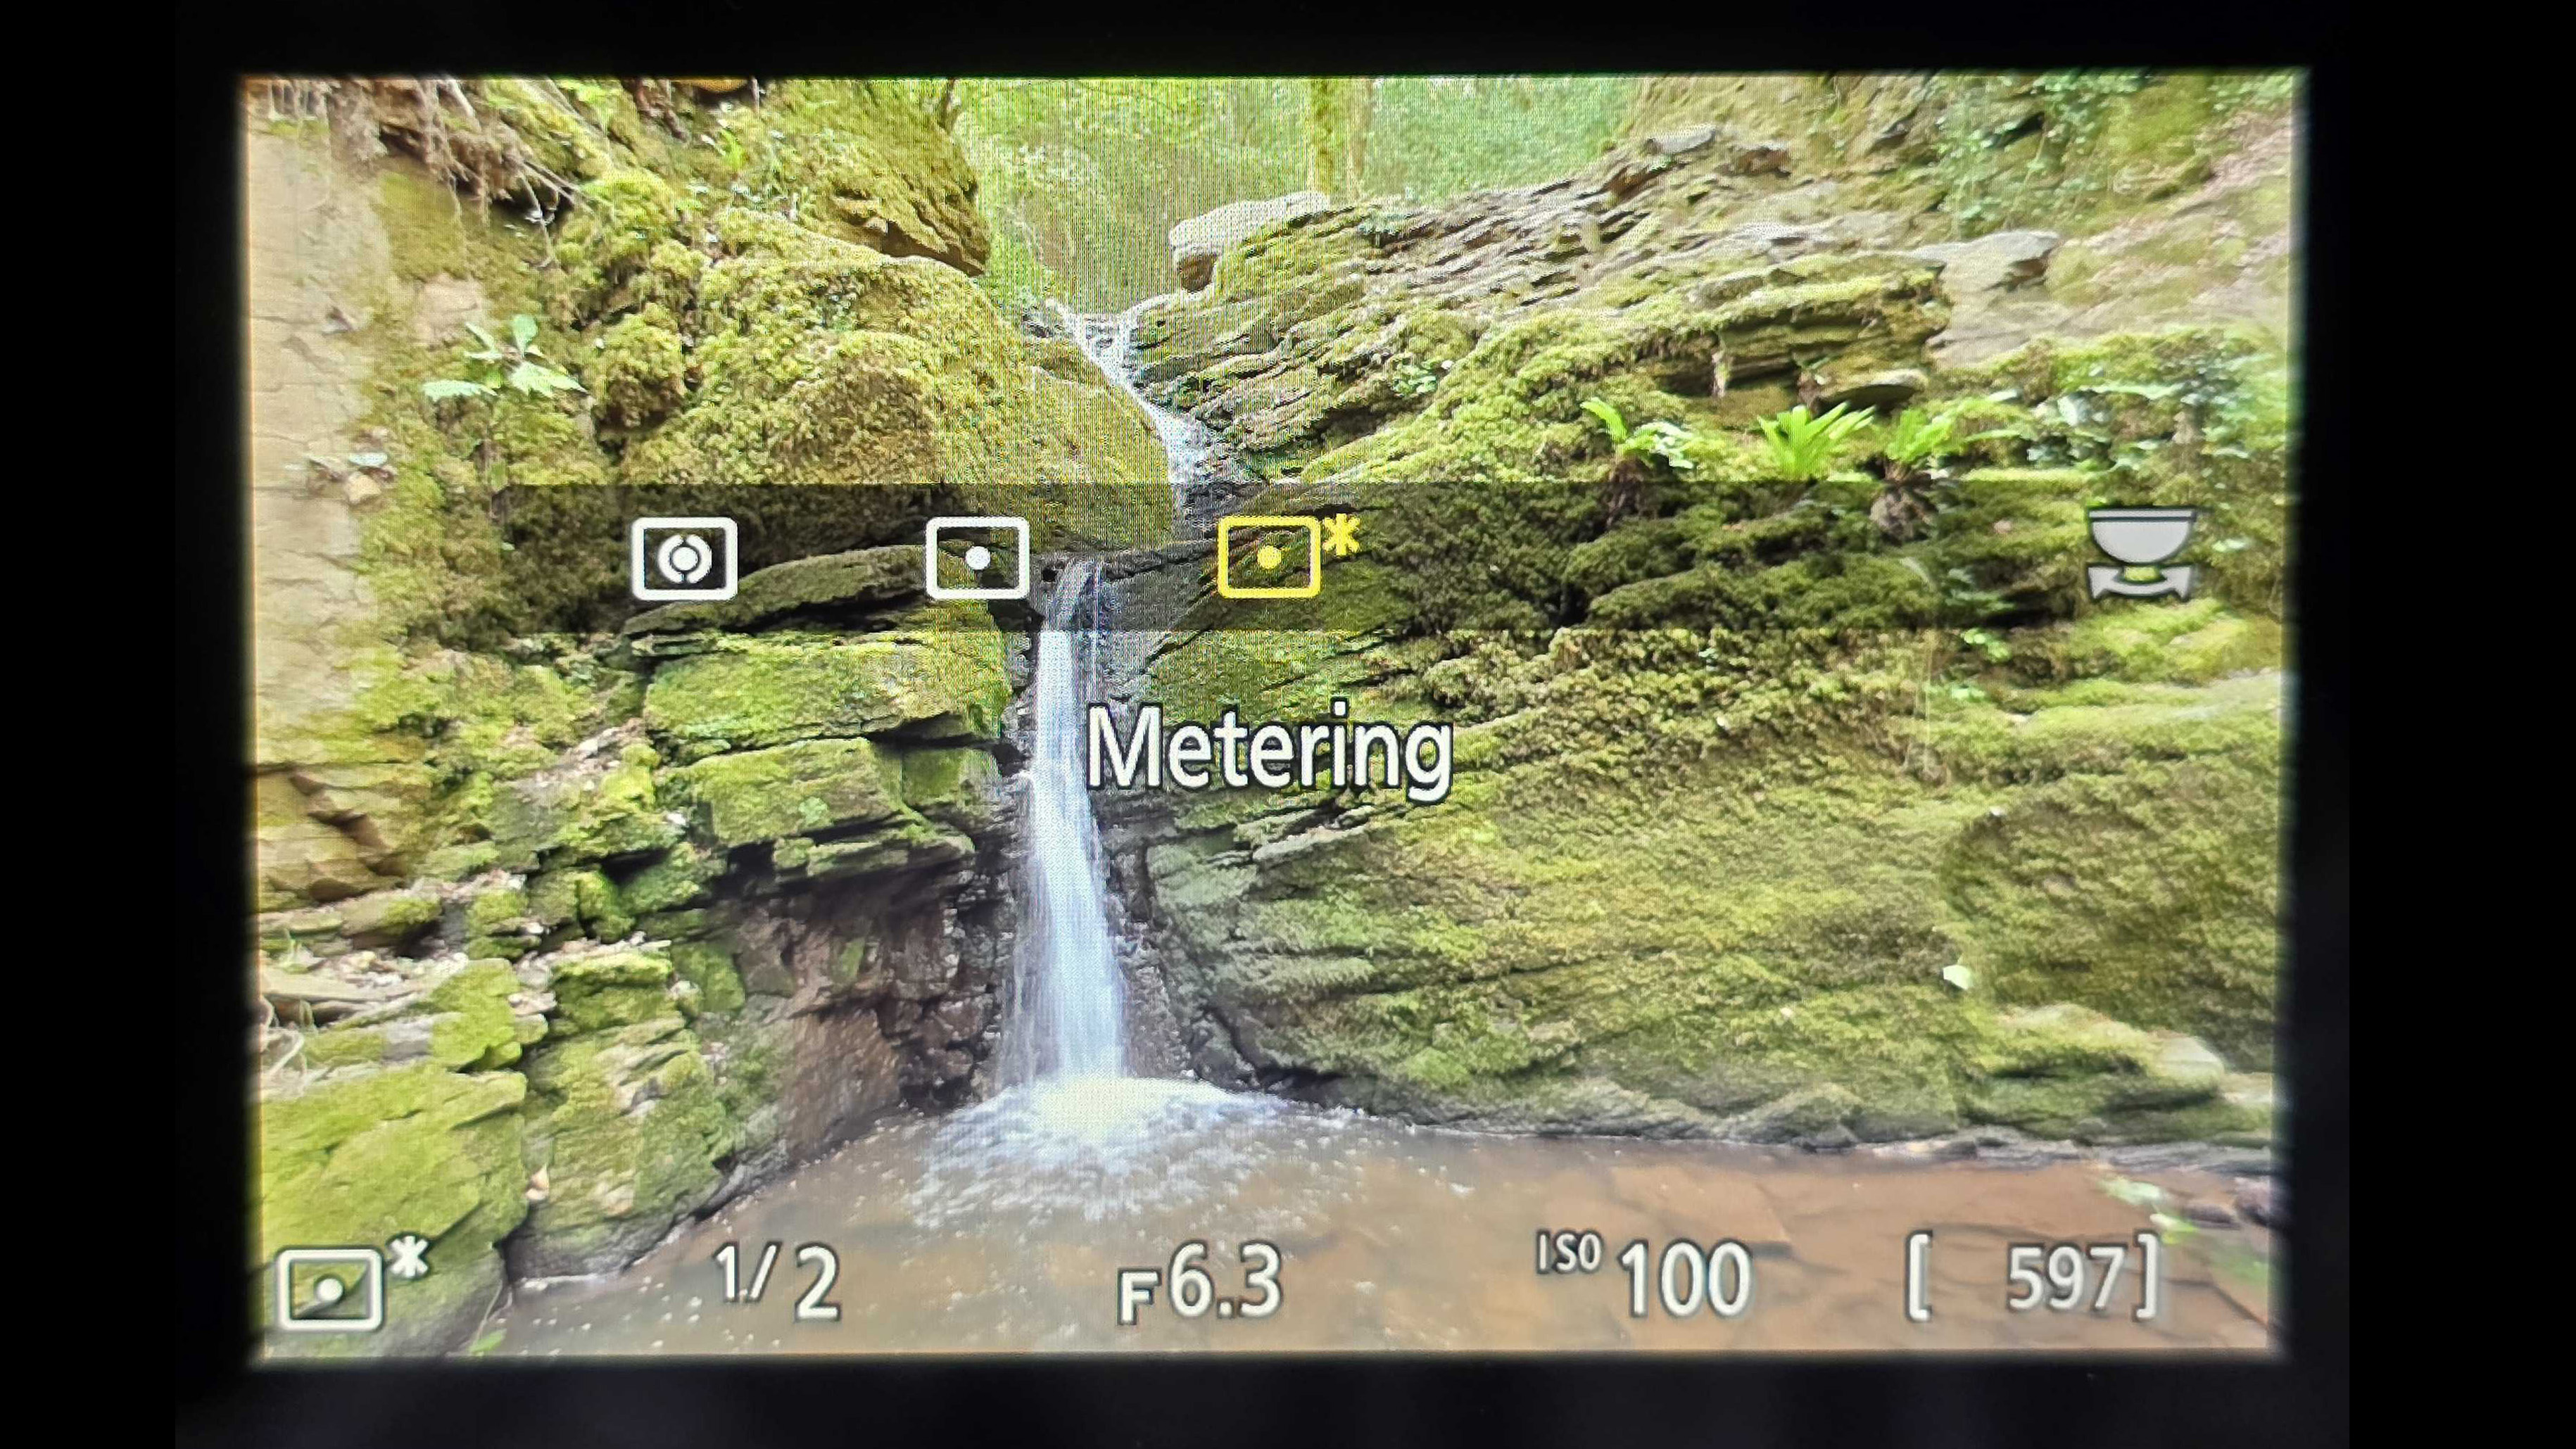
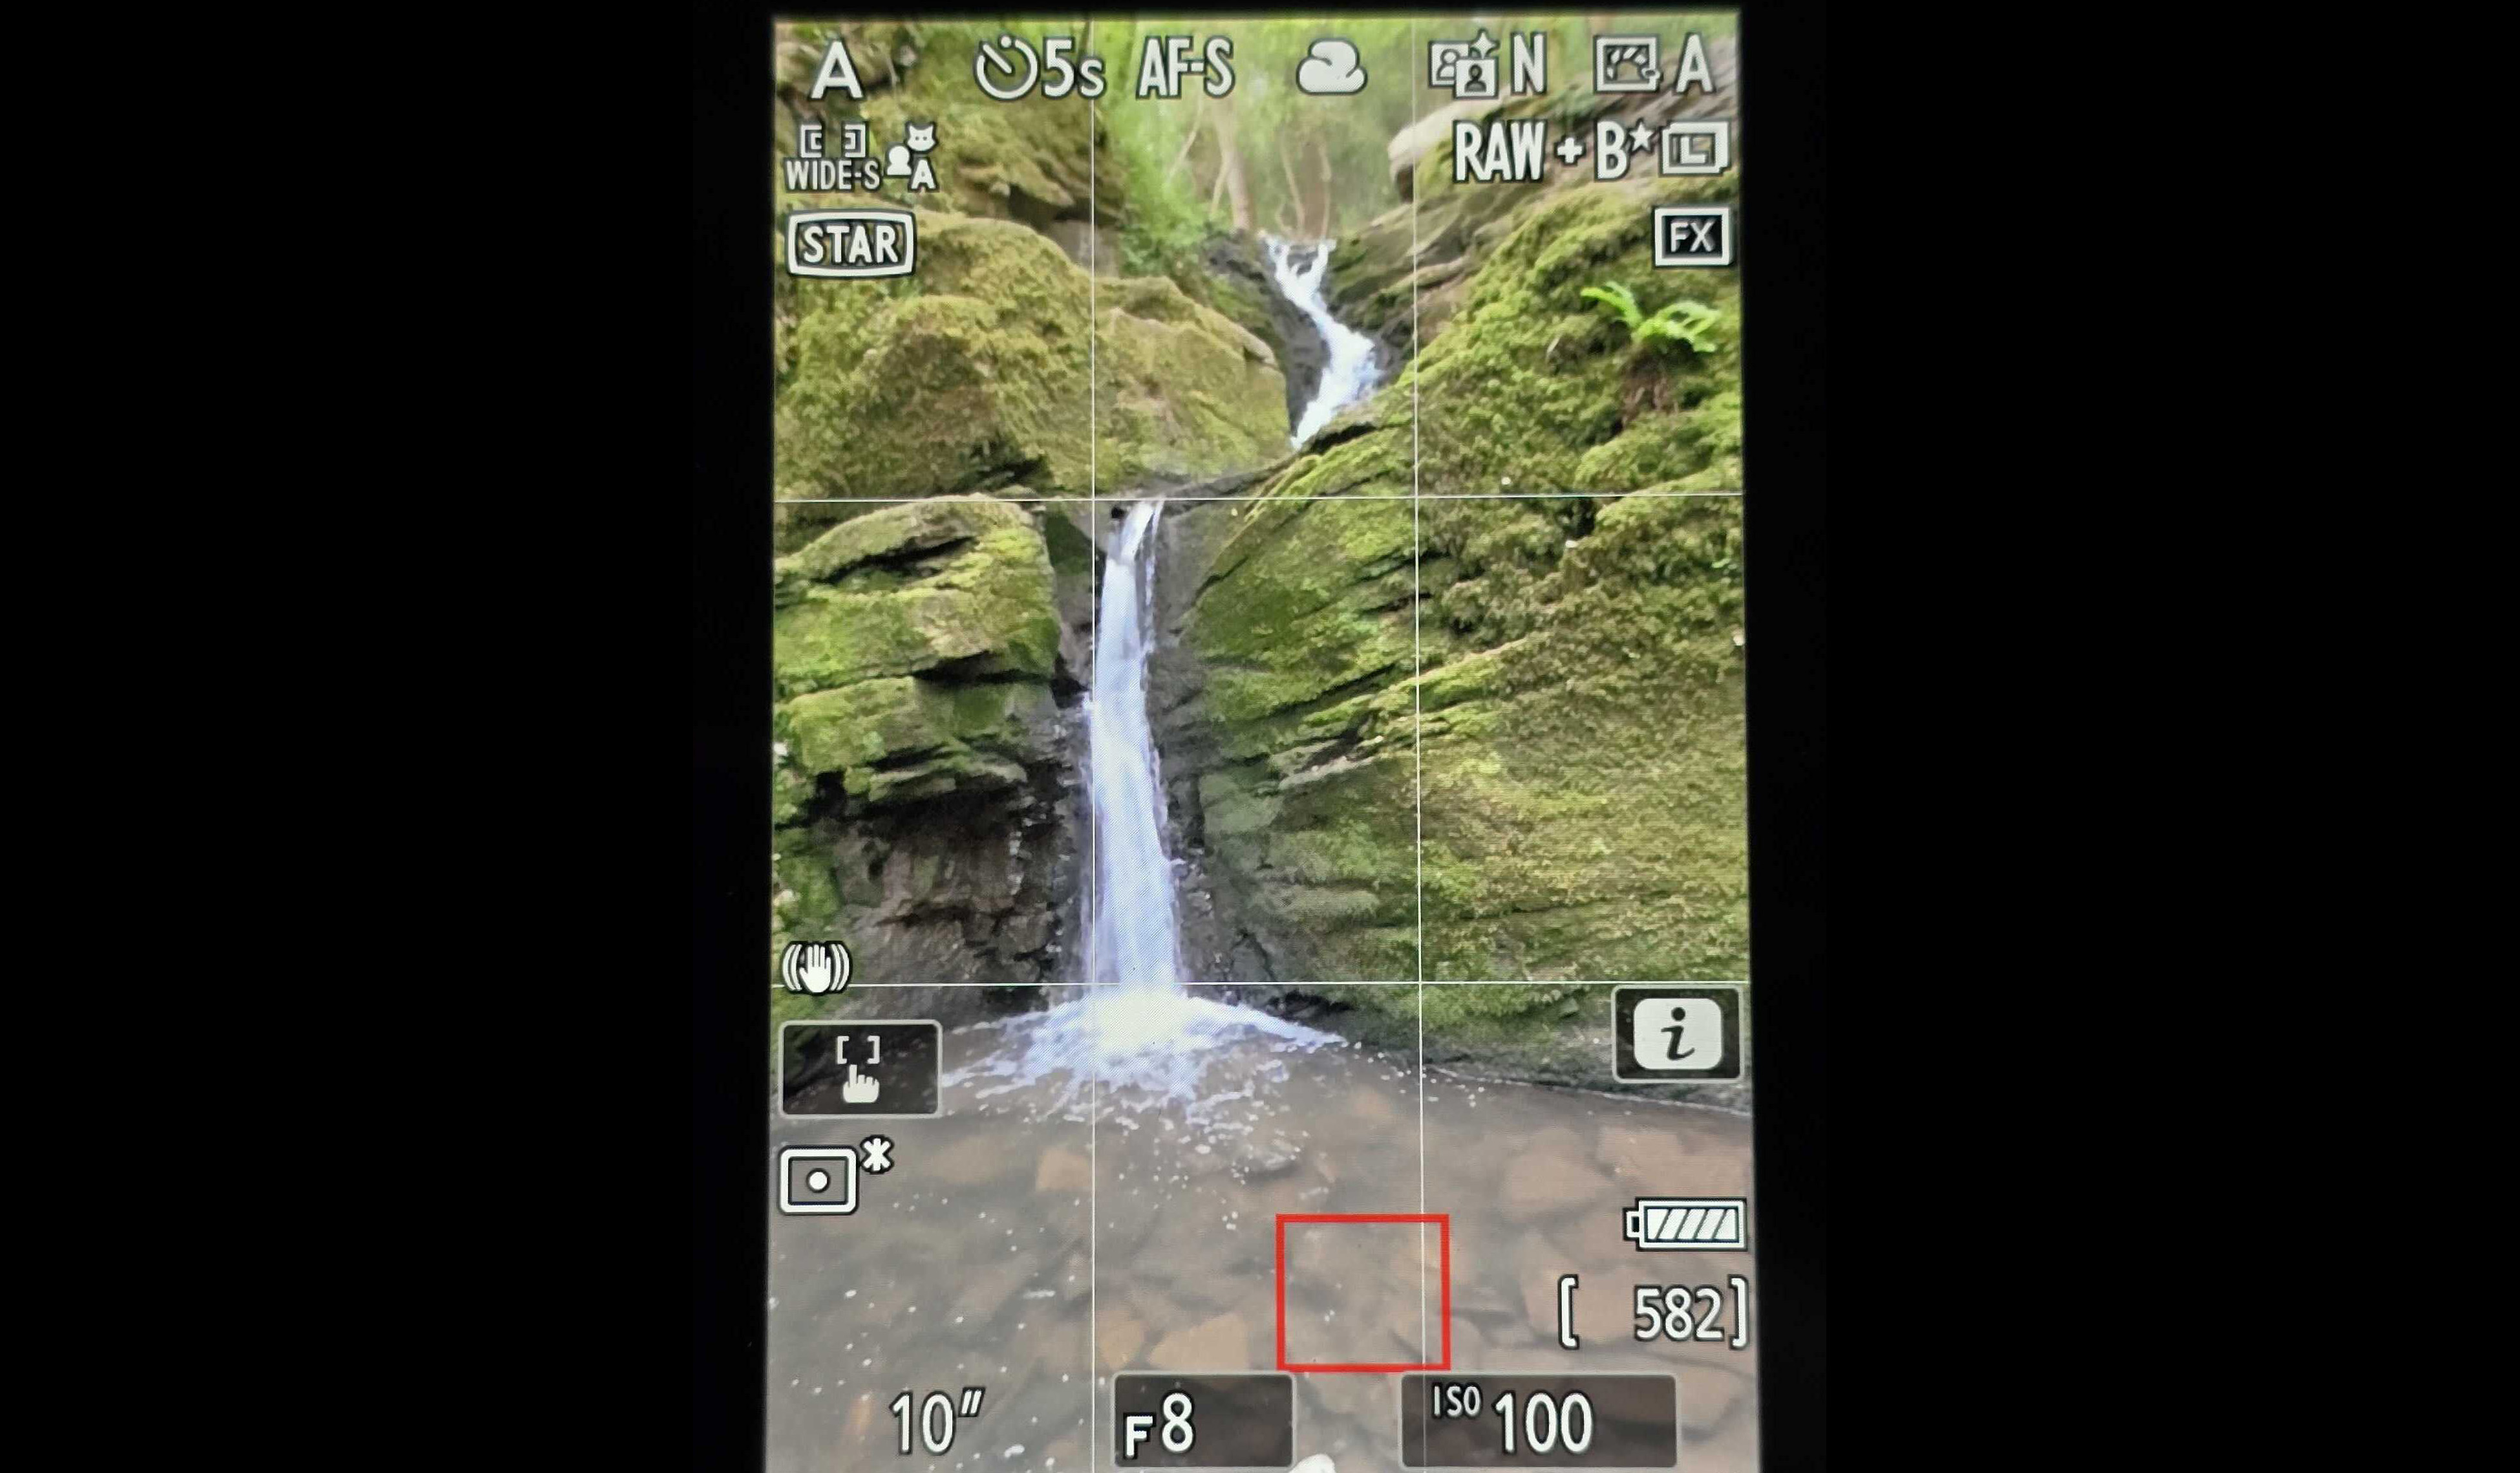
Using centre weighted or zone metering usually makes the water over exposed and even in Raw it’s impossible to get the highlights back. You either need to start dialling in minus exposure compensation, or switch to Highlight Metering, which specifically looks for the bright tones in the image.
3 Remote releases
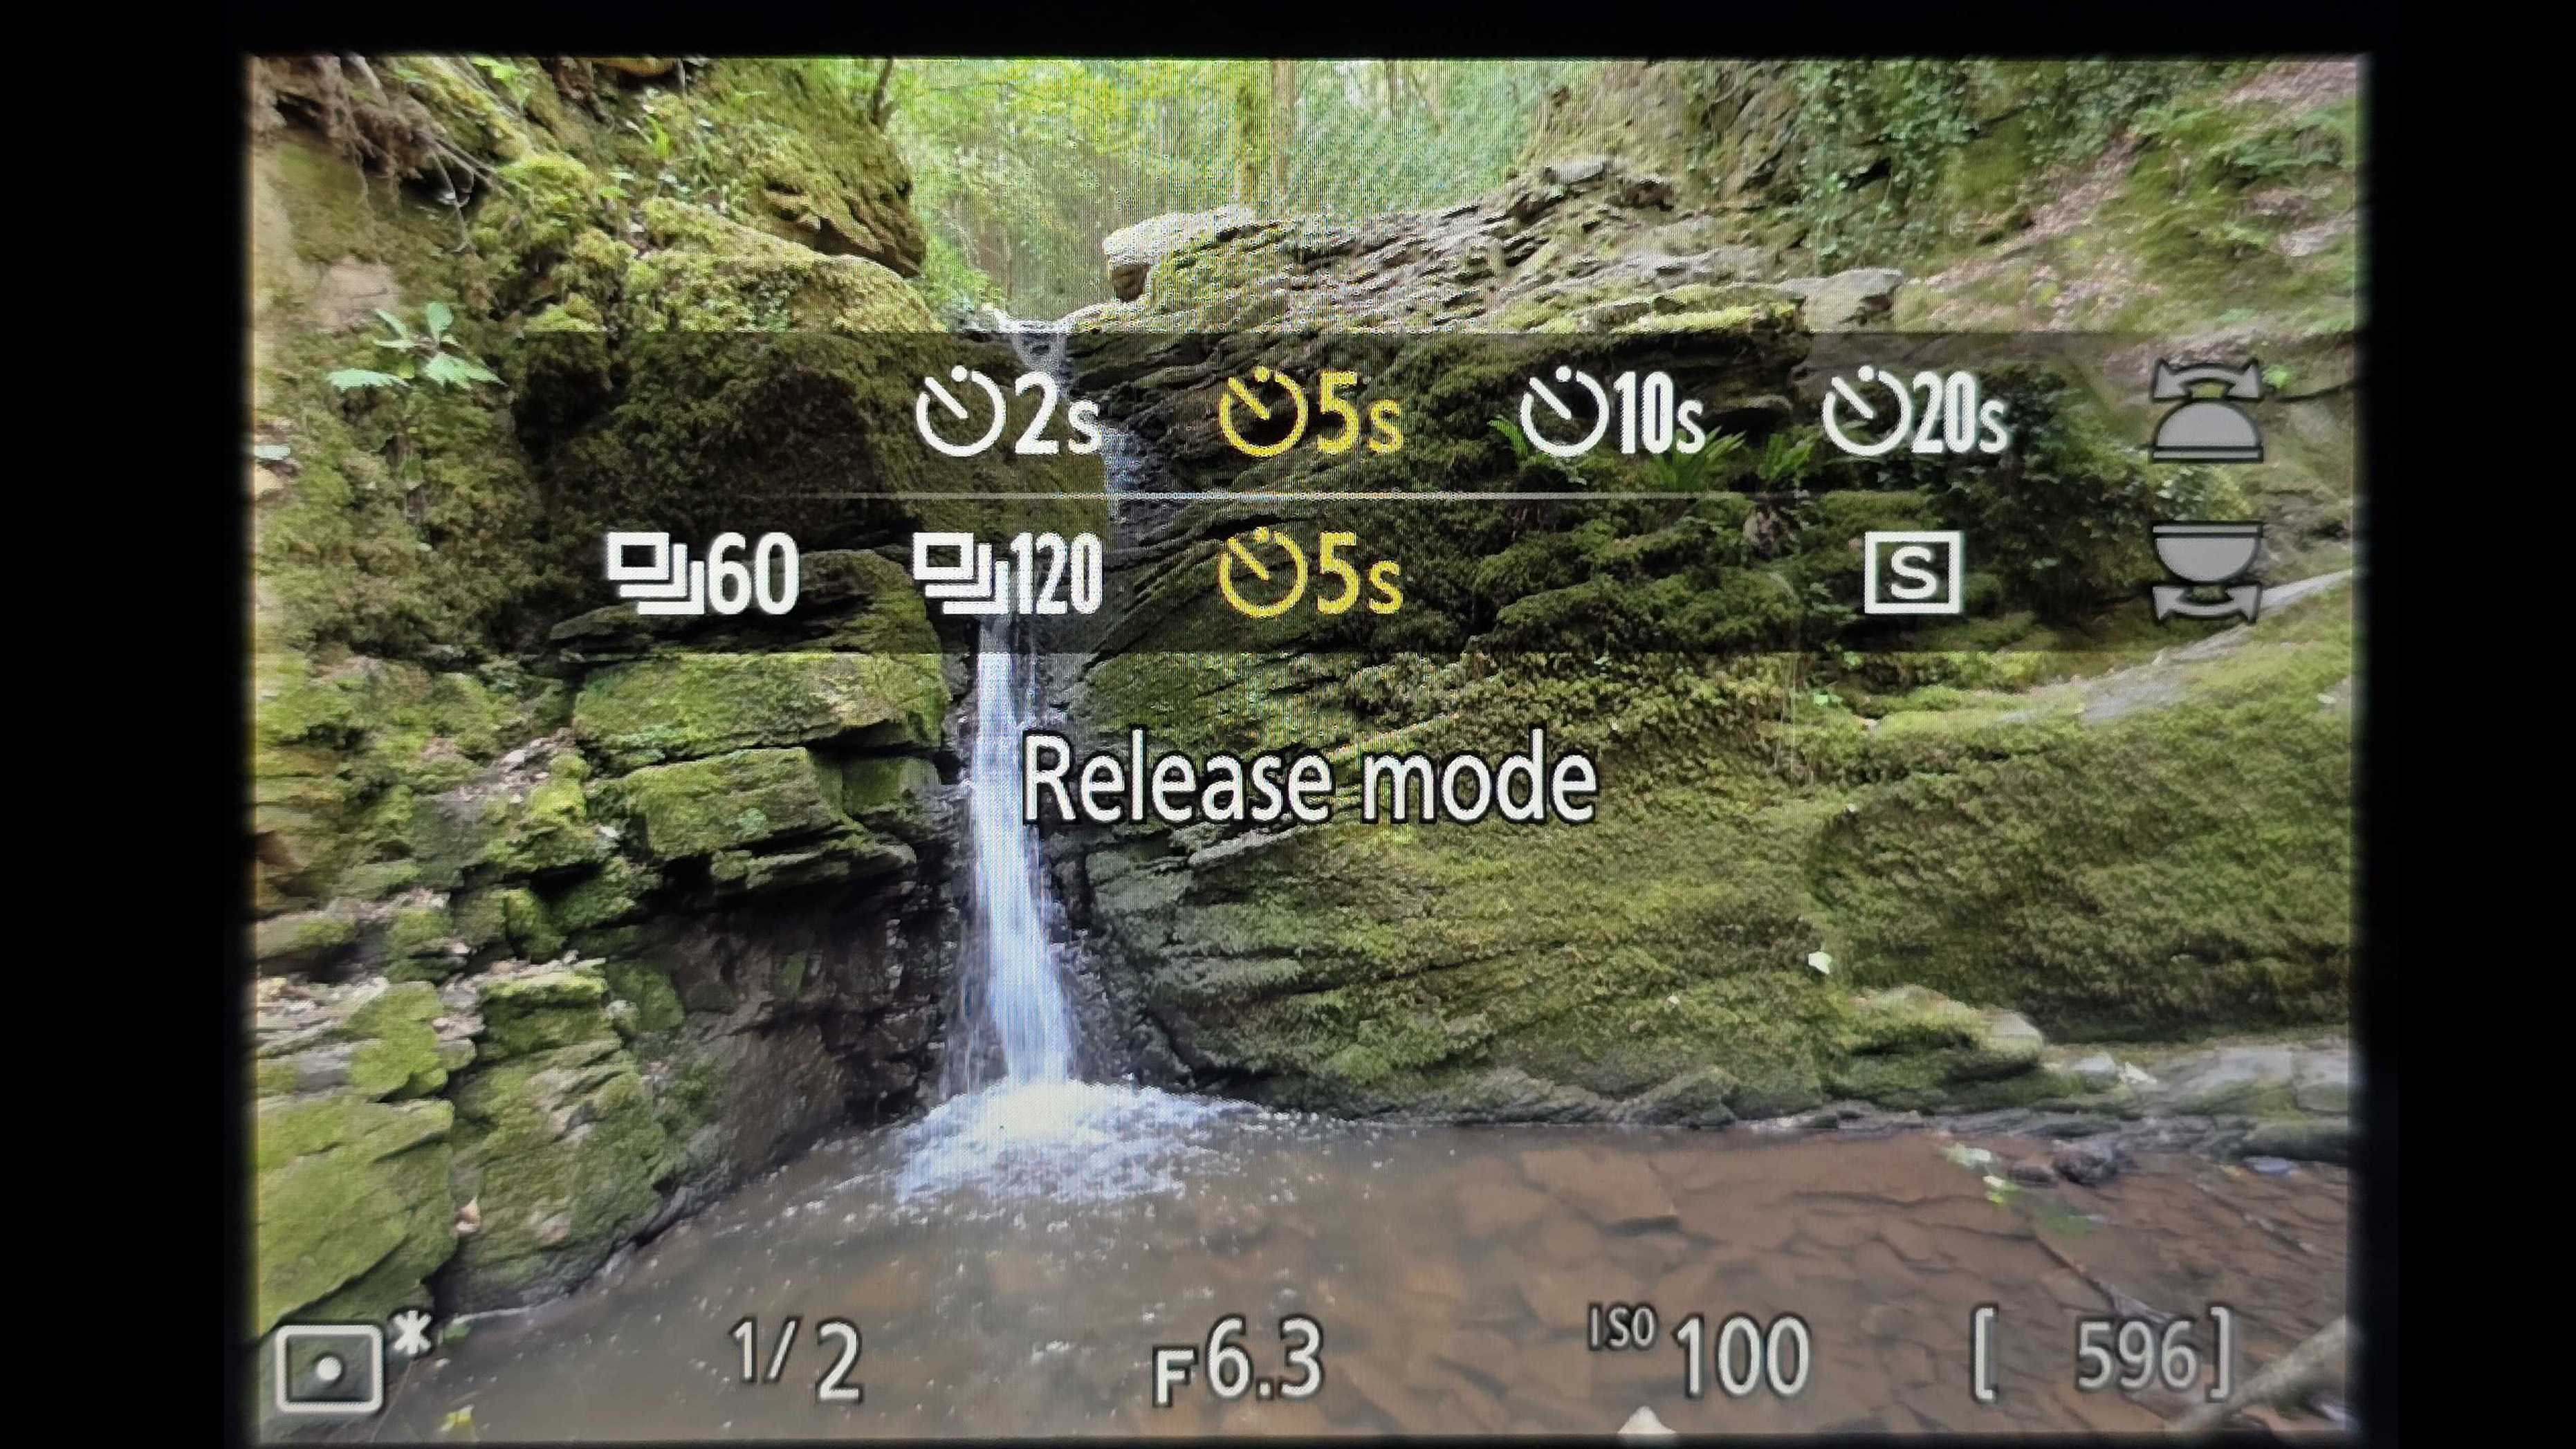
For a long exposure you want the camera to be nice and still so you can either use a remote release or set the release mode to be delayed. Here i set it to a five second delay after fully depressing the fire button. On a DSLR you can also use the mirror up function to avoid vibrations when shooting.
4 Focussing through glass
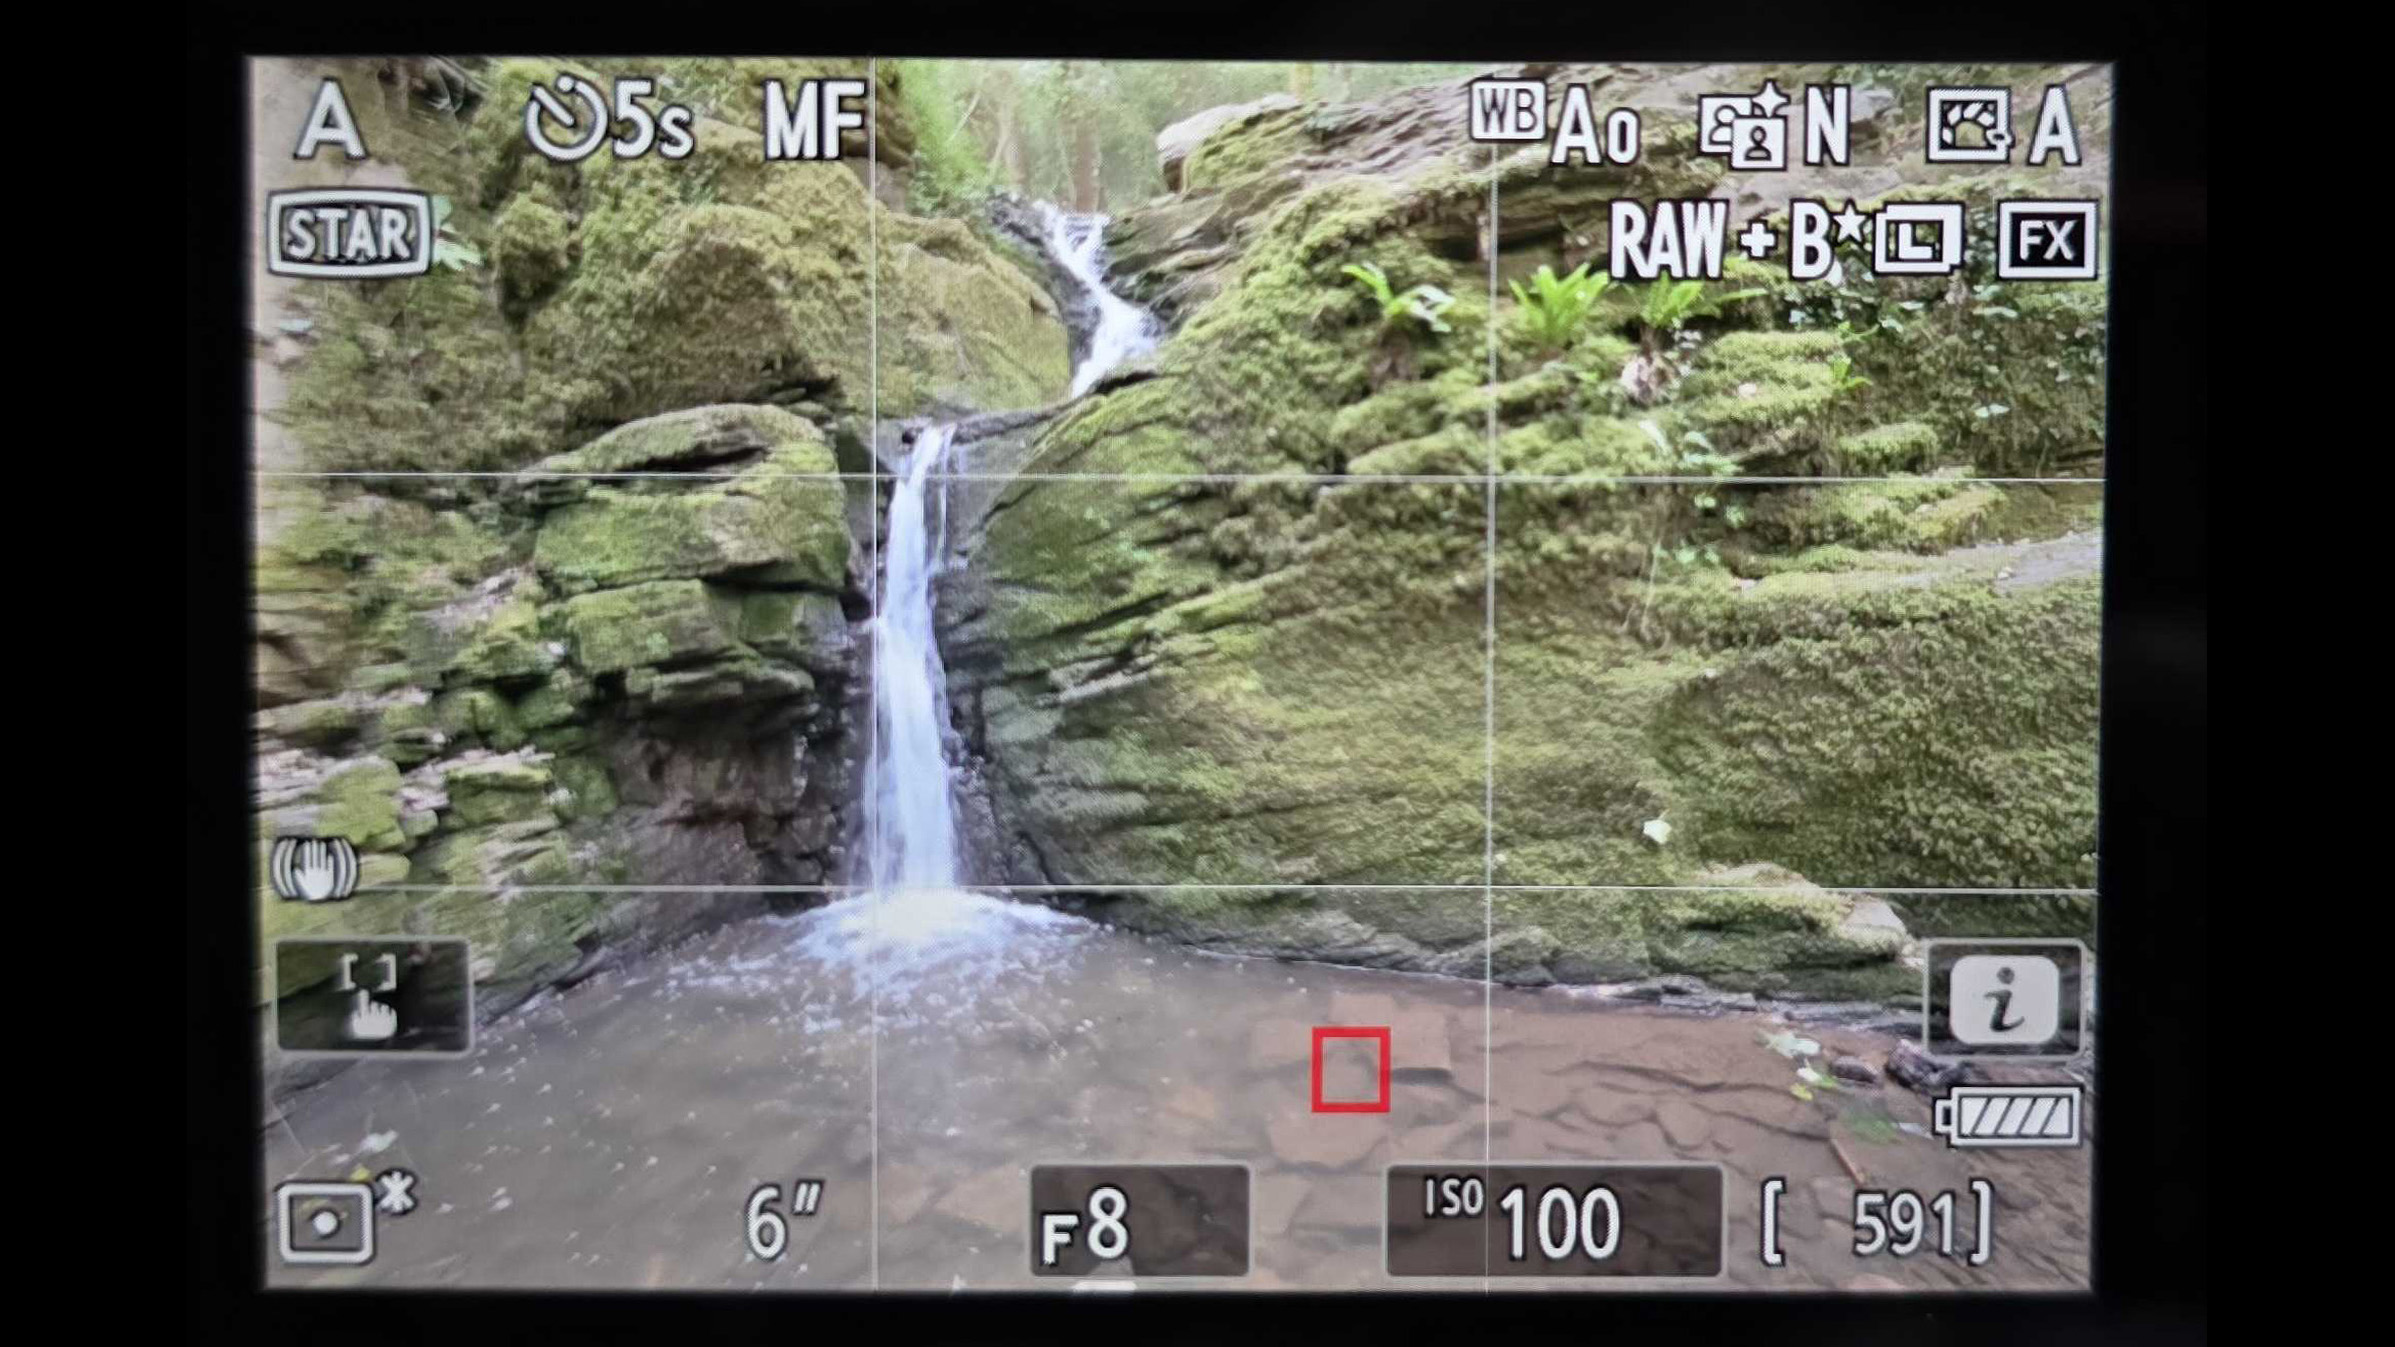
On a sunny day, when there is plenty of contrast, focussing is less of a problem, but on an overcast day like this, AF through filters can struggle. In that case, switch to manual focus. I focussed just in front of the waterfall, which was 5m away, as with a 20mm focal length, everything in the shot was then in focus.
Shooting vertically
Composing using gridlines
Look where the rule of thirds gridlines fall. The base of the waterfall is along the bottom third, the start and end points of the final drop are on intersections and the main waterfall is down the left side vertical.
Before you go…
To shoot long exposure shots at waterfalls you’ll need a filter system like the NiSi JetMag Pro system, as well as a decent tripod and a wide angle lens.
Author: Wendy Evans
Source: DigitalCameraWorld
Reviewed By: Editorial Team