Google Photos has a built-in editor, giving you the ability to really dig in and adjust your images. So what editing tools are available in Google Photos editor?
Table of contents
What is Google Photos?
has become the go-to app for many Android users and even some iPhone users. It not only acts as a home for all of your photos located on your device, but it can also upload everything to the cloud for safe storage if you so choose.
Chances are you have Google Photos already installed on your Android device, considering most Android phones come shipped with the app already on board. Google Photos also has a lot of cool editing features, which allows you to customize your photos how you want them.
Basic editing tools in Google Photos
There are plenty of editing tools loaded into Google Photos. Anything from brightness to the black point is adjustable, no matter which device you edit from.
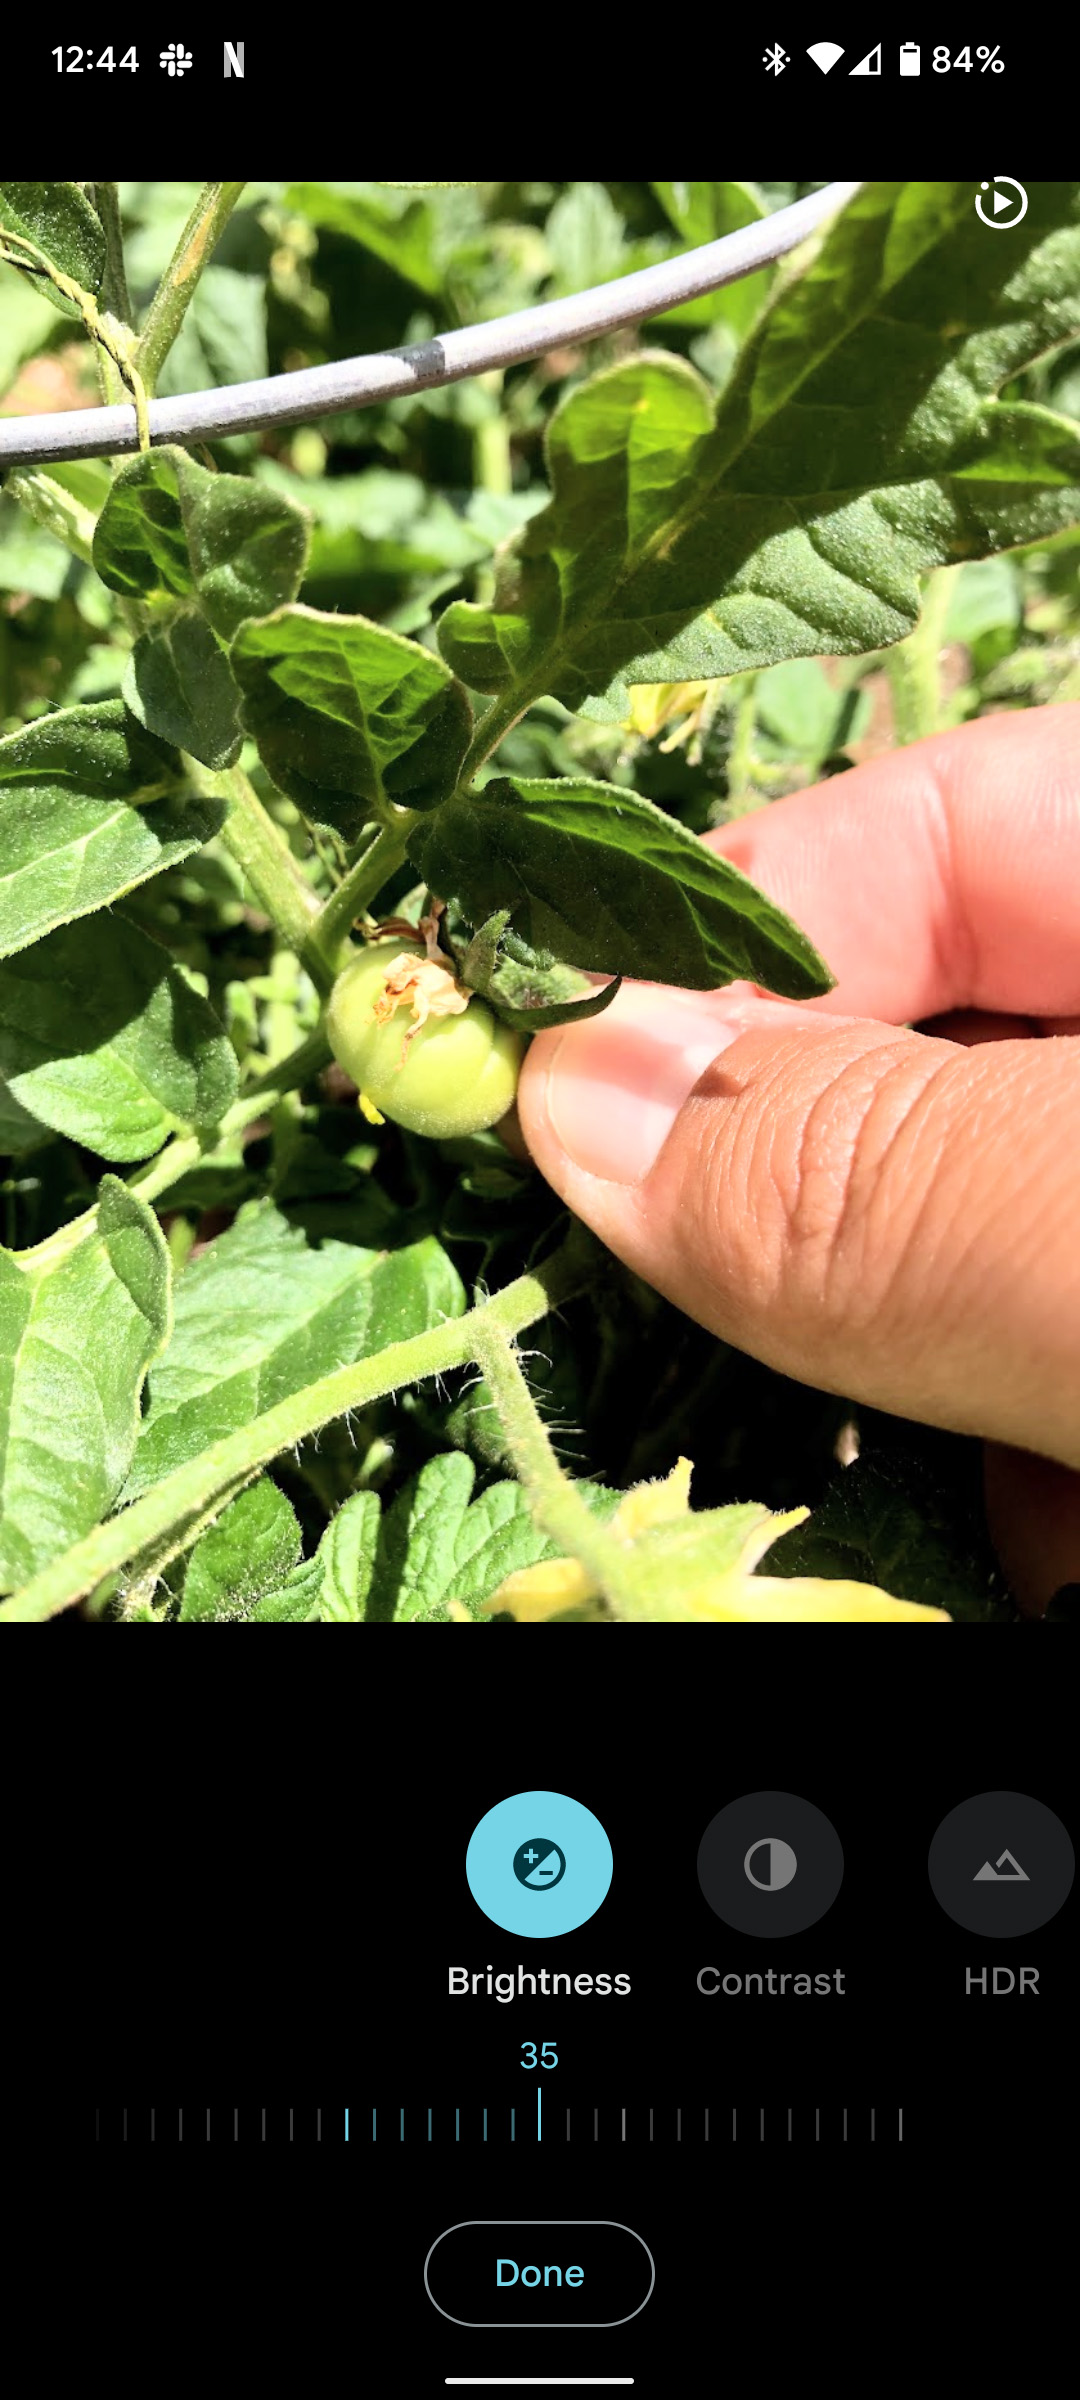
In Google Photos, brightness refers to the exposure of an image. Not all images are shot in RAW, and changing the brightness can only do so much in the way of changing the exposure without sacrificing quality. That being said, adjusting brightness can address a lot if the photo is way too bright or too dark. This is usually the first setting that should be changed.
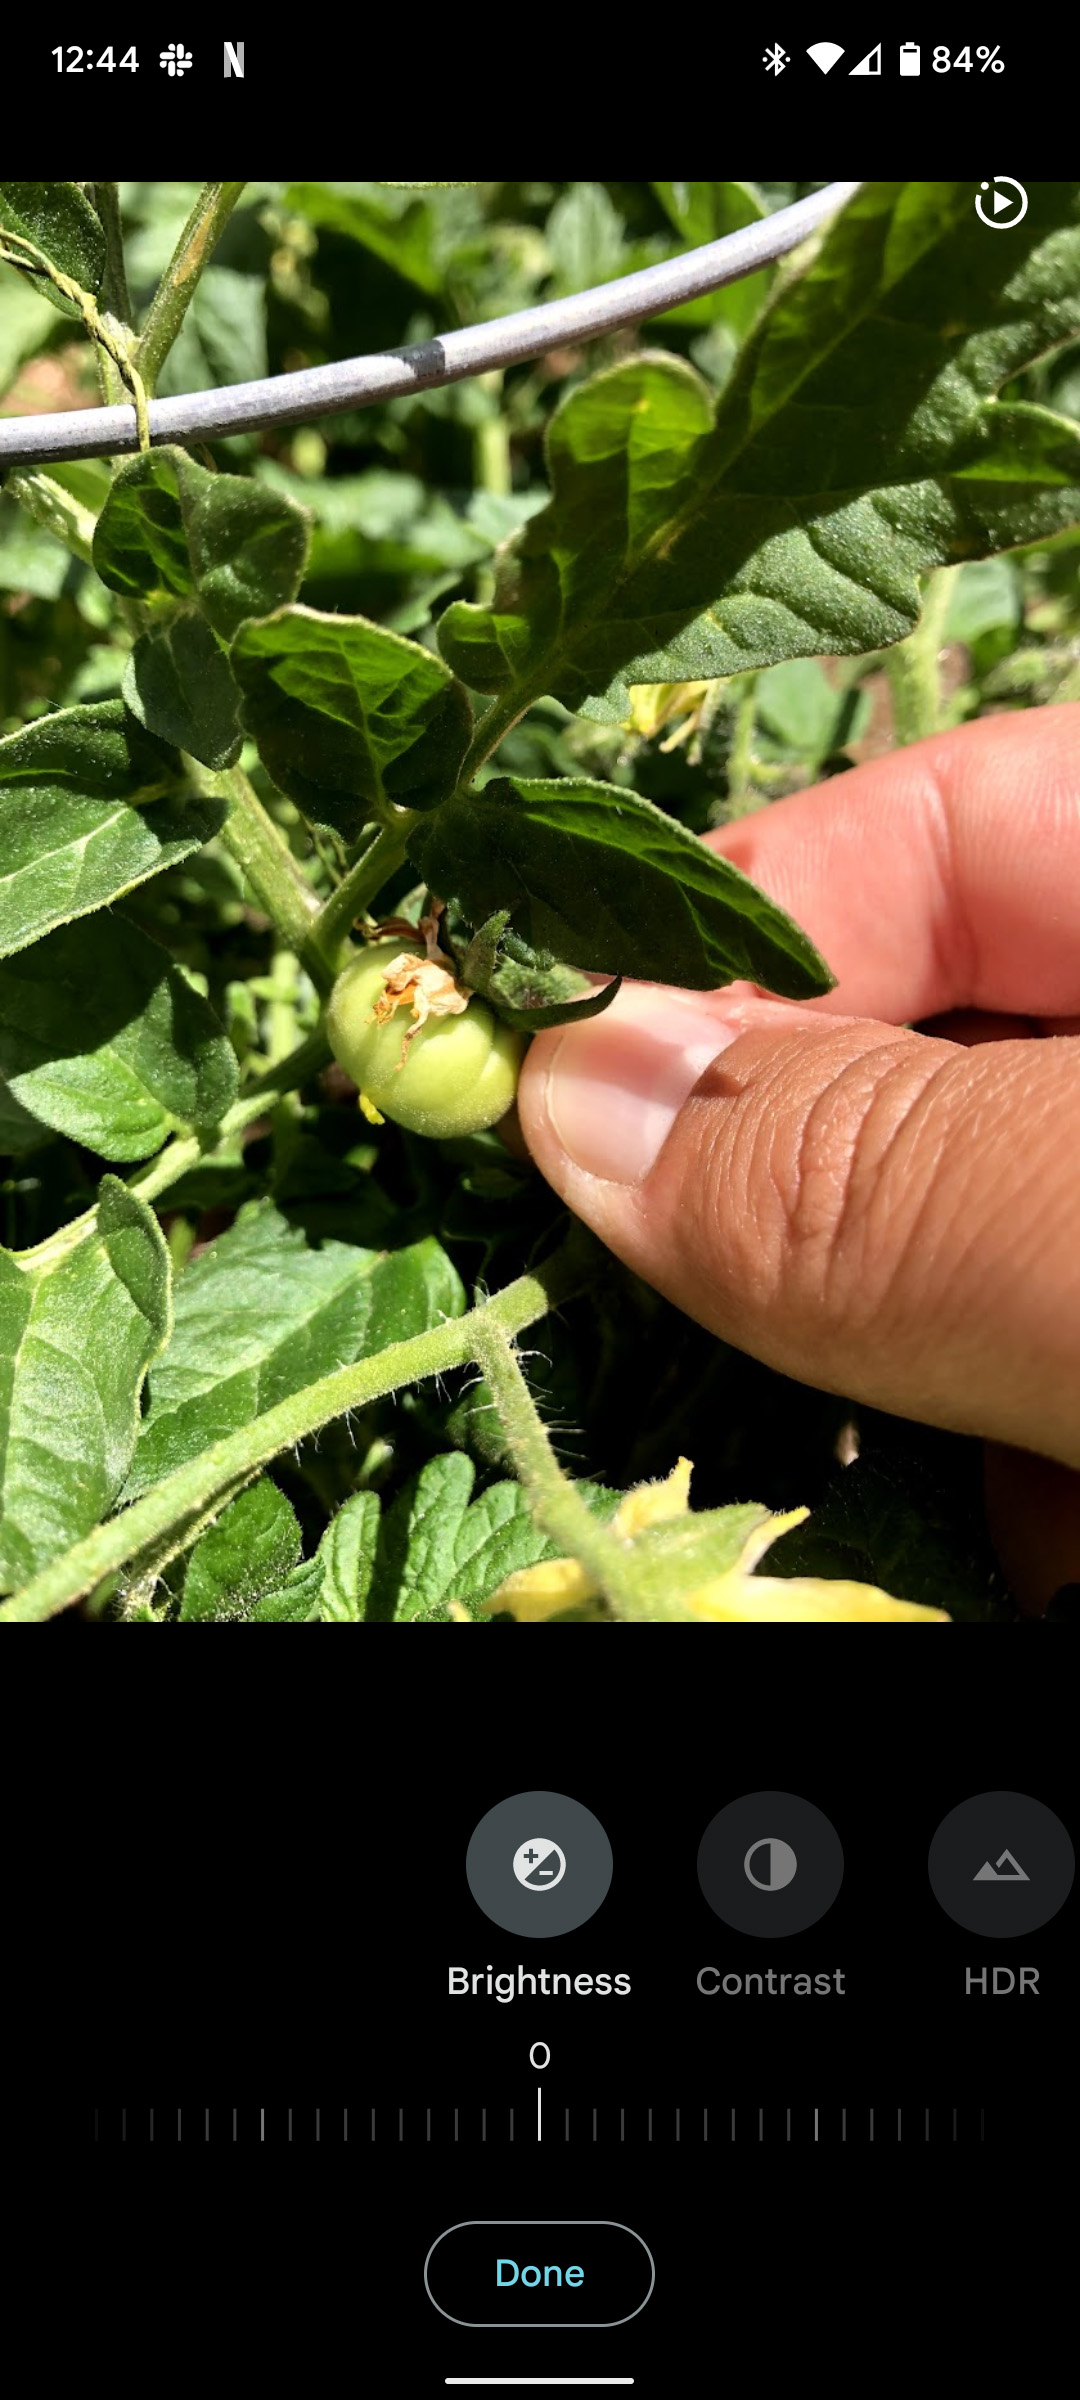
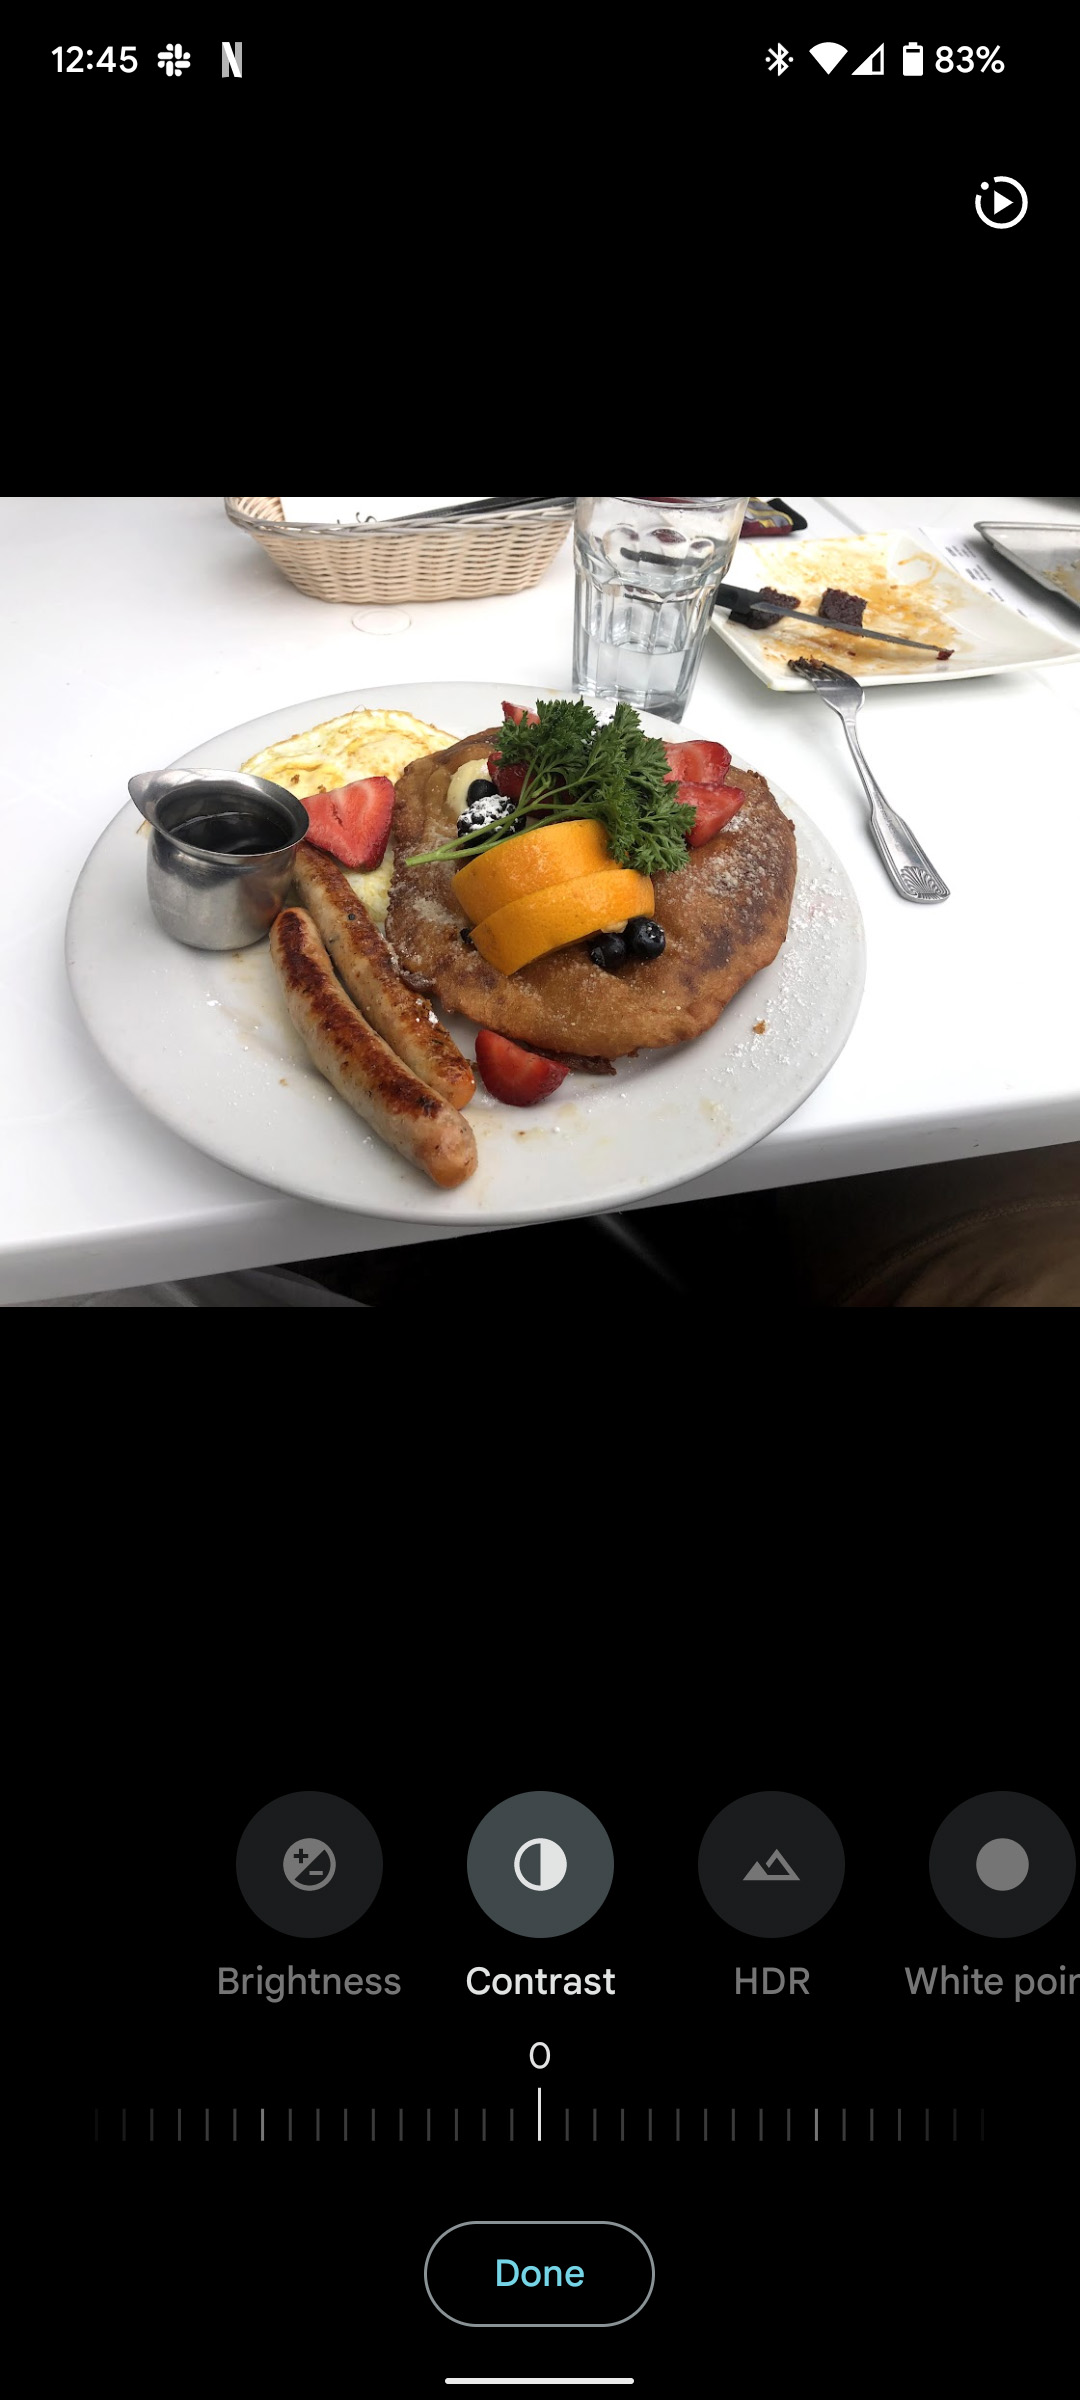
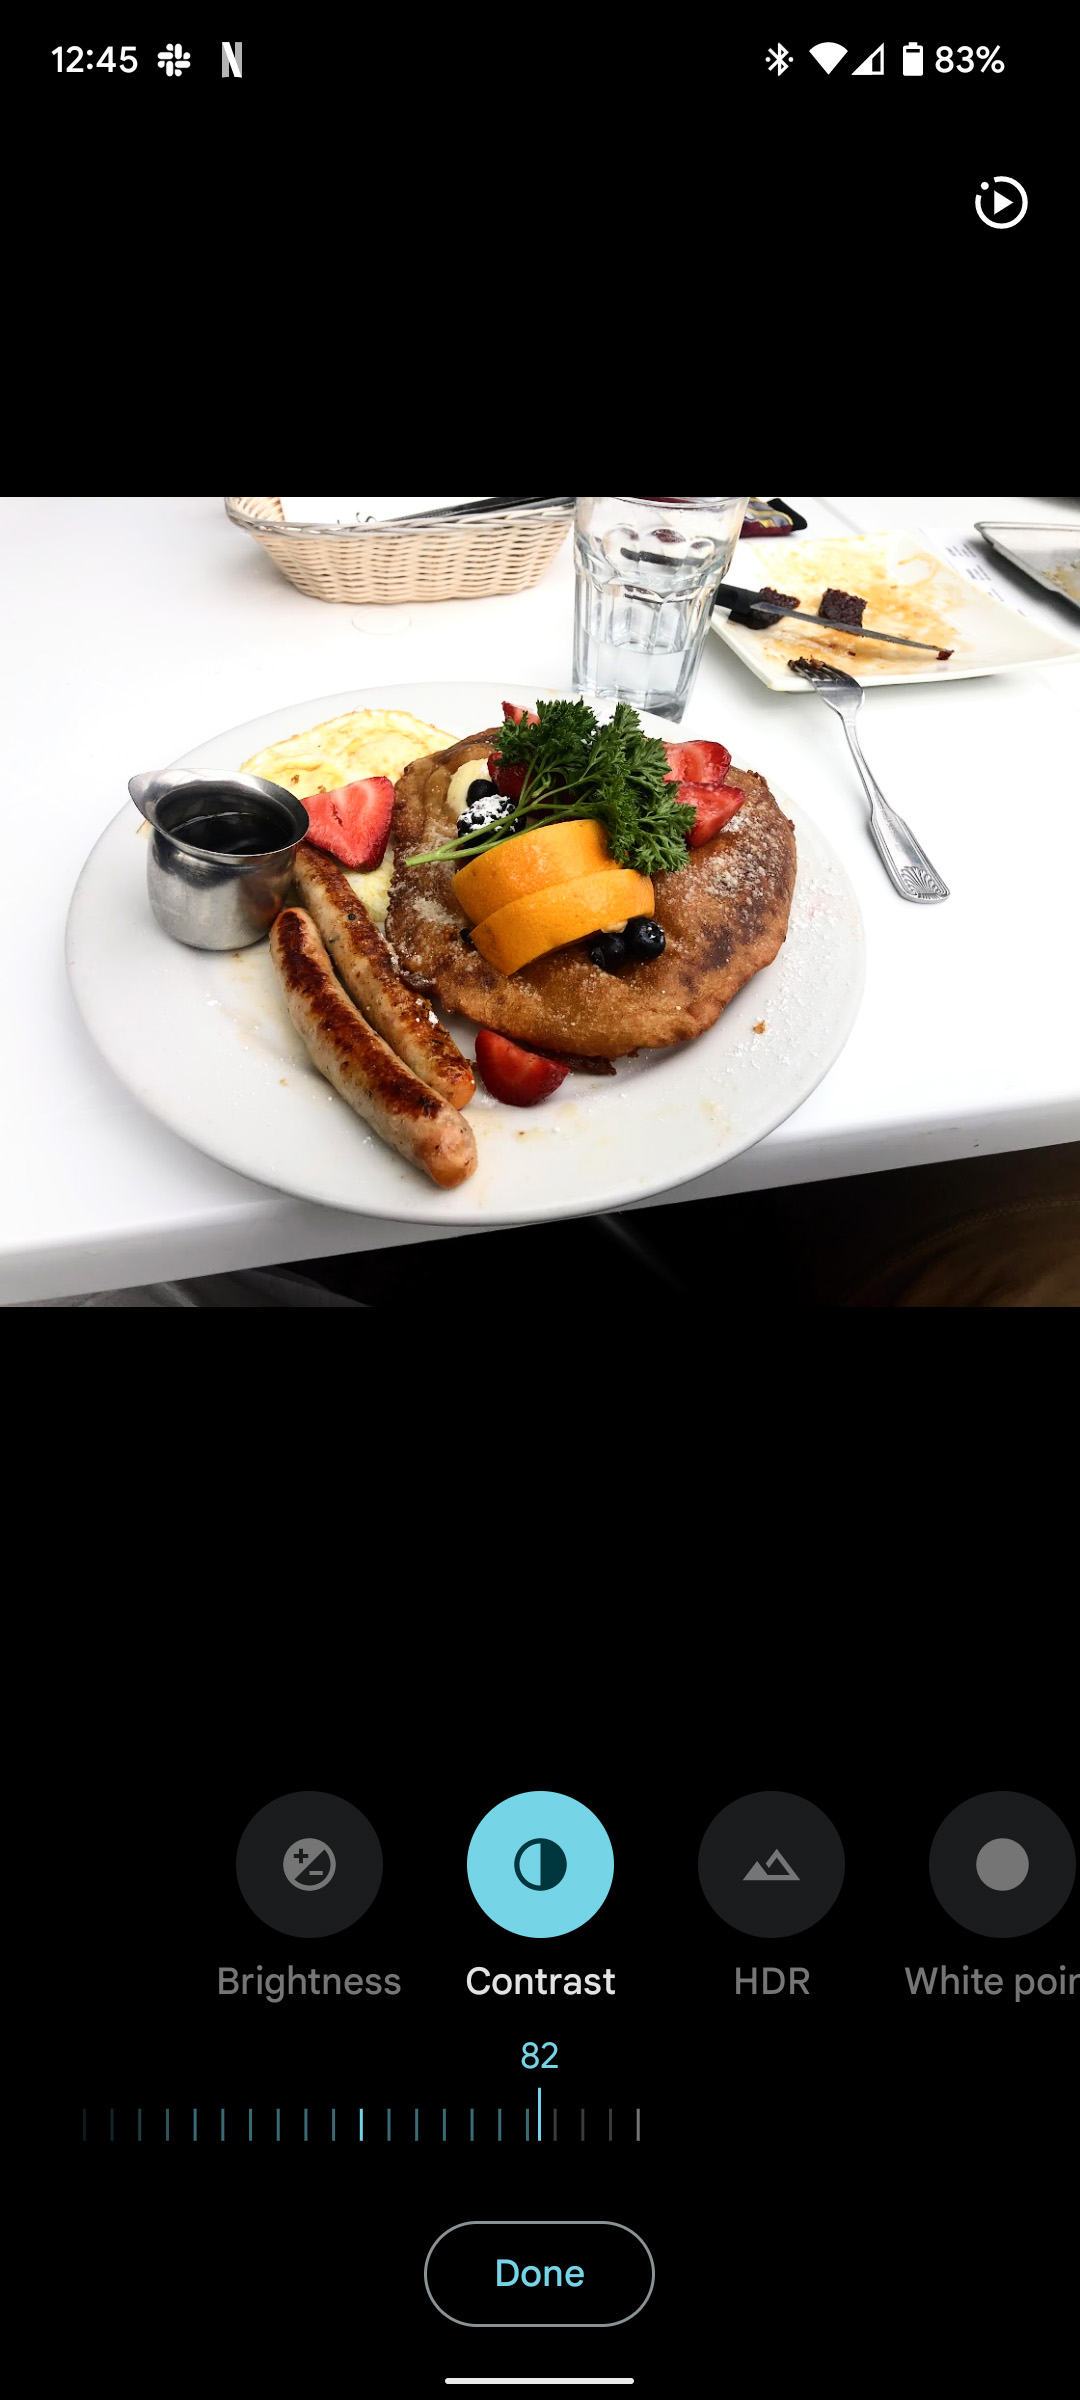
Contrast refers to how heavy the dark vs light is in a photo. If the darks are very dark, and the lights are very light, that’s considered a heavy contrast. Changing the contrast can address the “busy” aspect of a photo. Generally, I favor a lower contrast so I can more finely tune those elements with black and white point – more on that later.
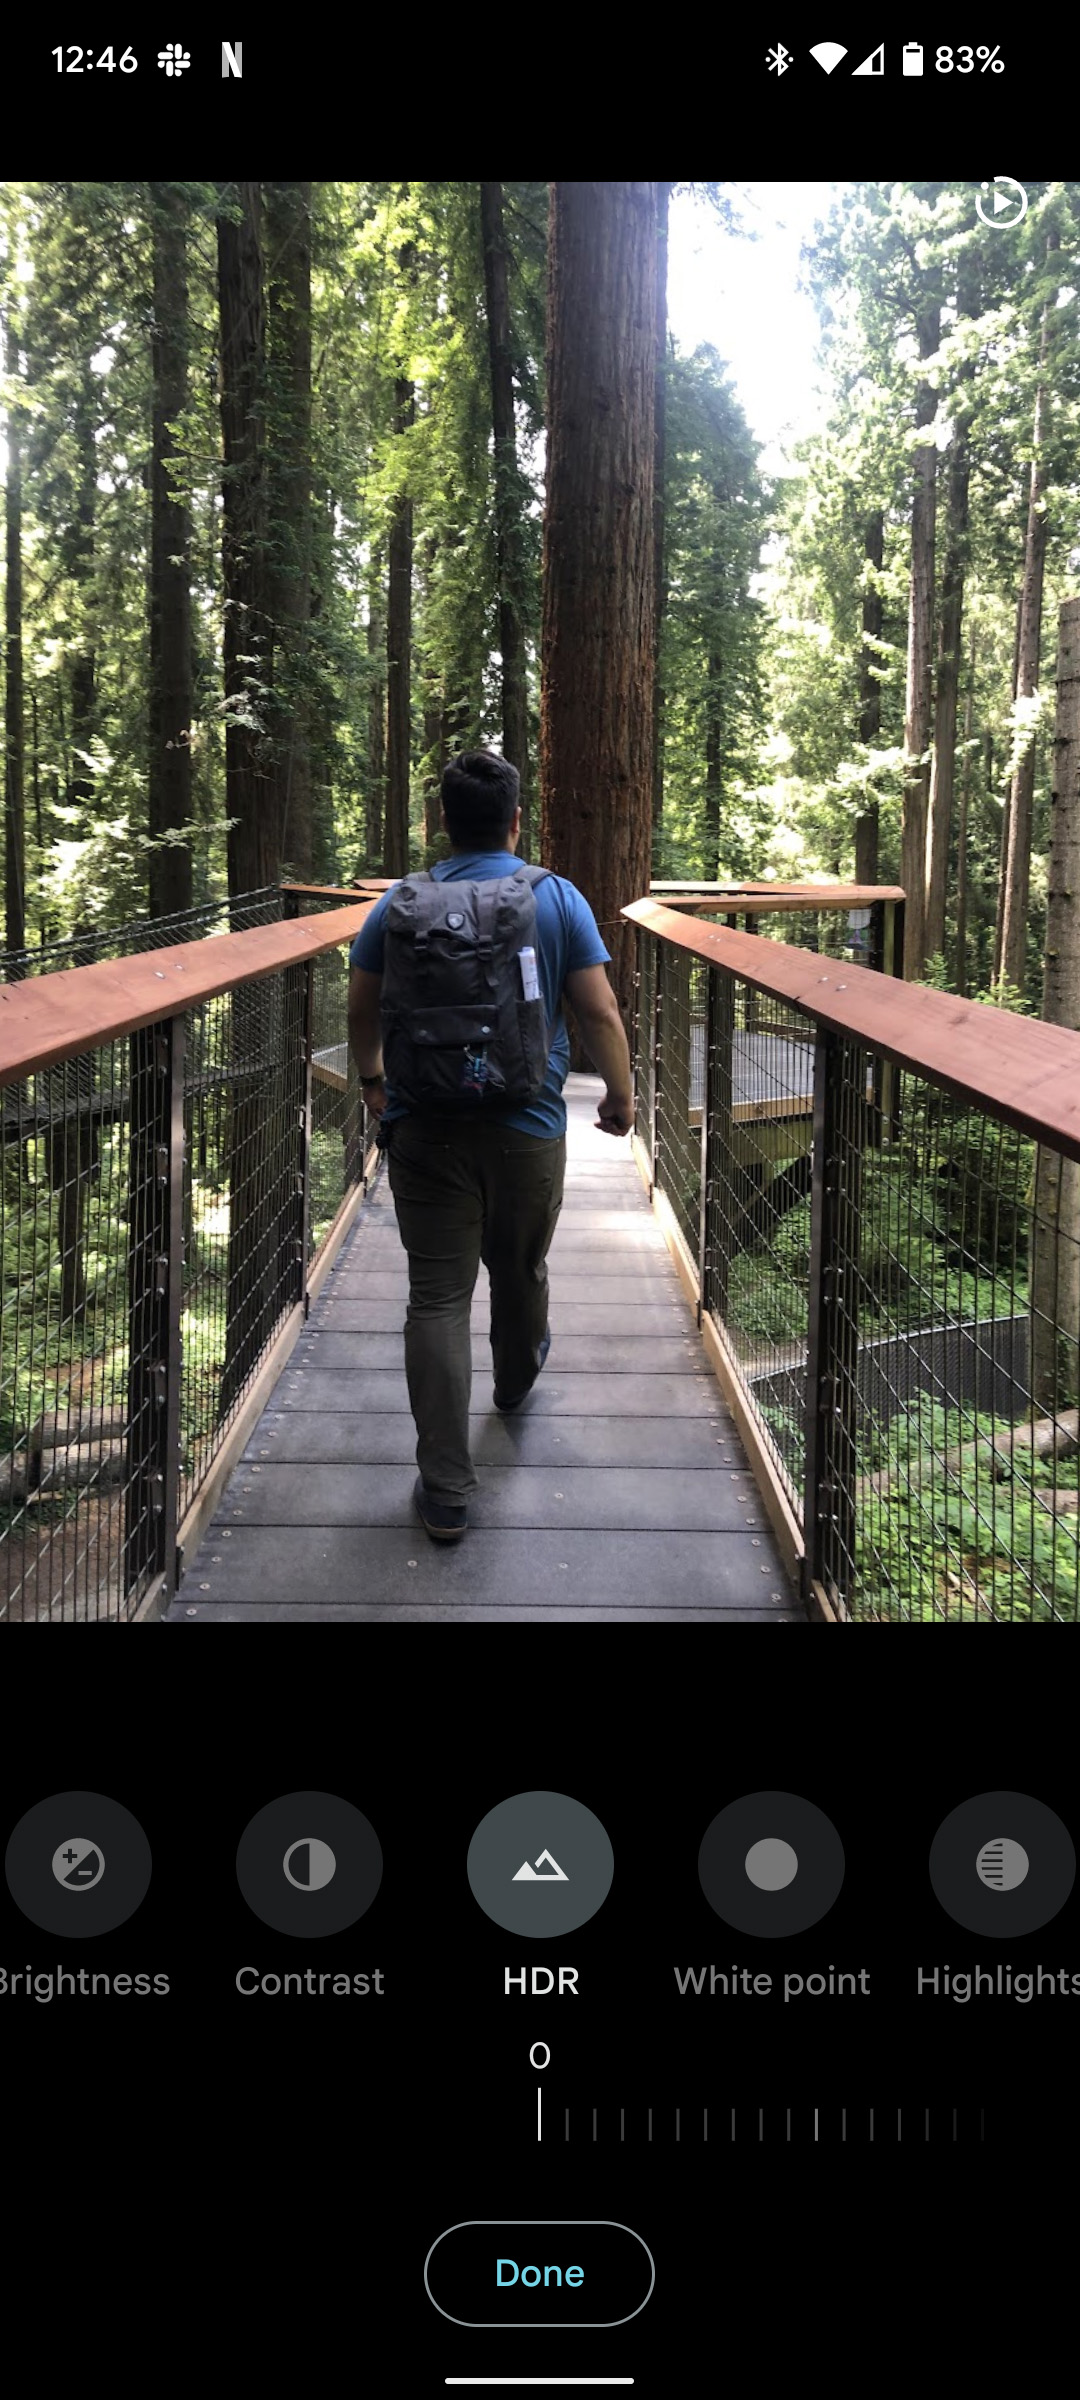
High Dynamic Range is a tool that helps even out an image. It sort of builds a bridge between the lights and darks. It can bring out heavy darks without destroying image quality, which makes it a useful tool to have.
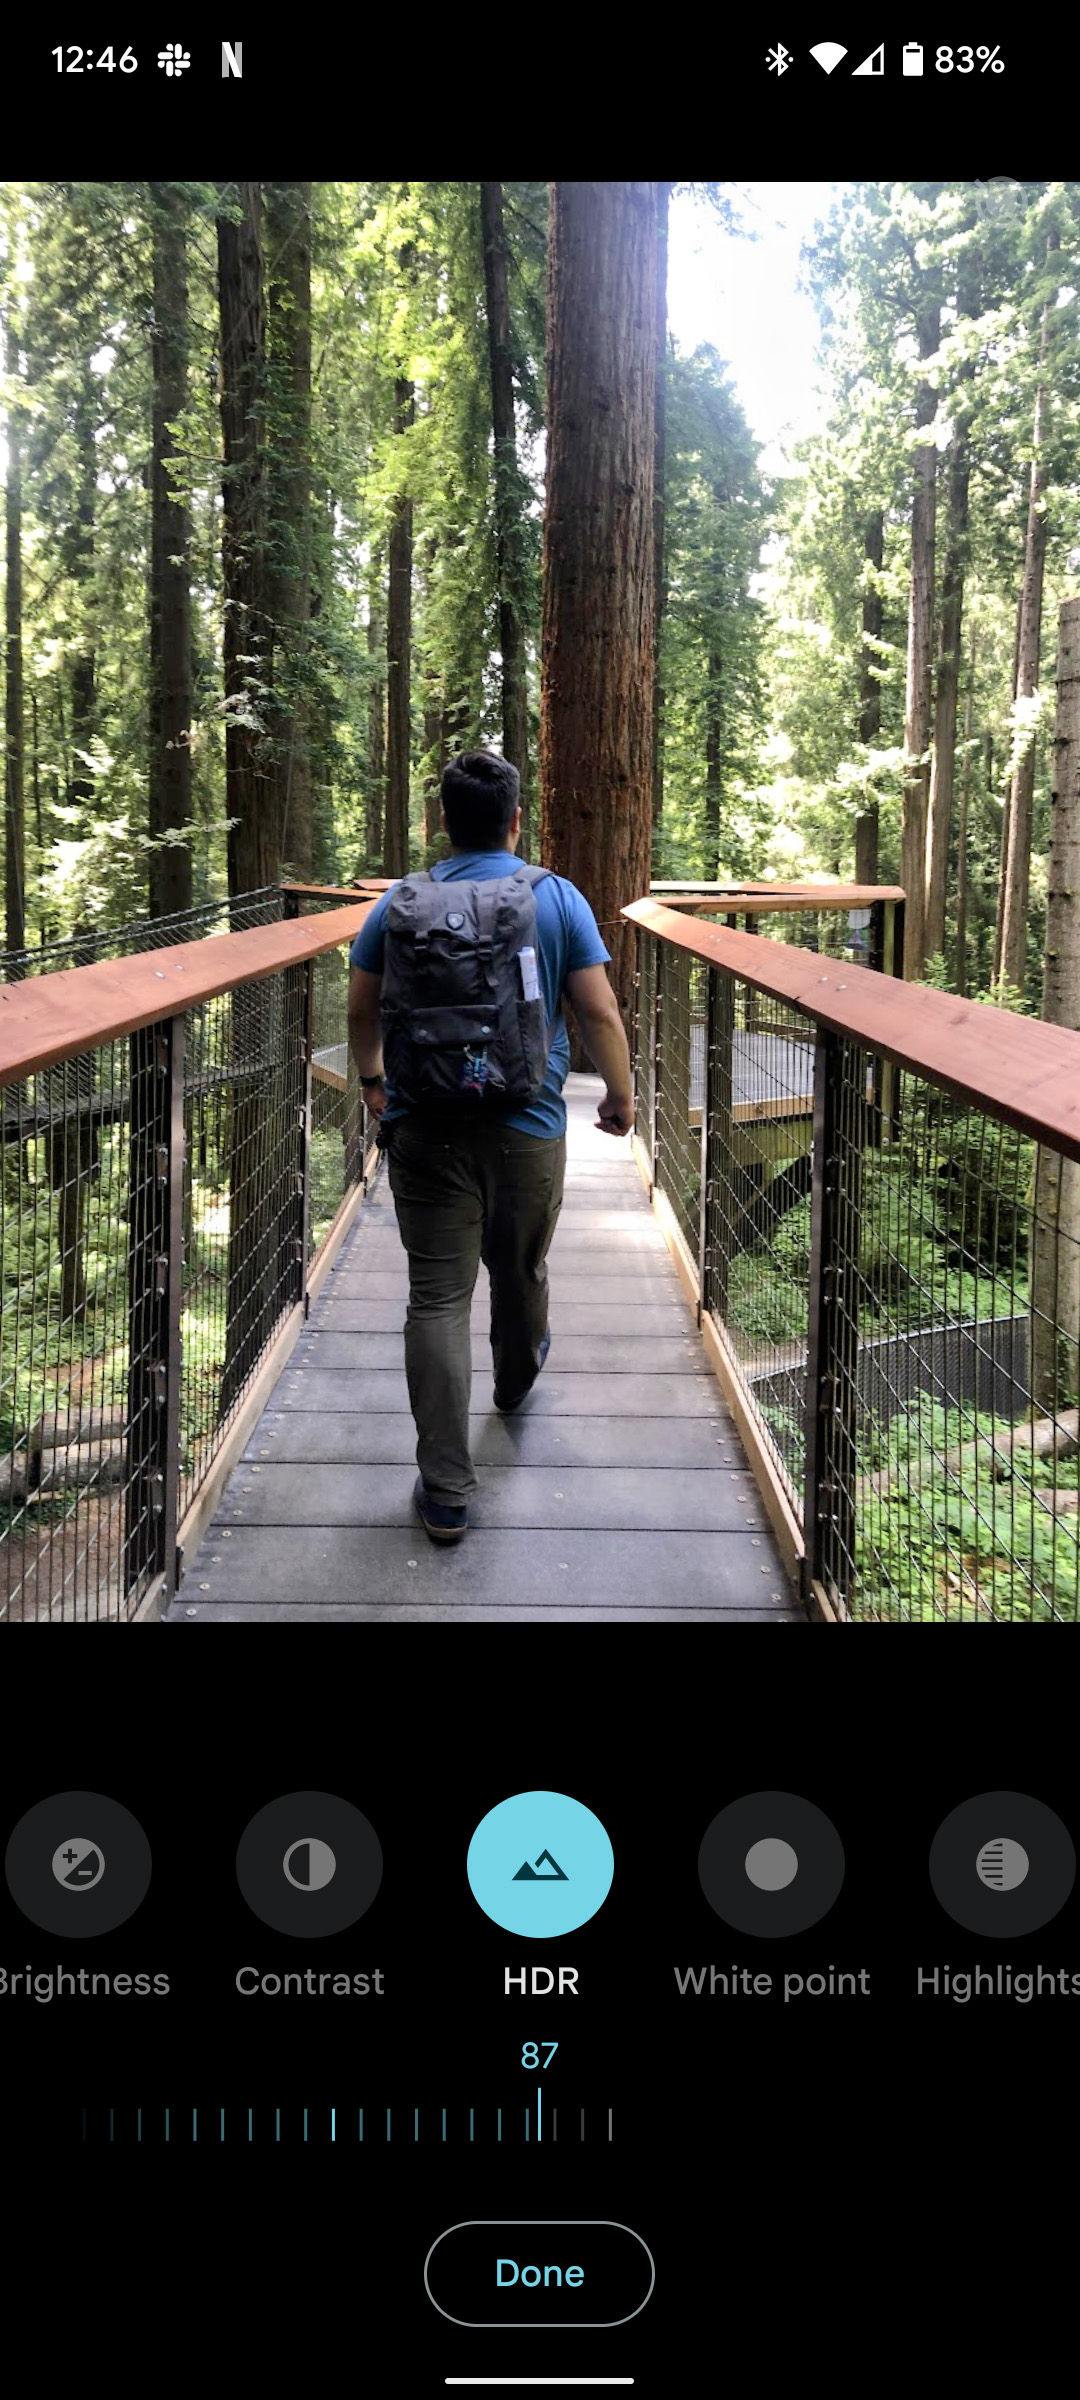
Think of white point and black point as a finer tuned contrast. Instead of adjusting both at the same time, you can adjust each individually. While they are two different sliders in Google Photos, they fall under the same category.
When adjusting your white point, you want to usually bring up the slider unit you start losing details in the highlights. You don’t want to lose detail but you want to have a nice definition. With black point, you want to lower it to right before the shadows disappear into blackness.
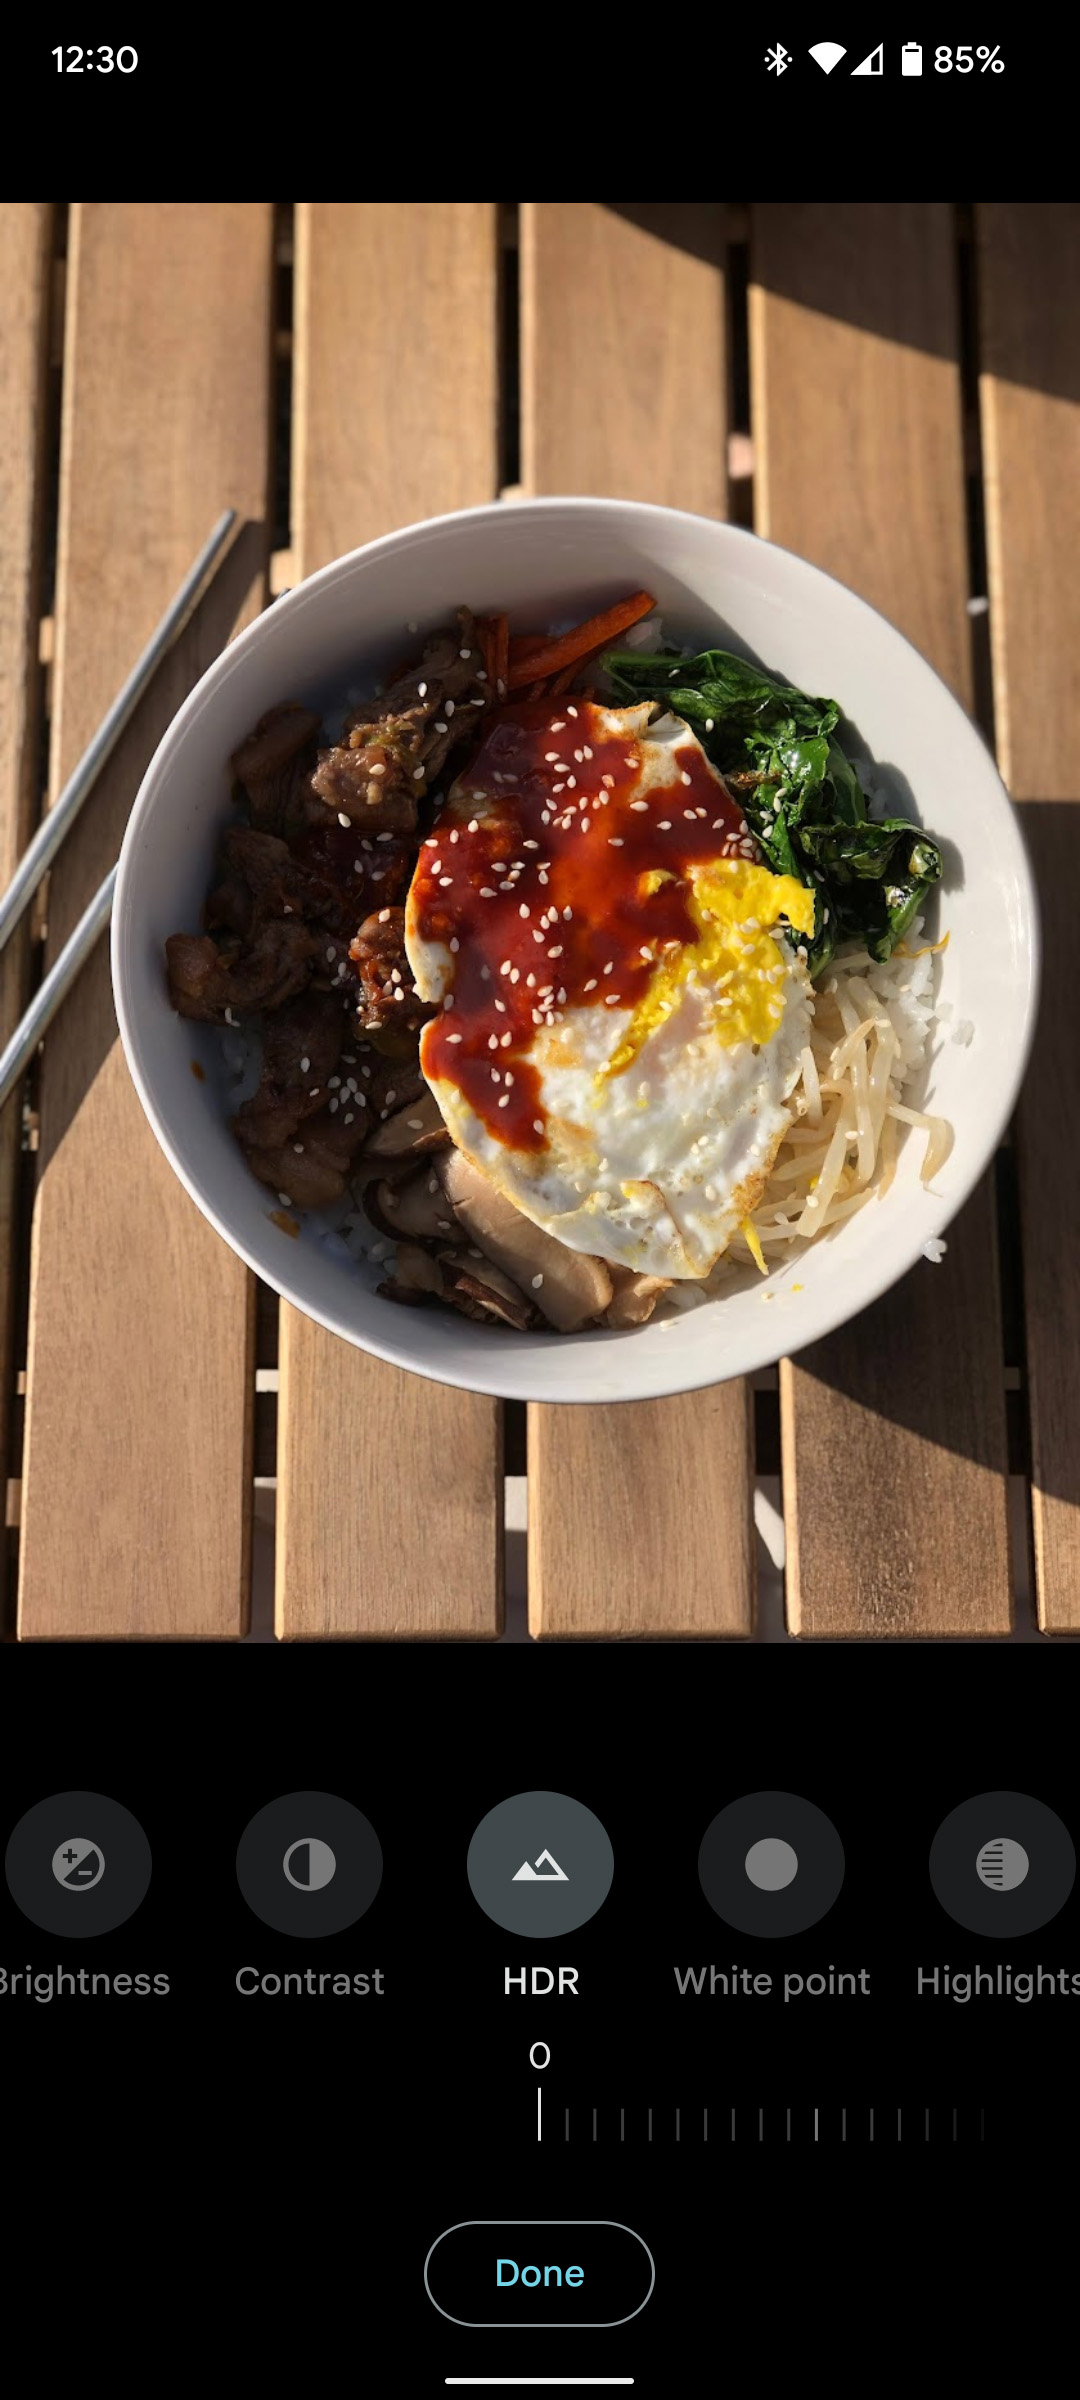
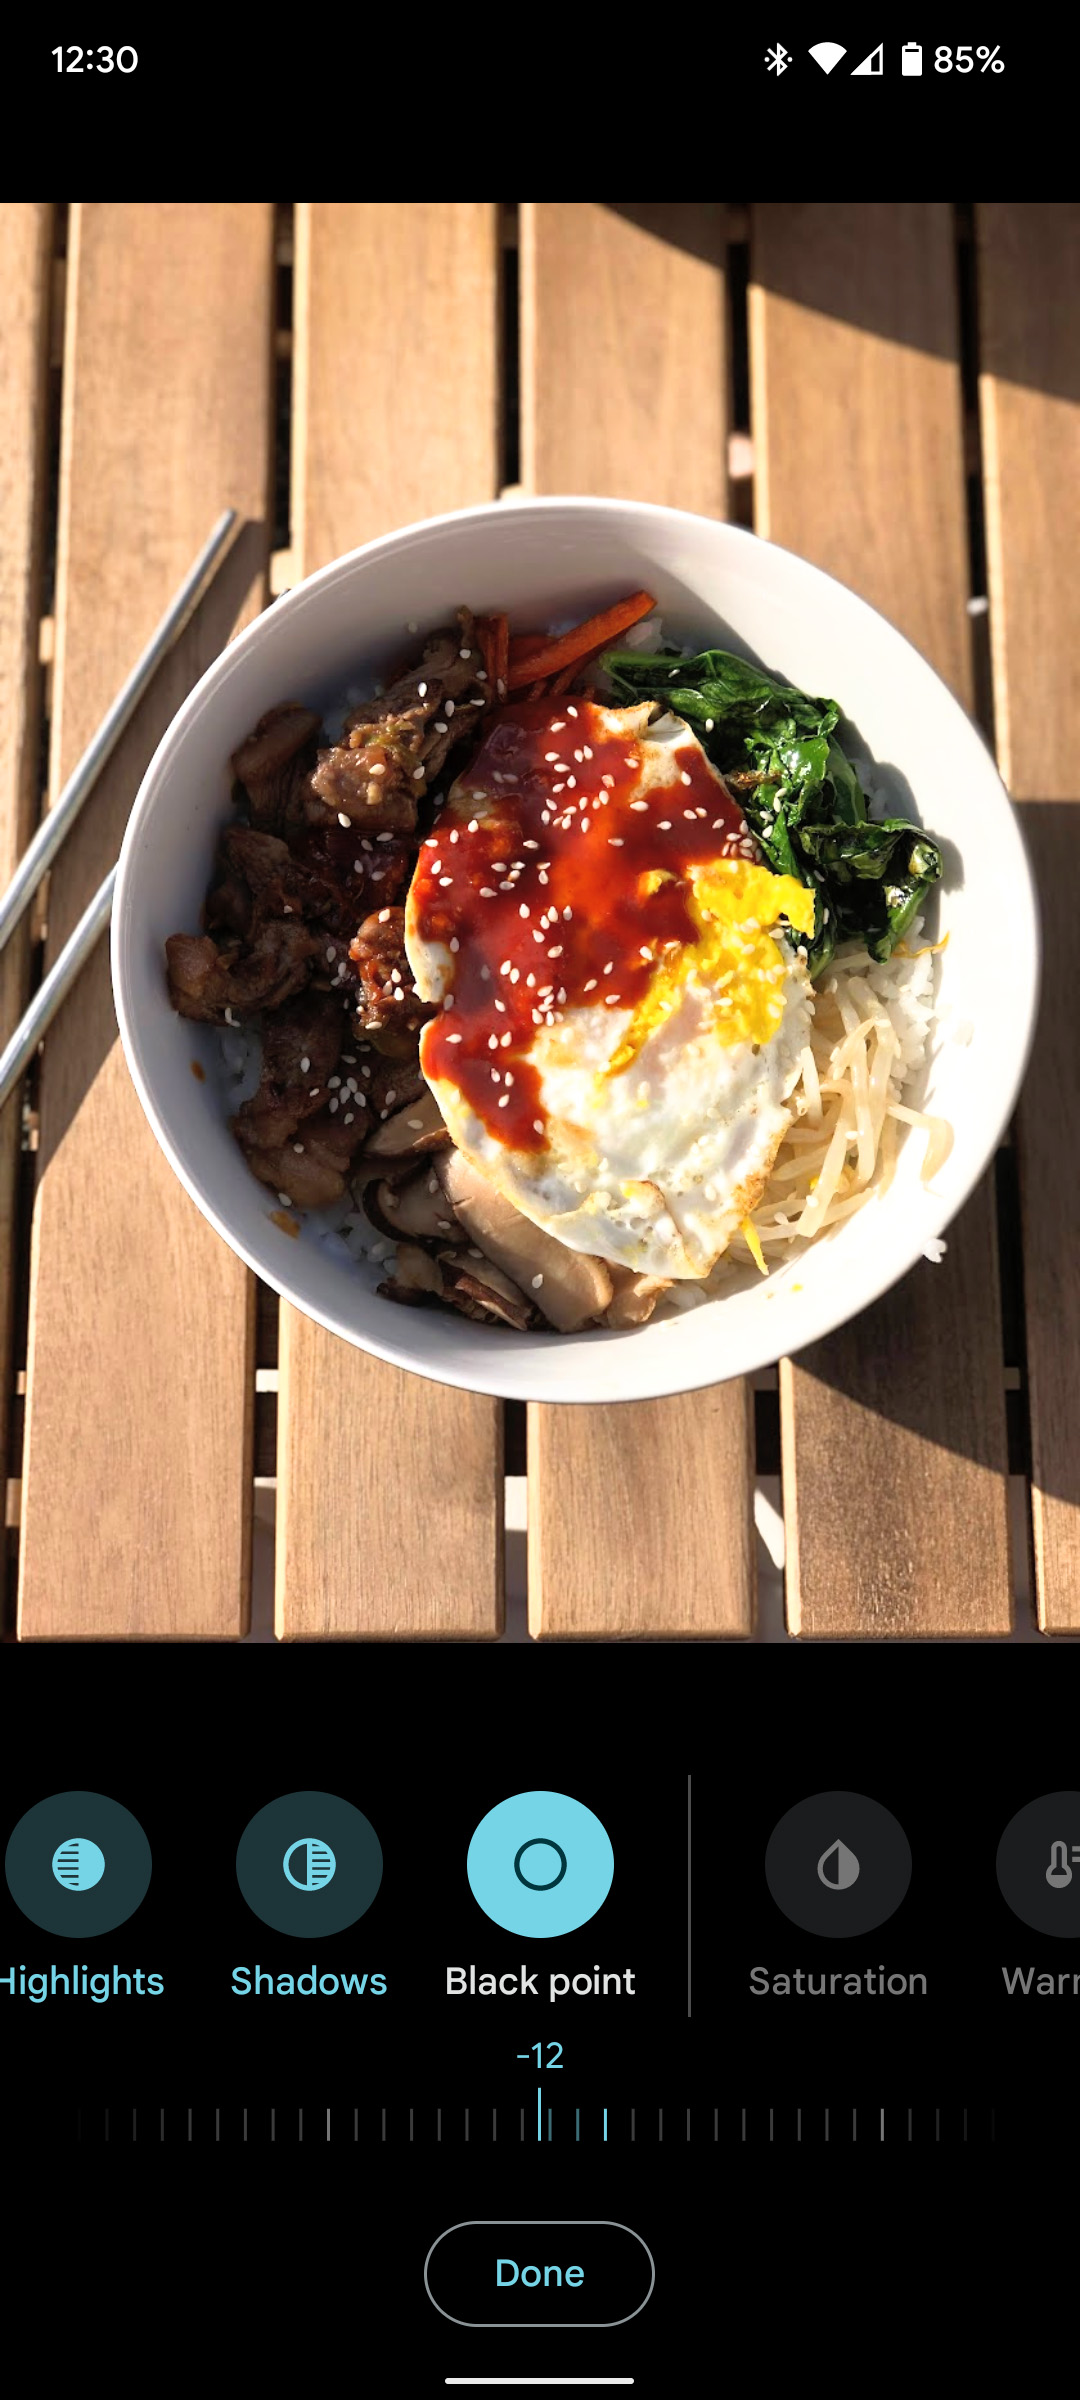
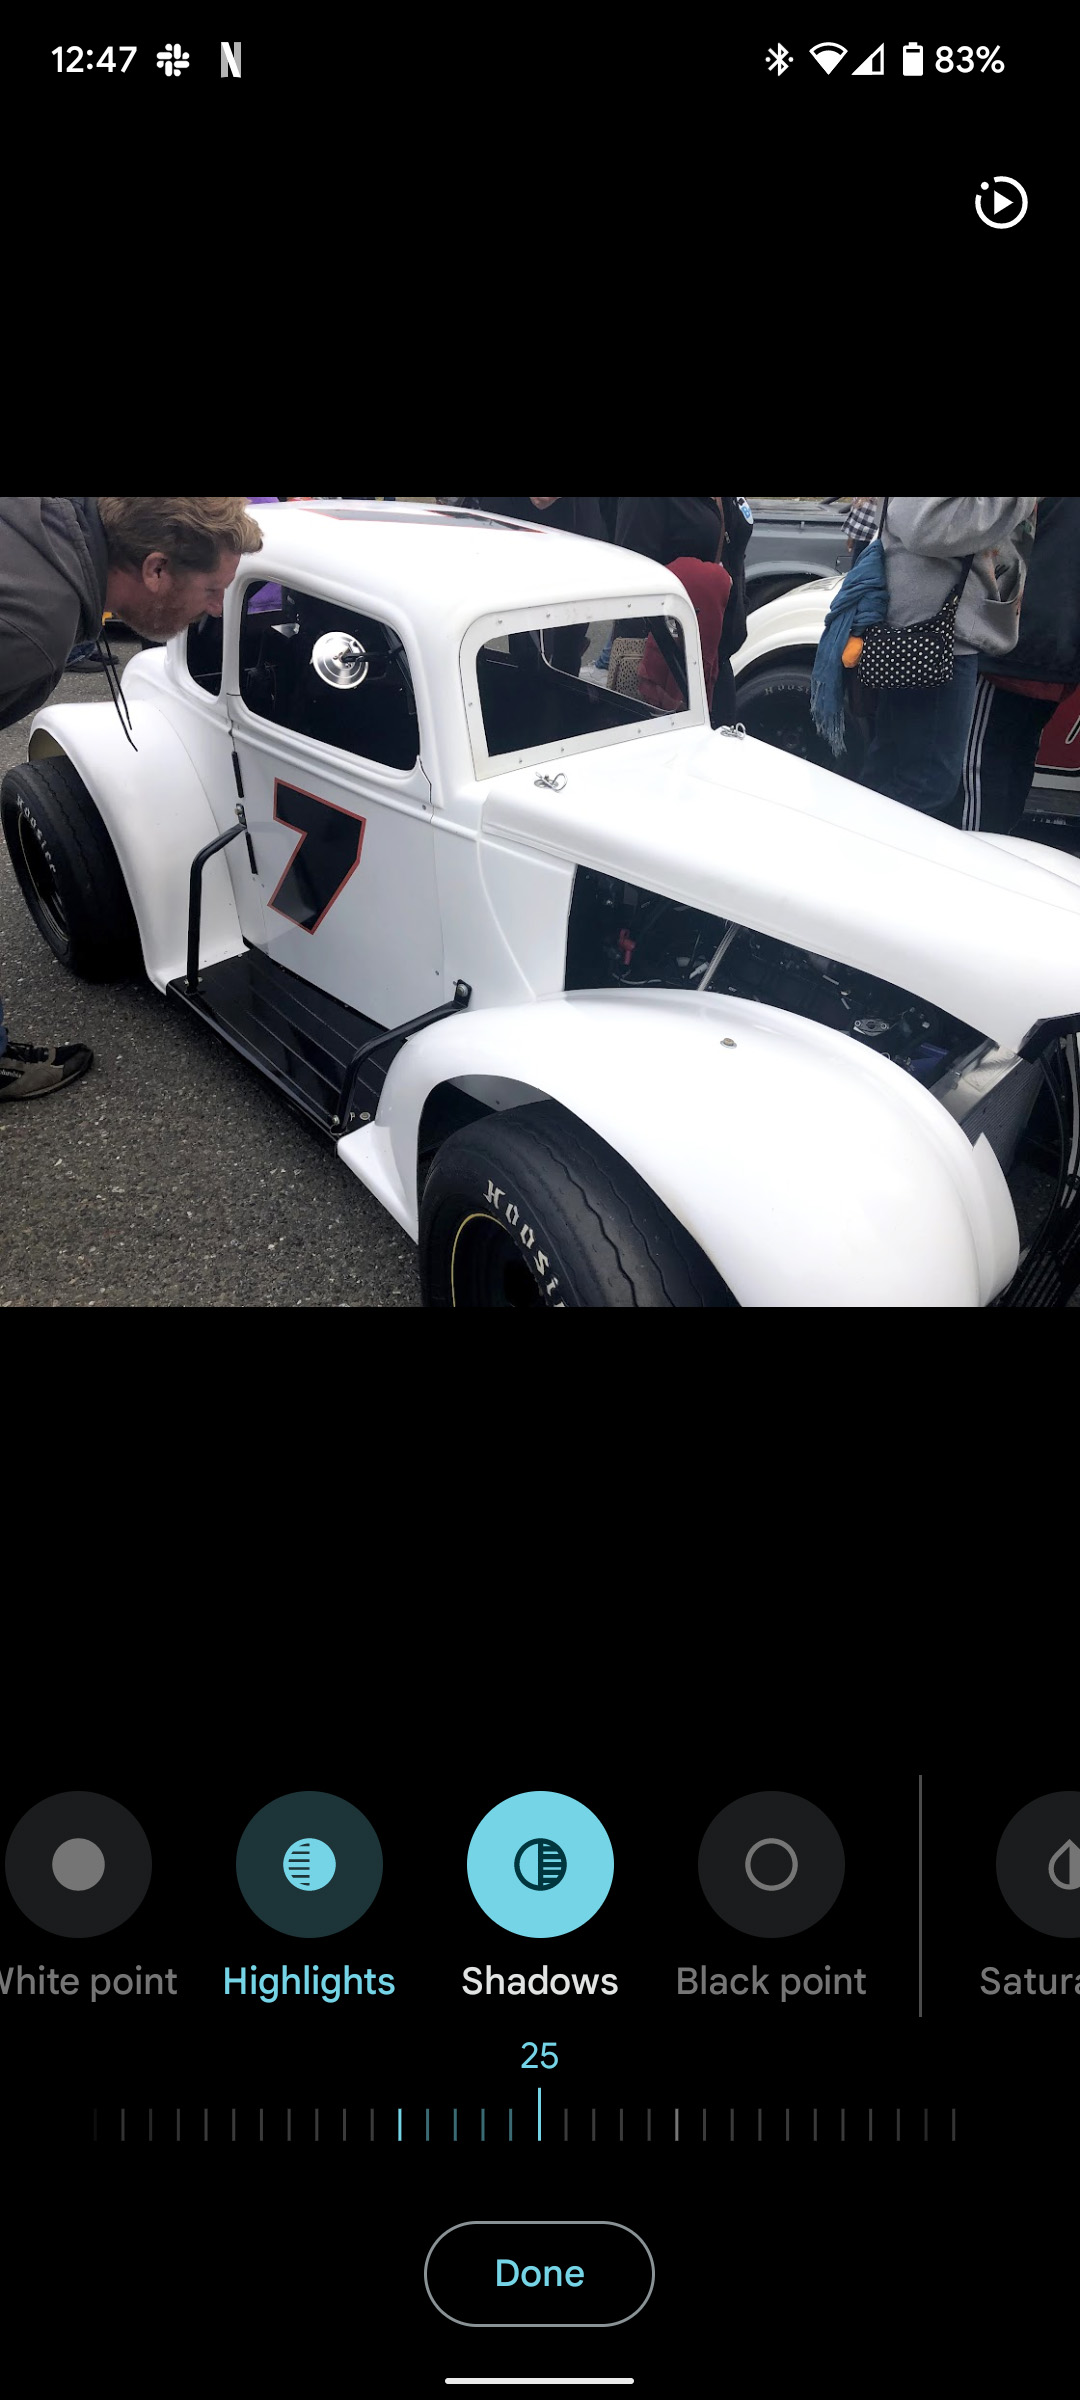
The highlights and shadows sliders compliment white and black point nicely and should be used in conjunction for a fuller effect. These sliders have less of an extreme effect on lights and darks, but still prove useful as editing tools. Once you adjust either black or white point, adjust the highlights or shadows to go along with it. You might find that doing it this way helps you tune your image just right.

Saturation
Saturation is a pretty well-known tool. It deepens every color in the photo you’re editing and makes the image much more colorful. Of course, it can make things a little too colorful if you’re not careful. Either way, it definitely adds life to a photo and is a great tool to know how to use properly.
Warmth
Warmth is a color temperature slider. Tuning that slider up high will give you a warmer – more orange – photo while tuning the slider down will give a cooler – more blue – image. Adjusting the warmth properly can change an image drastically, since it sort of sets the tone for the whole picture. Generally, most mobile cameras will take a properly color-accurate photo, but this tool helps you fine-tune it a bit better.
Skin tone
Lastly, skin tone is an important tool for color portraying skin tones in human subjects. Sometimes, phones just don’t get that right. This tool mediates that and allows you to properly represent yourself and others in photos. Think of it like a saturation slider that only works on skin color. This tool furthers Google’s effort to accurately depict skin tone in photos.
If you want to get a little deeper into editing, there are several more tools in Google Photos under the Adjust section:
- Blue tone
- Pop
- Sharpen
- Denoise
- Vignette
We recommend getting used to using all of these tools together, since these are just the basic ones for fixing up images in Google Photos. It takes some practice, but these tools can make huge changes to a photo and bring out the best in it.
More on Google Photos:
- Google Photos tests new quick ‘chip’ toolbar for text-based images
- Using Takeout to export your Google Photos – What you need to know
- Portrait Blur set to come to Google Photos for Android w/ support for more subjects
Author: Andrew Romero
Source: 9TO5Google


