


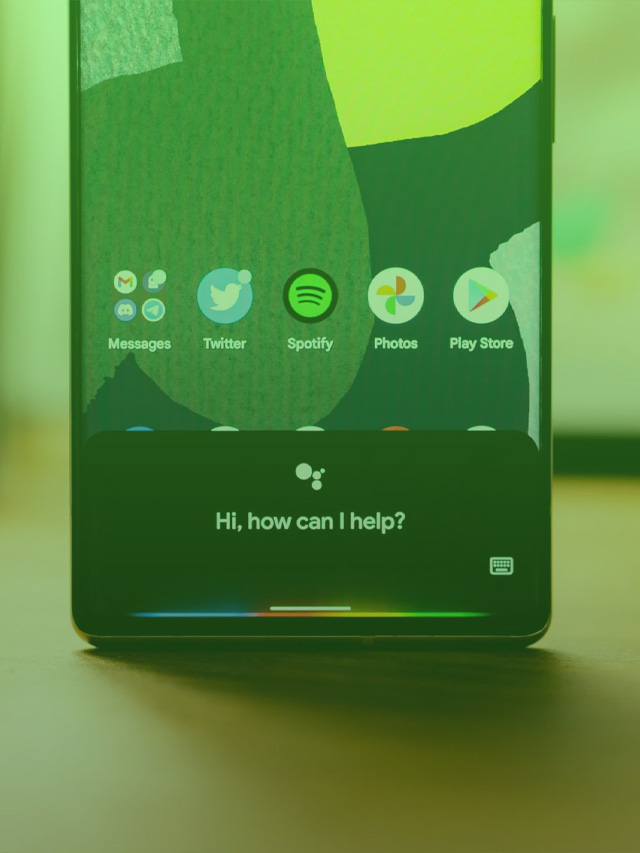
If you’ve been using Google Photos for any amount of time, you know that photos can stack up fast. That’s why you need to know how to export Google Photos safely if you ever need to move to a different service, like Apple’s iCloud. This guide will explain how you can use Takeout, a service by Google, in order to export your images.
Table of contents
What is Google Takeout?
In general, most of the data in your Google Account is stored in the cloud. That includes Calendar, Gmail, Drive, and especially Photos. Because that data is stored on servers far away, you can’t exactly export your photos by simply dragging and dropping pictures. You need to use something called Google Takeout.
Google Takeout is a hub for exporting and retrieving all data backed up into your Google Account. Anything from Google Assistant Notes and Lists to Stadia game activity is all retrieved in Takeout. It’s just a matter of selecting the data you want and getting the export started, though it does take a bit of time to collect all of the relevant data.
Exporting Google Photos with Takeout
When exporting Google Photos, Takeout provides several options that help you nail down what you want to export. With this data, you can either keep it on file as a backup or import it directly to another service, like iCloud.
Here’s how to get started:
- On a PC/Mac, head to takeout.google.com.
- Make sure you are logged in to the Google Account that houses data you want to export.
- Right at the beginning of the product list, find and click Deselect all.
- Scroll down and find Google Photos. Click the checkbox on the right-hand side.
- Click All photo albums included and choose which albums you want to export. By defualt, all are selected. Click OK.
- Note: If you’re completely swithcing over to a different photo service, we suggest selecting all of your albums.
- Scroll down and click Next step.
- Choose the frequency, file type, and size. You can choose to do one export or exhedule future ones. You can also choose between .zip and .tgz files, as well as the size before exports are split into multiple files.
- Click Create an export.


Once you go through these steps, Google will start to create an export for you based on the options you selected. Depending on how much data you’re pulling, it could take hours or even days for Google to compile everything and make it available. Once the export is ready, you’ll receive an email to that Google Account letting you know that the export is ready for download.
Where can I import Google Photos to?
The nice thing about Google Takeout is that none of the data exported is proprietary in any way. When exporting Google Photos albums and images, that data is saved as .jpg, .json, and .mp files. These files are easy to open and import to other services.
If you want to get all of the images exported from Google Photos into iCloud Photos, there’s an easy way to do it right from your PC or Mac. If you’re on a PC, you’ll want to download the iCloud Windows app and get that set up. Here’s how to import Google Photos images and video to iCloud:
On PC
- Open the iCloud Windows app.
- Click the checkbox next to Photos and check iCloud photos in the window that appears.
- Click Apply.
- Open Windows Explorer and locate the iCloud Photos drive.
- Drag the Google Takeout export folder(s) to the iCloud Photos drive.
- Note: Be sure to unzip the .zip folders before dragging them to the iCloud Photos drive.


On Mac
- Open the Photos app on your Mac.
- Click Photos in the menu bar at the top of the screen.
- Click Preferences and then iCloud and make sure the iCloud Photos box is checked.
- Drag the Google Takeout export folder(s) into the window and drop it.
In both scenarios, your photos should immediately start uploading to iCloud, and some should be visible in a matter of minutes, though the whole process might take a while depending on how much you’re importing.
Did you know Amazon had a photos service? Well, now you do. Prime members get free access to unlimited photo backup. Best of all, importing from Google Photos using Takeout is ridiculously easy. Here’s how:
- On the PC you’ve downloaded the export files to, open up amazon.com/photos/welcome.
- Make sure you’re logged in.
- Locate the export folder(s) from Google Takeout and drag them into your browser.
- Note: Be sure to unzip the .zip files exported from Google Takeout.
A little progress bar will appear at the bottom of the screen, and when finished you’ll see a few errors. That’s normal. That just means the .json and .mp files couldn’t be imported, but that’s ok. After the import, you should see the photos you’ve just added. Because you uploaded them via your browser, a cloud import is already completed. That means you can view them on your phone or wherever you can get Amazon Photos.
Using Google Takeout for exporting Google Photos images and videos is great for a large amount of data. Remember that you can also use Google Takeout to back up your photos manually, ensuring you always have them around just in case.
More on Google:
- I prefer the phone version: The underwhelming state of Google’s first-party tablet apps on Android
- How to easily manage individual app notifications in Android
- How to reboot/restart your Google Pixel


Author: Andrew Romero
Source: 9TO5Google
