
Last week, Apple’s long-awaited follow-up release to the iPhone SE arrived in the hand of the general public. If you’re a new iPhone SE owner, it’s a great time to familiarize yourself with how to force restart your iPhone SE, enter recovery mode, temporarily disable Touch ID access, and more.
Although you probably won’t use these features often, you may occasionally need to do so. Watch our hands-on video as we show you how to manage your iPhone SE in a variety of ways.
How to power off iPhone SE
Step 1: Press and hold the Side button until you see the off dialogue.
Step 2: Slide the slider to the right to initiate the power down.
How to power on iPhone SE
Step 1: Press and hold the Side button until the Apple logo appears and then release the Side button.
If you never see an Apple logo, this may indicate that your iPhone SE battery is dead. Attach a Lighting cable connected to a power source in order to charge your iPhone SE.
A continuously dark screen may also indicate that you’re in DFU mode, as described above. However, unless you placed your iPhone into DFU mode, it’s unlikely that this is the issue.
Lastly, you may also see the logo, which indicates that your iPhone SE is in recovery mode. See the section below on how to exit recovery mode for more details.
Video walkthrough
How to power off iPhone SE (software only mode)
Step 1: Go to Settings → General and scroll to the bottom of the list.
Step 2: Tap the button.
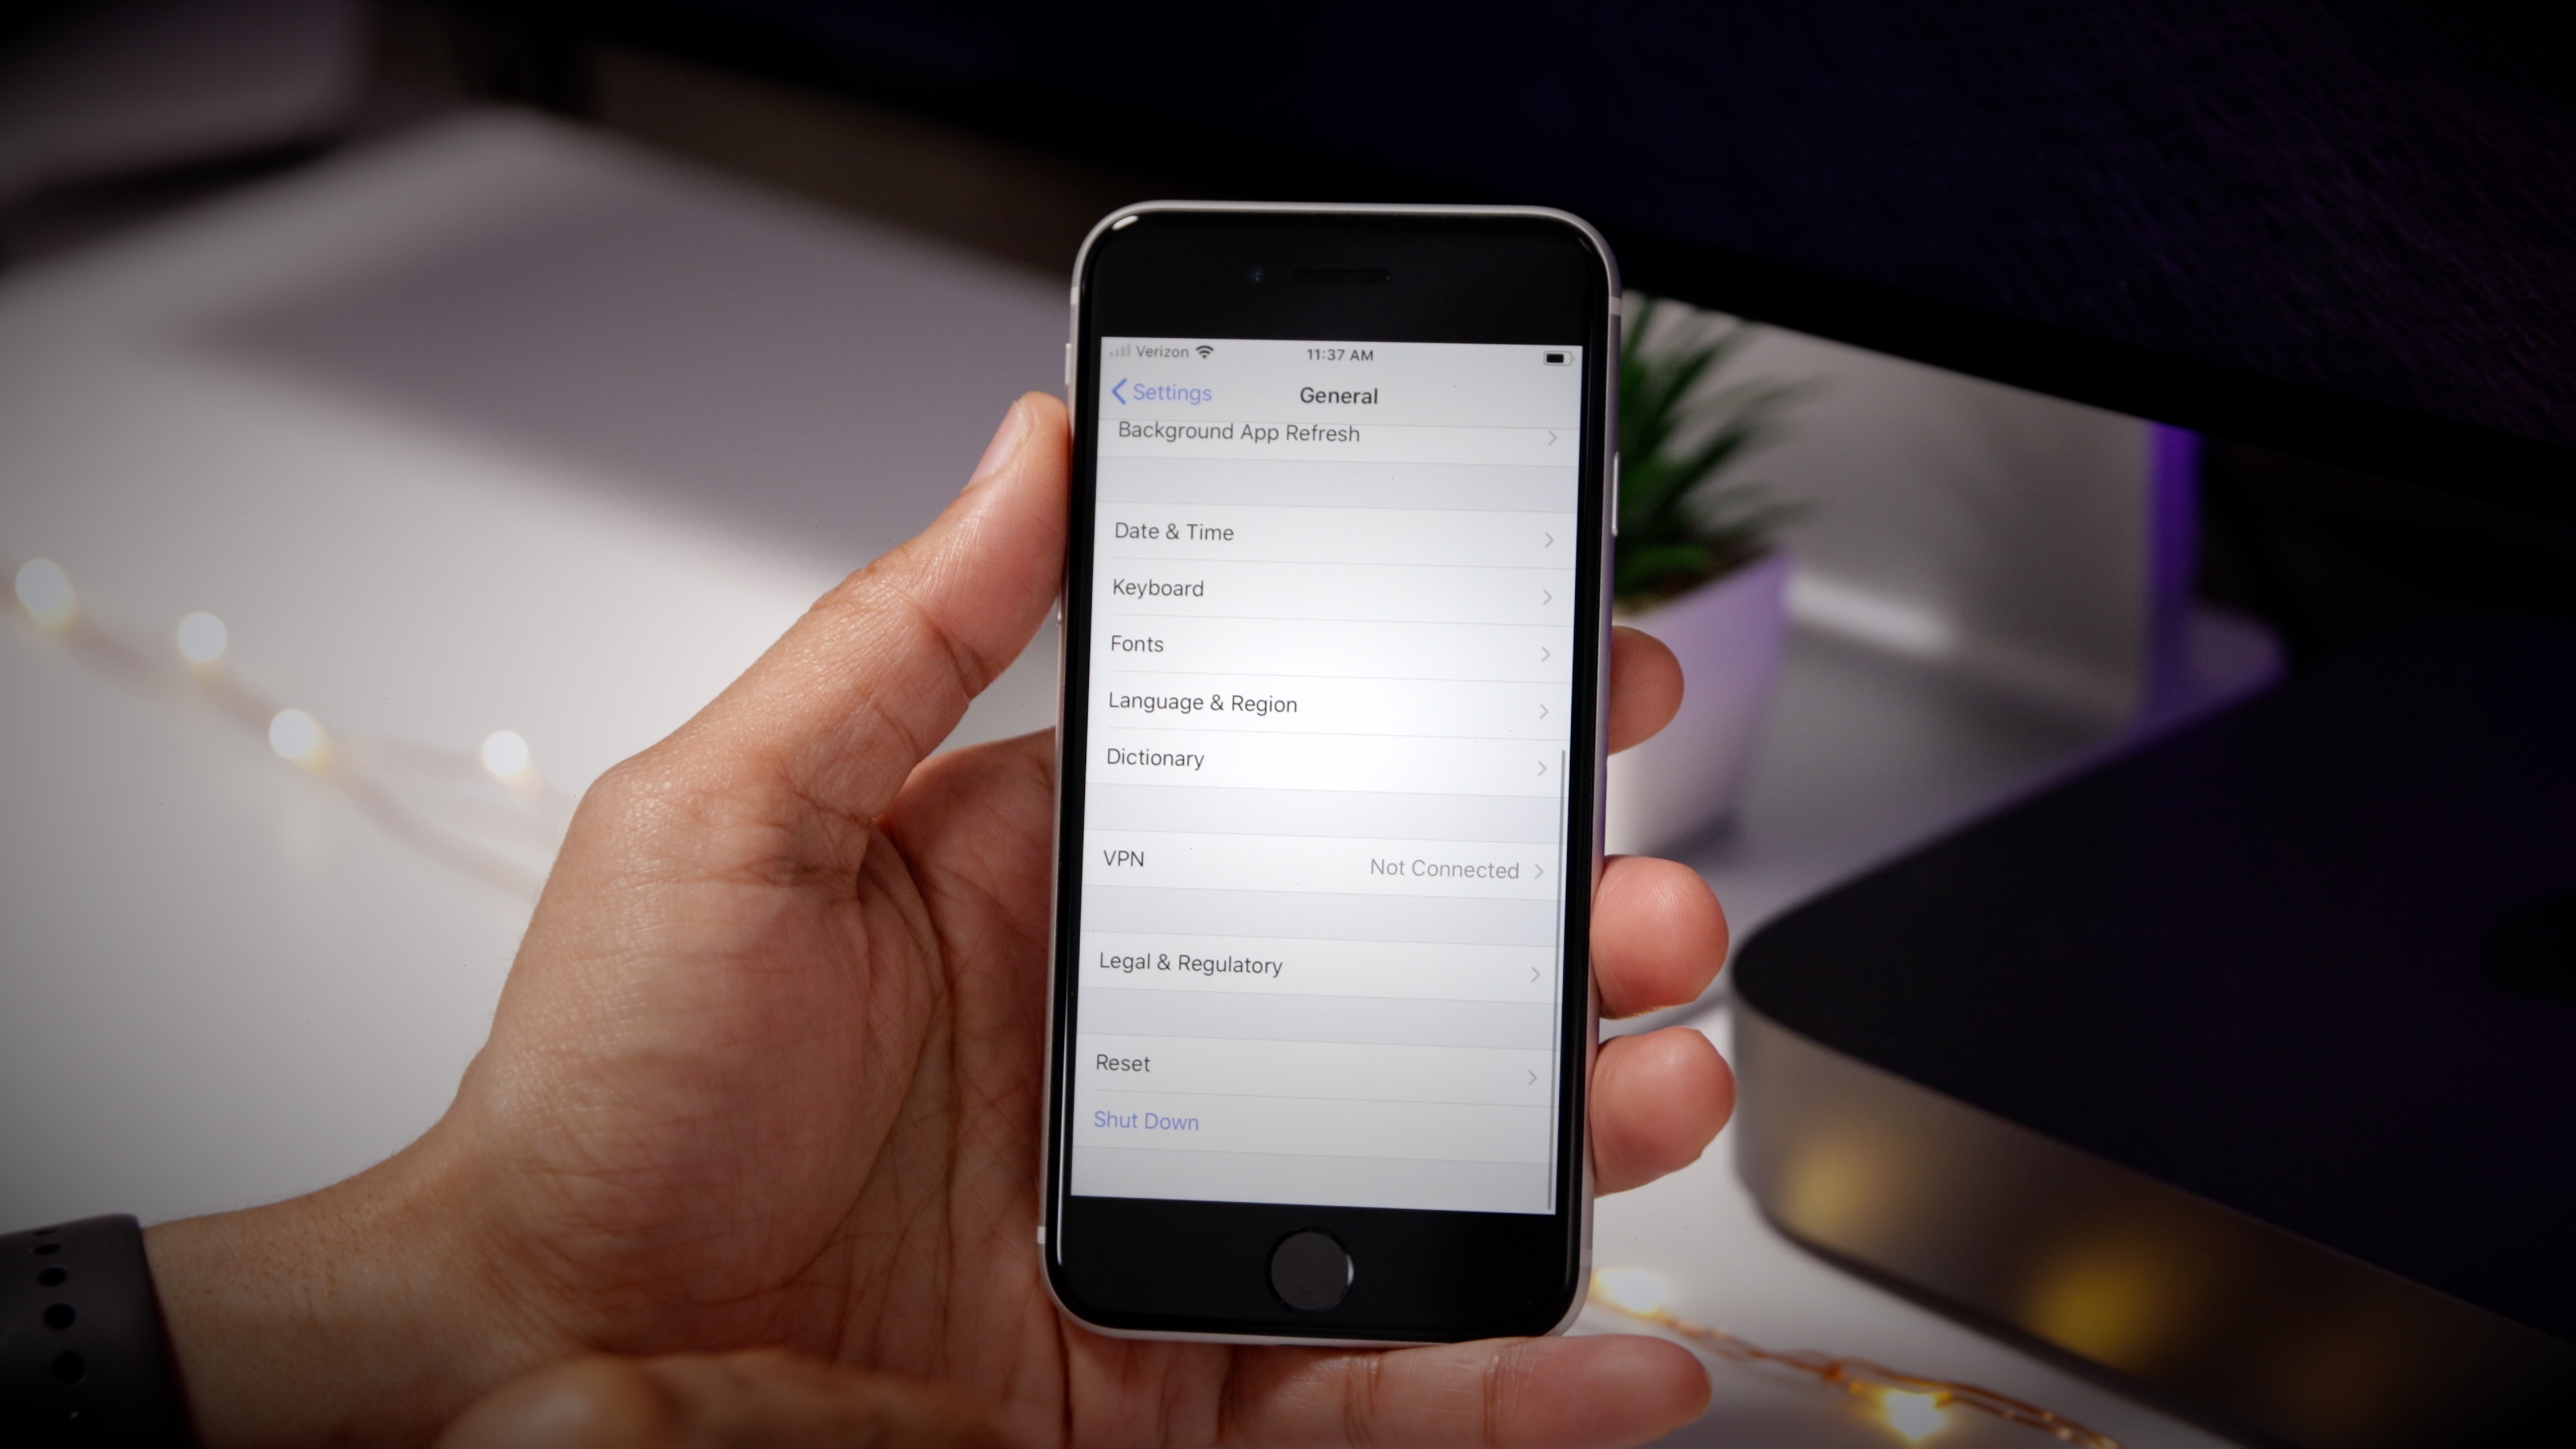
Step 3: Use the dialogue to shut down your iPhone SE.
How to force restart iPhone SE
If you experience problems with your iPhone, you may need to force restart. To force restart the iPhone SE, perform the following steps in quick succession:
Step 1: Press and release the Volume Up button.
Step 2: Press and release the Volume Down button.
Step 3: Press and hold the Side button until your device reboots and you see a black screen, then release.
Keep in mind that each button press should occur in quick succession, one after the other. During Step 3, after pressing and holding the Side button for approximately 10 seconds, the iPhone SE will force restart (hard reset).
Trusting iPhone SE
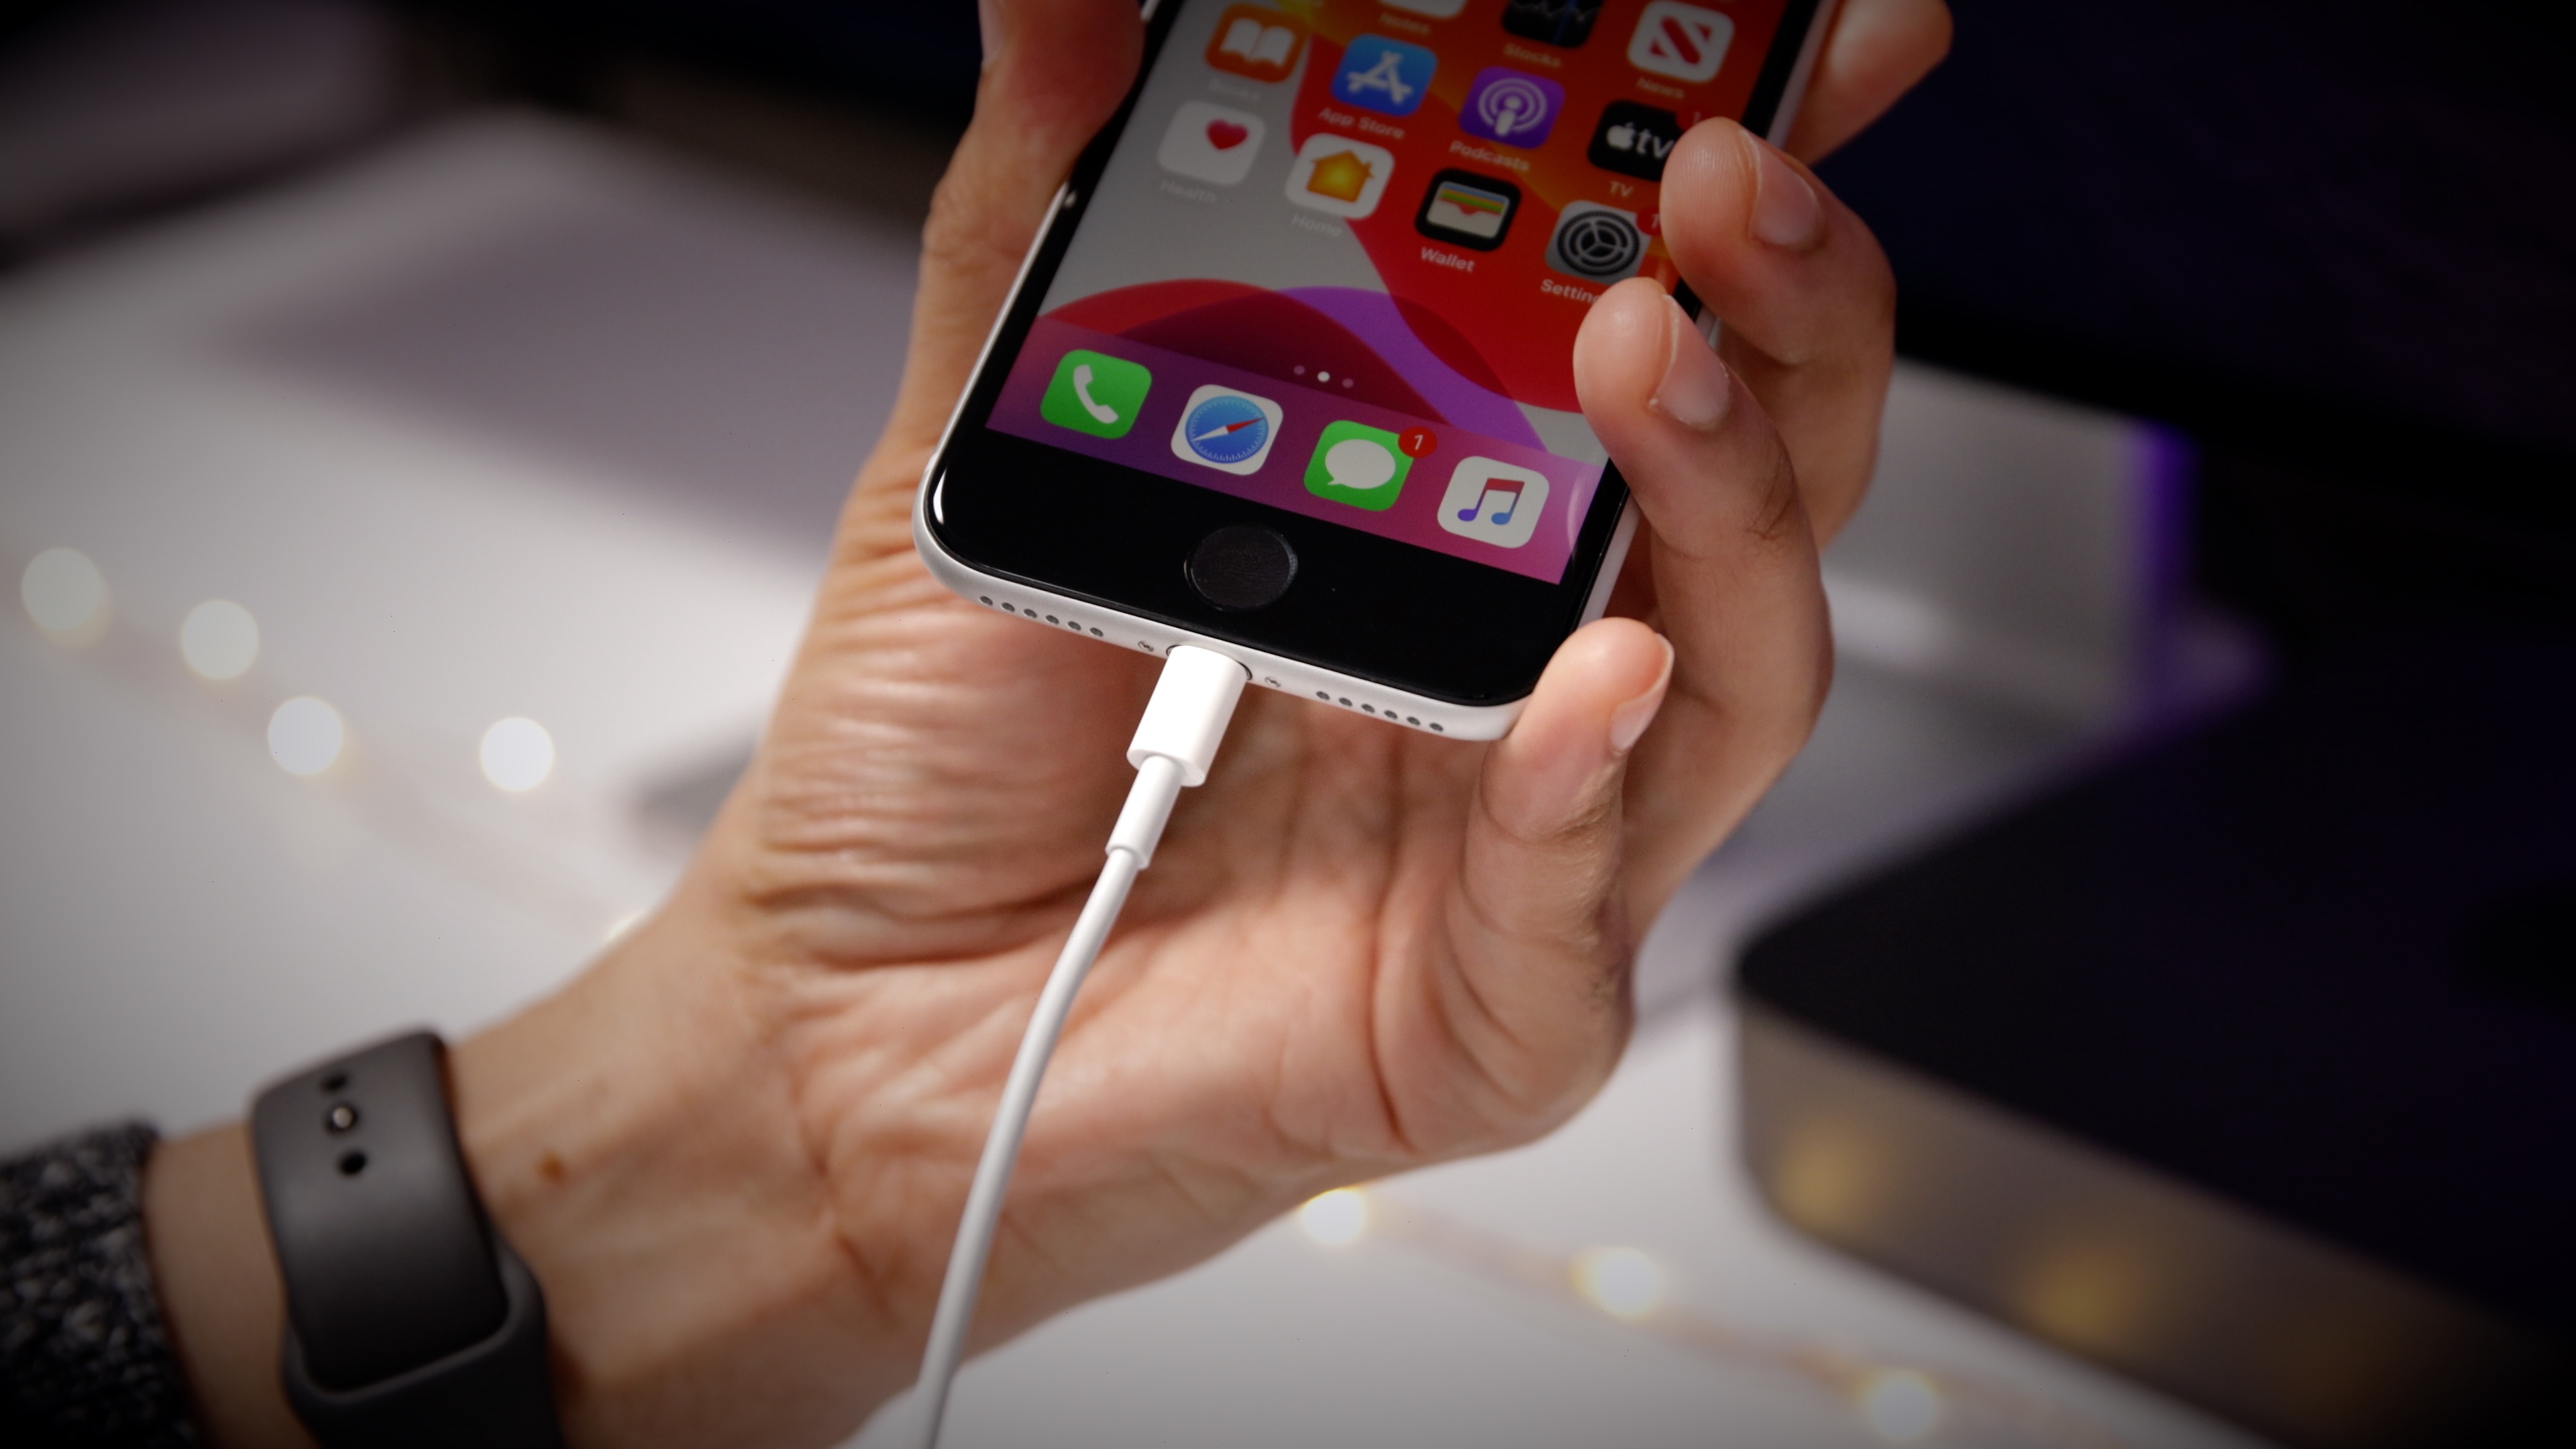
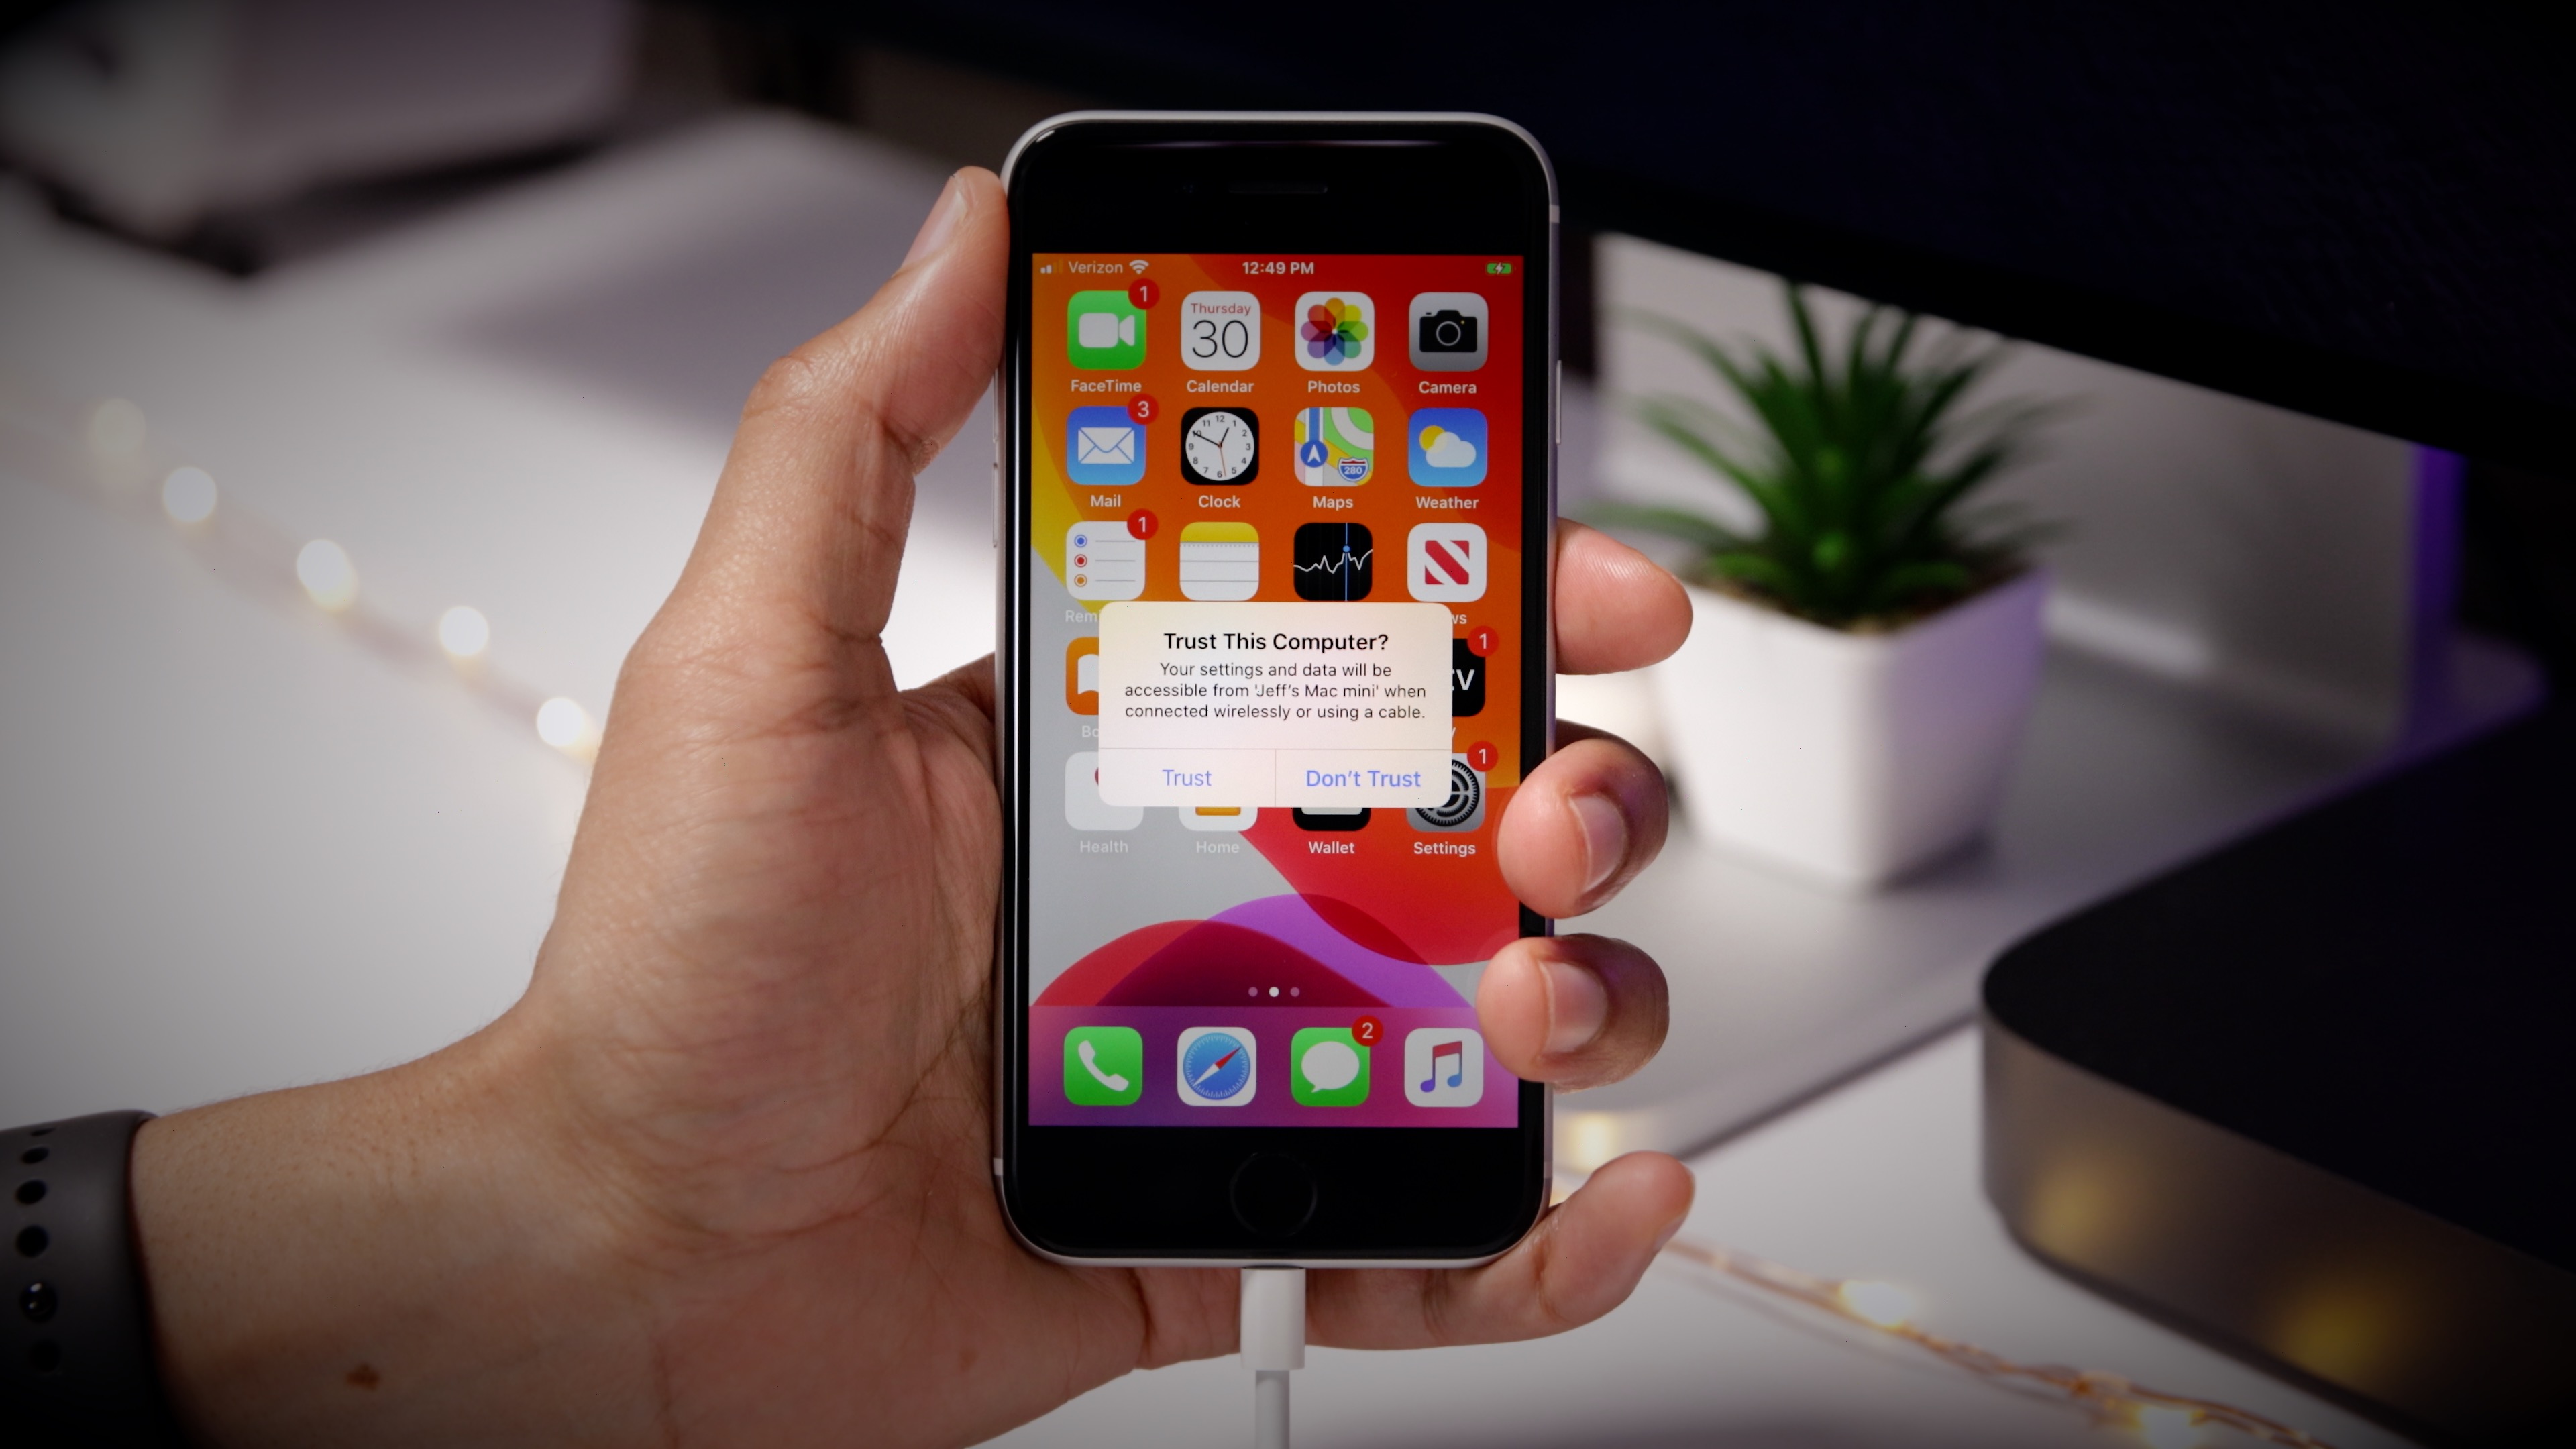
When you first connect your iPhone SE to your Mac, you’ll need to establish a trust between your Mac and iPhone SE.
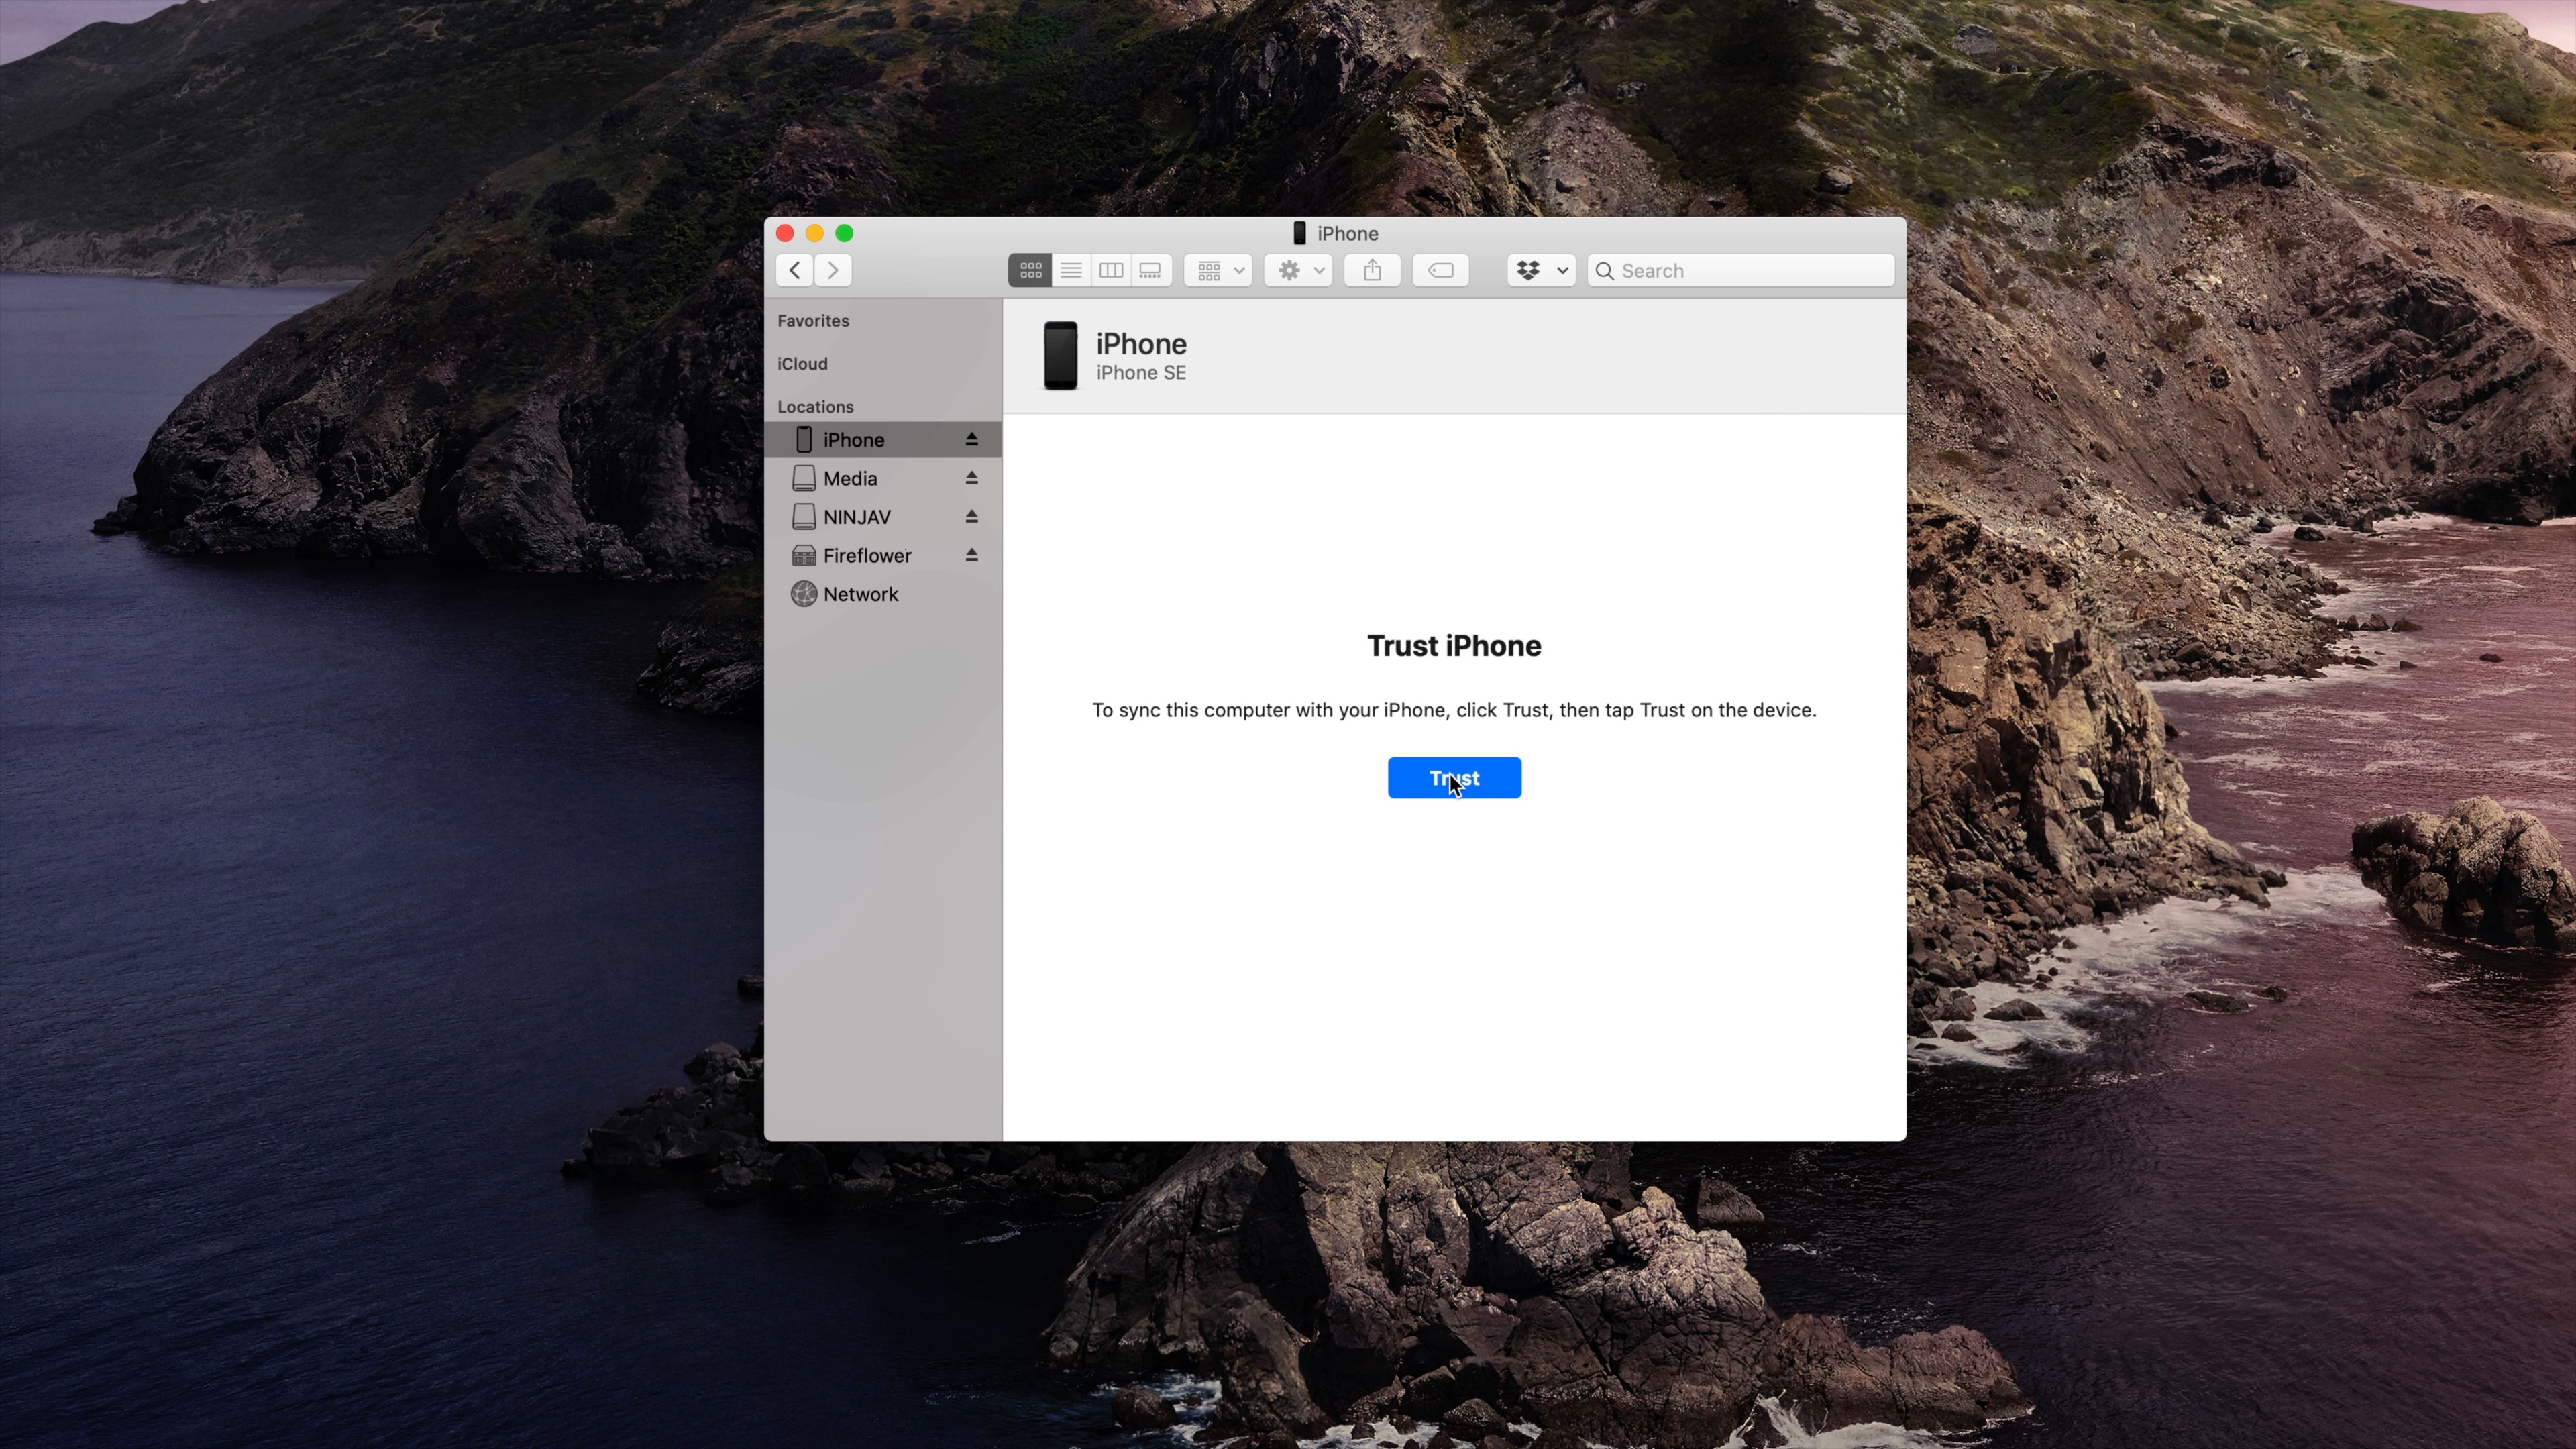
In the Finder on your Mac, you’ll be prompted to trust the iPhone SE. Click the blue Trust button in Finder on Mac, and tap the Trust button on your iPhone to establish the relationship. You’ll need to enter your iPhone’s passcode to complete the process.
Mac software update
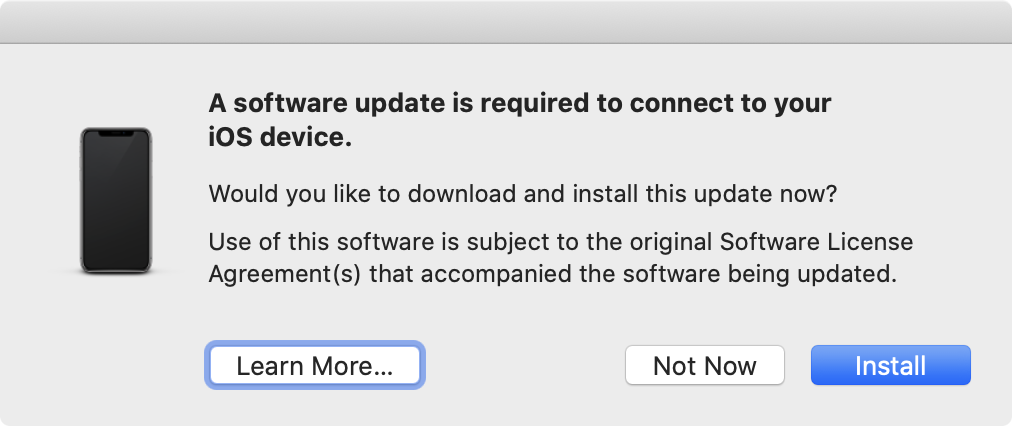
When connecting your new iPhone SE to your Mac via a Lightning to USB cable for the first time, you may be prompted to perform a software update on your Mac in order to connect and recognize your device.
If so, you’ll receive a prompt that states the following:
Click the Install button to start the update.
How to enter recovery mode on iPhone SE
Step 1: Connect your iPhone SE to your Mac with a Lightning to USB cable.
Step 2: Press and release the Volume Up button.
Step 3: Press and release the Volume Down button.
Step 4: Press and hold the Side button and your device will reboot. Continue holding the Side button, even after you see the Apple logo appear.
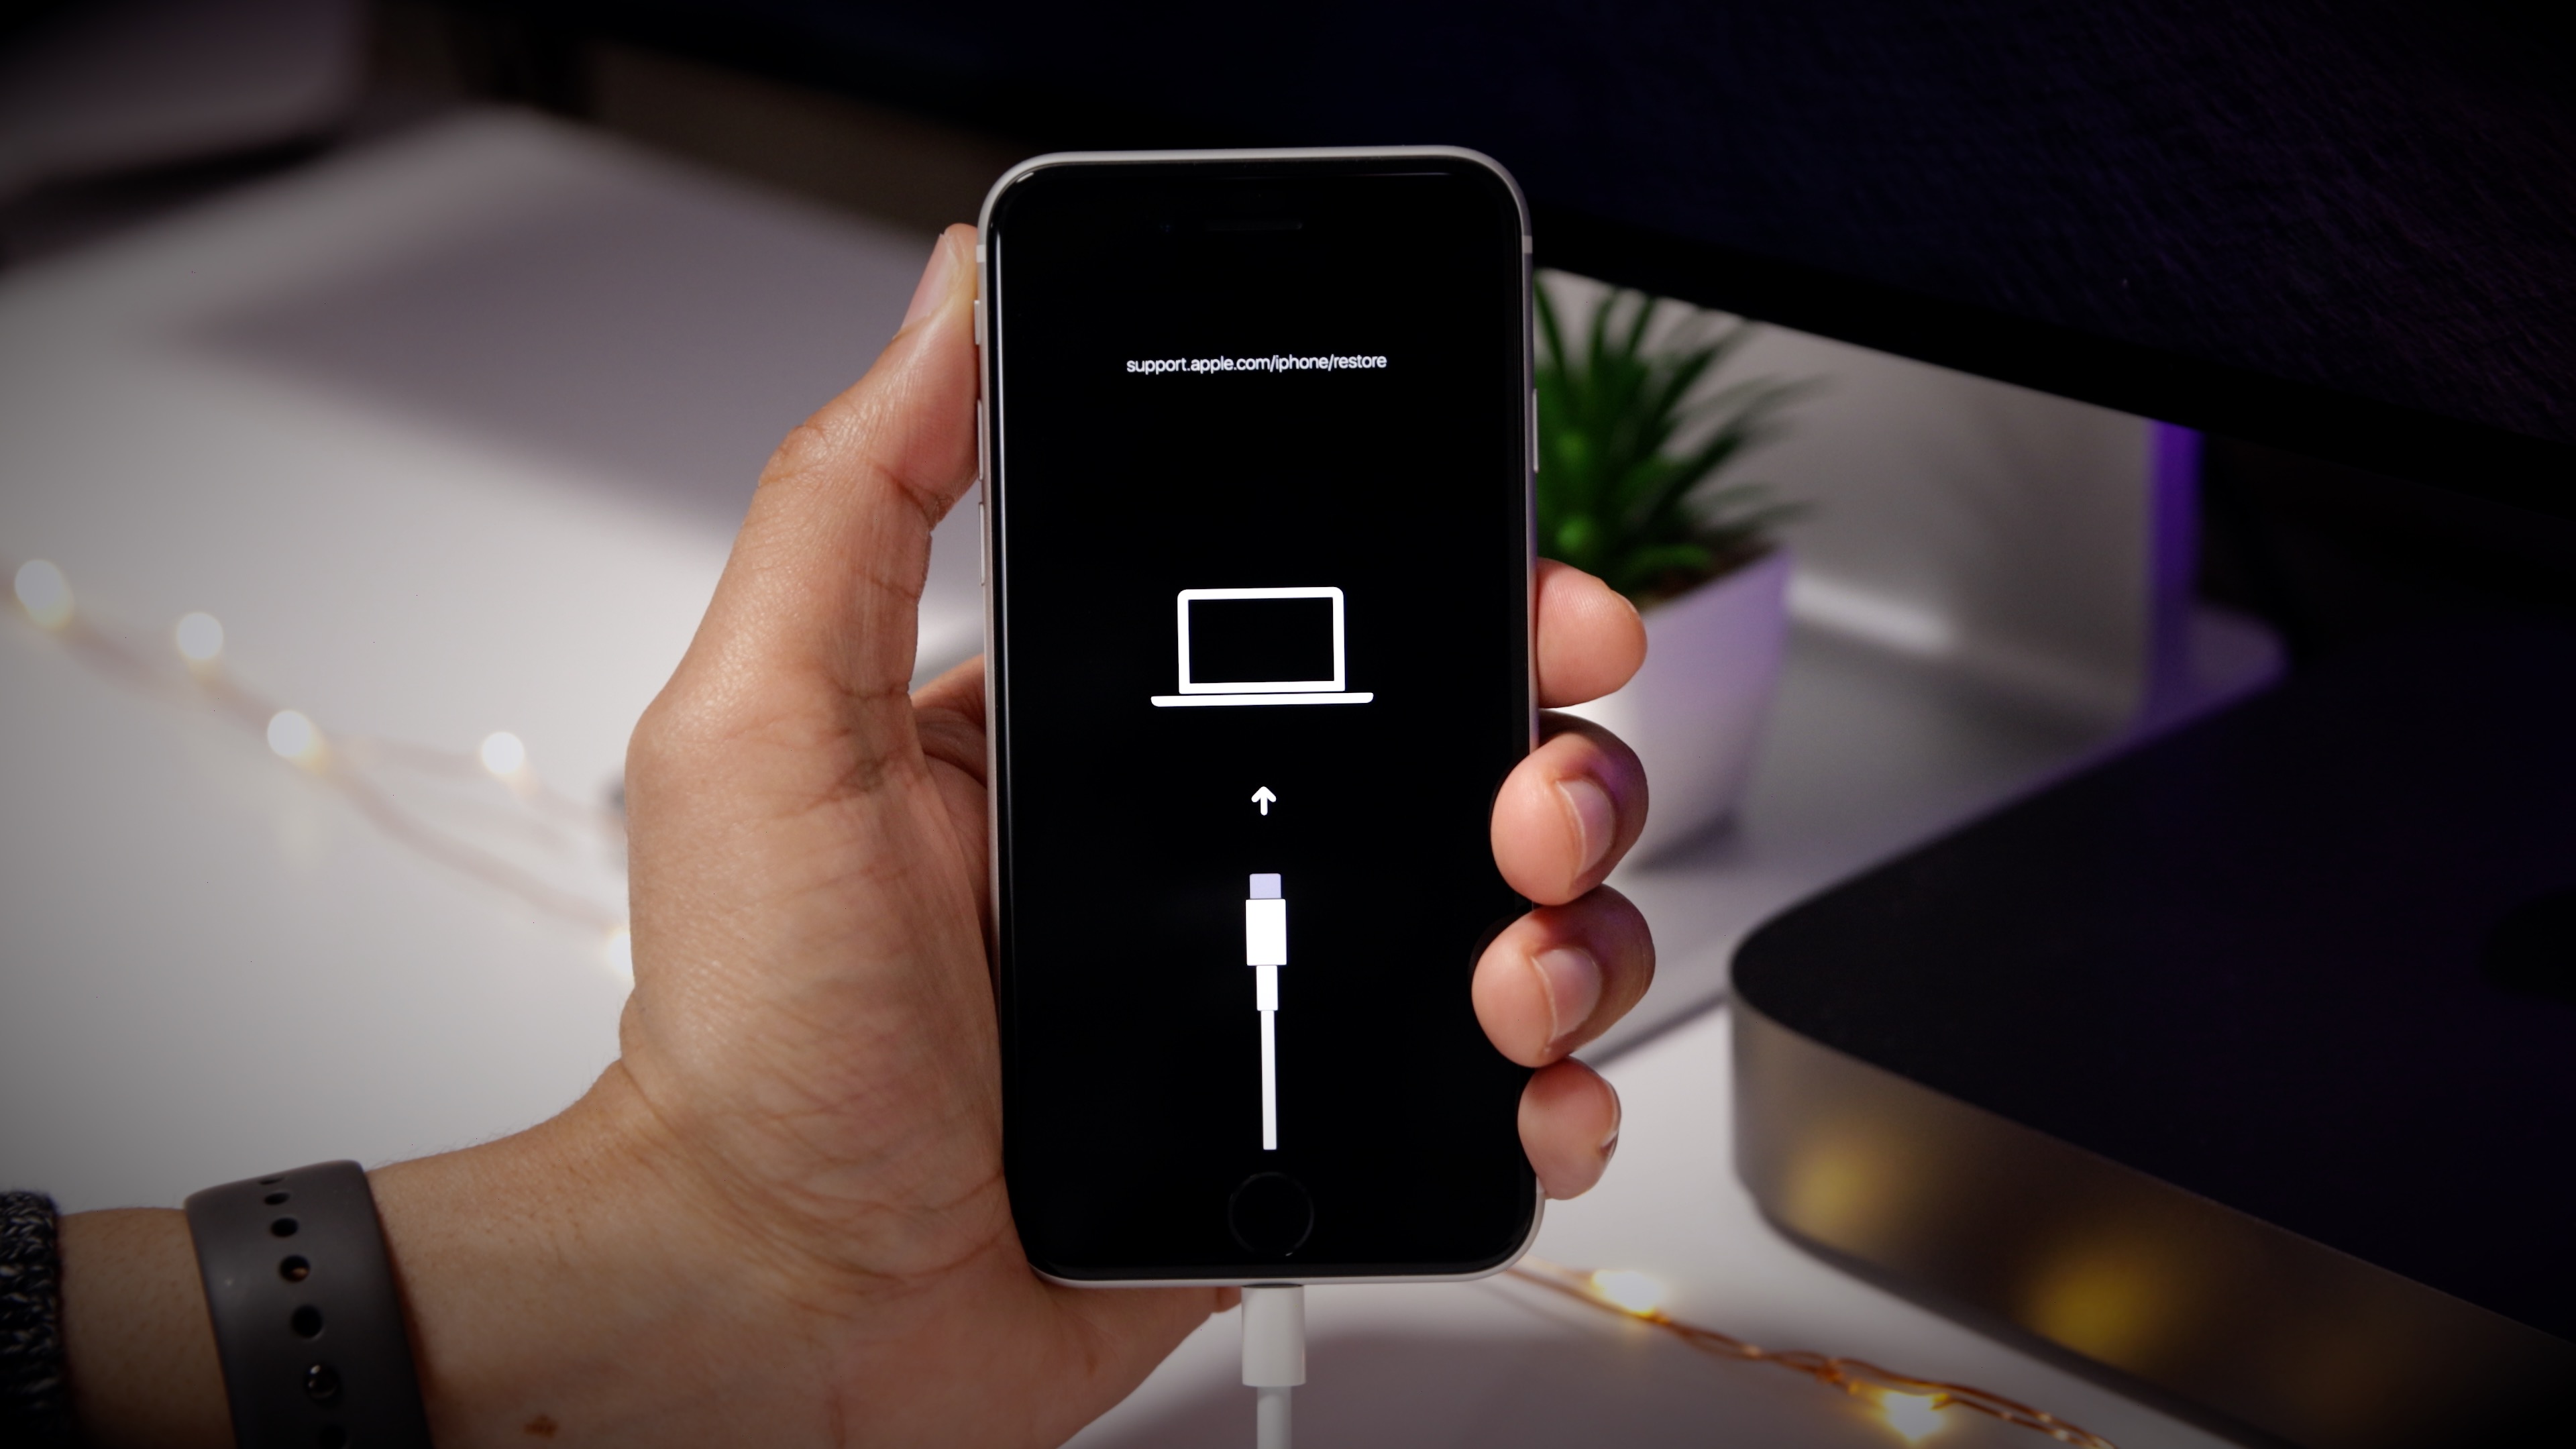
Step 5: After a few more seconds, you’ll see the logo appear on the iPhone SE display, which indicates that you can release the Side button.
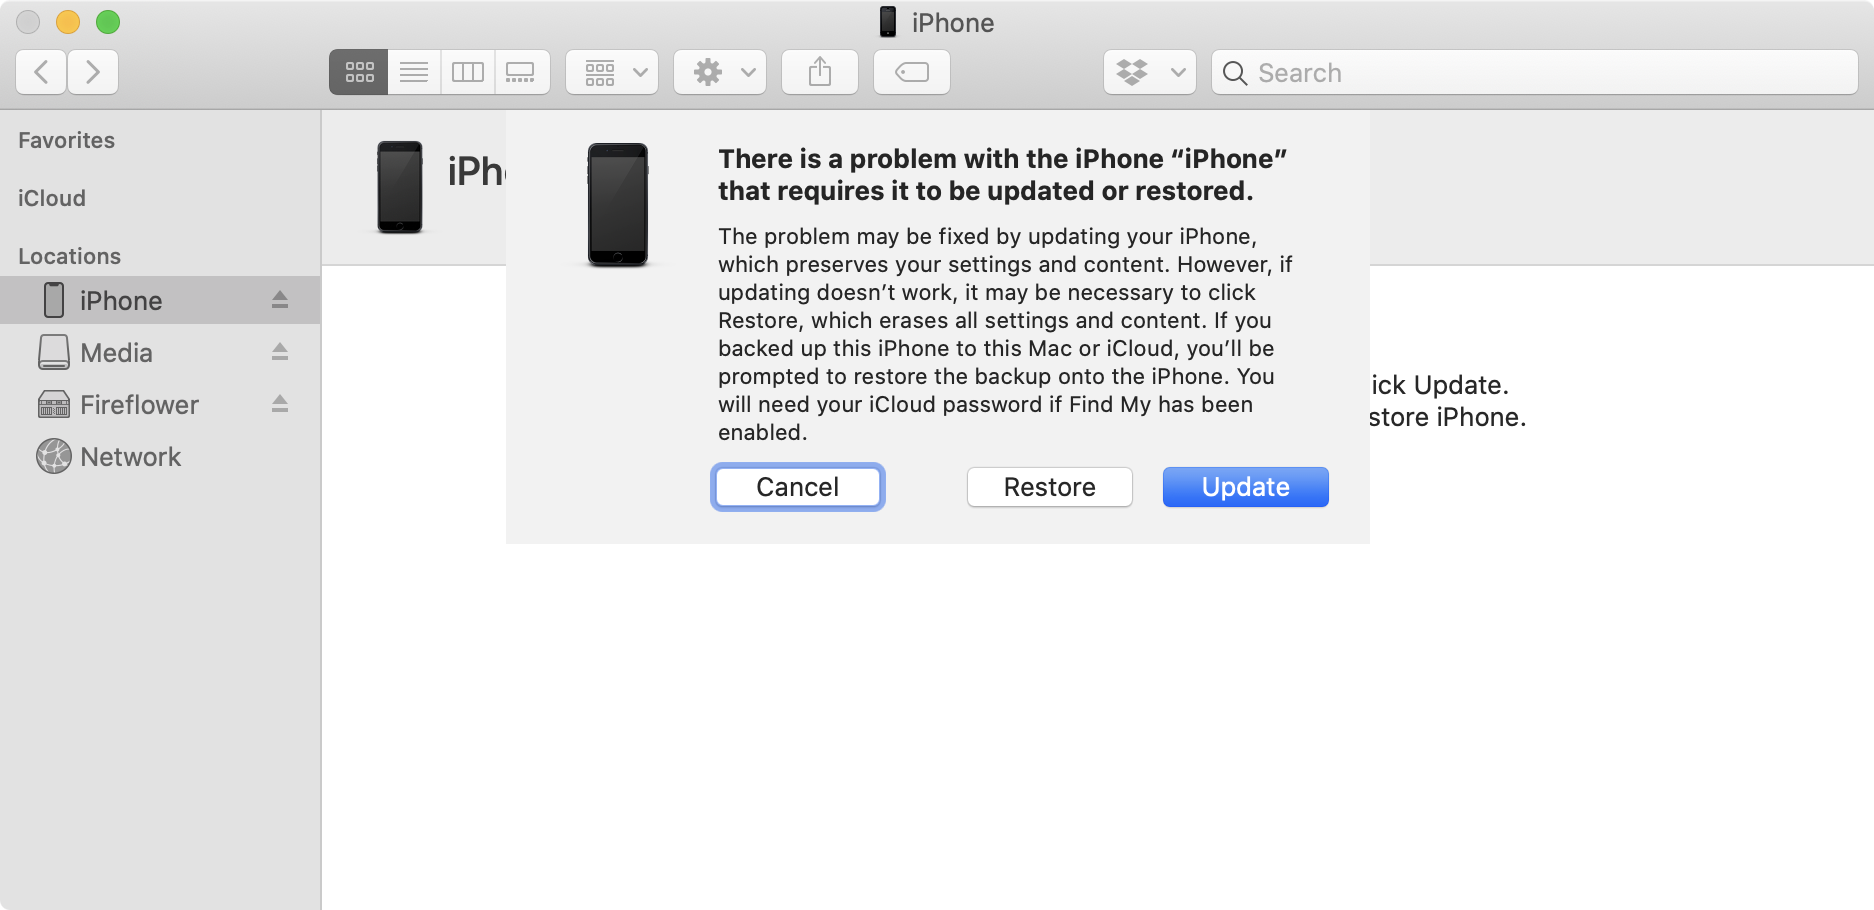
Step 6: When you enter recovery mode with your iPhone, a Finder window will automatically appear on Mac. You will see a message that states the following:
There is a problem with the iPhone that requires it to be updated or restored.
The problem may be fixed by updating your iPhone, which preserves your settings and content. However, if updating doesn’t work, it may be necessary to click Restore, which erases all settings and content. If you backed up this iPhone to this Mac or iCloud, you’ll be prompted to restore the backup onto the iPhone. You will need your iCloud password if Find My has been enabled.
From there, you can choose to Update or Restore your iPhone’s software.
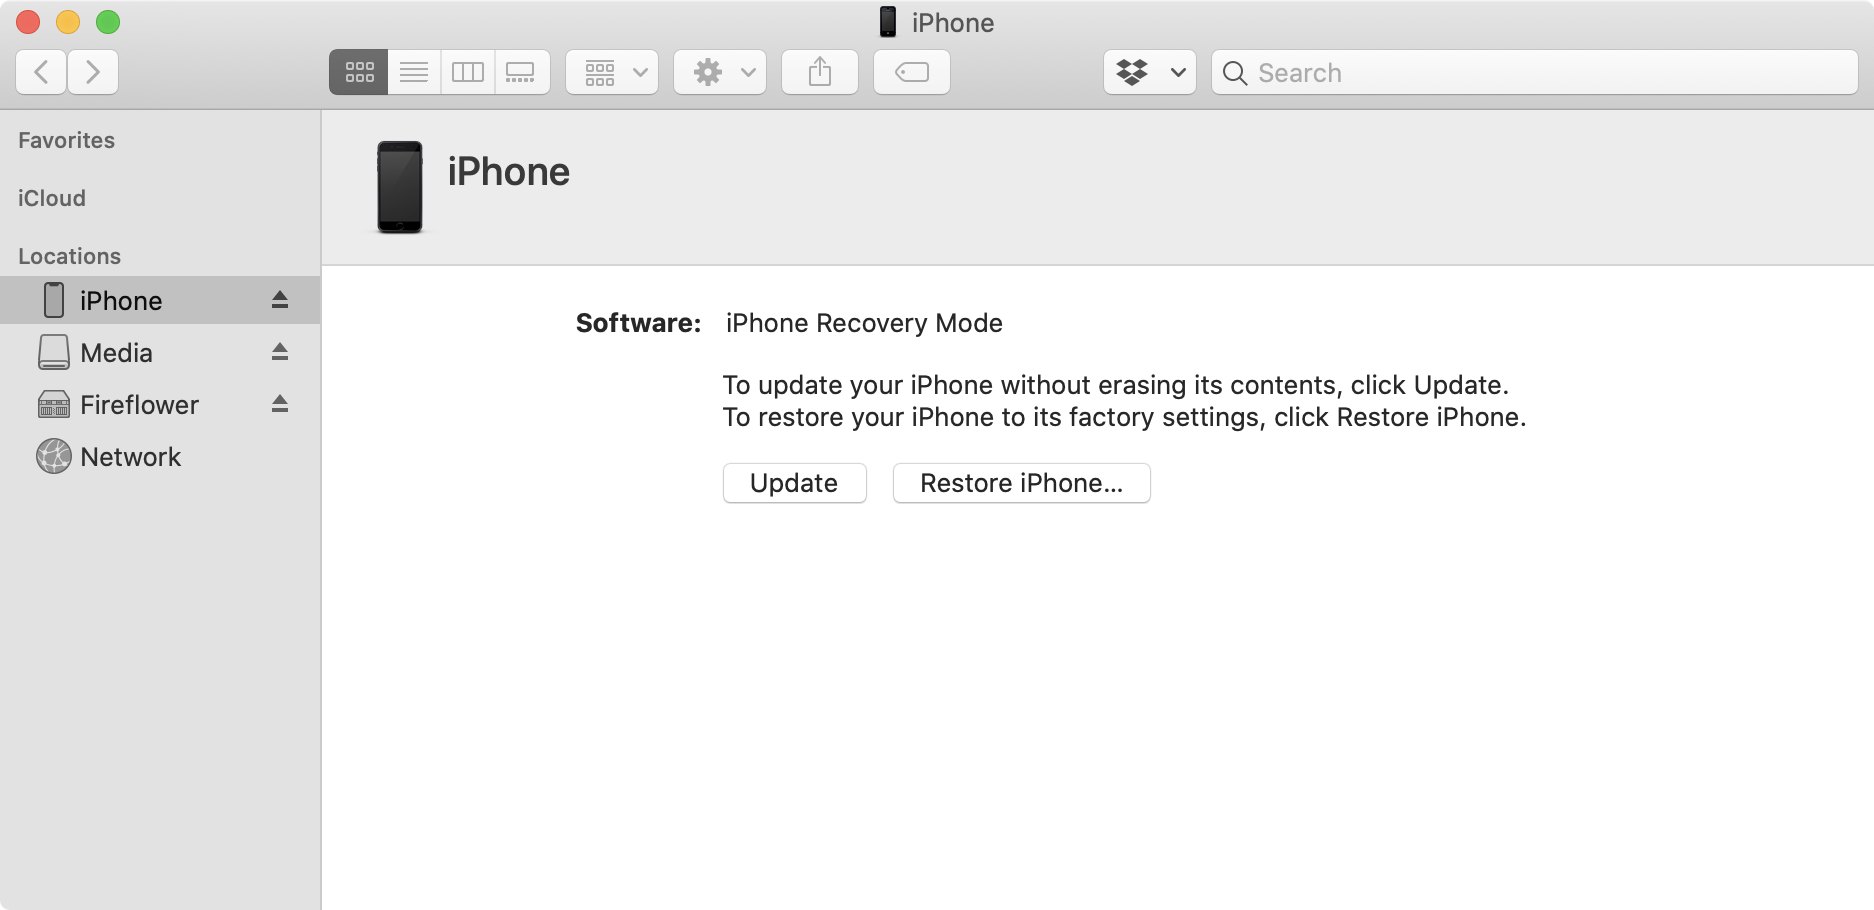
If the Finder Window doesn’t automatically appear, open the Finder, and select your iPhone from the Locations section of the Sidebar. You will see a message that says the following:
Software: iPhone Recovery Mode
To update your iPhone without erasing its contents, click Update. To restore your iPhone to its factory settings, click Restore iPhone.
From there, you can choose to Update or Restore your iPhone’s software.
How to enter DFU mode on iPhone SE
Step 1: Connect your iPhone SE to your Mac with a Lightning to USB cable.
Step 2: Press and release the Volume Up button.
Step 3: Press and release the Volume Down button.
Step 4: Press and hold the Side button for 10 seconds until the screen turns black.
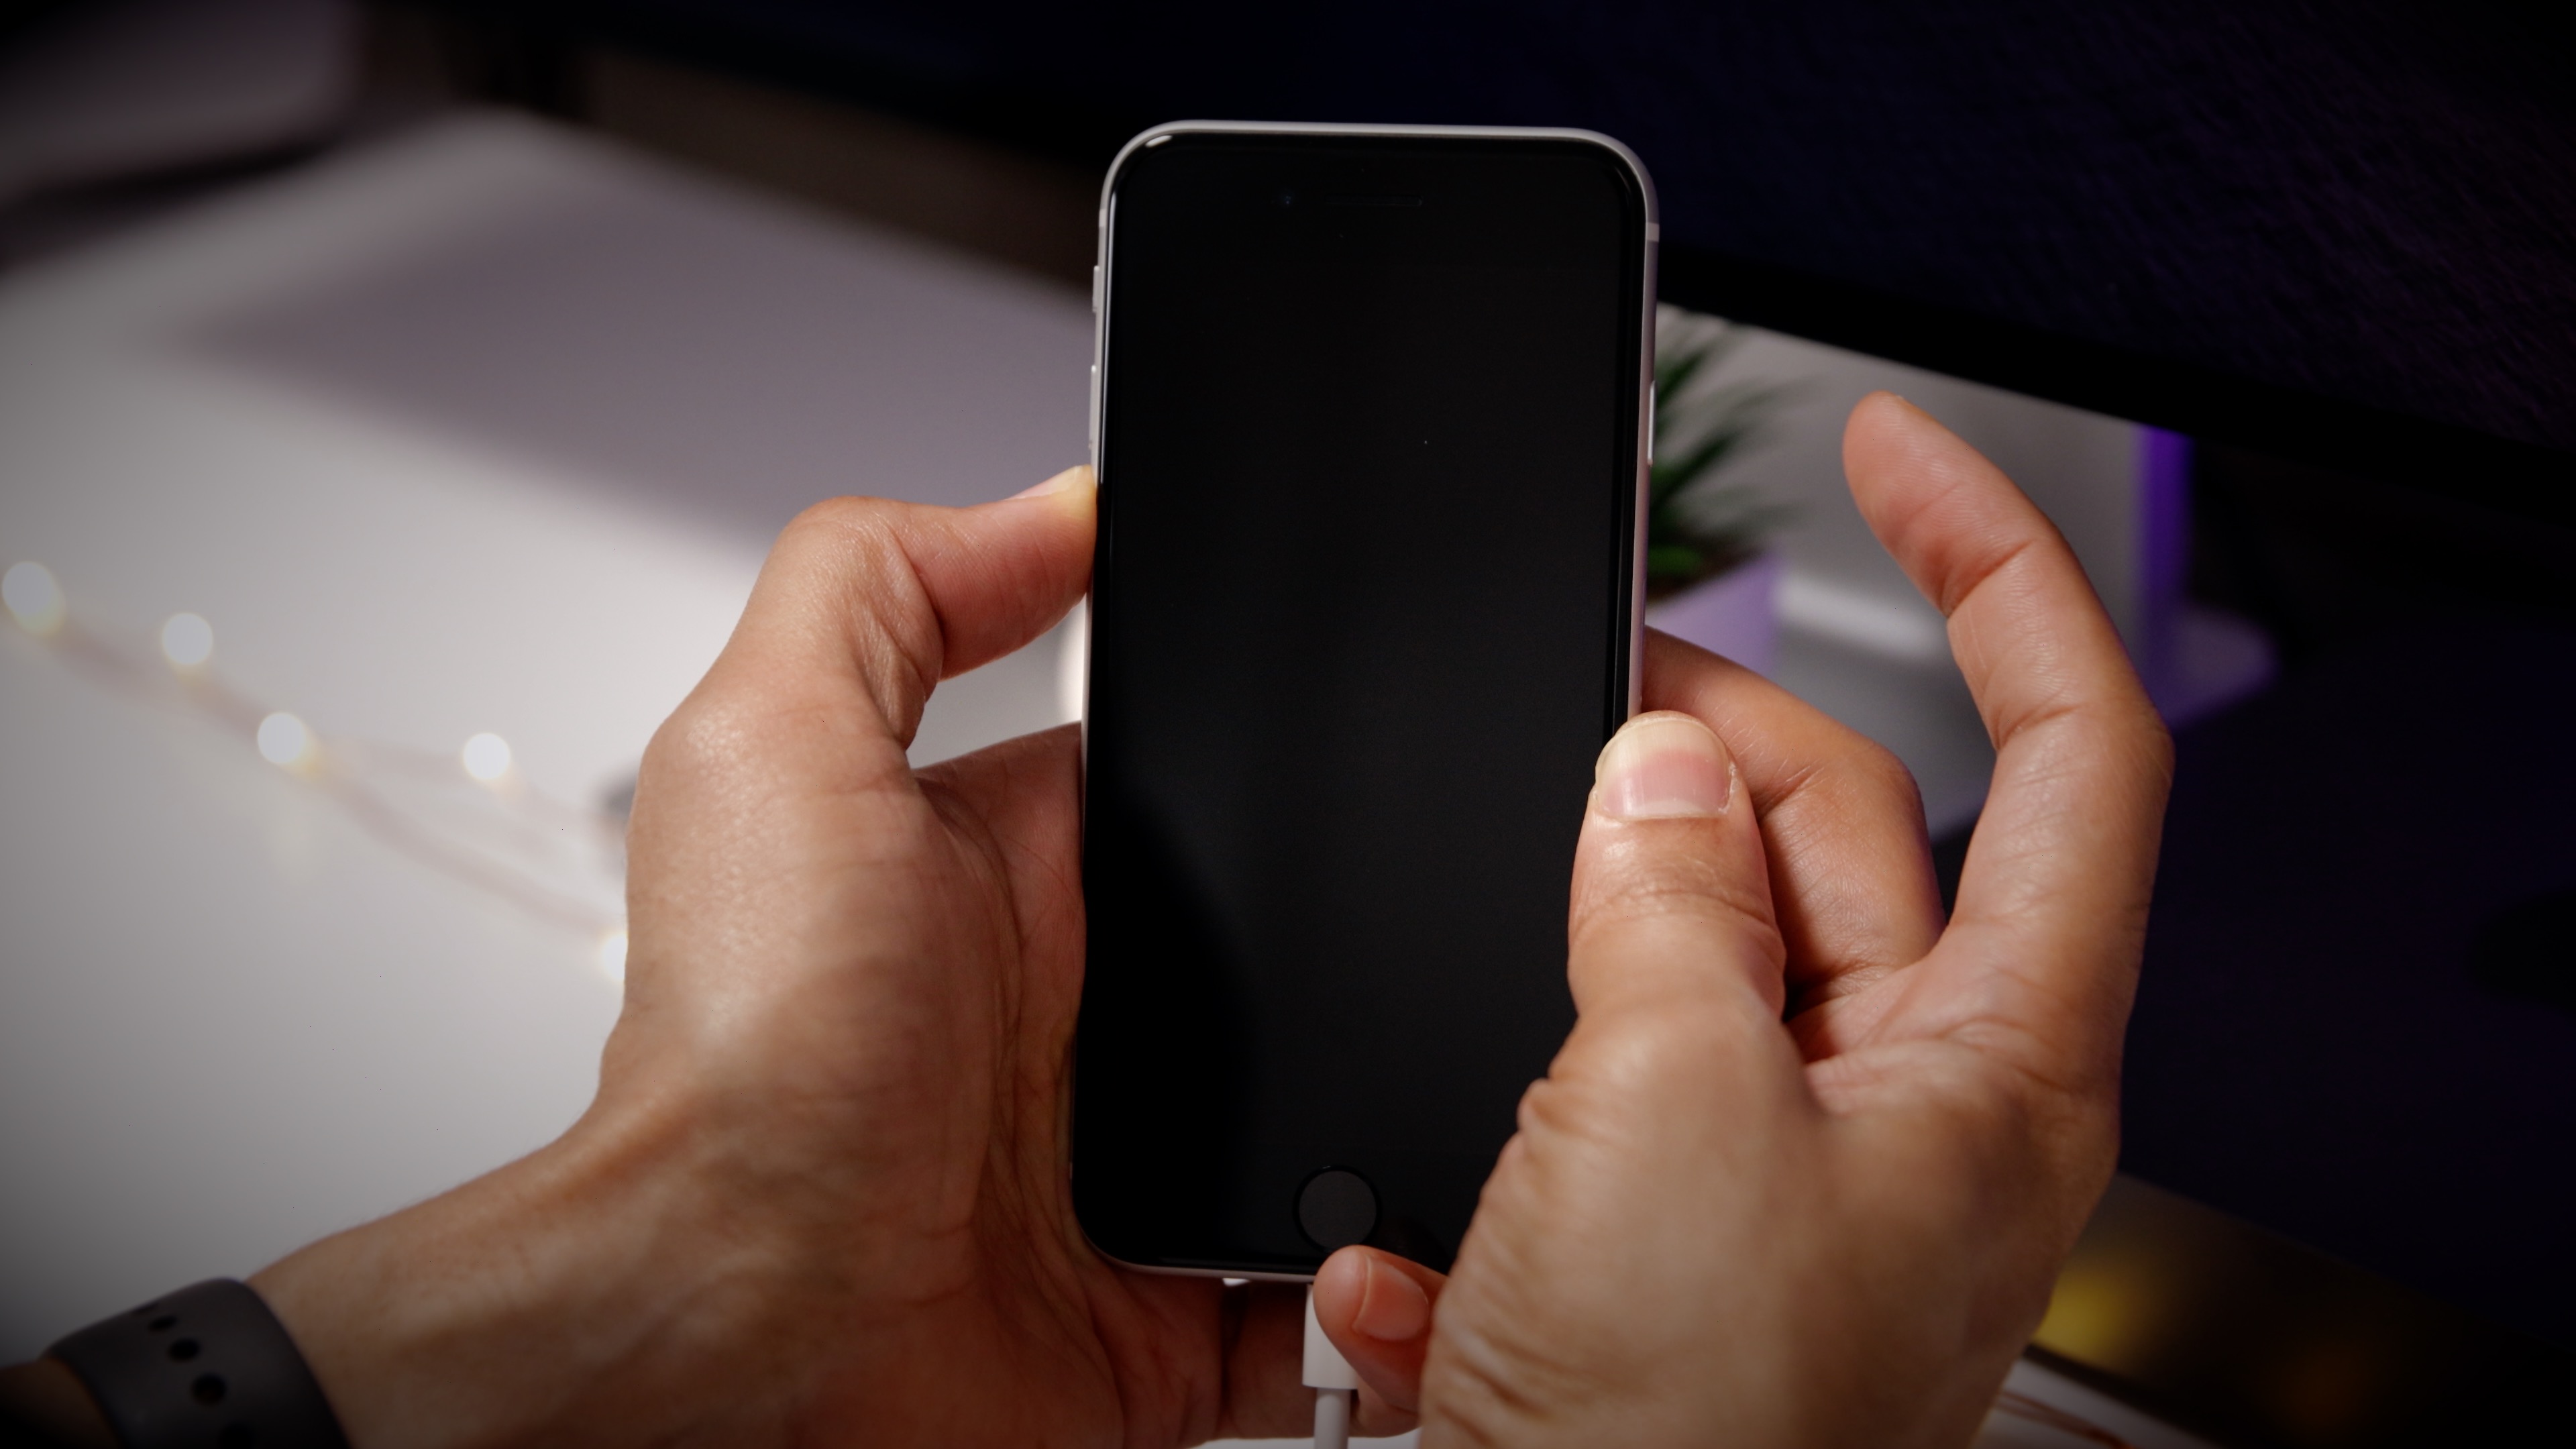
Step 5: While still holding the Side button, press and hold the Volume Down button for five seconds, and release the Side button while continuing to hold the Volume Down button for another 10 seconds. The screen should remain black.
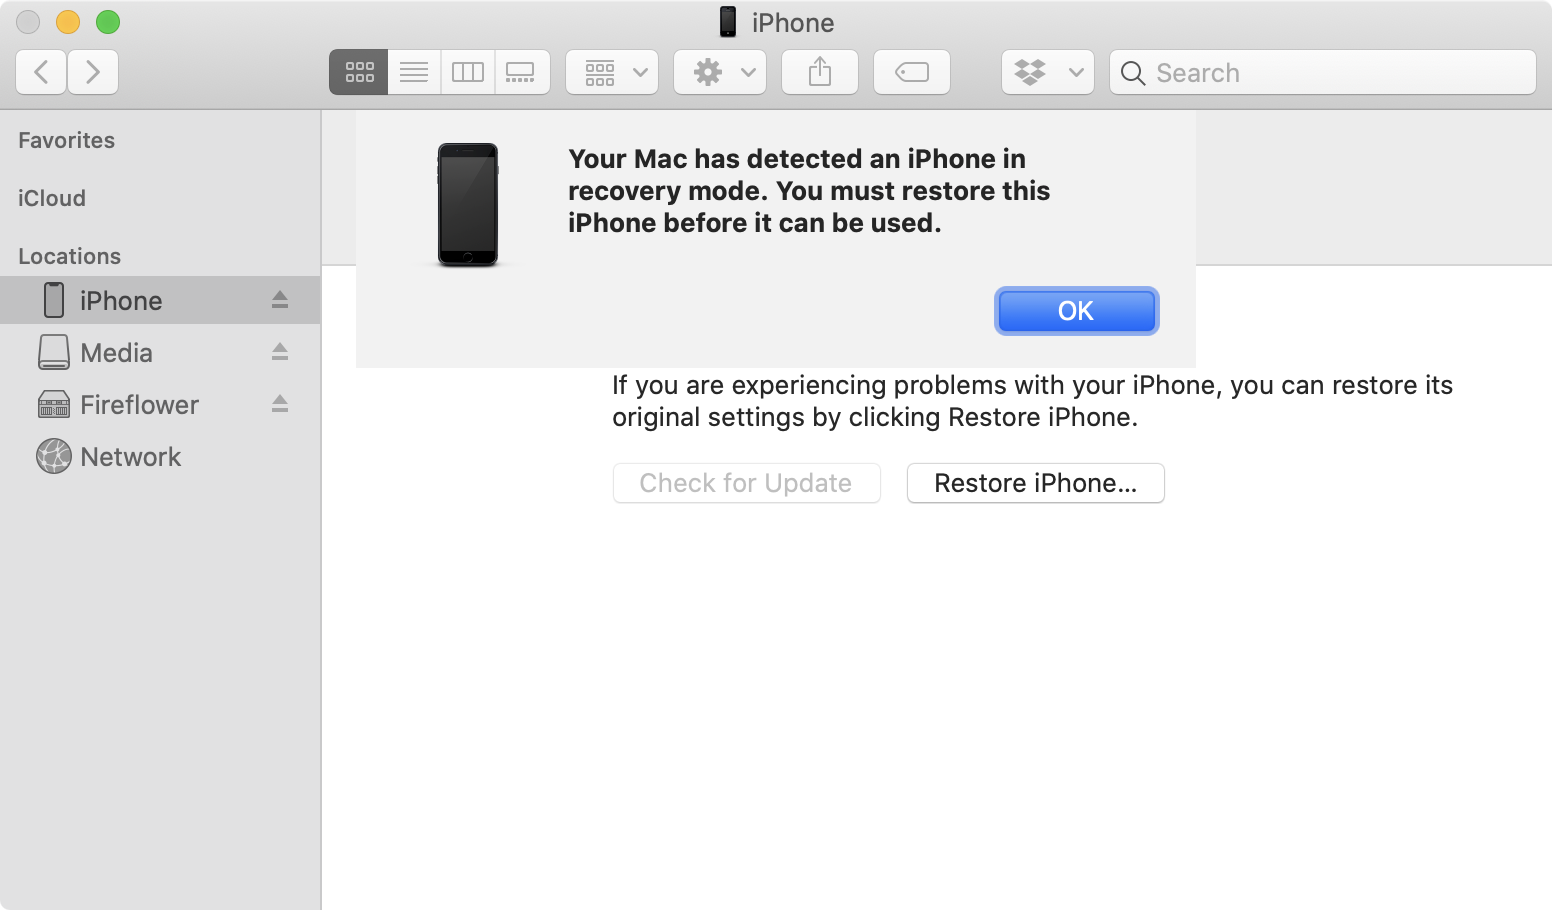
Step 6: Finder will automatically launch, and you will see a message stating, “Your Mac has detected an iPhone in recovery mode. You must restore this iPhone before it can be used.”
From there, you can choose to Restore your iPhone’s software.
How to exit out of recovery or DFU mode on iPhone SE
If there are no serious issues with your iPhone SE, then exiting out of recovery mode or DFU mode is a simple affair.
Step 1: Press and hold the Side button until the logo disappears.
Step 1: Press and release the Volume Up button.
Step 2: Press and release the Volume Down button.
Step 3: Press and hold the Side button until you see the Apple logo appear on screen.
How to temporarily disable Touch ID and require a passcode on iPhone SE
To temporarily disable Touch ID on the iPhone SE, do the following:
Step 1: Press and hold the Side button and Volume Up button simultaneously.
Step 2: When the off dialogue appears and you feel a vibration release the buttons.
Step 3: Tap the Cancel button.
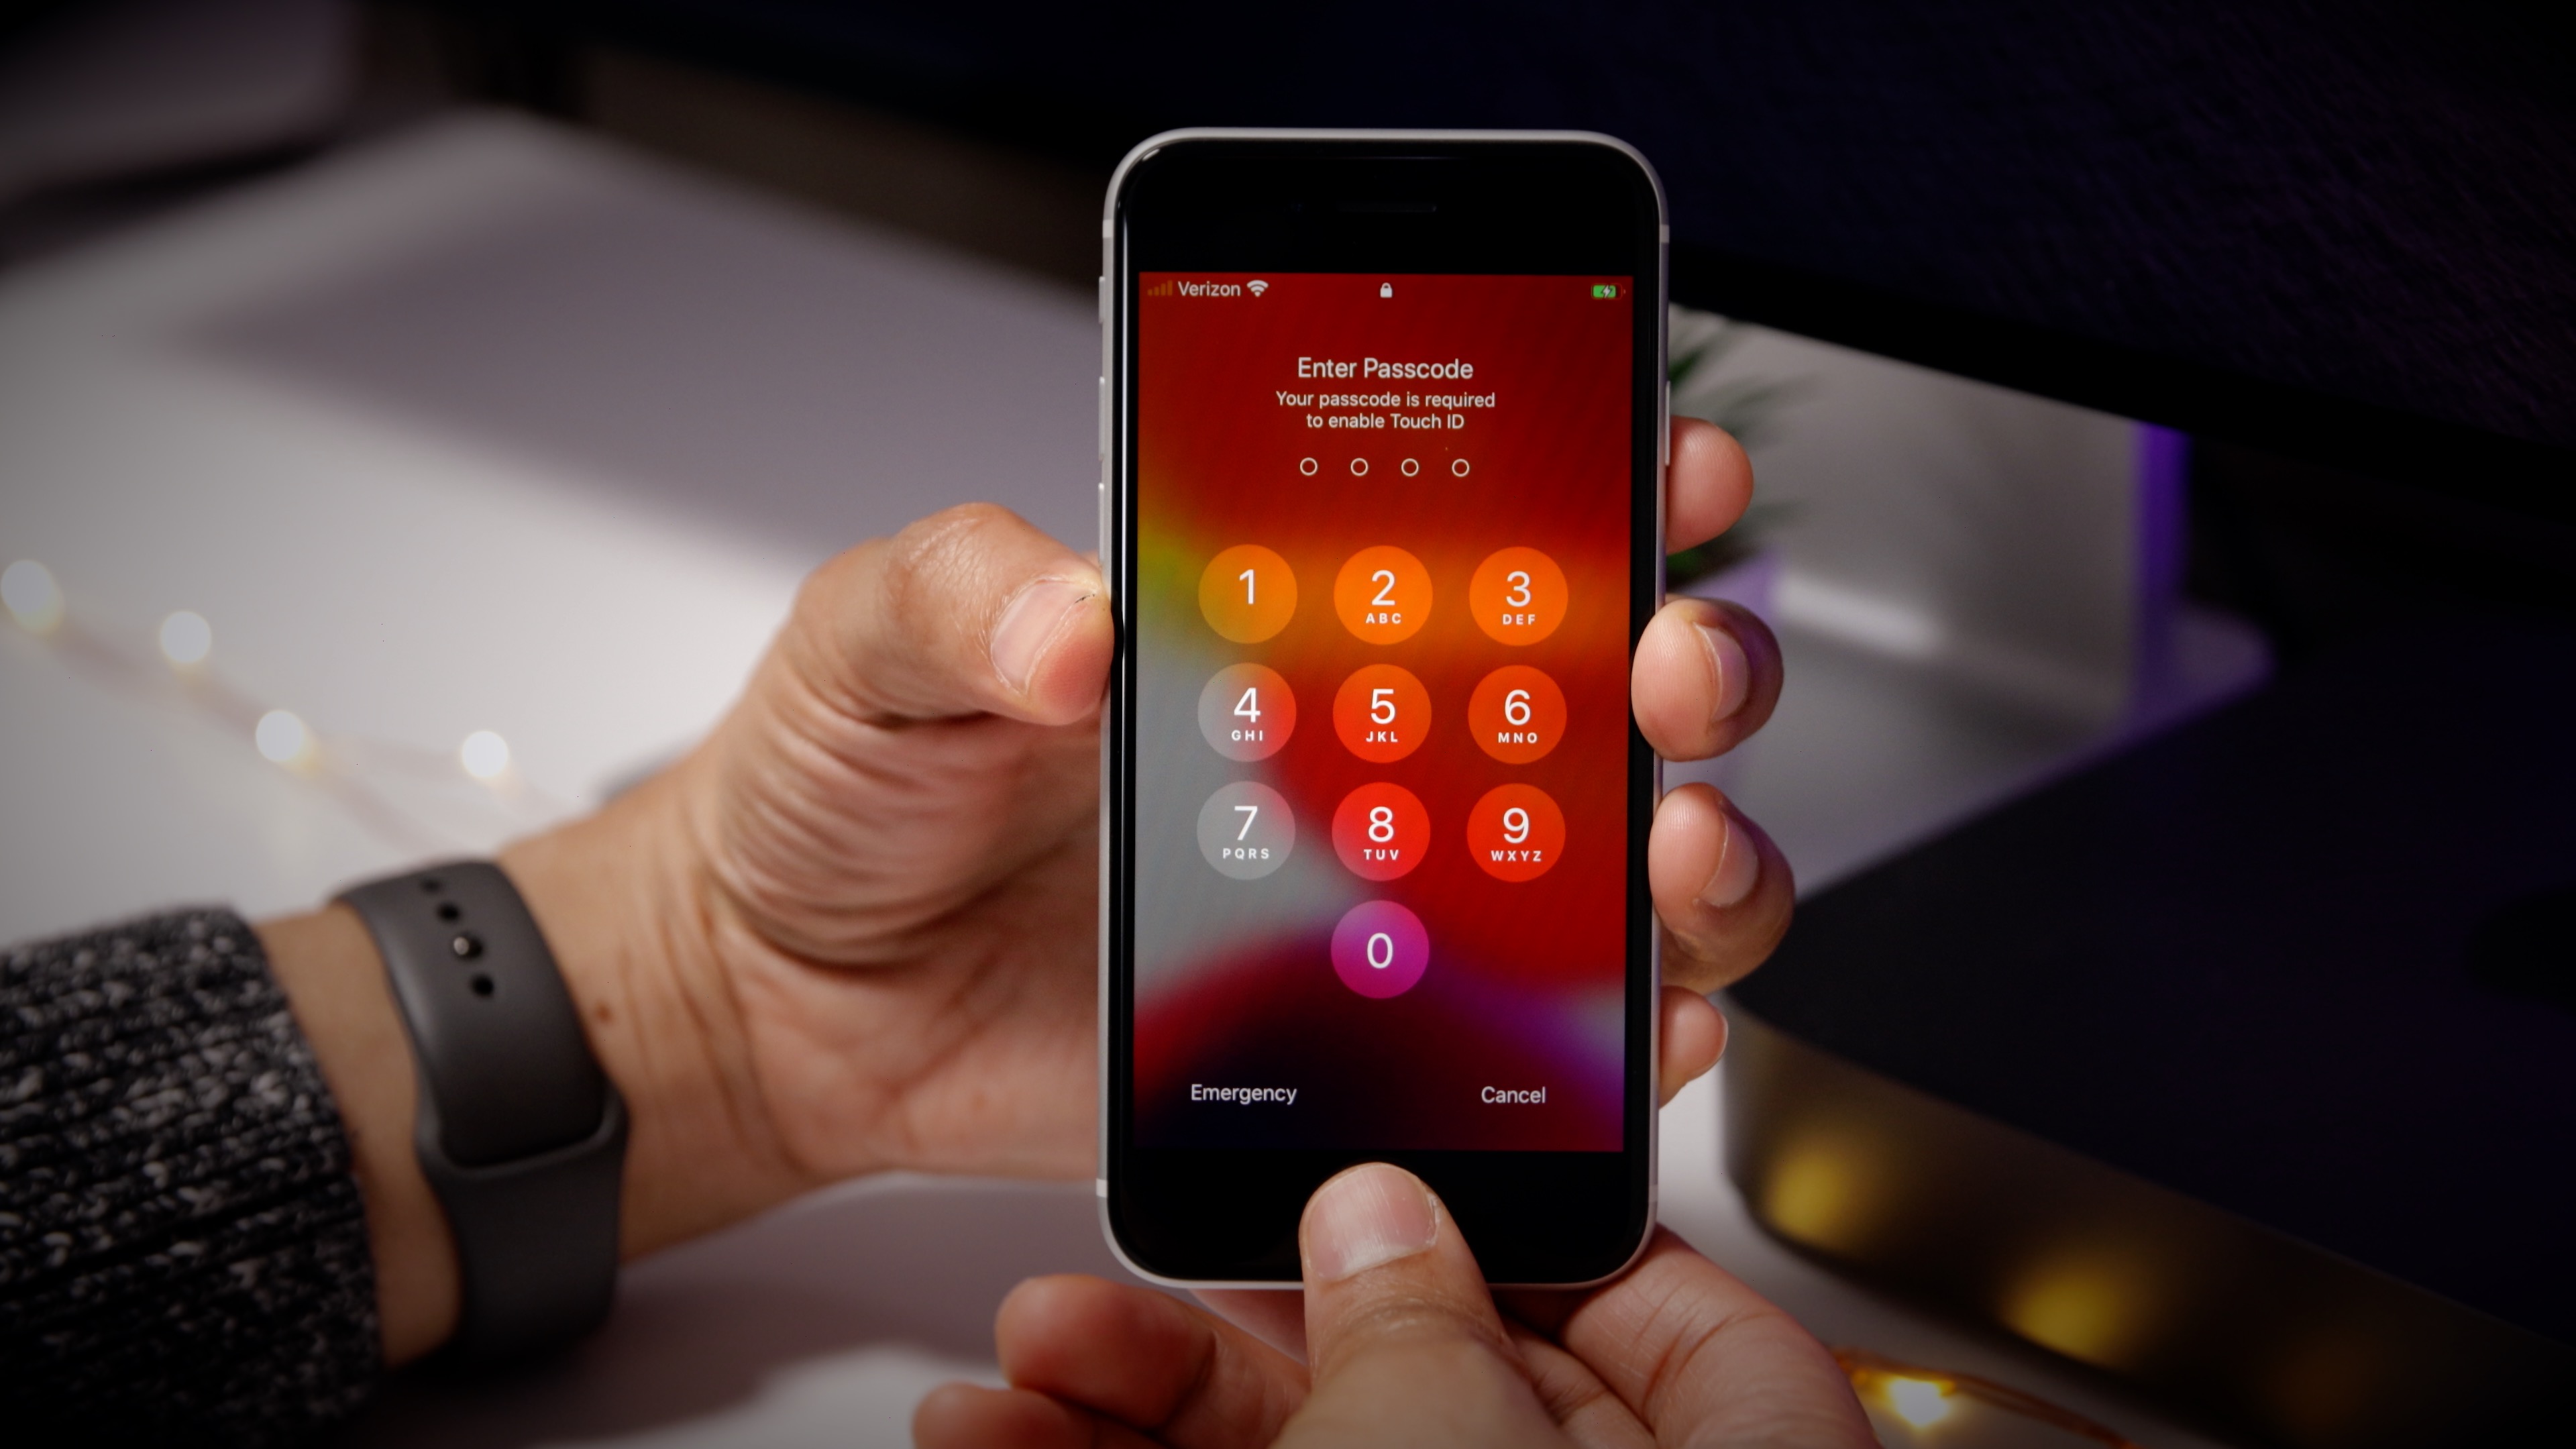
Your iPhone SE will be locked, and Touch ID will be temporarily disabled. You’ll be required to authenticate with your passcode before Touch ID is automatically re-enabled.
How to invoke Emergency SOS on iPhone SE
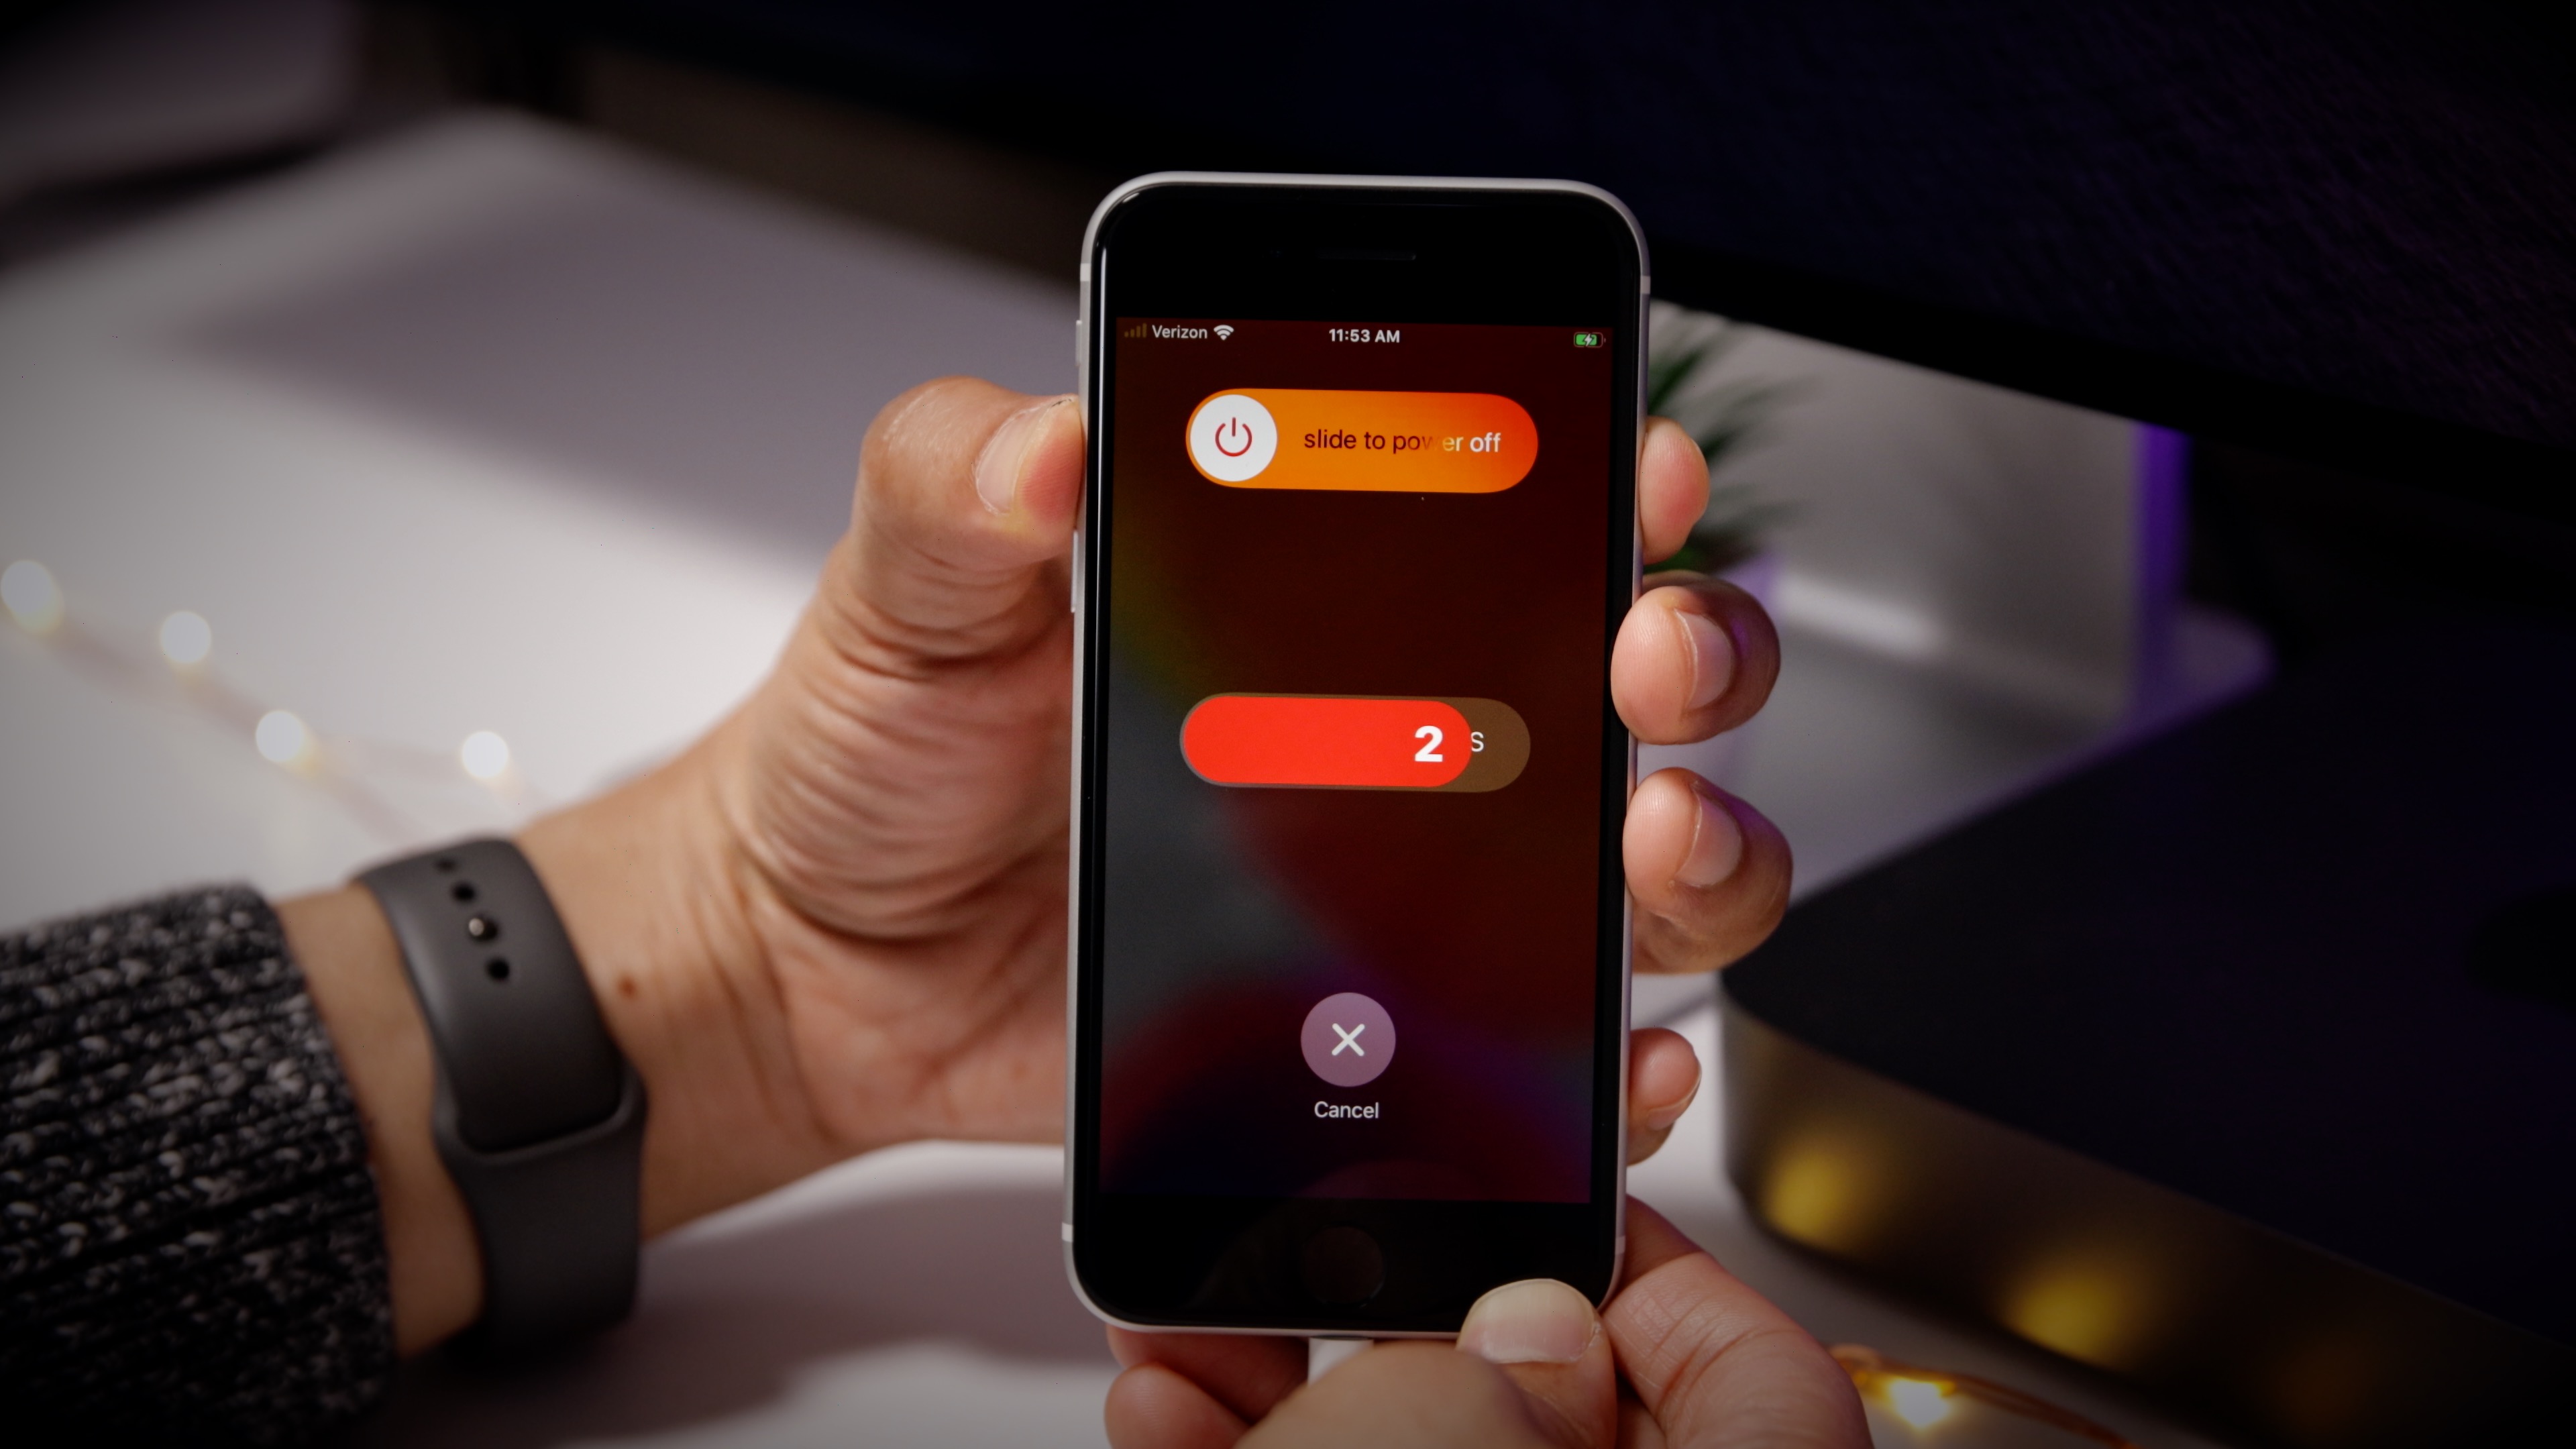
Step 1: Press and hold the Side button and Volume Up button simultaneously and these buttons until the Emergency SOS slider counts down to 0.
9to5Mac’s Take
Basic functionality, such as being able to force restart your iPhone SE in case you experience a problem with iOS, are functions that every iPhone user should know. If you familiarize yourself with these few functions, you’ll be able to quickly address future issues with your iPhone SE should the need arise.
What do you think? Sound off down below in the comments with your thoughts.
Author: Jeff Benjamin.
Source: 9TO5Mac


