If you do iPhone photography, common sense may say you pick up the iPhone, open the camera app and just start shooting. That’ll work, but there happen to be so many settings and features hidden within these phones that stump way too many people, even some of us pros sometimes.
Thus, I was inspired to jot them all down and explain them one by one, with tips on what I think are the best settings for each one of my top 13. And I’m singling out the iPhone here because 1) I’m an iPhone user, and 2) I think the 13 Pro is far and away the best smartphone camera on the market.
To begin, let’s assume you’ve updated to iOS 15, the latest operating system. Next, open the camera app. Here’s what you’ll see, and what I personally recommend.
Basic Settings in the Camera App
![]()
From left to right:
1. Flash: OFF
Leave it off. The smartphone flash, when used in dark situations, generally looks like you’re lighting someone with a blow torch. Try using the flashlight from a friend’s phone instead. It’s softer.
2. Night Mode: ON
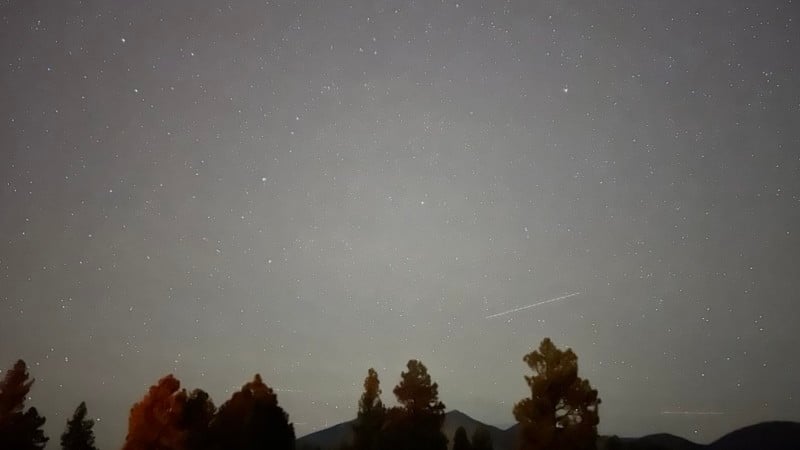
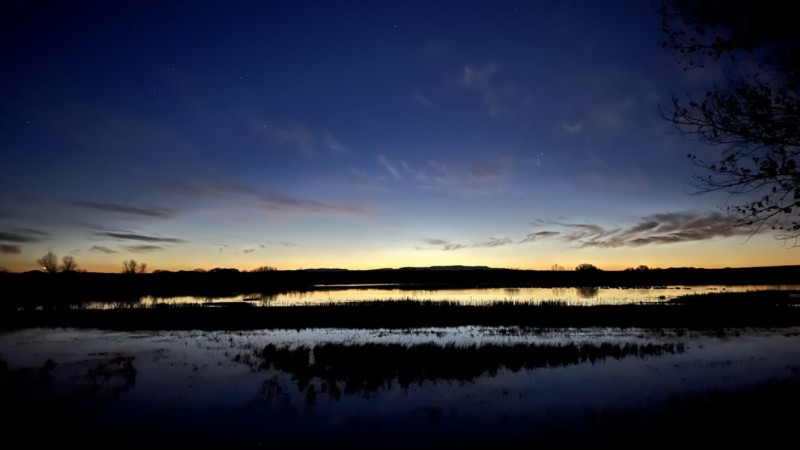
This is an automatic setting that only kicks in once it gets dark, (really! You won’t see it during the day.) Night Mode opens the shutter to let in more light, as long as 30 seconds, which many of us pros do with our expensive cameras for taking night skies and the like.
You can use Night Mode handheld, but for best results, you want the camera on a tripod. Otherwise, Apple won’t let you go to the full 30 seconds; it will just give you a second or so exposure. For truly dark shots, you need the shutter open long. I shot these shots below in total darkness. Pretty cool, right?


3. Live Photos: ON
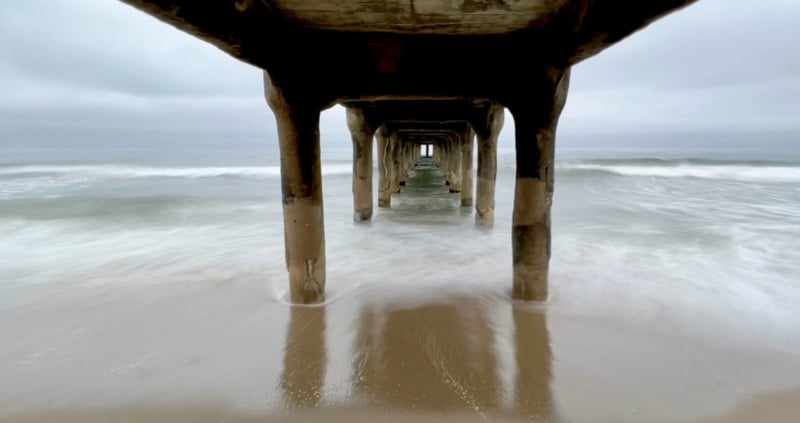
A fun feature that brings in seconds of video for your stills. You can make little loops and bounces, and they’re fun, but the best feature is long exposure. You can get long, milky flowing water by using the Long Exposure trick here, and no tripod is needed here. Just take the shot, and afterward, click the tab above the photo, and select Long Exposure.
4. Styles: MAYBE
Only on the iPhone 13 Pro models so far. Styles will give your image a different look, similar to a filter, with Rich Contrast, Vibrant, Warm and Cool. I, as a rule, don’t like taking photos with filters, because if you don’t like the look later, you’re stuck with it. I’d rather do my processing afterward in a software program like Lightroom. But Apple reminds me that you can take the filters off by selecting the Edit tab in the Photos app after you’ve snapped the shutter and bring it back to normal.
5. Aspect Ratio: 16:9
You’re given a choice. Cinematic, widescreen 16:9, like on flat-screen TVs, square for Instagram, or 4:3, the standard, like the TV sets of the old days.
16:9 is actually a crop from inside the 4:3 version, but for my money, the wider shot looks better on the big beautiful iPhone screen, so that’s what I use. Additionally, since I make videos that are also 16:9, it’s way easier to insert photos into the timeline this way.

6. Exposure Control: YES
No, iPhone photography isn’t 100% automatic. If an image is too dark or light, you can adjust it here with the exposure slider.
7. Timer: 10 SECONDS
My most used feature from this menu, for selfies. Click on the timer, and you get 3 or 10 seconds to get your shot, which gives you more time to compose and get it right, without having to get your hand awkwardly to snap the shutter.
8. More Filters: OFF
Beyond Styles, you get a series of Instagram-like filters here, including black and white, warm and vivid, and like the Styles, good news, they will revert to normal in editing, so have fun. But I’d still rather shoot normally, and do my edits in Lightroom after the fact.
8a. Those Other Two Buttons
This should be obvious to anyone who’s ever used a smartphone camera before, but the big white button is the shutter and the circle is for switching to the selfie camera.
More Settings Outside the Camera App
9. Burst Mode
Keep your finger down on the volume up or down button and you’ll be able to stop action by taking many photos in a row.
10. Shutter for Video
Want to get a video quickly and don’t have time to switch from Photo to video? Just slide the shutter to the left, and you’ll get a 1080p video instantly.
11. Video Settings: 4K/24
The iPhone offers so many choices on frame rates and speeds. Here’s what I use: 4K at 24 frames per second, which is great for a cinematic look. If storage is an issue, switch to 1080p at 30 frames, or go for 60 frames if you’d like to either speed or slow down the footage. For slower footage, just use Slow Motion at 1080p at 120 frames per second, which looks fabulous. There is another option, at 240 frames per second, but it’s really, really slow, too much so for my tastes.

12. Portrait Mode
A fantastic way to blur the background on portraits. Don’t forget that you have the option of a wide or portrait lens, 1x and either 2.5 (on the 11 and 12) or 3x on the 13. Portraits will always look better with the bigger numbers. You also have studio lighting choices. I default to Studio Light for the best overall, most pleasing look, and High Key Light Mono for headshots.
13. Instant Camera
Don’t wait for the camera app to open. Just click the camera icon on the home screen and it will take you straight there.

Bonus
Lenses
If you have a late model iPhone, you get three lenses to work with. The ultra-wide (.5) is equivalent to a 12mm and this is great for wide vistas. The 1x is a normal wide-angle, equivalent to 26mm while the telephoto on the iPhone 13 clocks in at 77mm, compared to 65mm on the iPhone 12 series.
Consider that you’re walking around with a 12-77mm lens, when most photographers have a 24-70mm as their go-to, all-purpose zoom lens for street and event photography, and a 16-35mm for landscapes. The iPhone lenses aren’t as tack sharp as the pro lenses, but they sure are versatile.
Cinematic Mode
Another new feature for the iPhone 13 series brings “Portrait” mode like background blur to video.
Macro
Also an iPhone 13 exclusive, you can get way, way closer than ever before with the macro feature. Try it by coming in tight on a strawberry or something else rather small.
About the author: Jefferson Graham is a Los Angeles area writer/photographer and the host of the travel photography streaming TV series Photowalks. The opinions expressed in this article are solely those of the author. This article was also published here.
Author: Jefferson Graham
Source: Petapixel


