

Lenses – they’re the heart of every photographer’s toolkit, right? But what if you stripped them away completely? The art of capturing images without a lens has been enchanting photographers for centuries and is known as pinhole photography.
In our era of hyper-advanced cameras chasing technical perfection, flawless and razor-sharp images flood our feeds. But sometimes, perfection feels cold. That’s where a digital pinhole camera flips the script.
Removing the lens invites imperfection, mystery and emotion back into the frame, producing photos that appeal to the viewer through their characteristics.
Pinhole photography: How does it work?
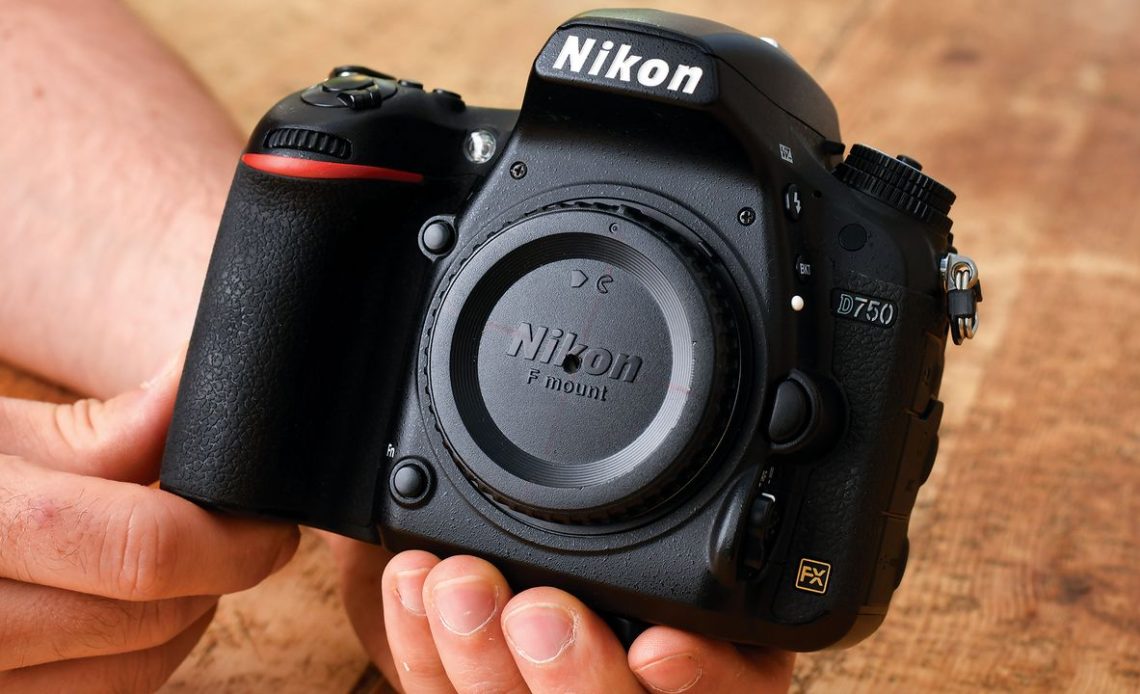
Pinhole photography works by allowing light to pass through a small hole in the body cap. The purpose of this hole is to restrict the amount of light reaching the sensor, creating an almost infinite depth of field. Instead of chasing sharpness, our focus shifts to composition.
With no lens to focus, your eye sharpens on composition and storytelling. Try experimenting with long exposures, intentional camera movement, or play with how light and shadow dance through that tiny hole. Each shot will be a unique journey.
Pinhole photography: Before & After

Before
The image is razor-sharp and shows a true-to-life depiction, but lacks an emotional engagement

After
The depth of field sets the image in a new context and gives it additional interest
Pinhole photography: Tutorial
1. Get prepared
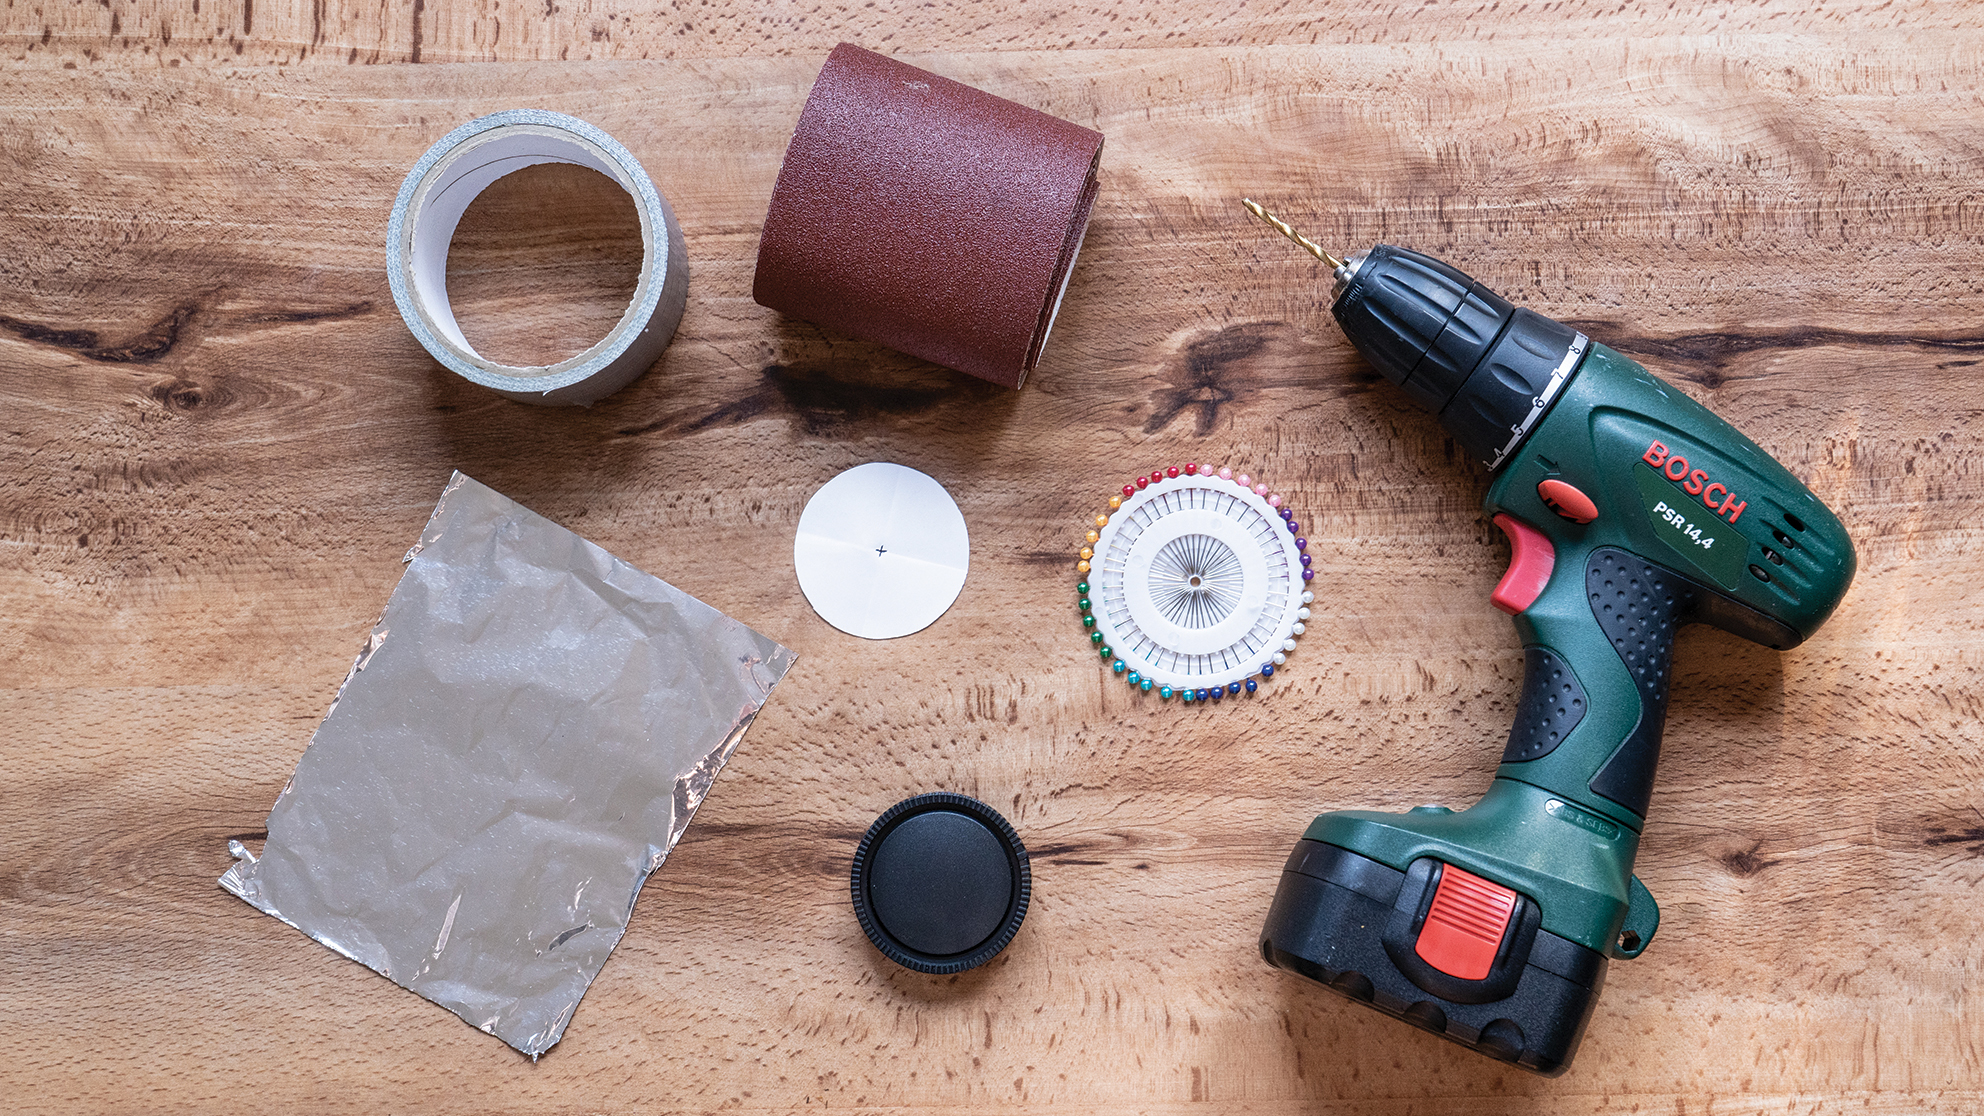
You will need a spare body cap (preferably a non-branded one to save money), an electric drill, sandpaper, aluminium foil, a needle and a piece of sticky tape. To drill the hole, create a template of your body cap out of card and mark the center point.
2. Drill the cap
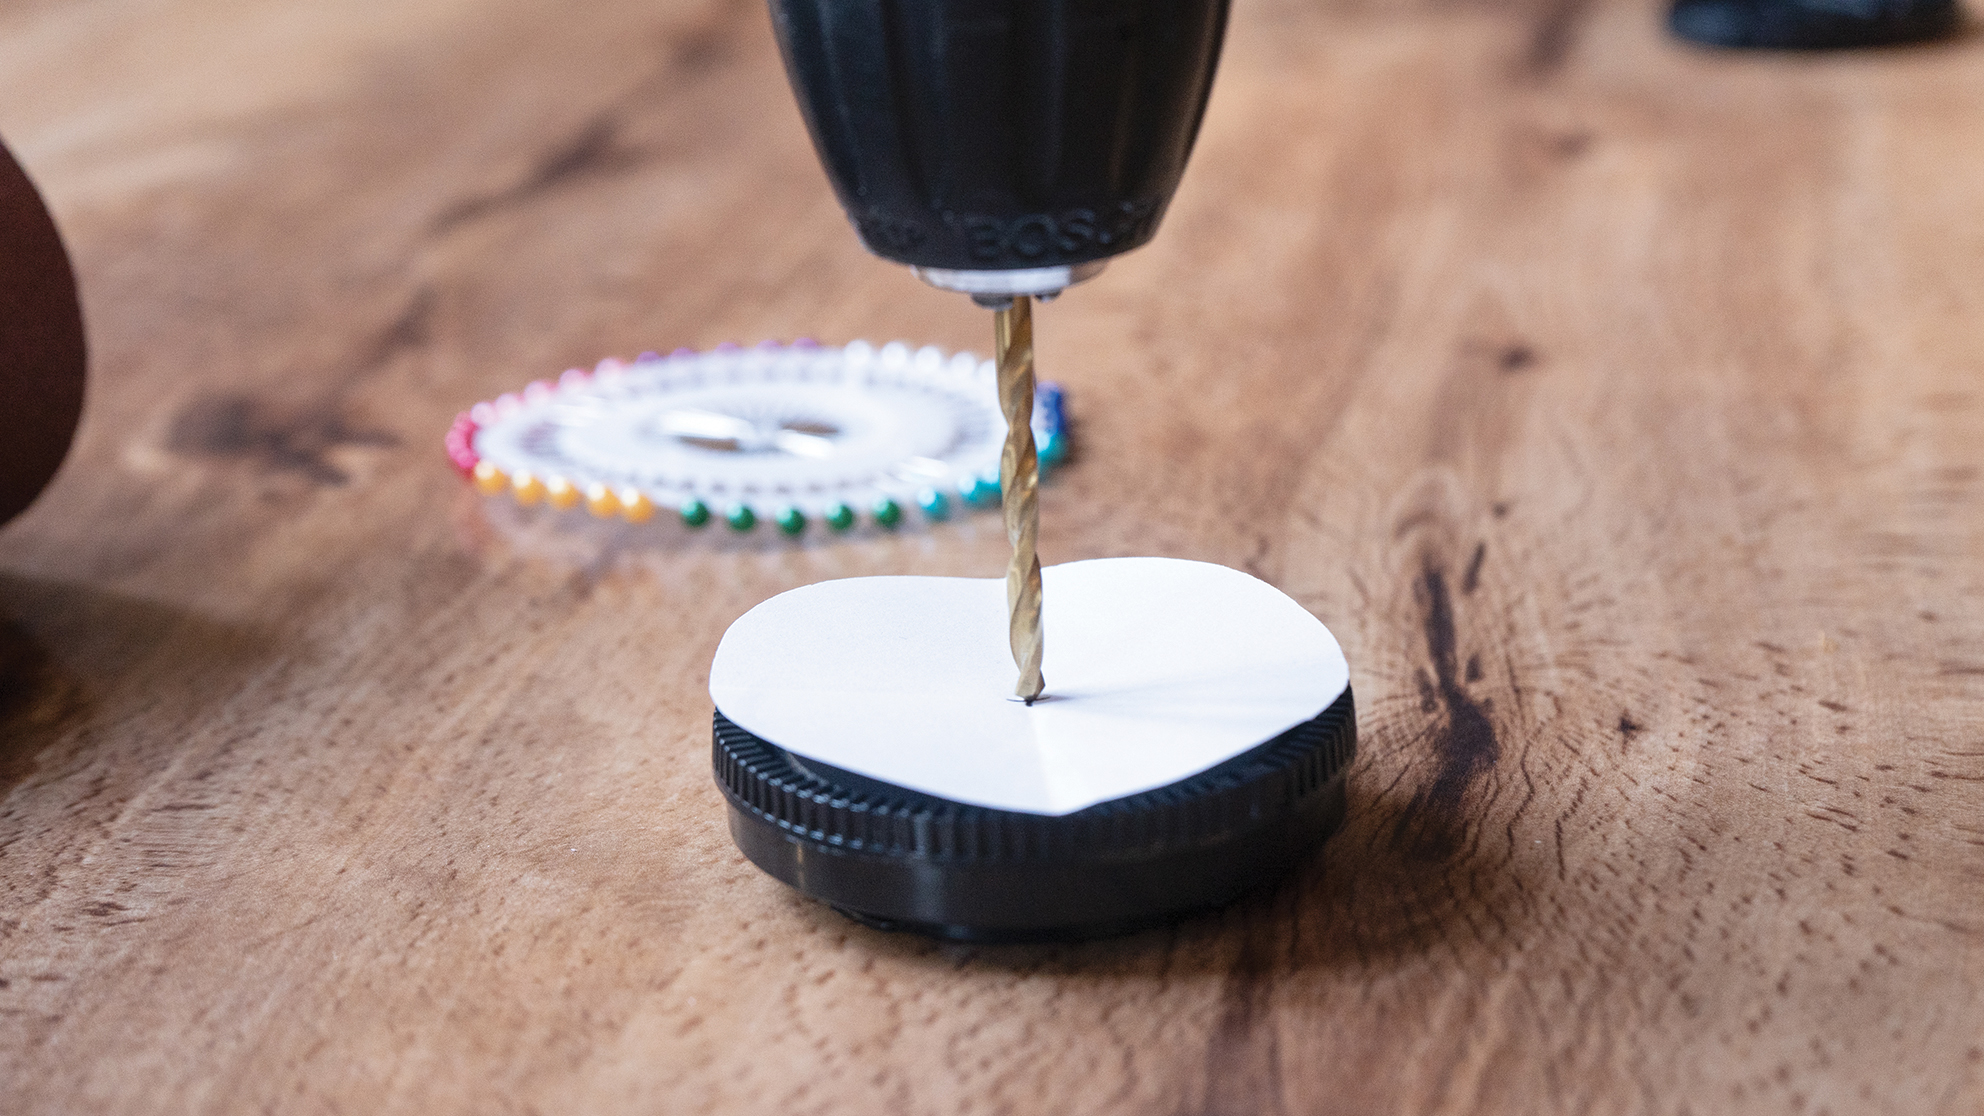
Place the template with the centre marked on it over the actual body cap and use an electric drill to create the hole. For best results, the diameter should be 3-4mm. To optimize the result, use sandpaper to remove plastic residue.
3. Create a pinhole
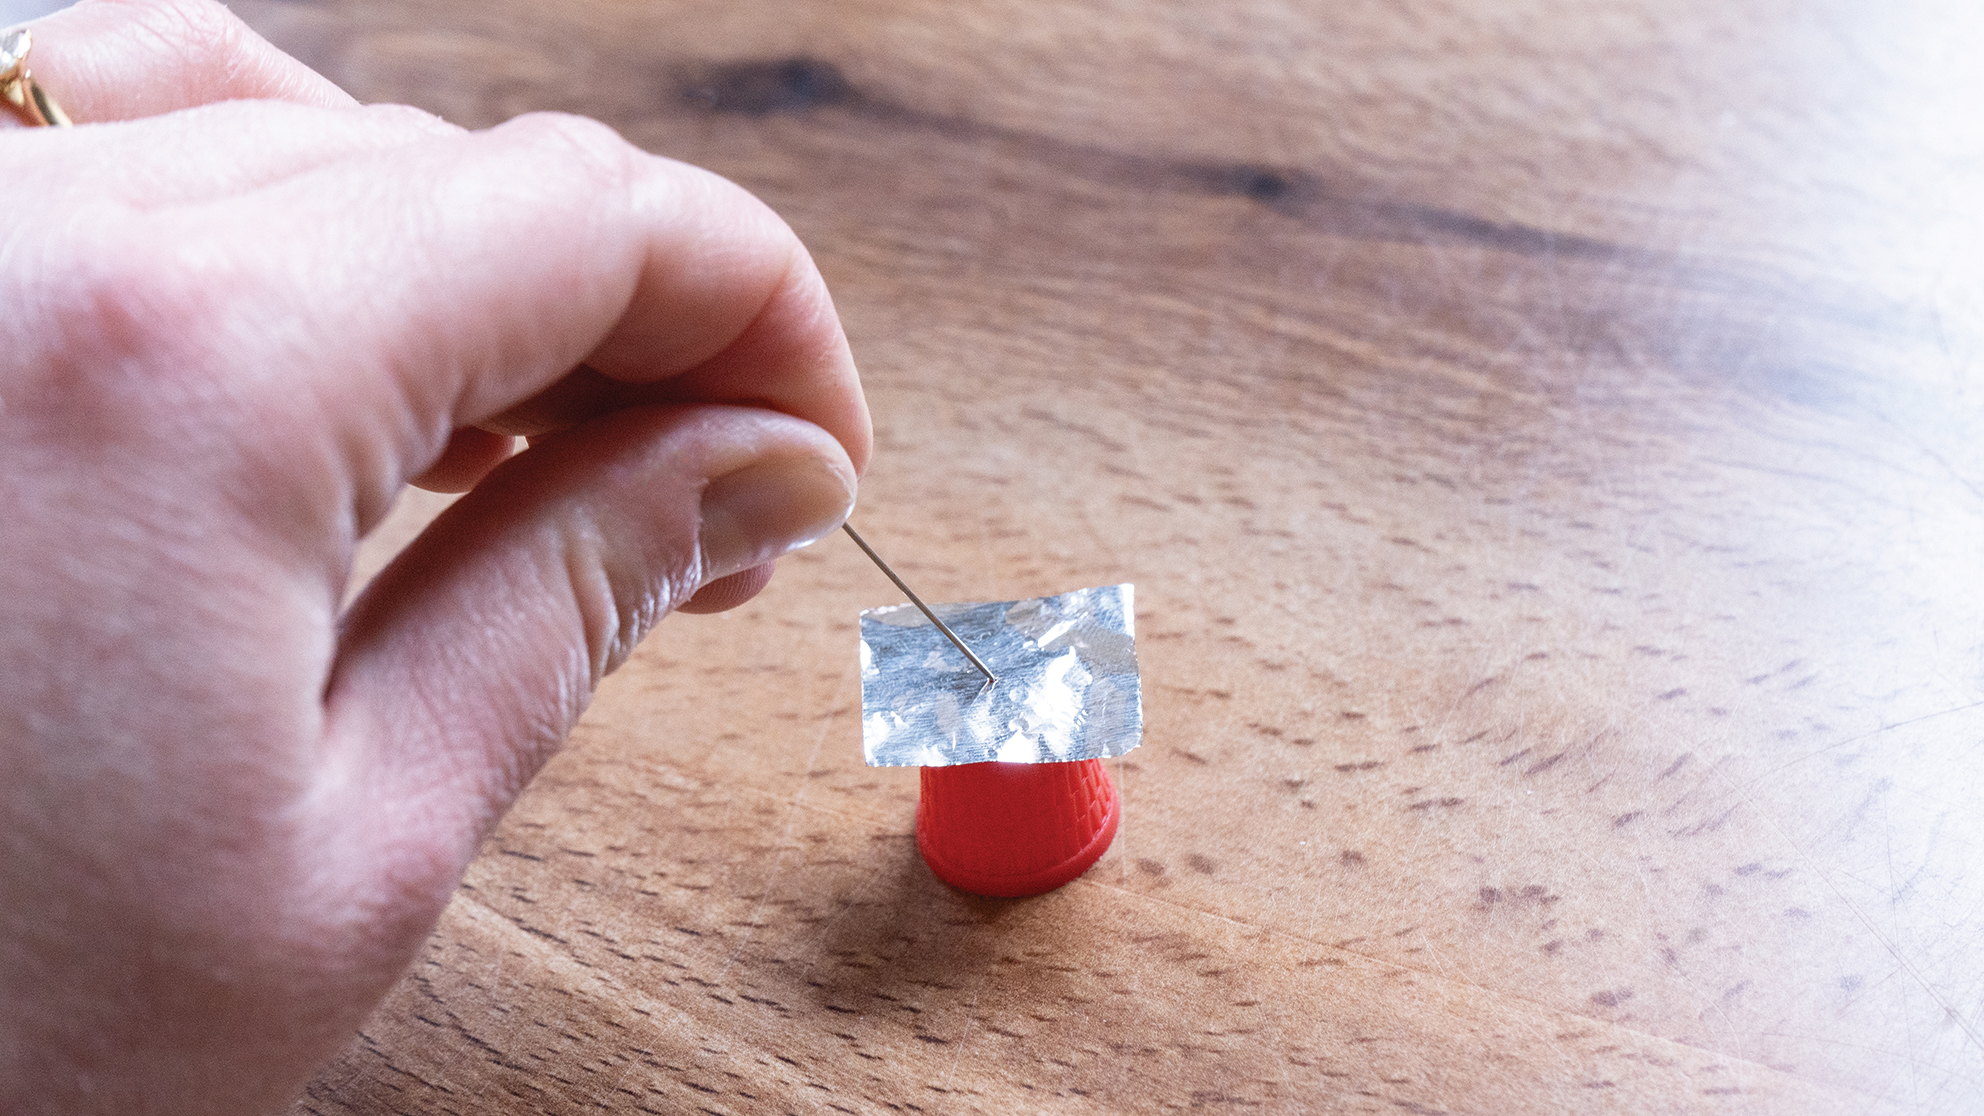
Cut off a small piece of aluminum foil and carefully prick a hole in it with the needle – the smaller the hole, the sharper the image will be. Use a piece of black tape to attach the foil to the cap in the centre of the pre-drilled hole.
4. Choose your subject

Outdoor scenes offer plenty of natural light, which makes it easier to expose the photo correctly. To enhance the pinhole effect, choose a subject that offers plenty of structure and fine details. If you are shooting indoors, consider using a flash as well.
5. Choose your settings
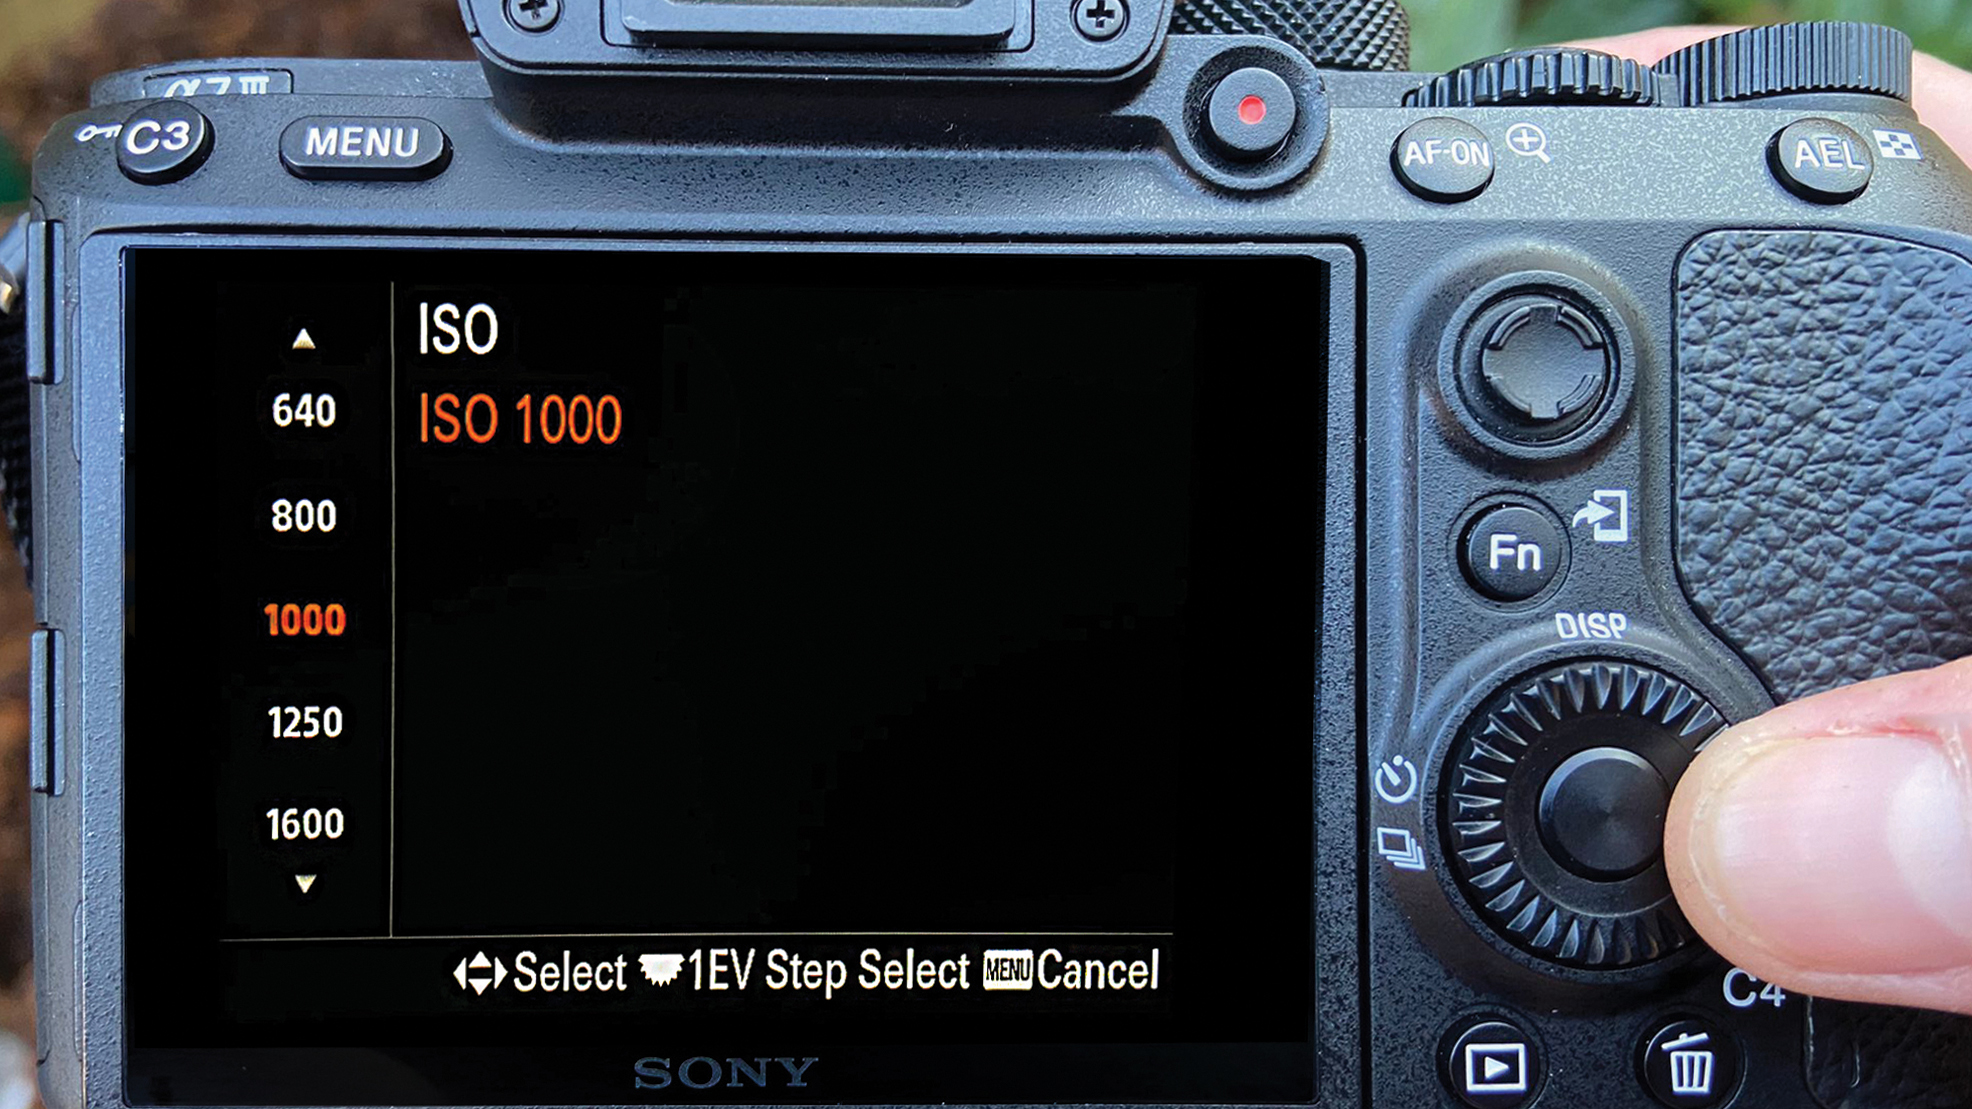
Experiment with using high ISO settings to enhance the overall brightness of your image. Take some test shots to get a feeling for the impact of the small aperture and keep an eye on the histogram to get the ideal exposure.
6. Keep still
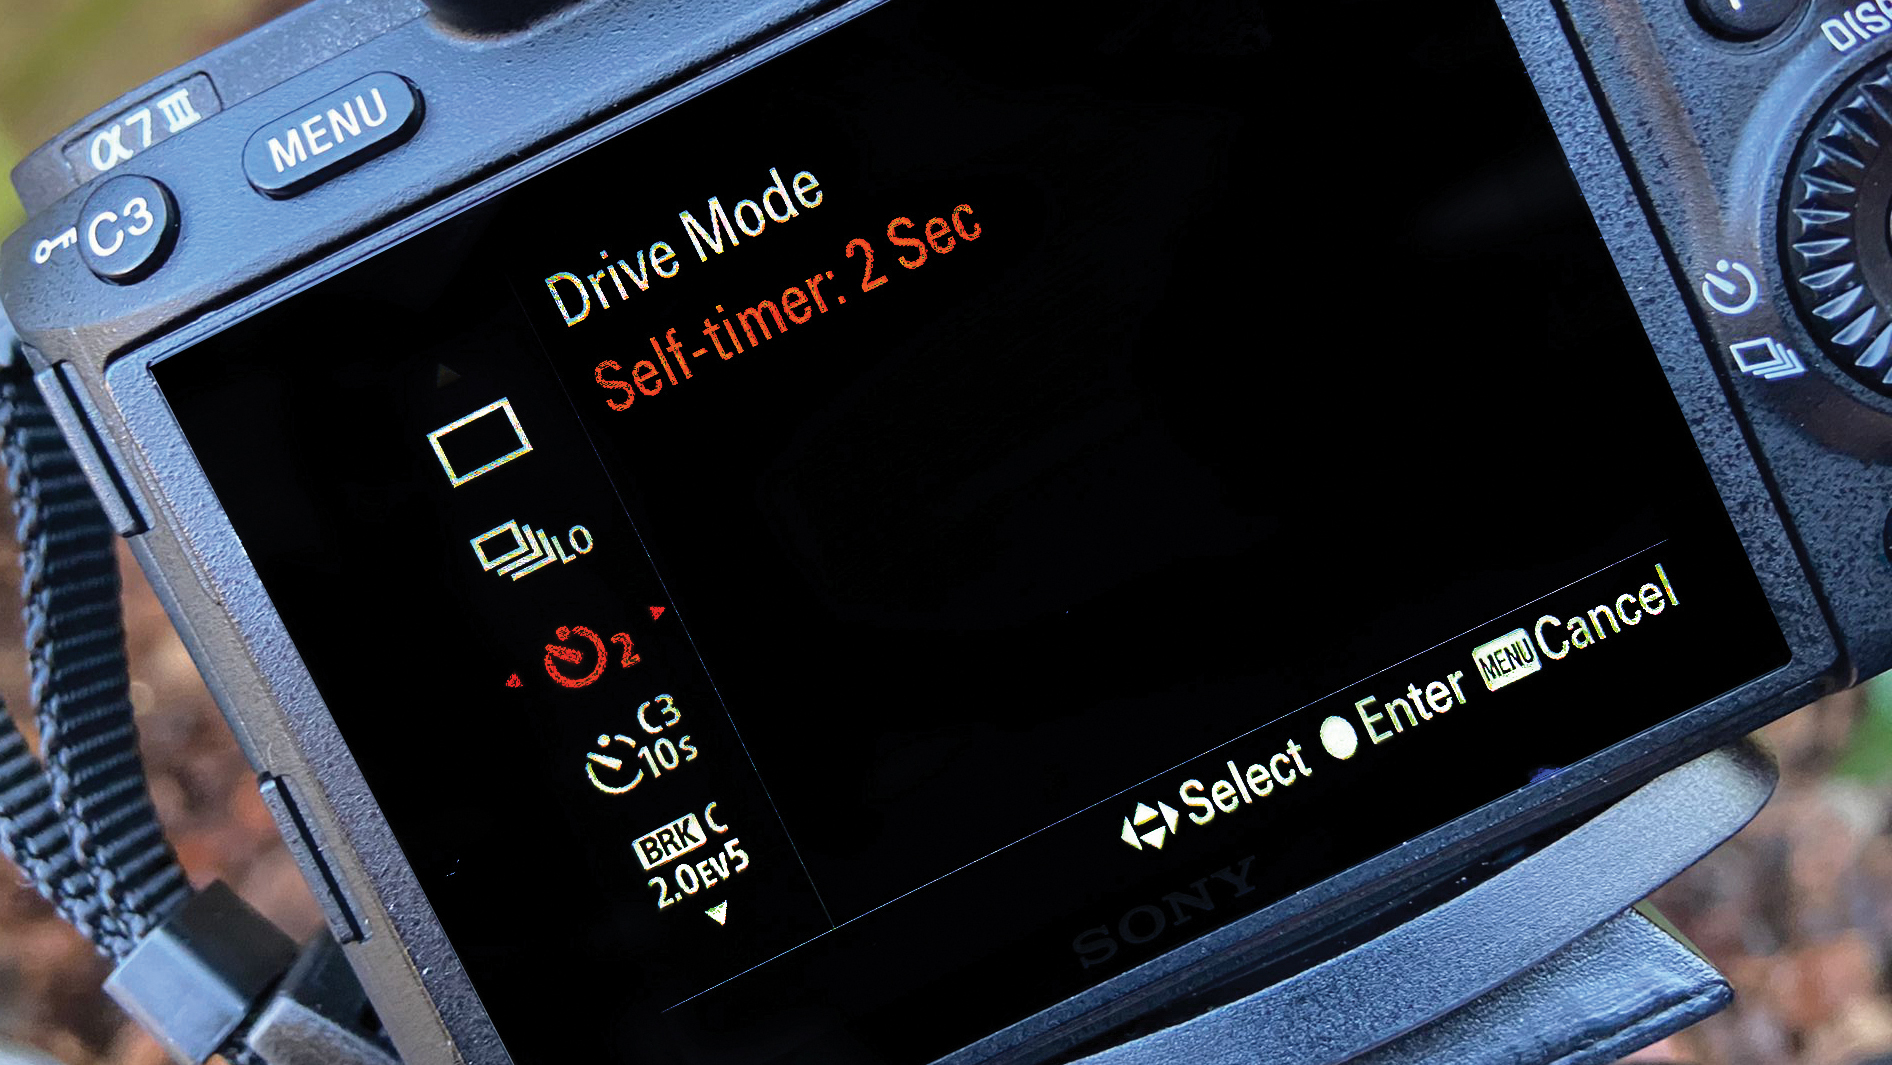
As there is only a little light reaching the camera sensor through the hole, you should work with long exposures in manual mode. For clearer results, mount your camera on a tripod and use a remote shutter release or the self-timer function.
Author: Kim Bunermann
Source: DigitalCameraWorld
Reviewed By: Editorial Team
