

Architecture photography thrives on detail – whether you’re capturing the clean lines of a modern skyscraper or the weathered textures of a centuries-old façade. While a single exposure might seem sufficient at first, it often fails to do justice to the full dynamic range and complexity of the scene. That’s where advanced editing techniques like HDR (high dynamic range) come into play.
This technique cannot be achieved solely through editing so, when shooting, capture a minimum of three images with different exposure settings. Use a tripod to keep your camera steady and focus on exposing the background first, followed by the middle and finally the foreground. You can also create handheld HDR if you want to ditch the tripod.
That said, HDR has a bit of a notorious rep; we’ve all seen those overcooked, surreal images online that give you goosebumps for all the wrong reasons. When pushed too far, HDR can ruin the subtlety that makes a photo compelling. But when applied with care and restraint – especially in black-and-white architecture photography – it can add incredible depth, texture, and tonal range that a single exposure simply can’t match.
Tools like Affinity Photo 2.0 make it easy to merge exposures and reveal the hidden character in both contemporary and historical structures, without falling into the trap of over-editing.
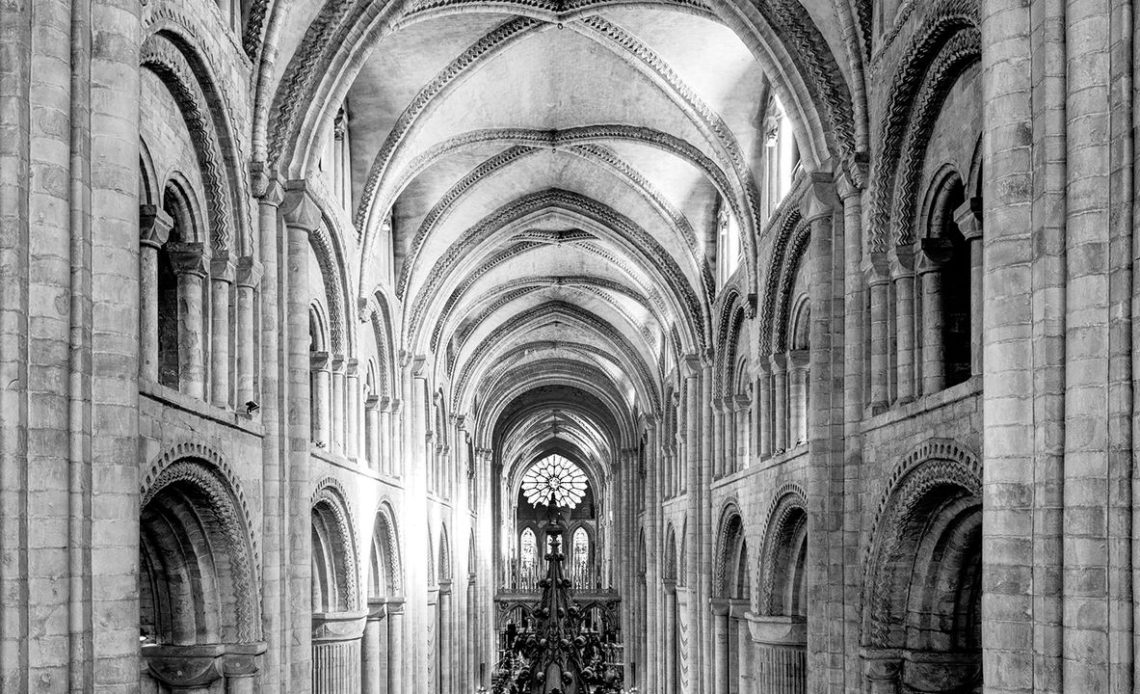
HDR architecture photography: before and after

The image has bright and dark areas, meaning that some details are lacking and the overall result is a flat shot
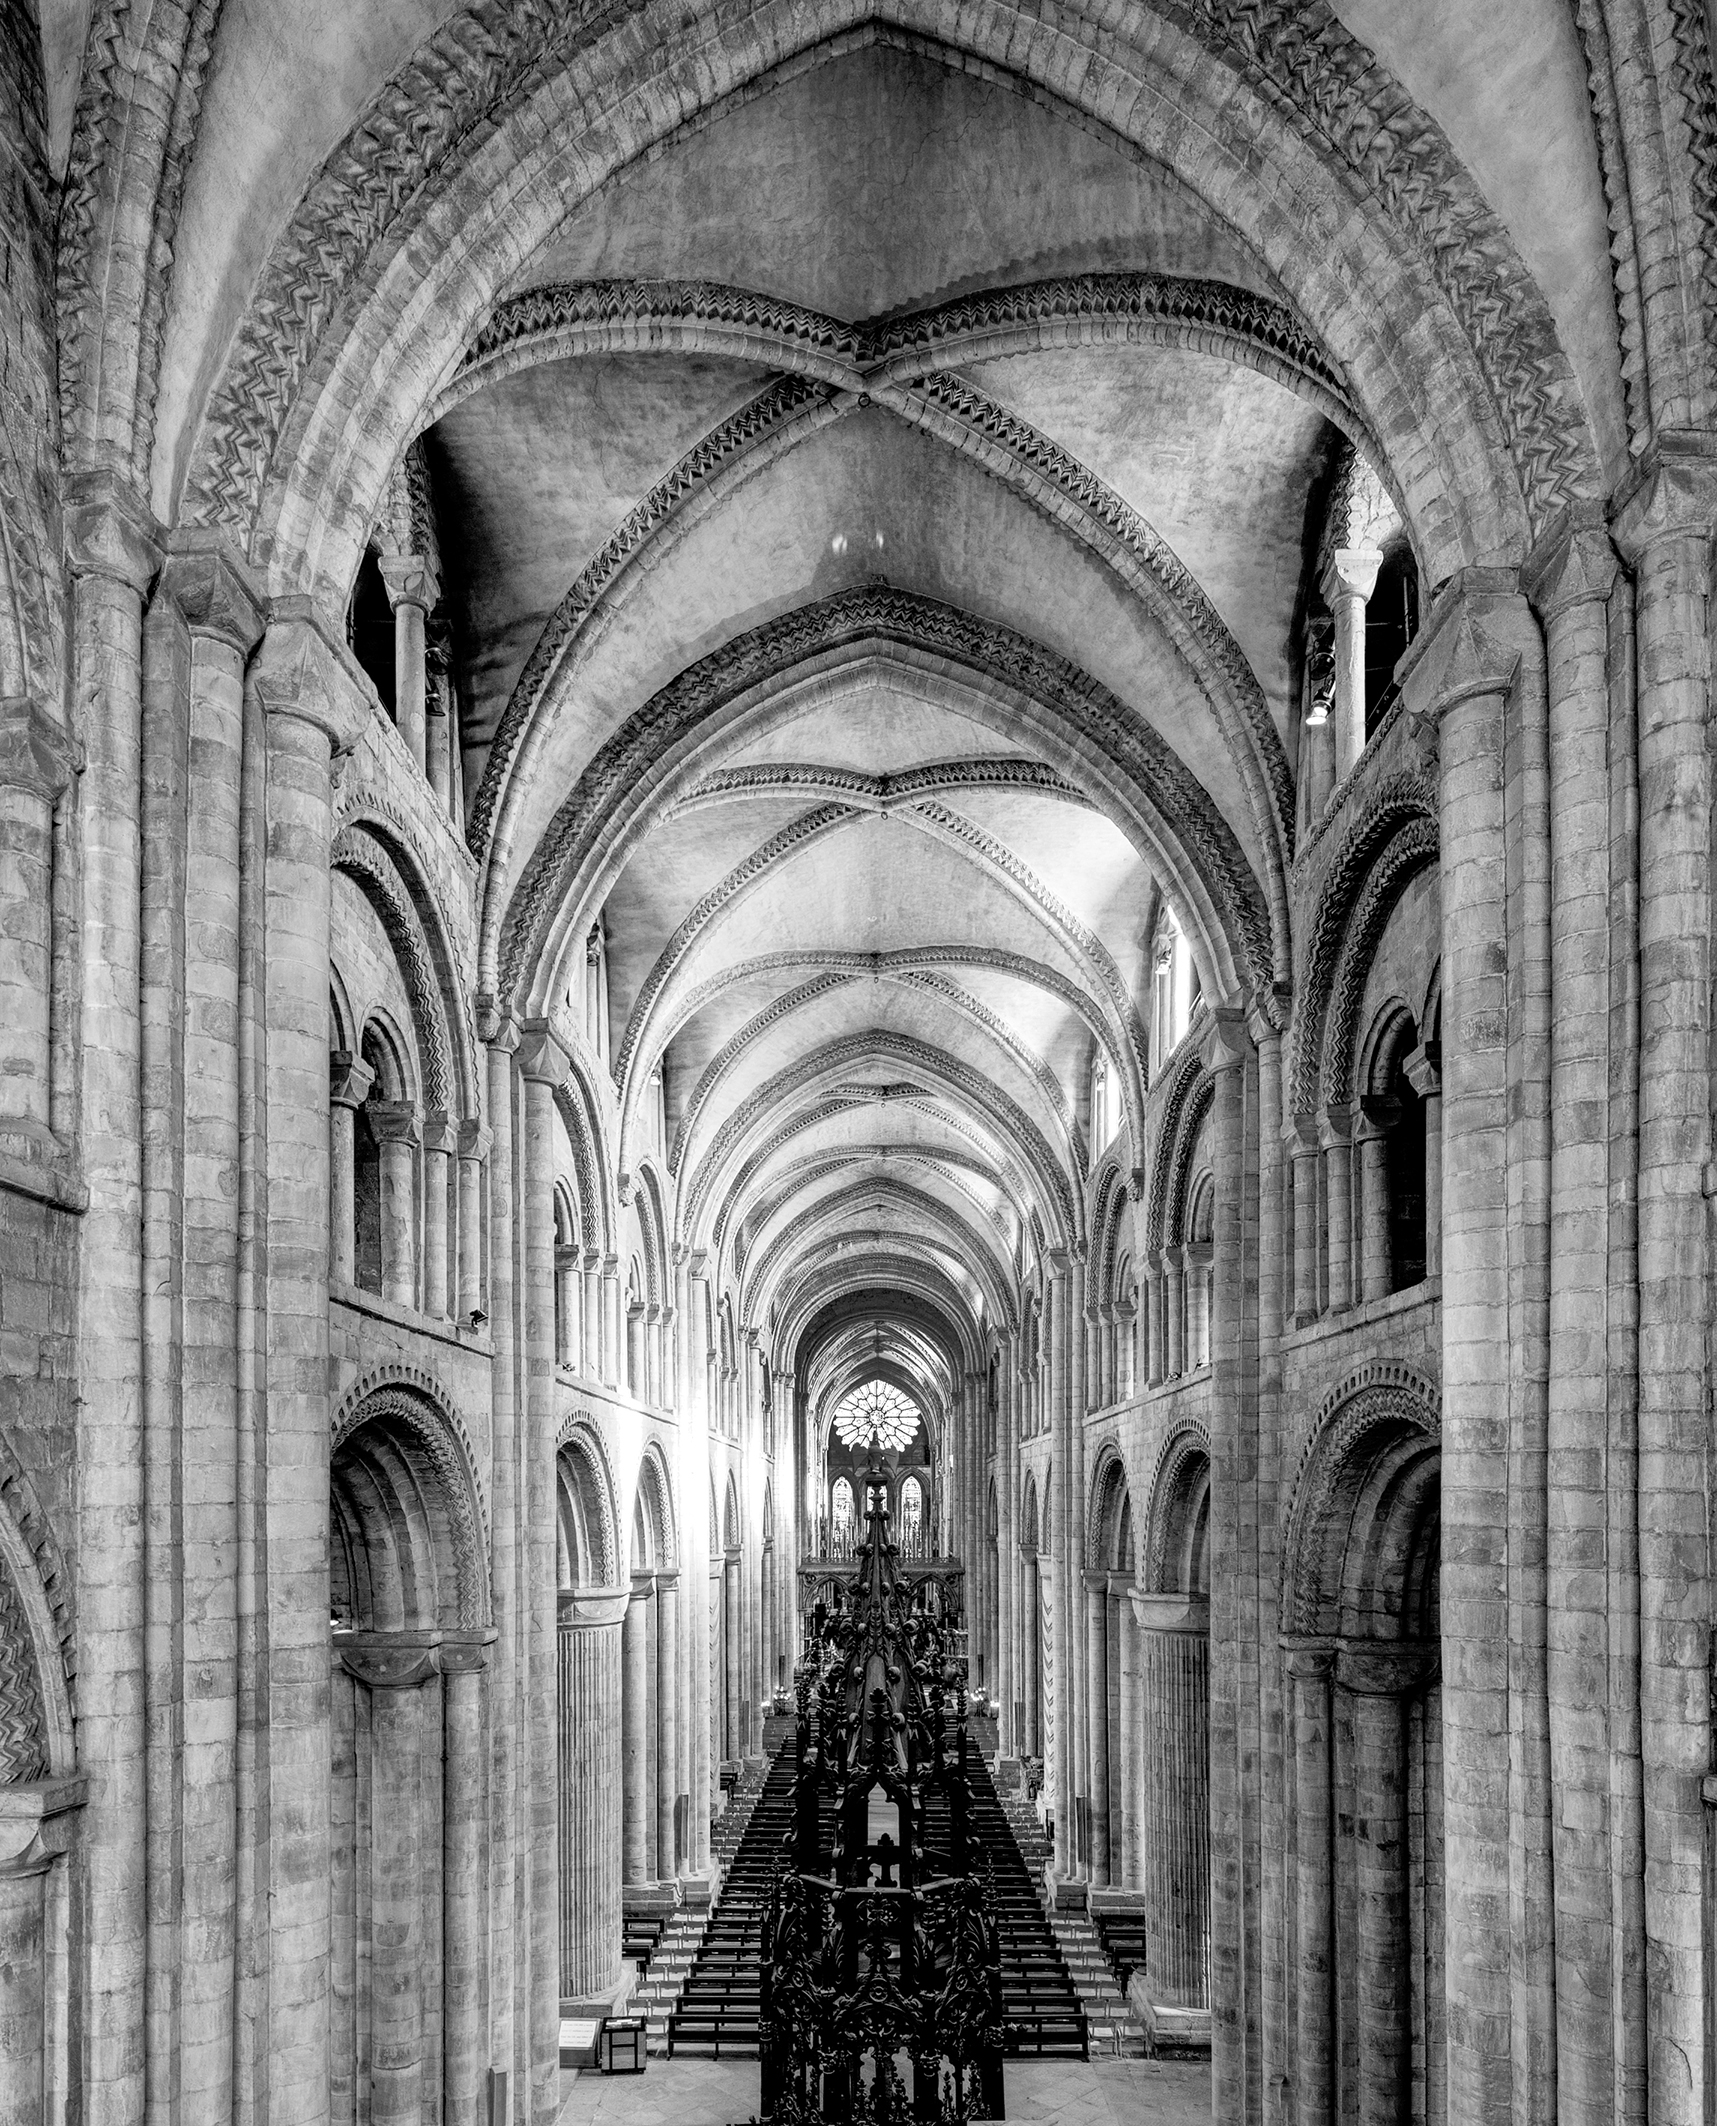
The HDR merge has accentuated the architectural details, preventing clipping at the edges of the tonal range
Tutorial
1. Prepare and select
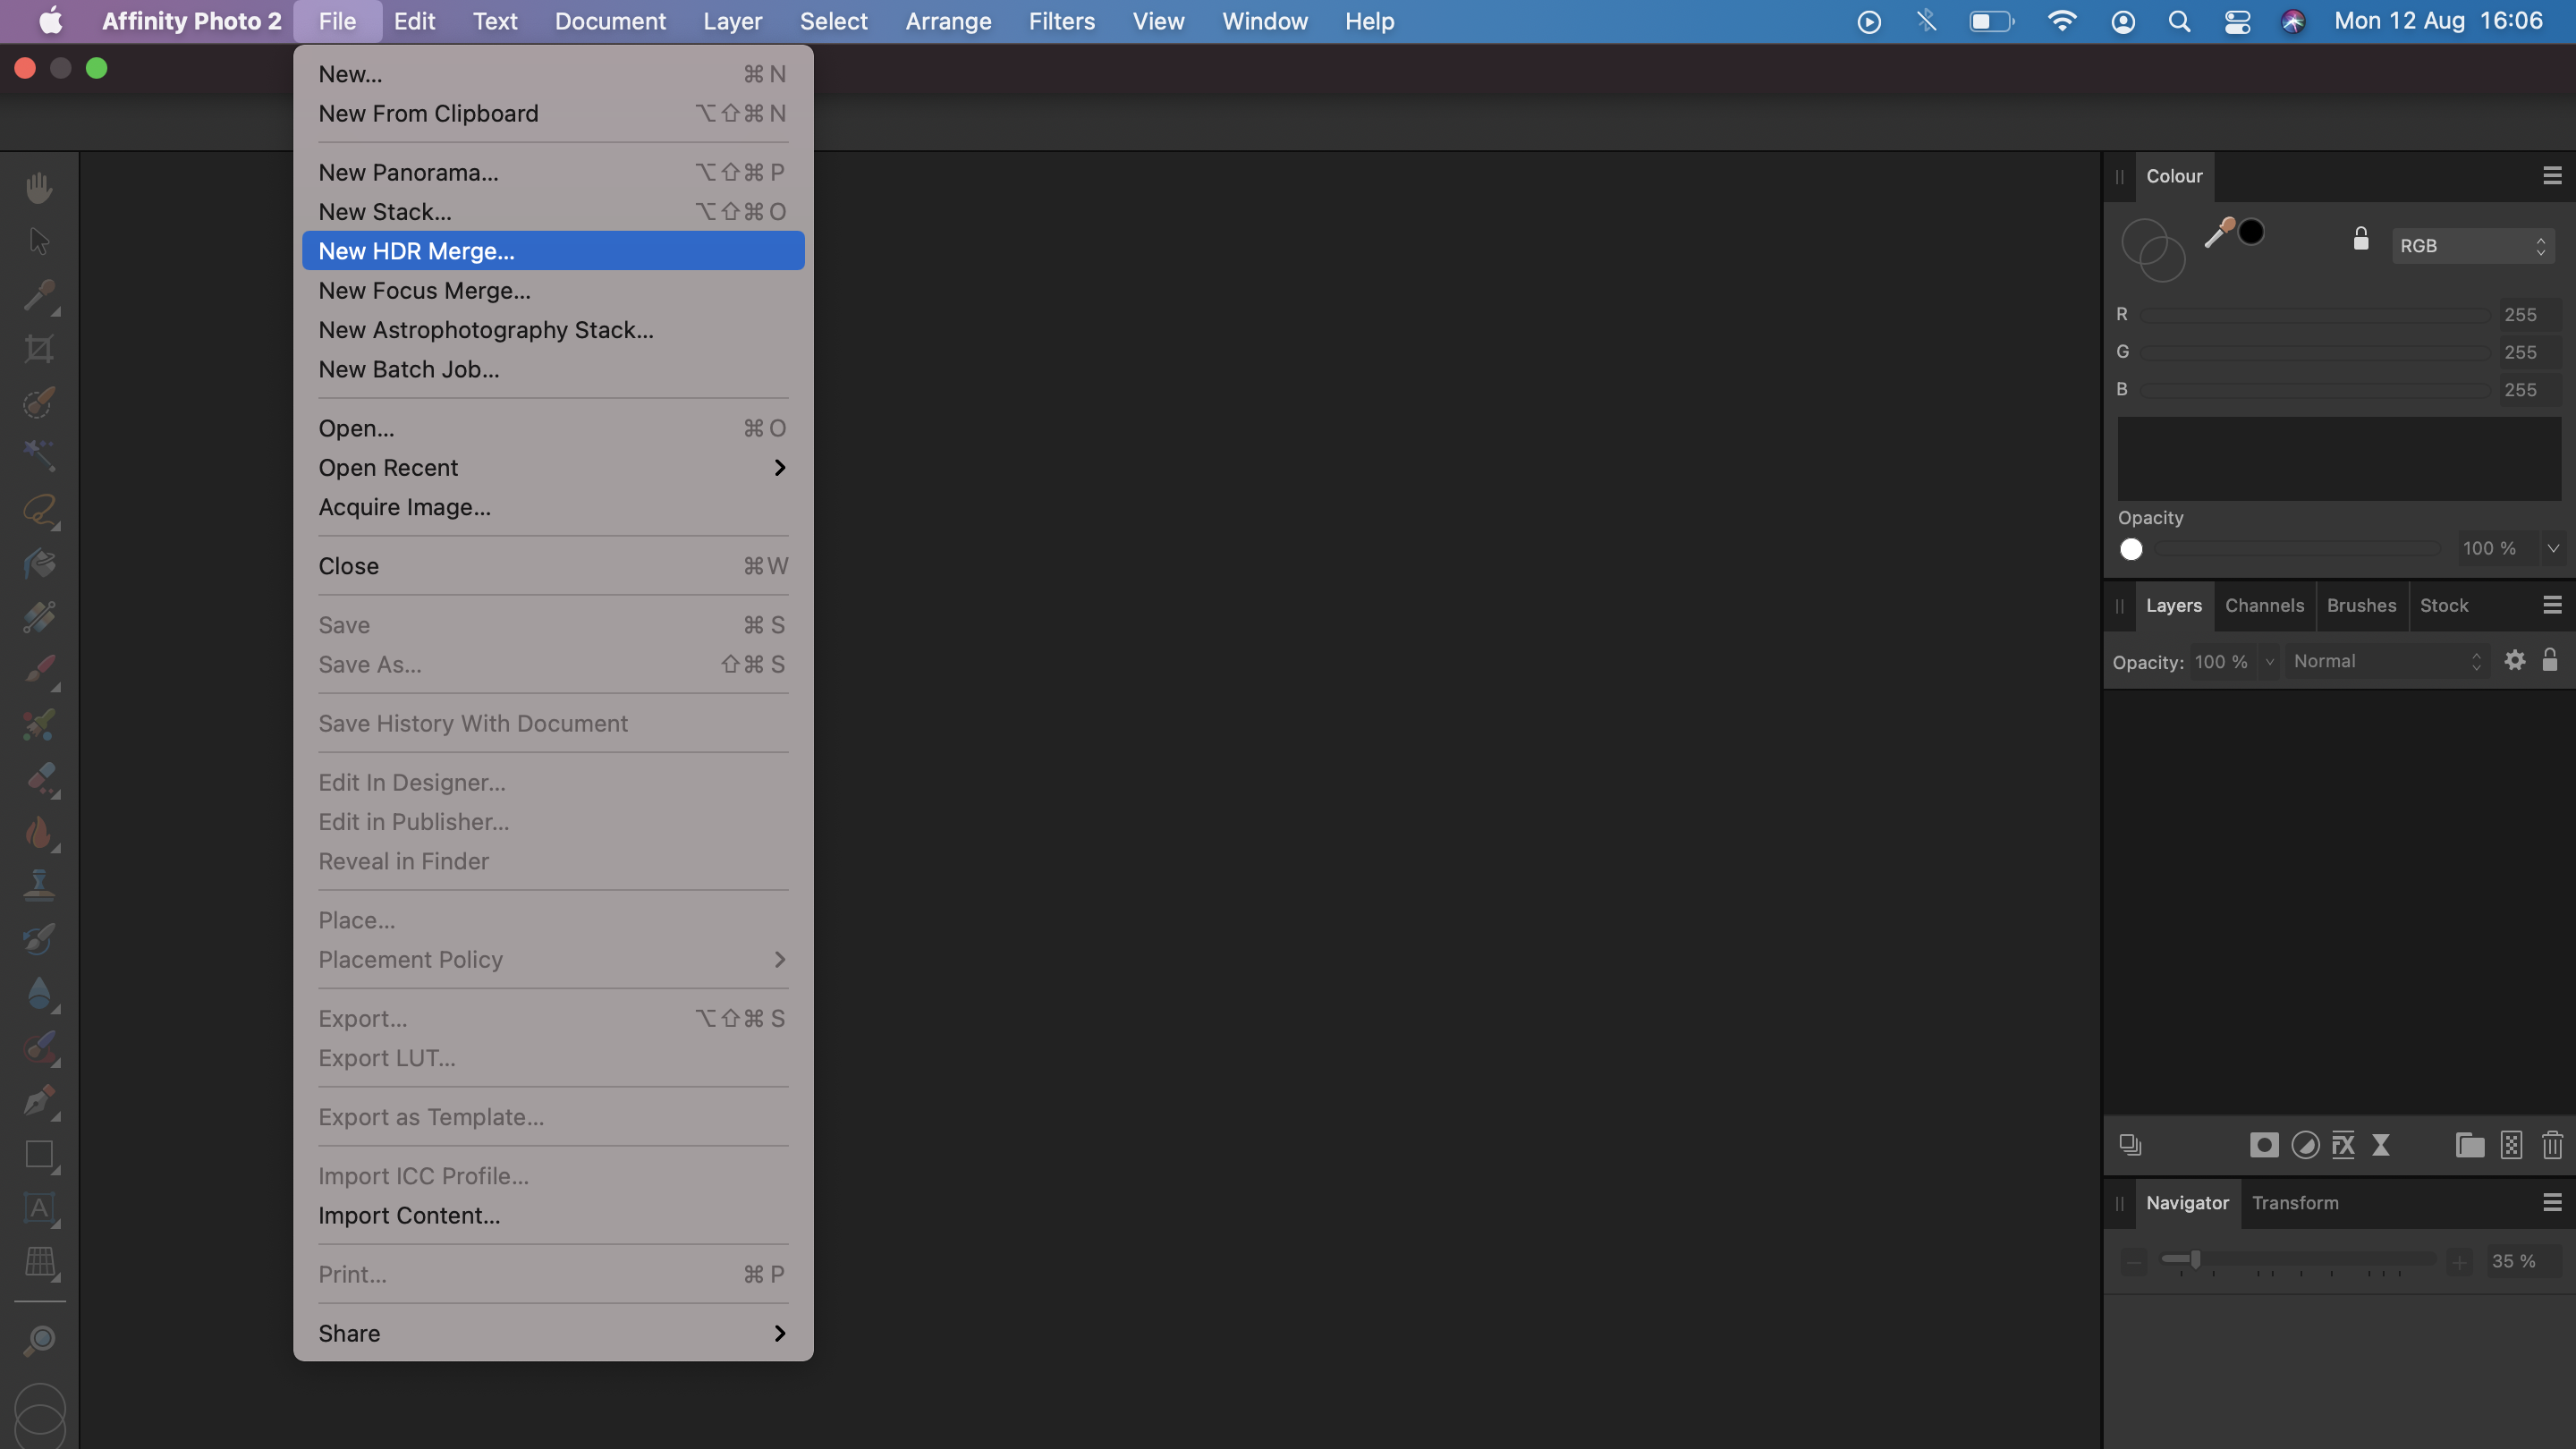
After shooting your images, connect your memory card to your device and create a folder with the image series you want to merge. Open Affinity Photo 2.0 and open the File option from the bar along the top. Select the New HDR merge option and add the images you want to merge.
2. Control the merge
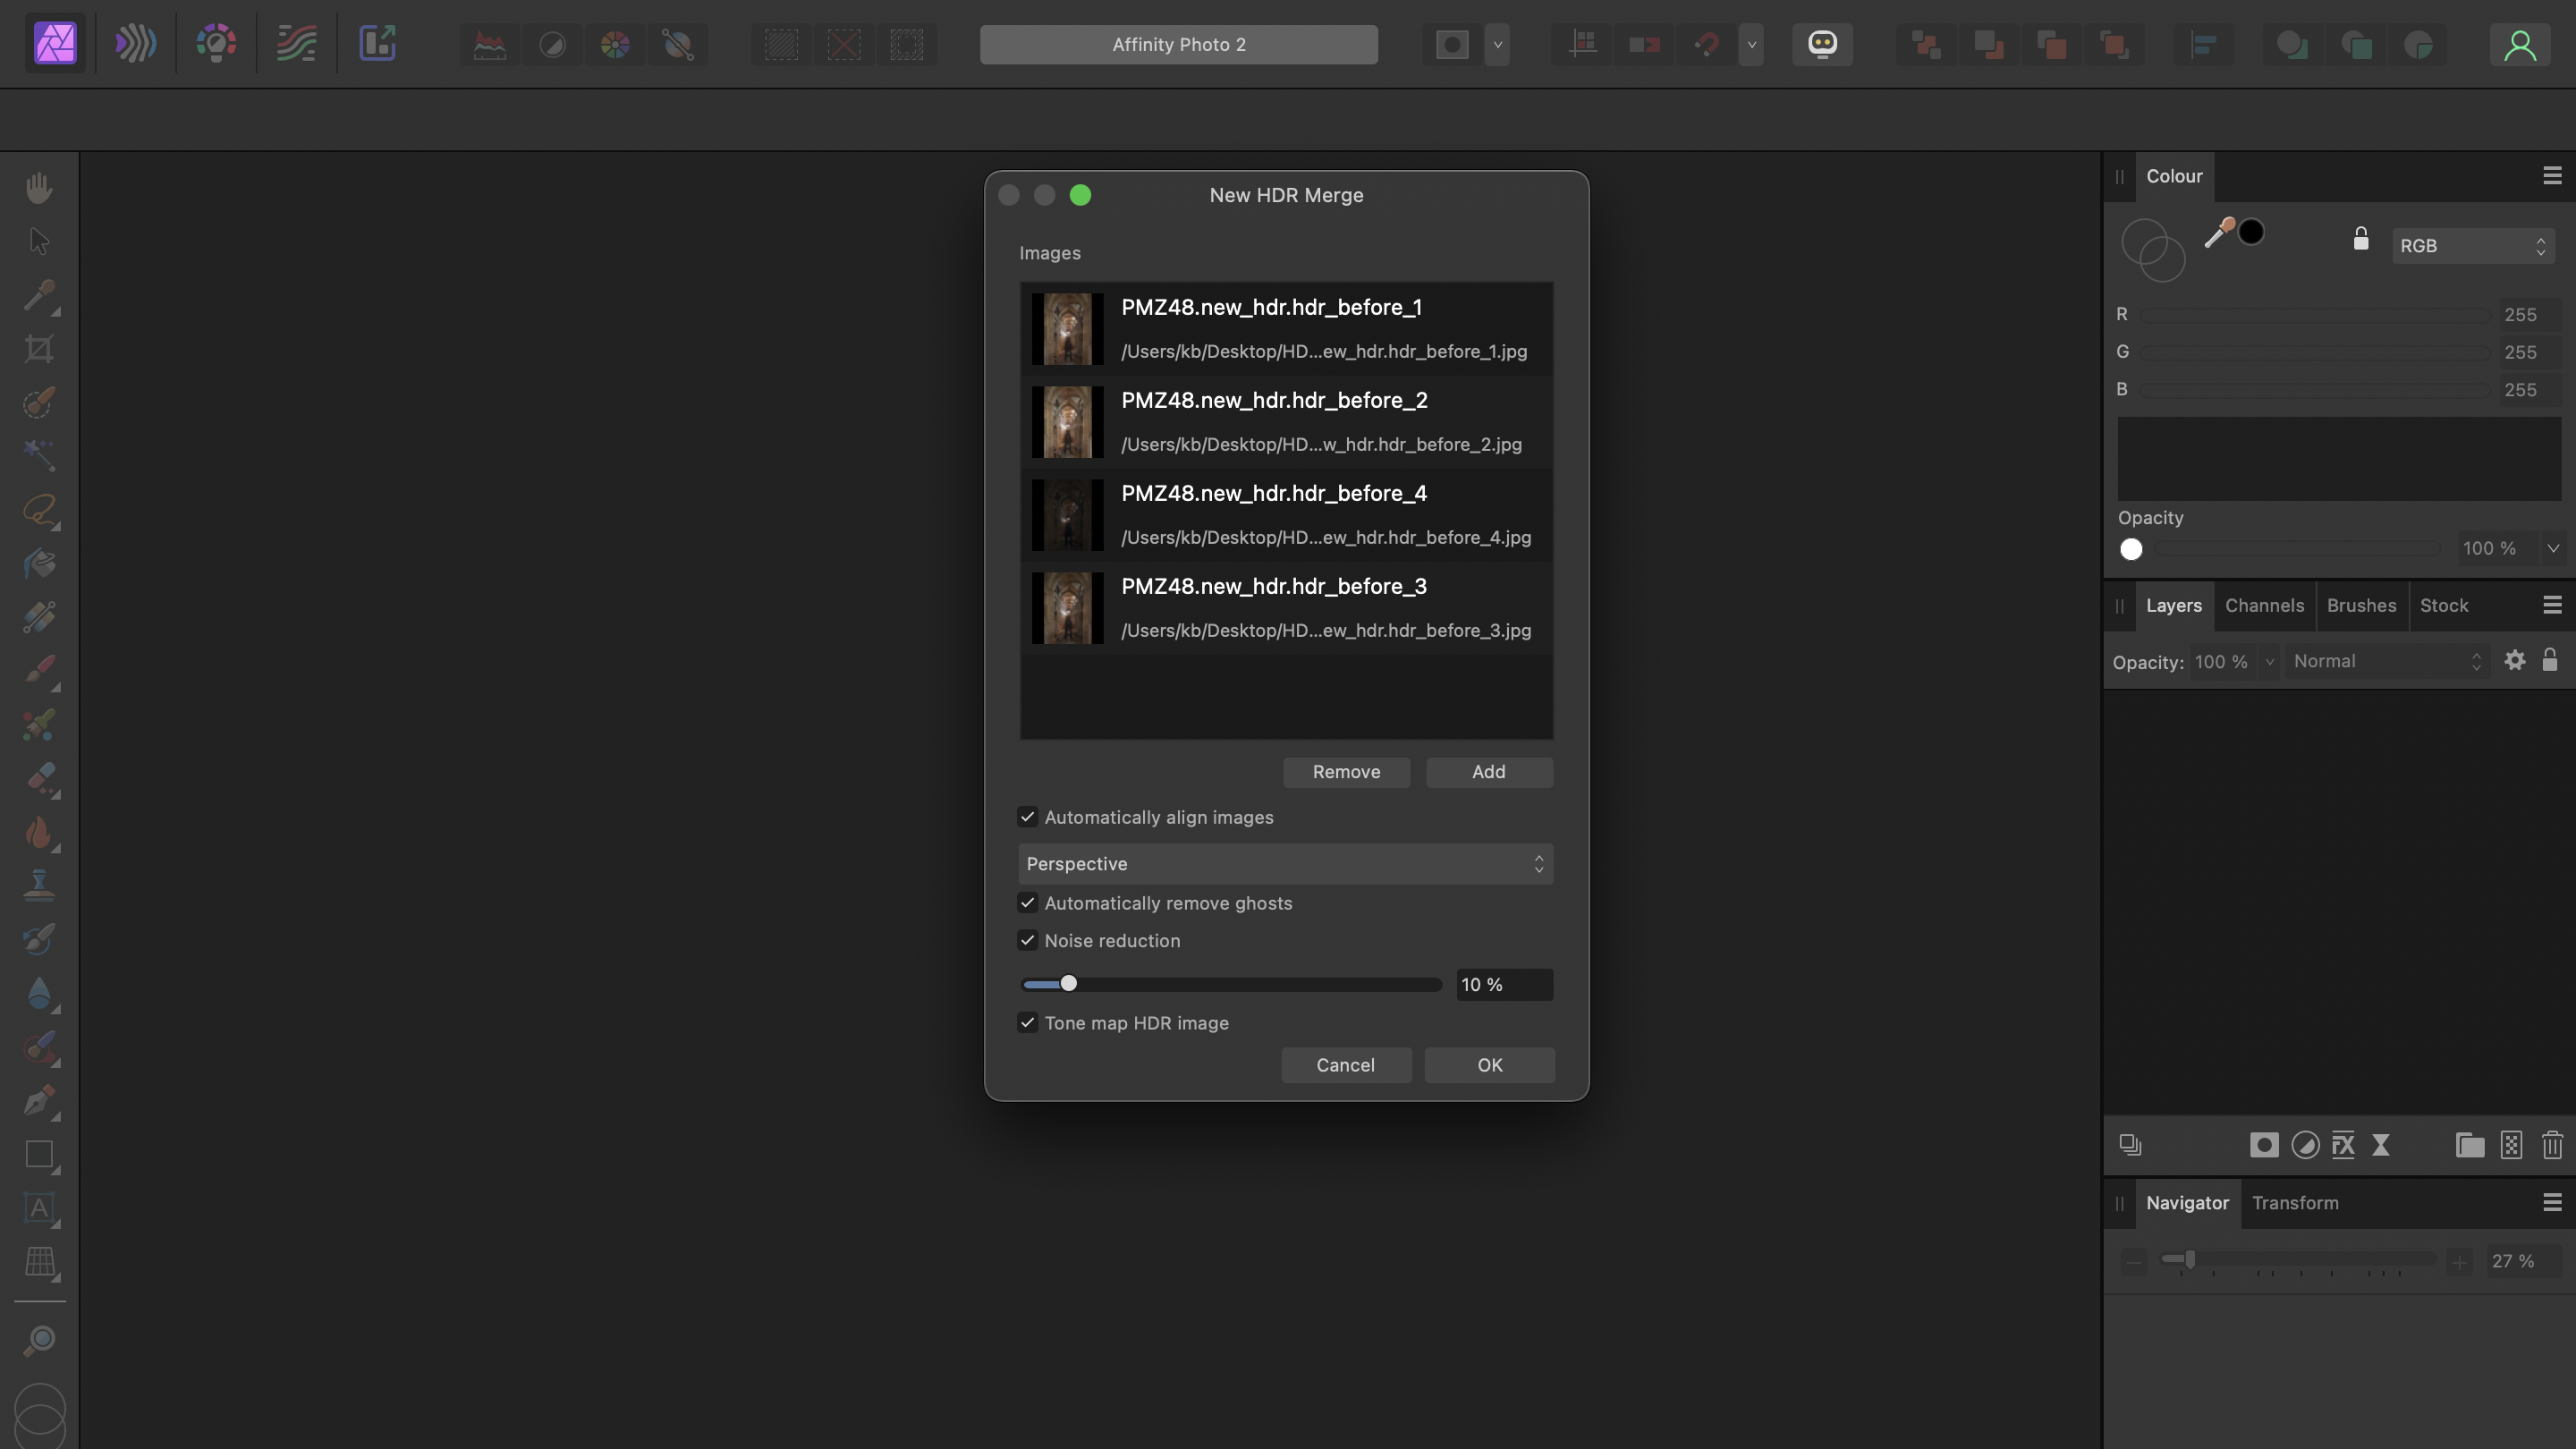
Affinity offers a few supporting functions to help you create a clean merge process. Activate Automatically align images on Perspective, Automatically remove ghosts, and Tone map HDR image. When working with JPEGs, tick the Noise reduction box if there is image noise evident.
3. Choose a preset
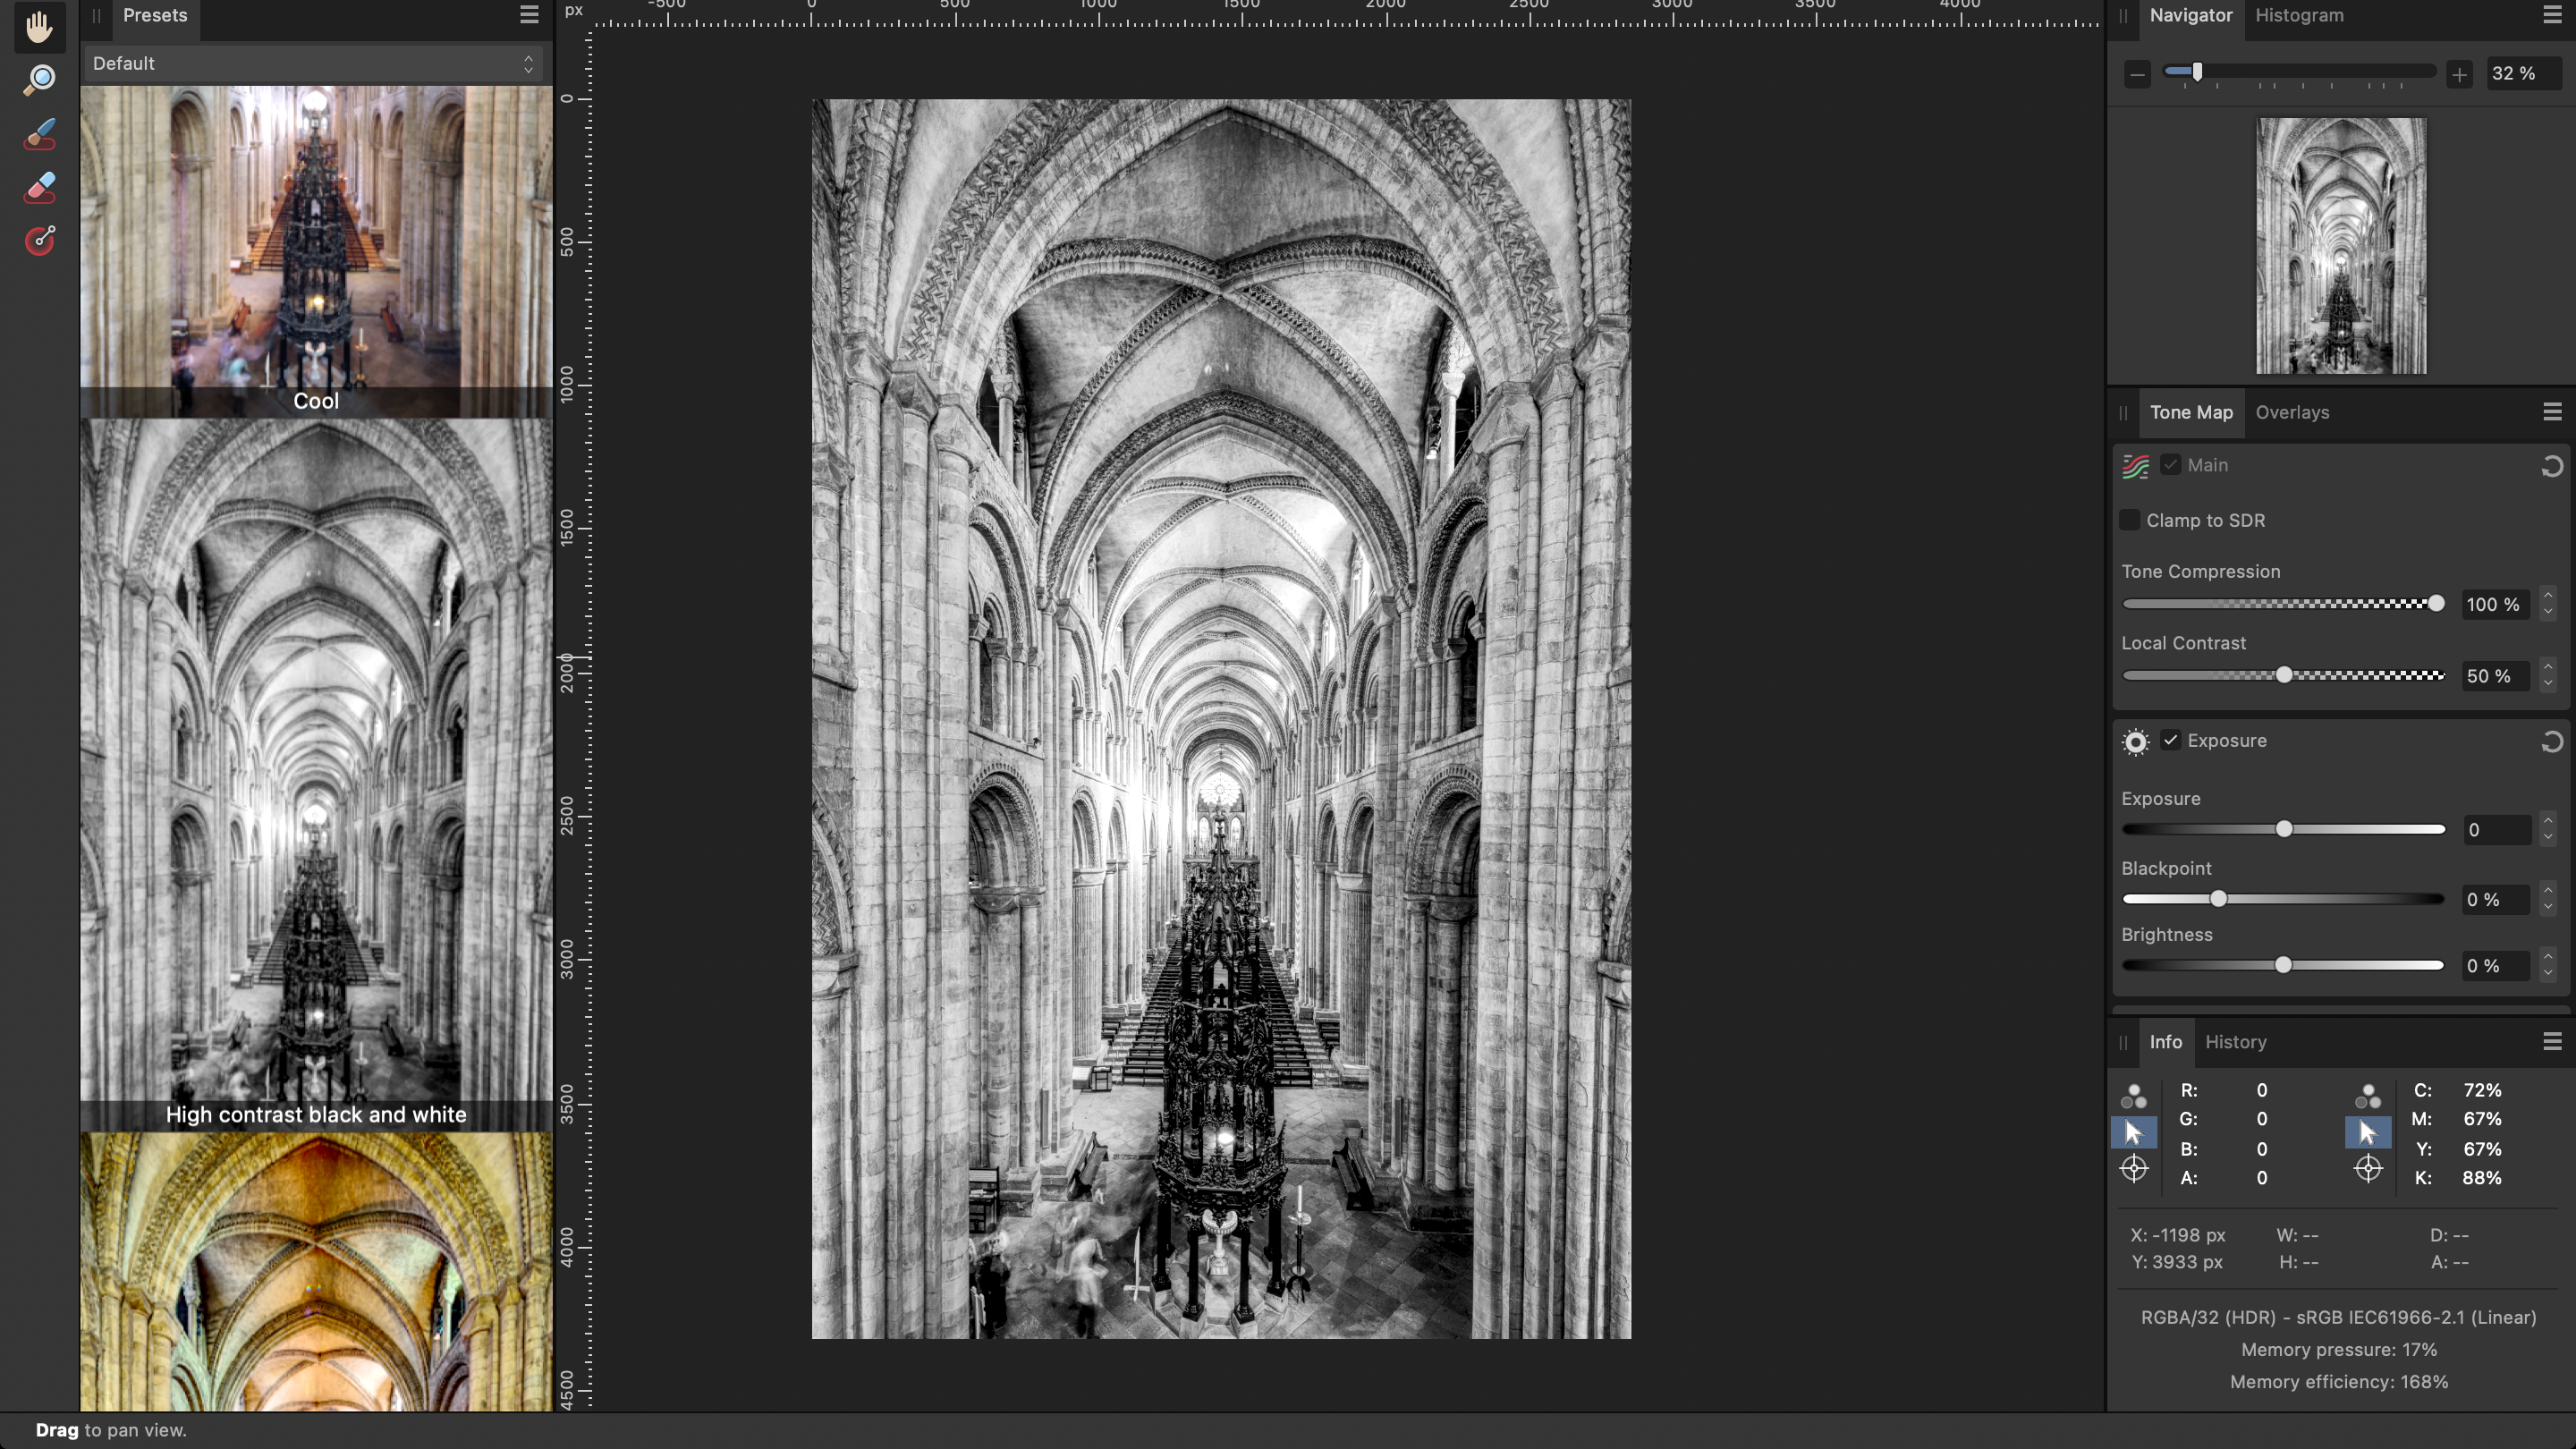
Affinity will now automatically create an HDR merge. When the program has finished, you will find some preset suggestions in the left bar, click through the options to see the differences. Here, I selected the high-contrast black-and-white option as it highlights the architectural details.
4. Fine-tune settings
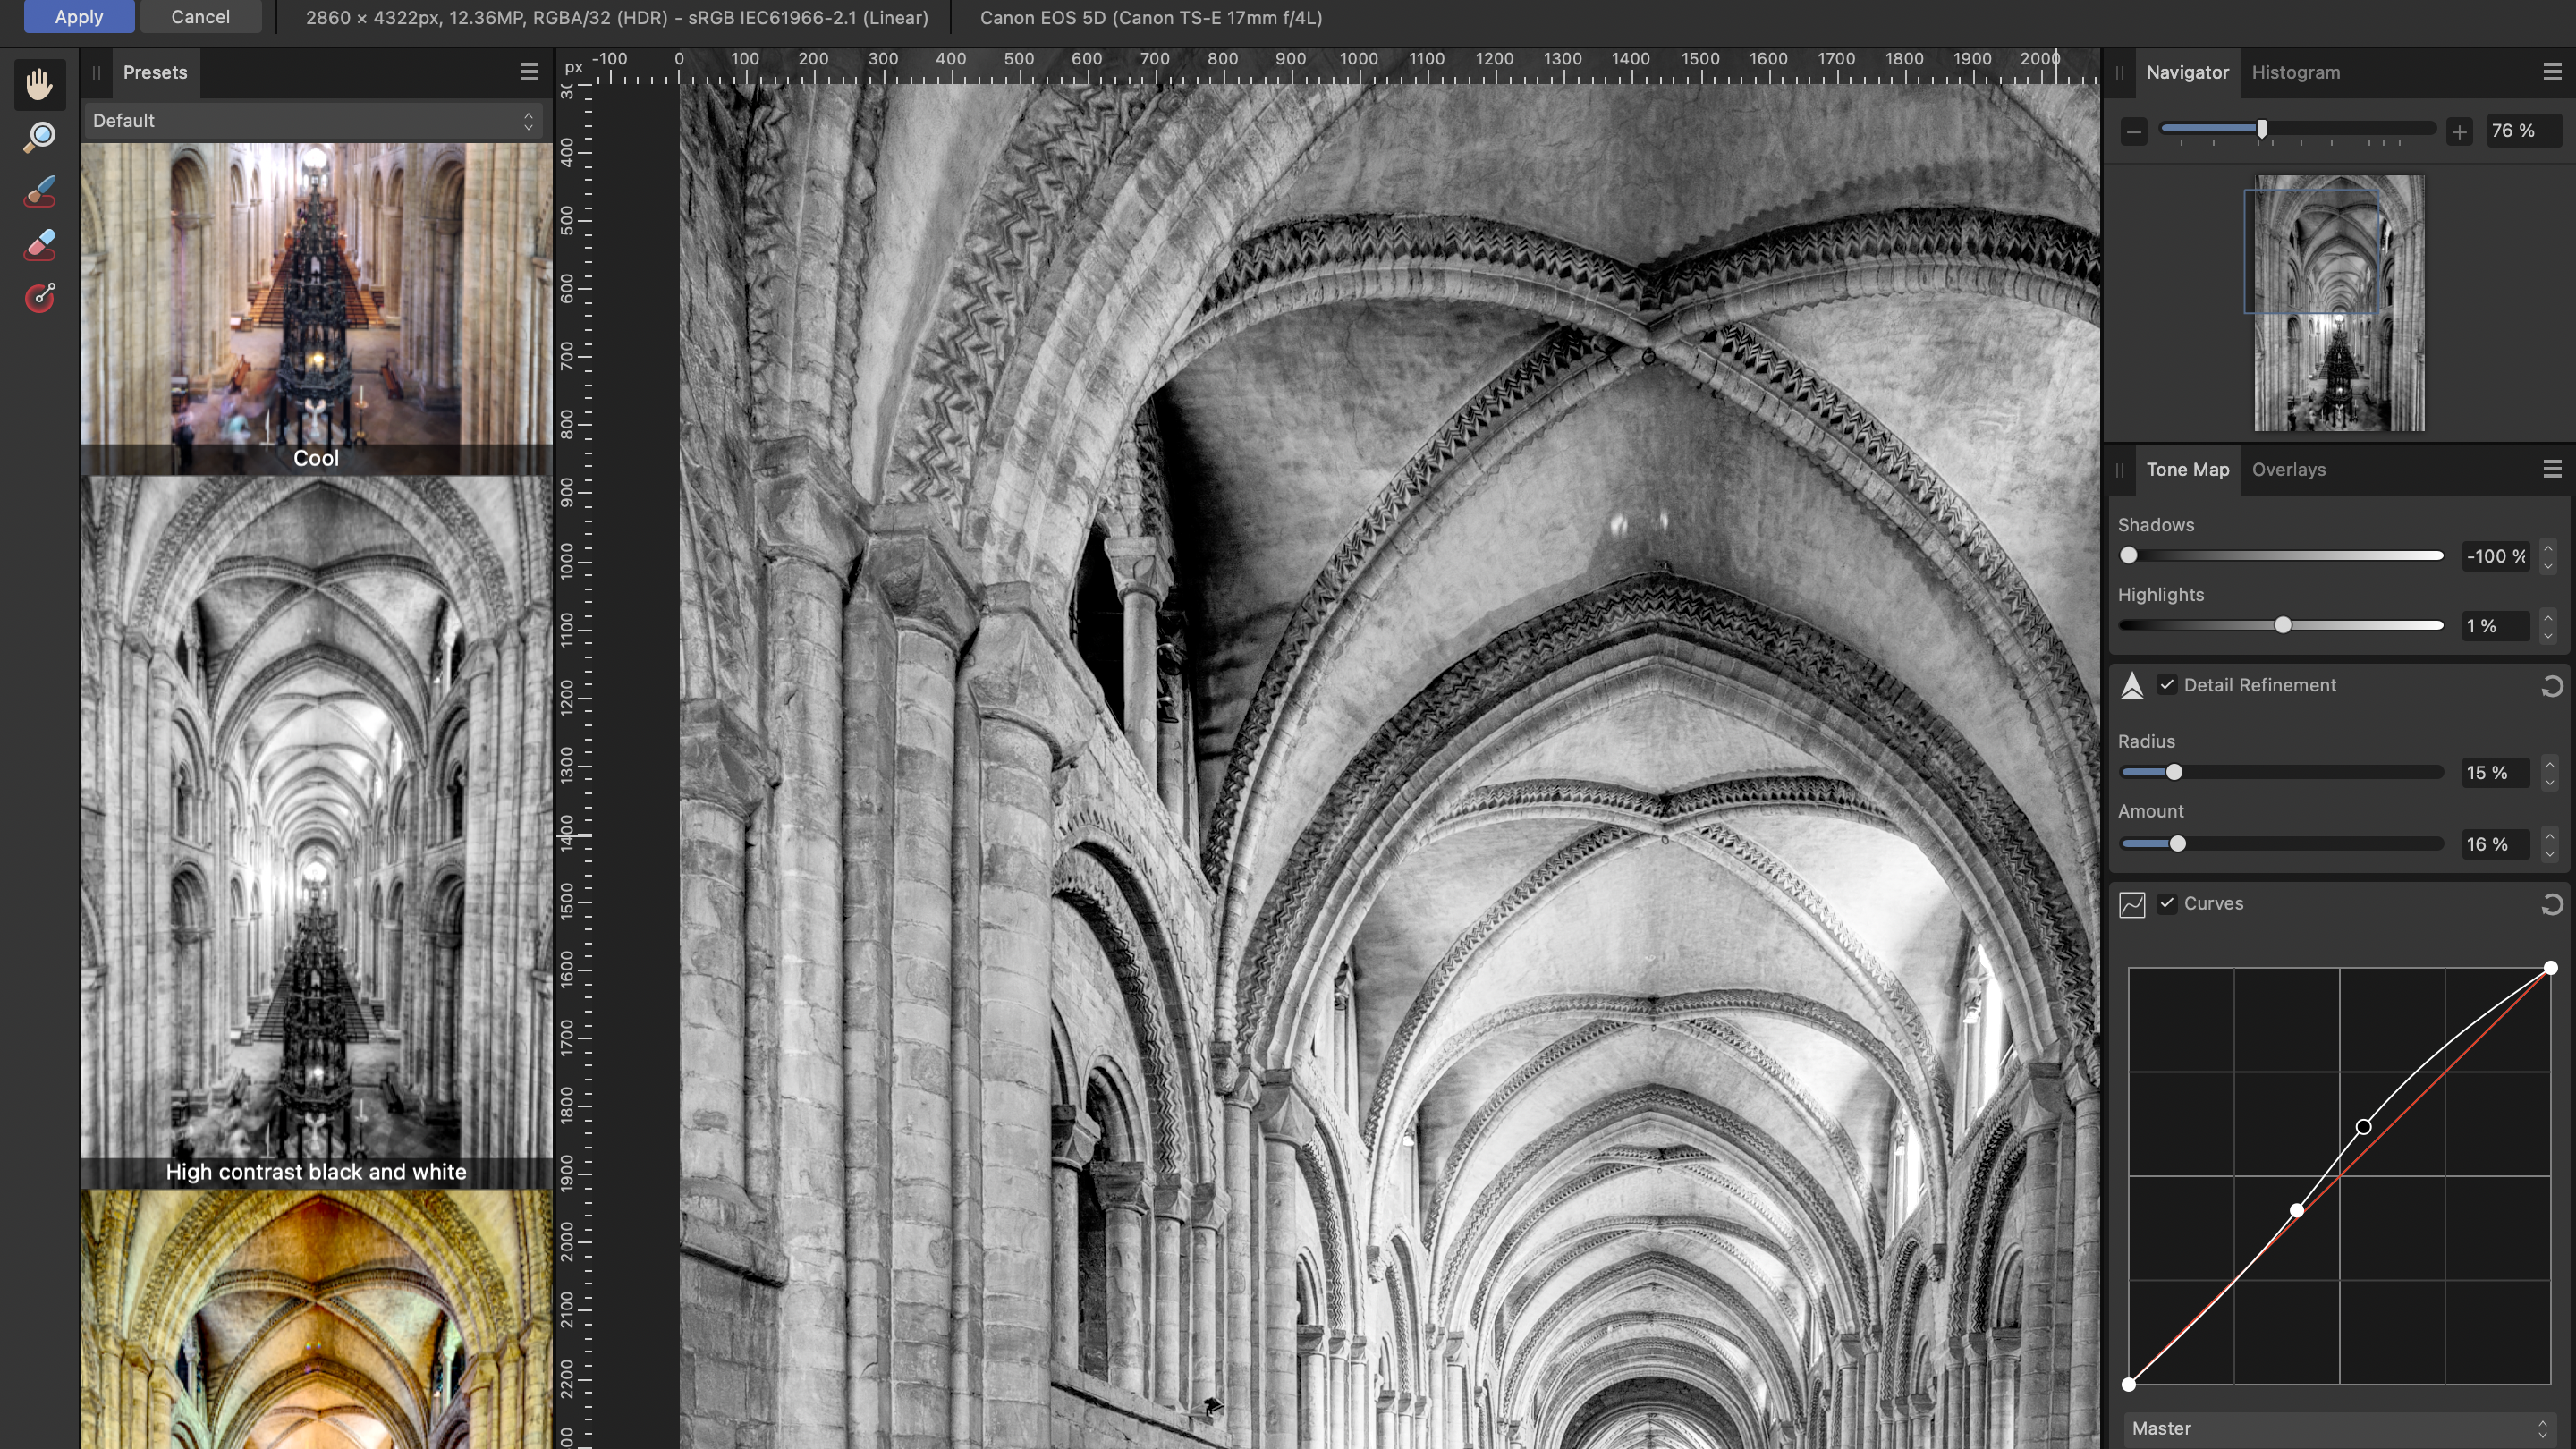
To the right, there are various sliders you can use to fine-tune the result. Start by adjusting the Tone Compression and Local Contrast. Next, focus on Shadows and Highlights, followed by Detail Refinement and Curves. The HDR effect is strong in itself, so take care when adjusting these settings.
5. Crop and retouch
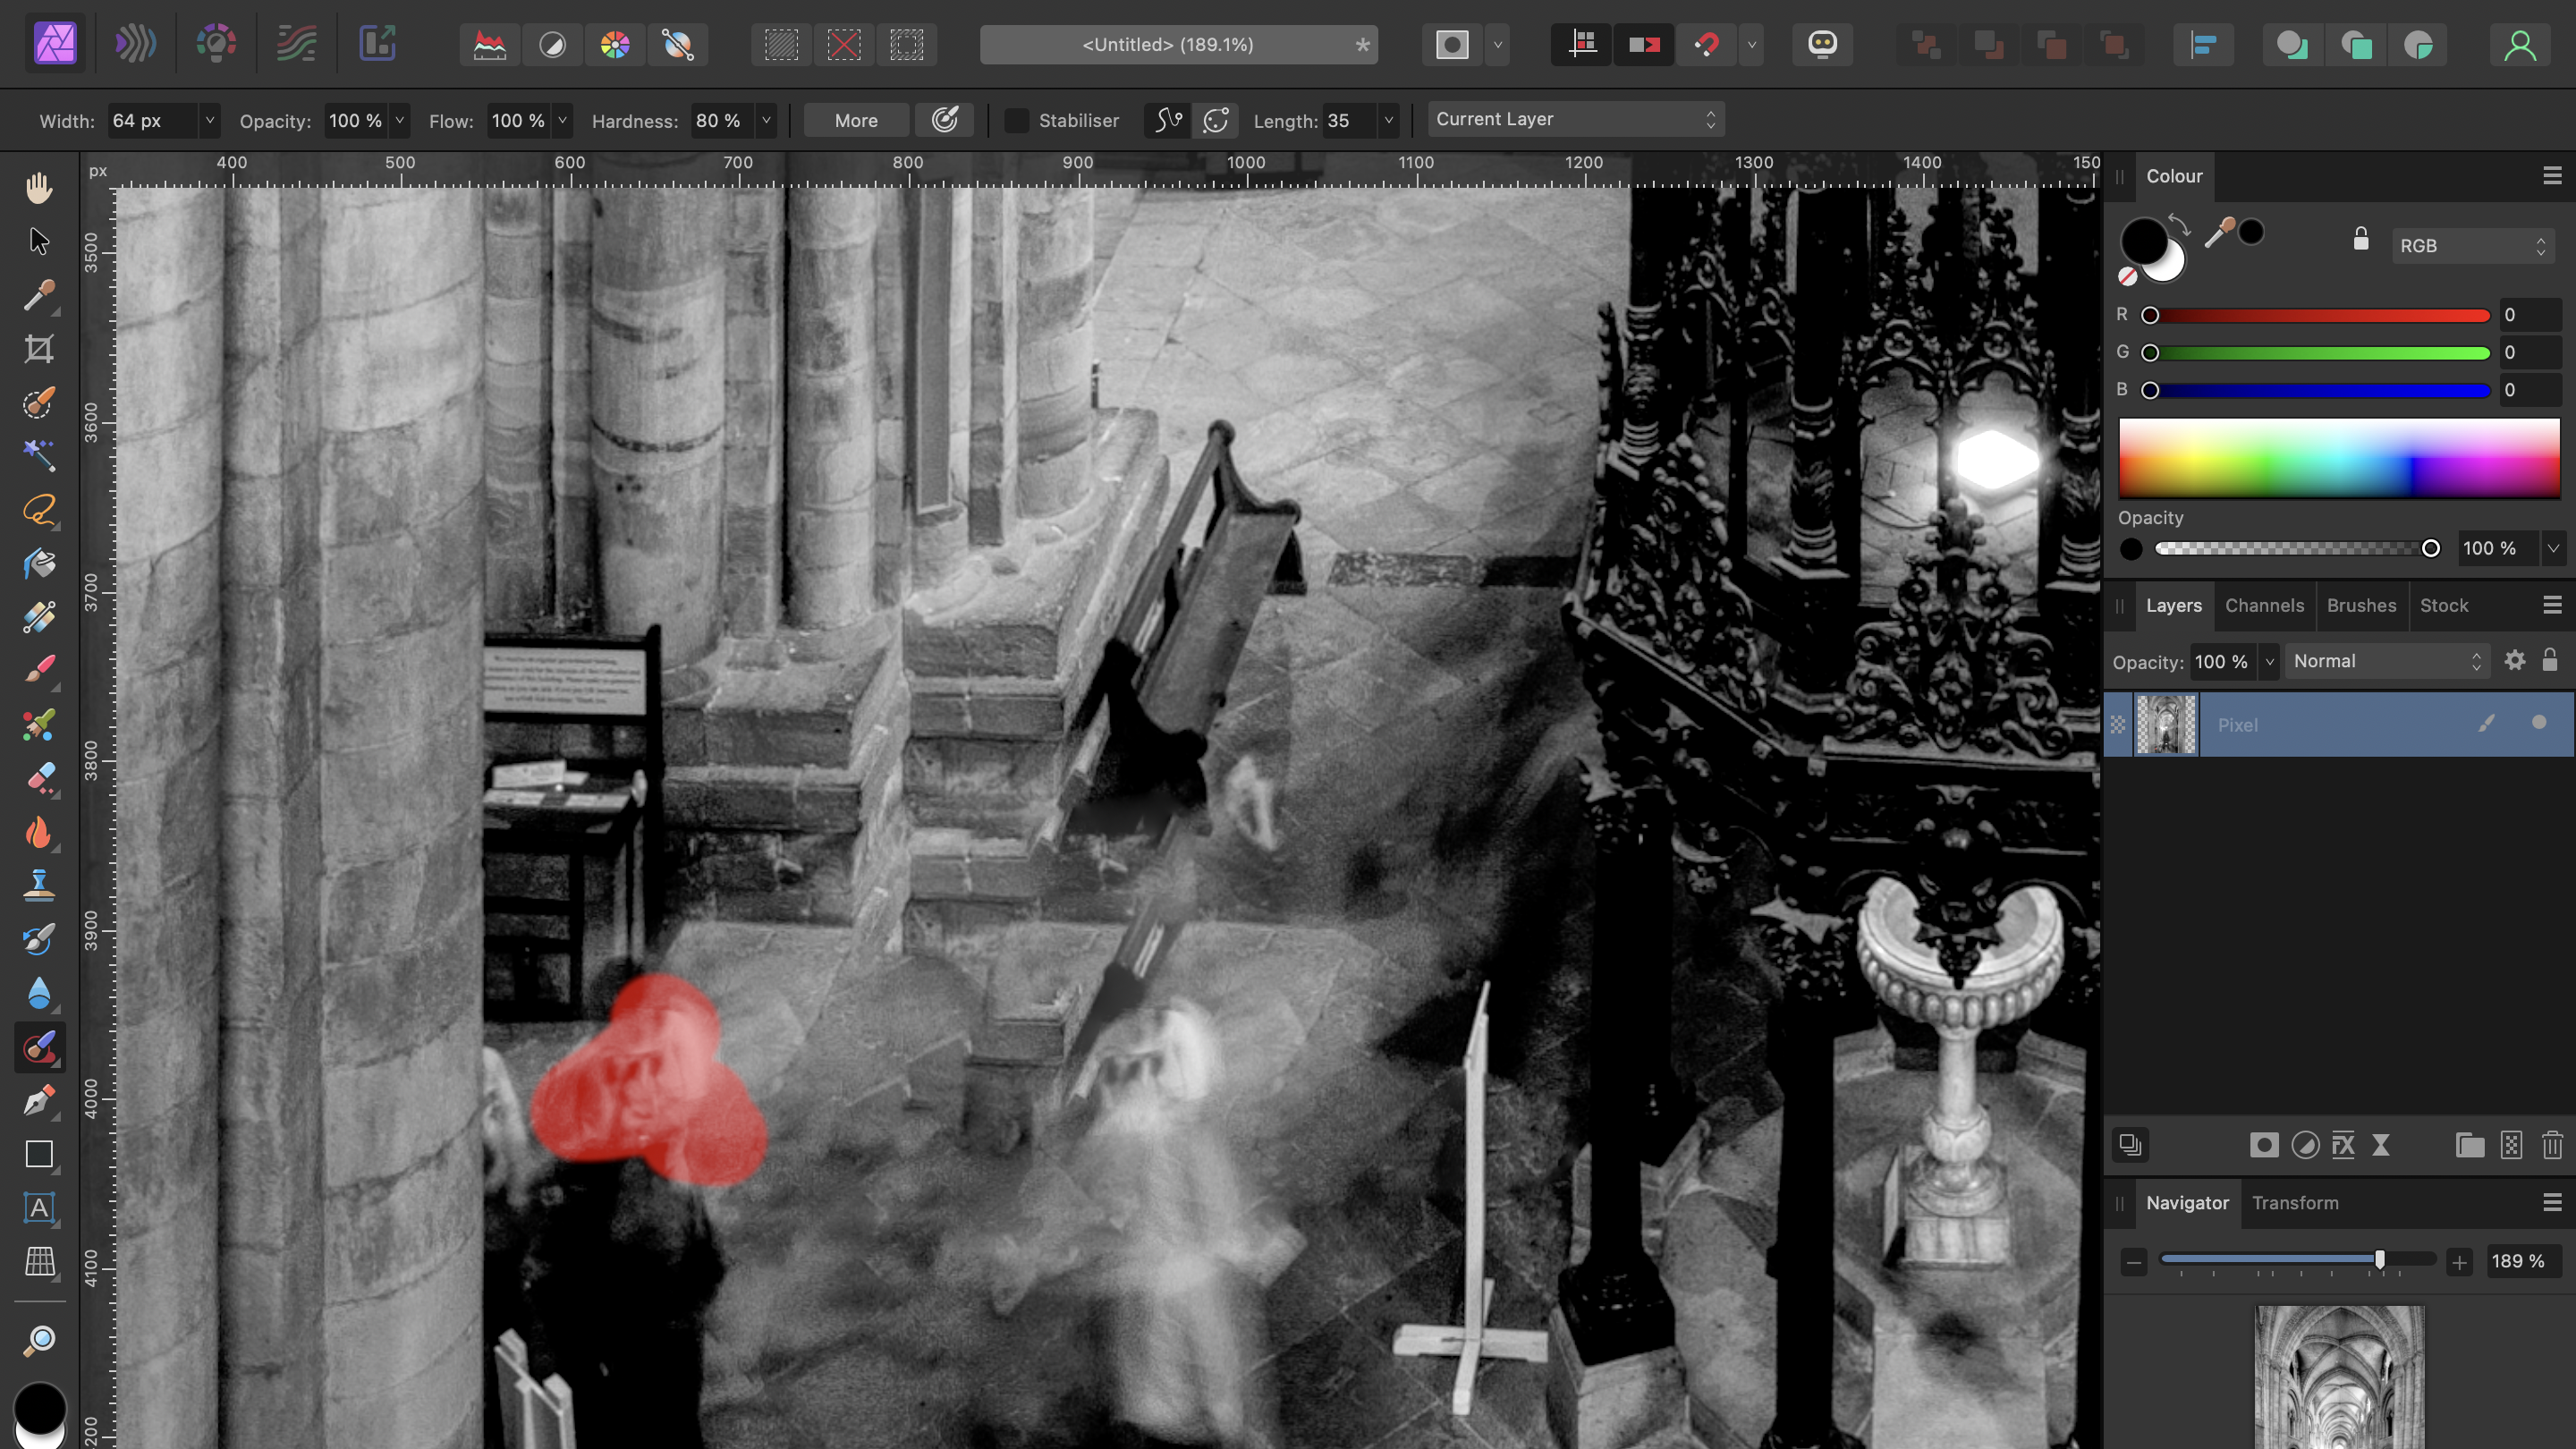
In some instances, the merger may leave ghosts, especially if there were people present in the frame. We used the Automatically remove ghosts feature, but it didn’t completely eliminate them. Use the Inpainting Brush Tool or the Crop feature to clean up those areas for a more focused result.
Author: Kim Bunermann
Source: DigitalCameraWorld
Reviewed By: Editorial Team
