![]()
If you’ve ever tried to photograph lightning during the daytime, you know it’s almost impossible. By the time you press the shutter button, it’s gone. That’s why lightning triggers, while no guarantee of success, exist. But the addition of the new “Pre-release” feature in the Nikon Z9 mirrorless camera now makes those triggers obsolete. It guarantees success, as I found out last week.
Over the last half-dozen years I’ve been running small-group photography trips to places around the United States. Sedona, Arizona, with many great locations nearby, moderate summer weather, and a good chance for storms has been high on my list of “need to do a workshop there.” Last week I finally did, and it was as good as I’d hoped. But it was the thunderstorm we watched Thursday evening that resulted in a new “Aha!” moment for me.
![]()
Among the many features added to the Nikon Z9 with the release of firmware 2.0, “Pre-release” was an eye-opener for action photographers. It allows you to wait until you see the action, then press the shutter button and capture the moments before you pressed. It really changes how you work, but it wasn’t until I was on my way to Sedona, and thinking about the possibility of lightning, that I realized I could take advantage of Pre-release for that.
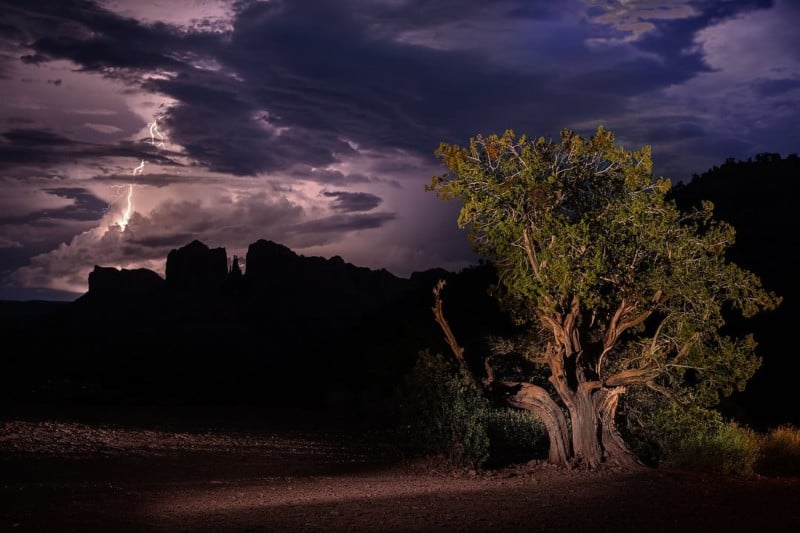
While we had some lightning the first night, while I was running a low-level lighting demonstration, capturing lightning during a time exposure is pretty easy. It wasn’t until a couple of days later that we had lightning during daylight. That’s a lot tougher to shoot.

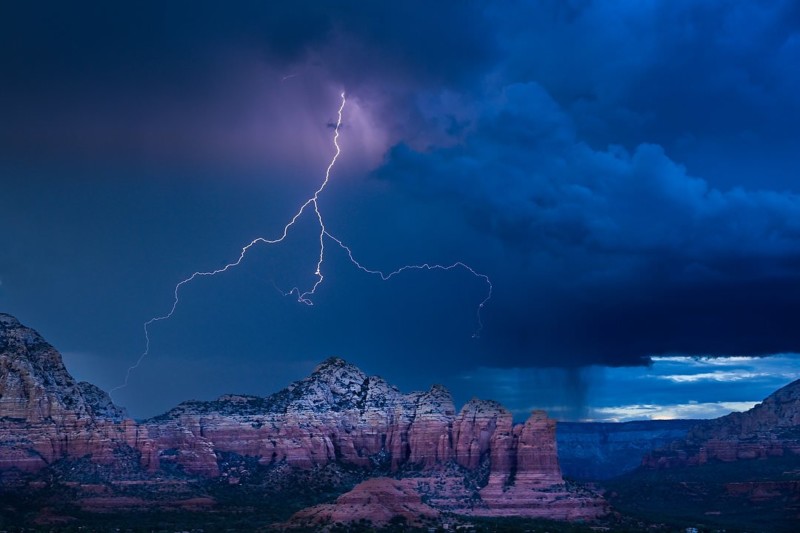
Returning to Sedona from another shoot for sunset, I took my group up to Airport Mesa, where there’s a nice overlook. Our goal was to photograph that last hour of sunlight on the mountains across from us, but a storm rolled in. While it blocked most of the sun, it also gave us a lightning show. And that’s when I turned on Pre-release.
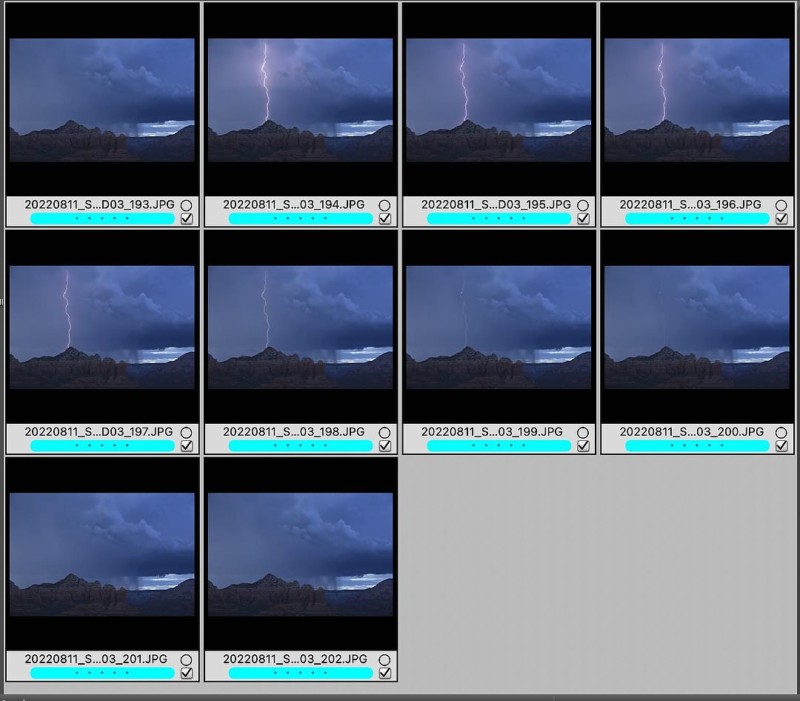
When you do that, and press halfway down on the shutter button, the camera starts recording images at 30 frames-per-second in a continuous loop to internal memory (not the card). When you see action happen, then you push the shutter completely down and the camera records that last one second, half second, or one-third second of action from the loop onto the card (you choose the amount). In other words, it goes back in time to capture something that’s already happened. And it made photographing lightning incredibly easy.

To do that, I kept the camera up to my eye, and each time I saw lightning pressed the shutter down fully. And each and every time I ended up with lightning pictures. Note the plural. Often I’d end up with several lightning photos from one flash, and one time I even had ten frames.
So what’s the catch? I can’t shoot RAW, as the camera automatically switches to JPEG, although still with the full-resolution 45-megapixels. There’s also an option to shoot at 120 frames-per-second, although at a reduced 11-megapixels. But still, wow.

Of course, for now, lightning triggers still have a market, since there are very few cameras that can do this. But for those folks lucky enough to have a Nikon Z9, that’s one less accessory they’ll be tempted to buy.
About the author: Reed Hoffmann is a photographer and photography instructor who has been in the photo industry for decades and who has used every Nikon DSLR (and taught most of them). The opinions expressed in this article are solely those of the author. Follow along with Hoffmann’s latest workshops here. You can also find more of Hoffmann’s work and writing on his website, Facebook, Instagram, and Twitter. This article was also published here.
Image credits: Header lightning photo by Flash Dantz. All other photos by Reed Hoffmann.
Author: Reed Hoffmann
Source: Petapixel


