![]()
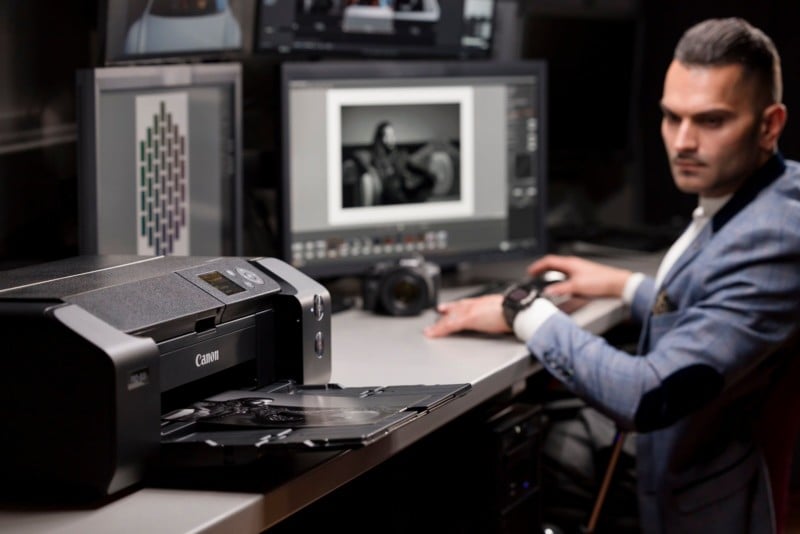
As photographers, one of the most exciting parts of our job is to print the fantastic photos we capture. As eager as we are to get the prints, we need to ensure we follow the entire pre-printing process to the T to ensure you have realistic prints. One crucial step in the process is soft proofing.
Soft proofing is a simple method that allows you to visualize what your photo will look like once you get it printed. In addition, it will enable you to choose between different color spaces and ICC profiles for your printer. You also get to adjust the color balance, saturation, brightness, sharpness, and other aspects to ensure the resultant image is as accurate as the original.

Photographers with perfectly calibrated screens and a good quality printer can benefit from soft proofing. But irrespective of whether you have these resources, it’s still a good practice to soft proof images before you print them as it can save you ink and time.
What is Color Management?
Two critical stages of color management are calibration of the monitor and using the correct printer profile. Color management aims to align your devices, from capture to viewing to print, to maintain consistent, correct color across all your devices.
Calibrating your monitor is one of the essential tasks you need to consider when preparing your images for printing. When you calibrate a monitor, you balance and correct its colors. You can easily calibrate your monitor with the help of a spectrometer and sound, reliable calibration software. On the other hand, using a printer profile instructs your printer on how it should interpret the colors by understanding the medium the ink prints on. When your printer accurately interprets colors within a printable color space, it can replicate them perfectly.

Understanding Color Space and Why it’s Important
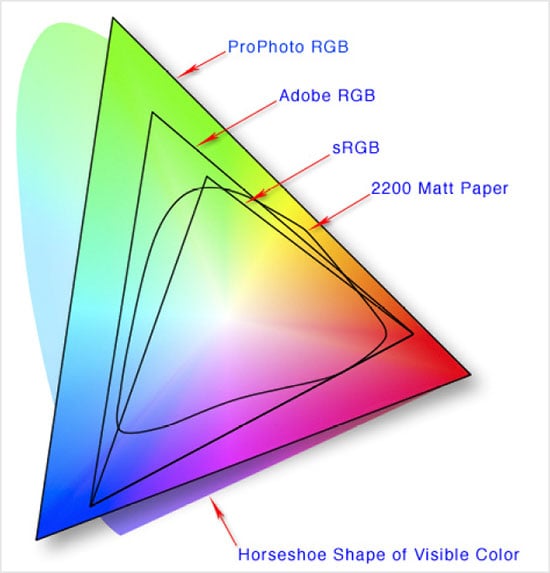
Color space is the range of colors that a device (such as a monitor or printer) can display or print. Typically, color space is expressed in Adobe RGB (1998) or sRGB. These abbreviations stand for the colors used in printing – so RGB is Red, Green, and Blue. The greater the color space, the more gamut the device can replicate.

If you view a colorful photo with a large color space, such as ProPhoto RGB, and send it to a printer only capable of producing a smaller sRGB color space, the colors won’t match from screen to print. In this scenario, the vivid colors in a photo may only appear dull as the printer lacks the ink and color space information to replicate the colors. The printer essentially finds the closest color at the top of its gamut as a near match as it’s unable to print beyond its color space. Hence, it’s essential to consider how you output your photo (jpeg or TIFF and what color profile you might assign) plus the printer’s color space before printing images.
Aren’t All Printers The Same?
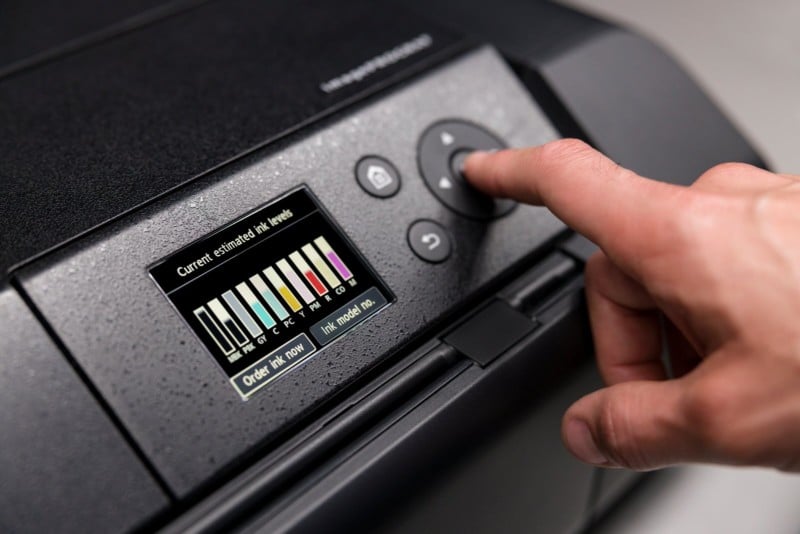
The short answer is no. Printers have varying features which contribute to their price points. A cheaper office-style desk printer may only have three ink tanks, whereas a wide-format printer may contain more than eight tanks. Printers with more ink tanks have the advantage of replicating more color, so we can say they have a larger color gamut. Therefore, to print a photo with a larger color space (ProPhoto RGB or Adobe RGB 1998), it’s recommended you use a large format printer.

Another way of printing photos is with a 1-hour processor or minilab. You might find the colors aren’t consistent with your color management at these places. This color change is because many of the Fujifilm, Noritsu, Kodak, or Konica machines print in an sRGB color profile. So, in summary, consider what printer you will use to print your photo, as it can drastically affect the resulting color!
How to Select the Color Space in Adobe Photoshop
Adobe is the most popular photo editing software, thanks to the excellent set of features it offers. For example, if the default color settings of Adobe aren’t yielding desired results, you can constantly adjust the settings to match the requirements of the image you’ve captured.
To access Adobe’s Color Settings, you need to navigate the Edit menu and select Color Settings from the drop-down menu.
![]()
You’ll now see the Color Settings dialogue box with many technical details.
![]()
These criteria are set to default, and most of them are okay for home office setups. The only one we need to alter is the Desaturate Monitor Colors By option. Set it as required, and then save the preset.
Right below the preset’s name, you can see Working Spaces – this is where you select the color space you want to use. Adobe offers four different color space options – RGB, CMYK, Gray, and Spot and you need to pick one according to your image and the desired output you’re looking for.
How to Soft Proof a Photo in Adobe Photoshop
Below is a quick guide on how to soft proof your images in Adobe Photoshop:
Step 1: Installation of ICC Profiles
The International Color Consortium (ICC) has designed a universal color management system for all imaging devices. ICC profiles consist of a set of data that tells a device what the input or output parameters of a color space are. ICC profiles will work only when installed on your computer and match a particular paper stock.
Navigate the manufacturer’s website and download the ICC profile for the paper stock you plan to use. The installation process may vary depending on the operating system, so check the install instructions when downloading the ICC profile to your computer.
Step 2: Color Management
Access the Color Settings in Adobe via the Edit>Color Settings menu, and adjust the criteria to reflect your printer’s printable color space specification. Higher grade printers will be capable of a wider gamut, such as Adobe RGB (1998).
In the same window under Color Management Policies: RGB, CMYK, and Gray select Preserve Embedded Profiles. Doing so ensures the imported photo retains its color space.
![]()
Step 3: Customize Proof Condition
To set up Photoshop’s Soft Proofing, you’d first need to Proof Setup. You’ll find this option following this path View>Proof Setup>Custom. Next, click on Device to Simulate and select the ICC profile for the printer you installed in Step 1. You can now set the proof conditions in the same window. Experiment with the options given until you find the best combination that suits your viewing environment.
![]()
Step 4: Save Changes
You can review the changes by checking and unchecking the Preview option in the same dialogue box. Once you are happy with the changes, you can proceed to save them. You can also give your setup a unique name for future reference.
Step 5: View the Calibrated Image
To view your soft-proofed calibrated image, you can head to the View tab. You’ll notice many changes in the image – right from its appearance to the file name displayed (the file name will change to include the paper profile). Your soft-proofed image will now be visible on the screen – you will know exactly what the image will look like when the image is printed.
Depending on the calibration method, you may still have to adjust and alter the brightness and contrast of your monitor to achieve an accurate match to the print you expect. It’s recommended to print some test strips (sections of the photo) to compare against what you see in the soft-proofing so you can make minor adjustments to your computer monitor.
Soft-Proof and Experiment For The Best Results
There’s no straightforward formula for settings when it comes to soft proofing. Thanks to the vast array of displays, operating systems, and calibration devices, one solution wouldn’t work for all. Instead, you’d have to experiment or invest some money into a good monitor and calibration device until you get the right look – it’s the only way to ensure your soft proofing is a success.
About the author: Leigh Diprose is a business owner and full-time writer in the imaging industry whose passion is to share knowledge. The opinions expressed in this article are solely those of the author. His published work has been featured by top imaging wholesalers and leading imaging retailers in over 14 countries.
Image credits: Header photo from Depositphotos
Author: Updated
Source: Petapixel


