In 2017, Unistellar released the original eVscope as part of a Kickstarter. Now, Unistellar is releasing its next product, the eVscope eQuinox.
If you’d like to, you can skip straight to the specs, but I learned a lot through my experience with the eVscope eQuinox. I am very new to astronomy and astrophotography, and I have never owned a telescope before. I was impressed with the ease of use from the beginning. As you open the box you are greeted with a quick start guide and a user manual. Lift up one more piece of foam to see the telescope, legs, and a handy toolkit. I plugged in the telescope to ensure it was fully charged, then that night I took it outside to see what I could capture.
First Night Setup
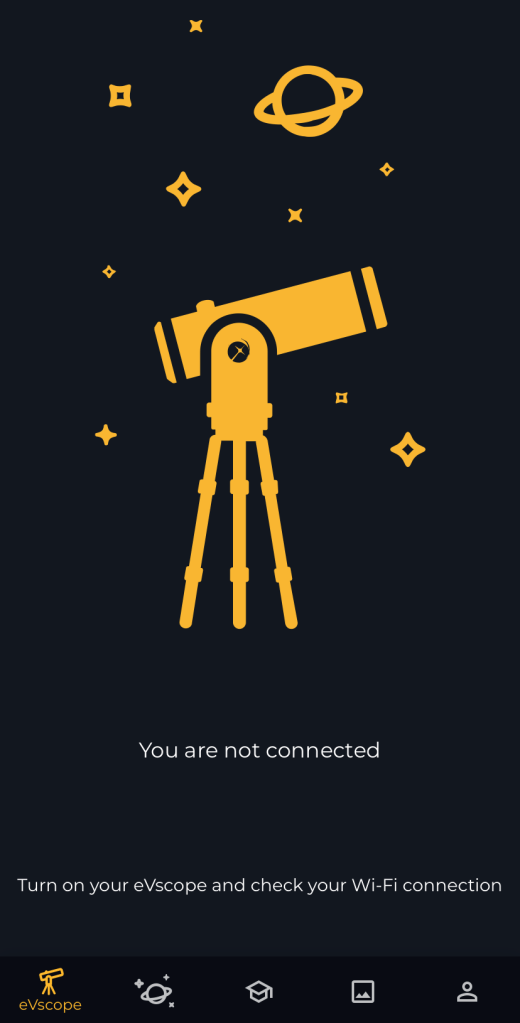
The first night did not go quite as smoothly as I had hoped. I brought the telescope outside, set up and leveled the legs, and placed the telescope on top. After securing it in place with the thumbscrews, I powered on the telescope and connected it to my phone. I opened the Unistellar app and had to select whether I was in a city, suburb, or country. This allows the app to know what objects will be most visible based on background light levels. After accepting the terms and conditions, then granting location permissions, I was greeted by my first of many “you are not connected” messages. I went back to my settings to ensure my iPhone was connected to the telescope, and it still was. I closed and reopened the app only to see the “not connected” message again. After toggling my Wifi again, I was finally connected to the app.
I was greeted by text bubbles guiding me through the various sections of the app. I found this extremely helpful. I was prompted to take a dark frame. For a dark frame, you place the cap onto the telescope. It takes multiple dark photos, and based on the noise in those photos, is able to reduce the noise and artifacts on future photos of objects. I went to the My eVscope page and clicked on the “Take Dark Frame” button. A few seconds later I was presented with the message that an error occurred while creating the dark frame. Clicking okay and the app showed that I was disconnected from the eVscope eQuinox yet again. My wifi was still connected, so I closed and reopened the app yet again, but I could not control anything. I was connected in the “Watcher” mode rather than the “Operator” mode. The watcher mode is extremely useful in allowing up to ten people to view the telescope, without controlling it. There was a button to request control of the telescope, but since there wasn’t anyone connected as an operator I had to close and reopen the app.
From this point, things started working much better. I was in the app with control. I took a successful dark frame, then using the in-app controls, aimed the telescope at a star. To focus the telescope, you make use of a large knob at the back of the telescope. The slight delay between the telescope movement and the app, as well as the slow shutter speed, made this part a bit more difficult, but after a few minutes of adjustments, I was all set, and focusing wasn’t a problem after that.
The First Image
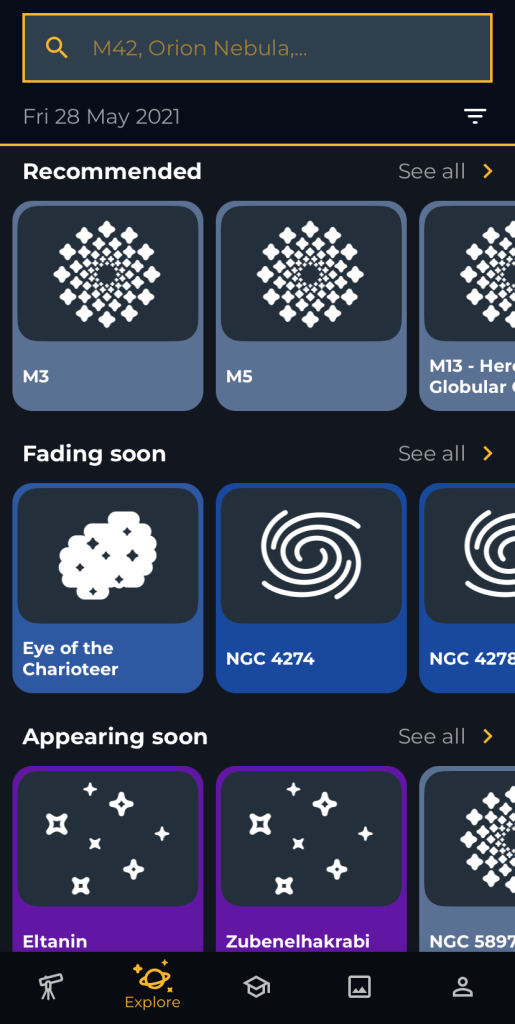
I clicked on the button to run Unistellar’s “Autonomous field detection”. The telescope identifies what objects it is looking at so that when you choose an object to view the telescope knows where to aim. I am very new to astronomy, so I did not know what objects I wanted to look at or take photos of. Thankfully, the apps explore section has an array of recommended options to look at.
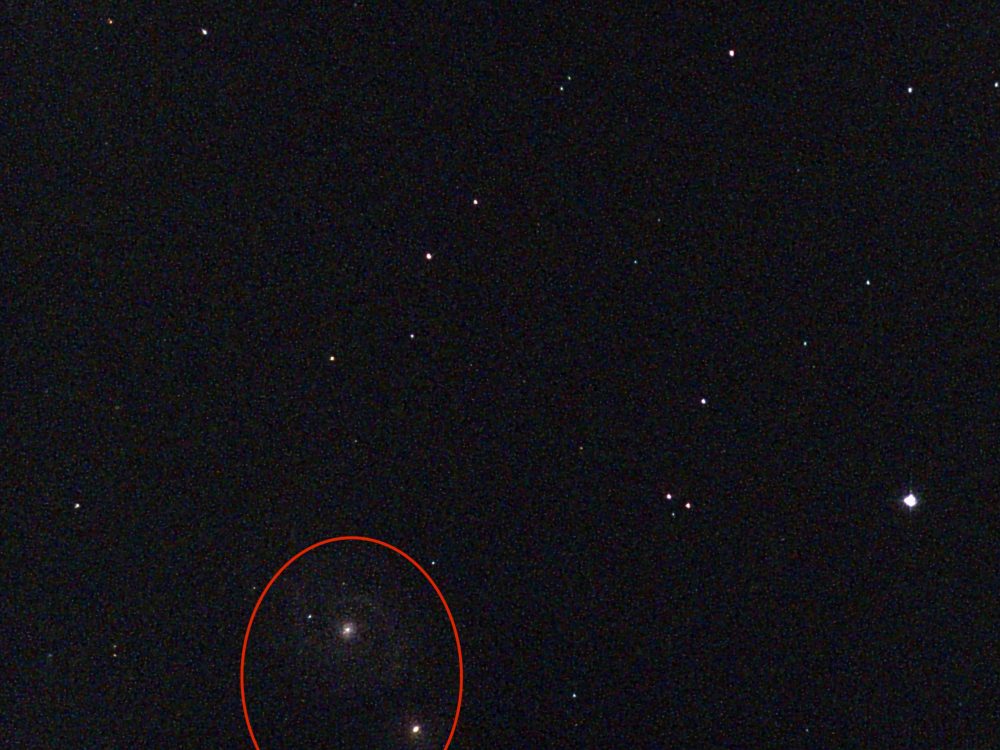
That night, one of the top recommended objects was M63, the Sunflower Galaxy. After selecting the object, I just had to hit “Go To” and the telescope started moving on its own. When it reached where it thought M63 was, it paused for a second. Then the telescope determined what stars were in the frame where it was looking, before adjusting to align with M63 properly. This aiming process requires no input from the user and was extremely helpful in finding dim deep-sky objects. Once the eVscope eQuinox found M63, the scope continued to track it as the Earth turned. I selected the “Enhanced Vision” button.
eVscope Enhanced Vision
The “Enhanced Vision” function is Unistellar’s name for photo stacking. It continually takes photos of the object, layering the best ones together and ignoring the bad ones. This is also where the dark frames, taken earlier, do the most work. Photo stacking is nothing new, it is how all astrophotographers are able to create clean images of such dark deep sky objects. Even Live stacking, where you watch as the image slowly improves with each photo taken, has existed for many years. None of these compare to the ease of use of Unistellar’s eVscope eQuinox. The eQuinox relies on a smartphone connected over wifi, set up in minutes. These other live stacking techniques require a computer connected with a tracking telescope, while also connected to a camera on the telescope. In a setup with a standard telescope, there are all sorts of settings to adjust, from the camera settings to image rejection and alignment settings in the software. The eQuinox does all that automatically.
So, after enabling enhanced vision on M63 how did it turn out? Well, I was a little underwhelmed. I didn’t choose a great first object to view in just a few minutes, but thankfully there were many more (and brighter) objects.
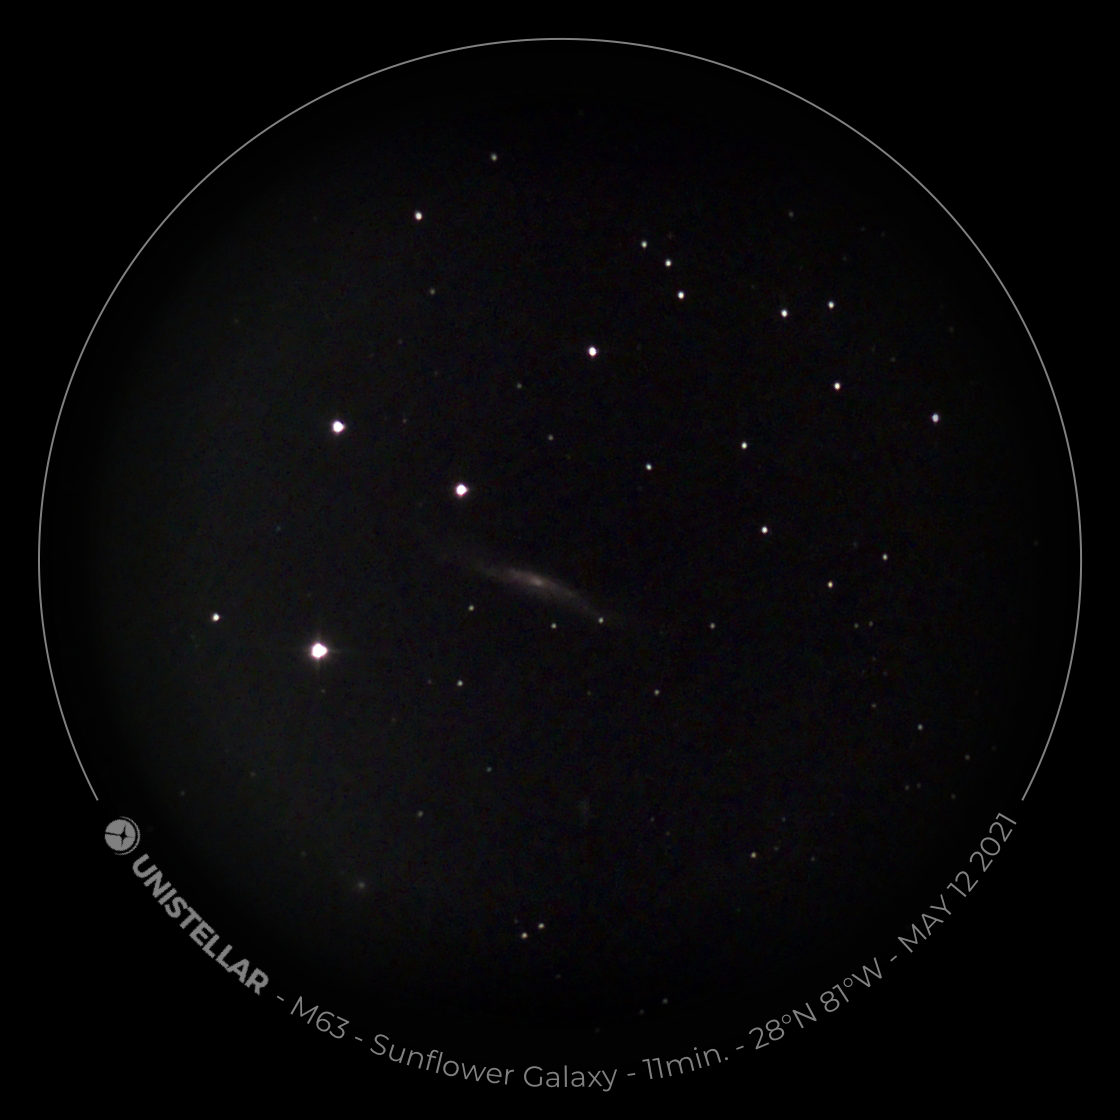
More first night images
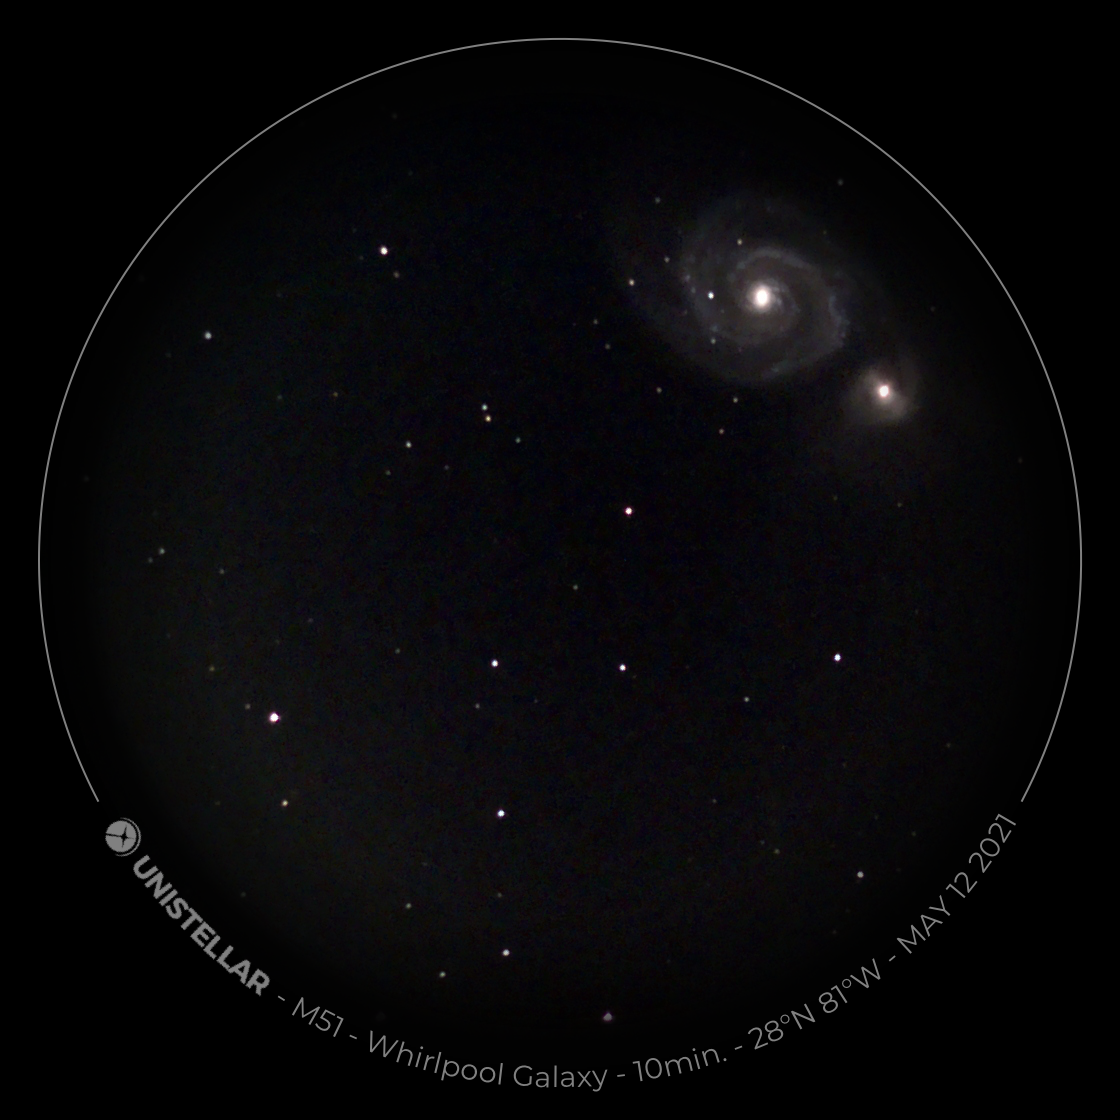
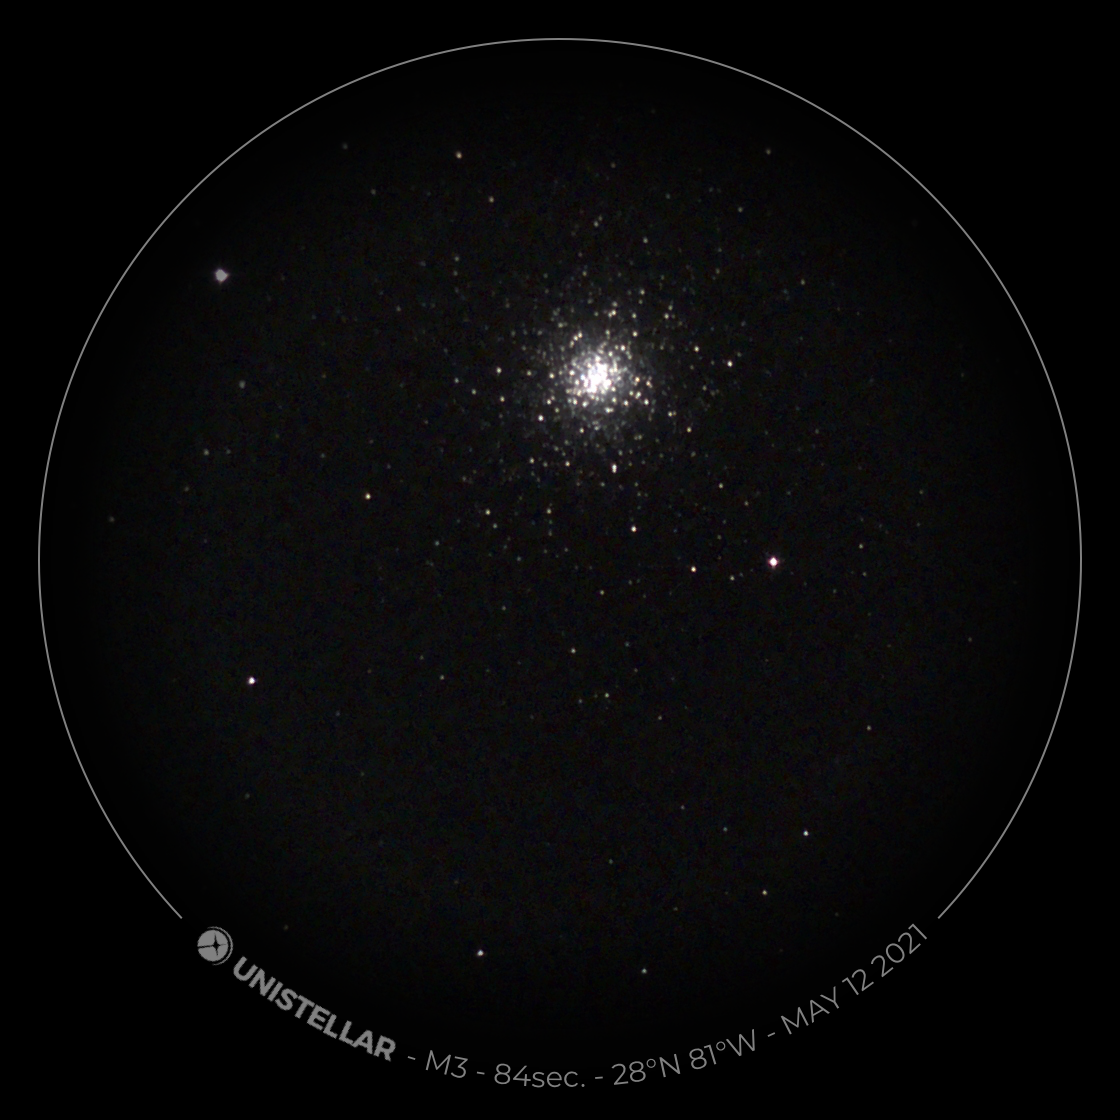
Unbothered by my lackluster first result, I decided to try out the Whirlpool Galaxy. Recognizing that I was in a rather light-polluted area, I planned on letting the Enhanced Vision function run for at least half an hour. A few minutes into capturing the Galaxy, my phone auto-locked, as I hadn’t been paying close attention to it. When I reopened the app, it was no longer capturing the Whirlpool Galaxy and there was no new photo in my gallery. I started the enhanced vision of the Whirlpool Galaxy again and was pleased with the image. At this point, I decided I wanted to bring the telescope to somewhere with much darker skies, so I decided to just capture one last image, and opted for M3.
Night Two

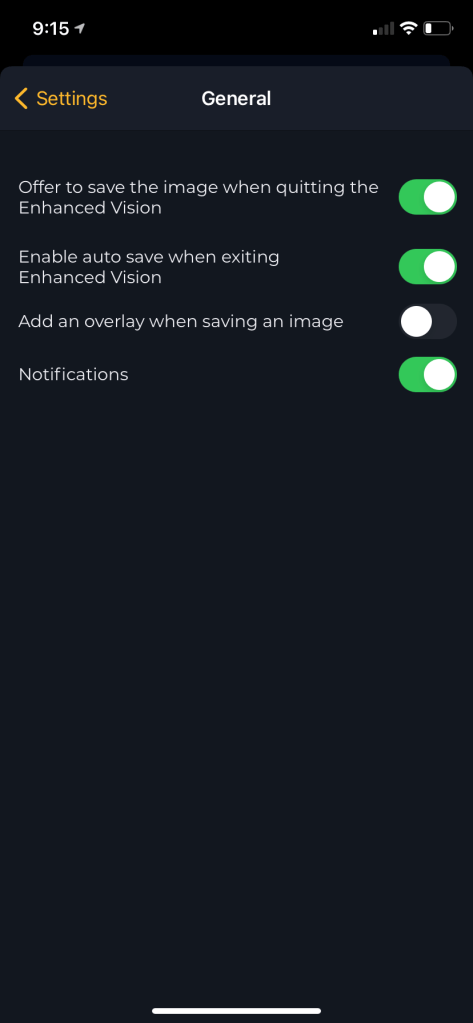
There were a few changes I made for night two. First of all, I drove out away from the city, to the middle of a wildlife management area, in order to have the clearest view of the sky possible. Next, and importantly, I went into the settings to enable automatic saving when it exits enhanced vision and to disable the Unistellar overlay. I also went into my iPhone settings to disable auto-lock. While disabling auto-lock is recommended in the user manual, I avoided this at first, as I don’t believe the telescope should require a user to make their phone less secure. Nonetheless, I didn’t want to risk losing any images this night.
The second night of setup was quick. After starting the autonomous field detection, I was taking photos. I was impressed by how much visibility just a few minutes of image taking was able to provide. I was moving from deep-sky object to deep sky object as I watched the Milky Way rise. This night, the wifi only disconnected once while imaging and thanks to having the autosave enabled I didn’t lose the image.
-
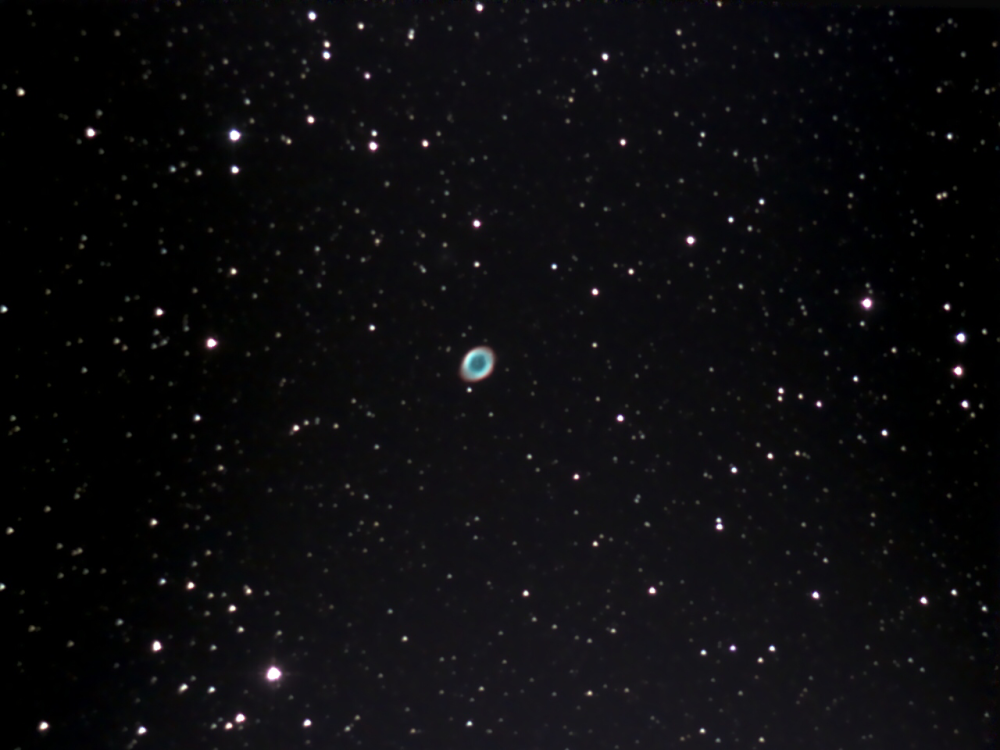
Ring Nebula -
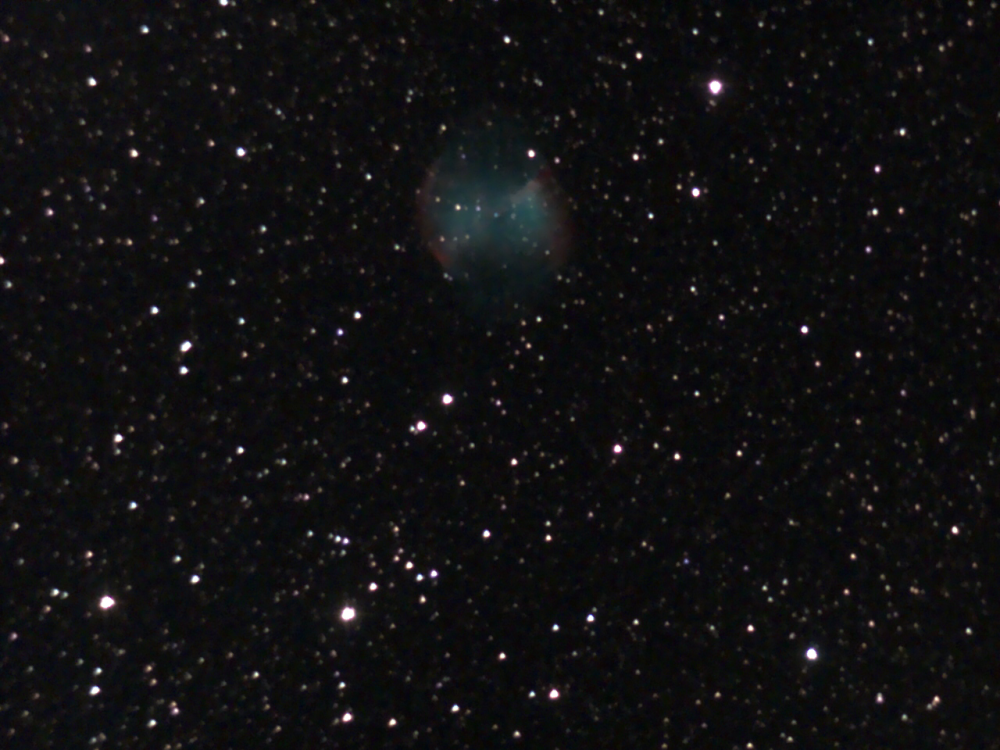
Dumbbell Nebula -
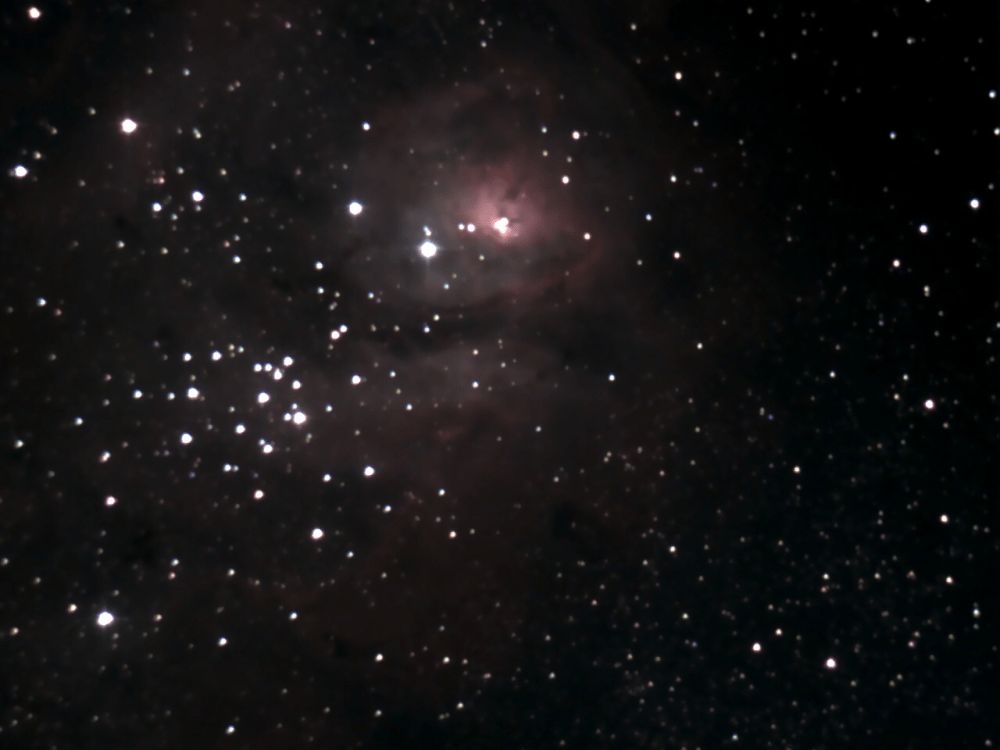
Lagoon Nebula
Software Updates
While reviewing the eVscope eQuinox, there was both an app update and a firmware update. The firmware update increased the image output resolution from 1280×960 to 2560×1920. It is worth keeping in mind that this increase in resolution is the result of improved software processing, as the sensor, a Sony IMX224, is only 1280×960 pixels. Nonetheless, this was a notable increase in output quality. I was hoping that this update would come with an improvement in reliability, and it certainly seems to be improved, but the app still crashed once during my imaging, and Enhanced Vision stopped early a few times during my testing. Over the last year, the Unistellar app has had many updates and bug fixes. I’m confident as they continue to work forward these issues will become less and less prevalent.
-
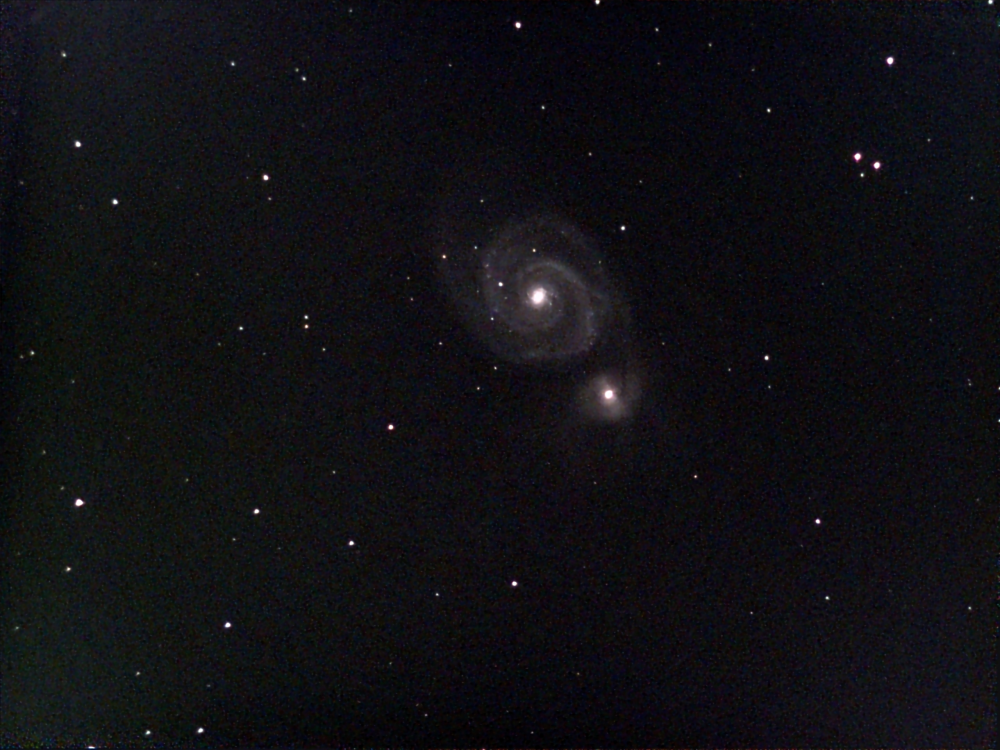
Whirlpool Nebula -
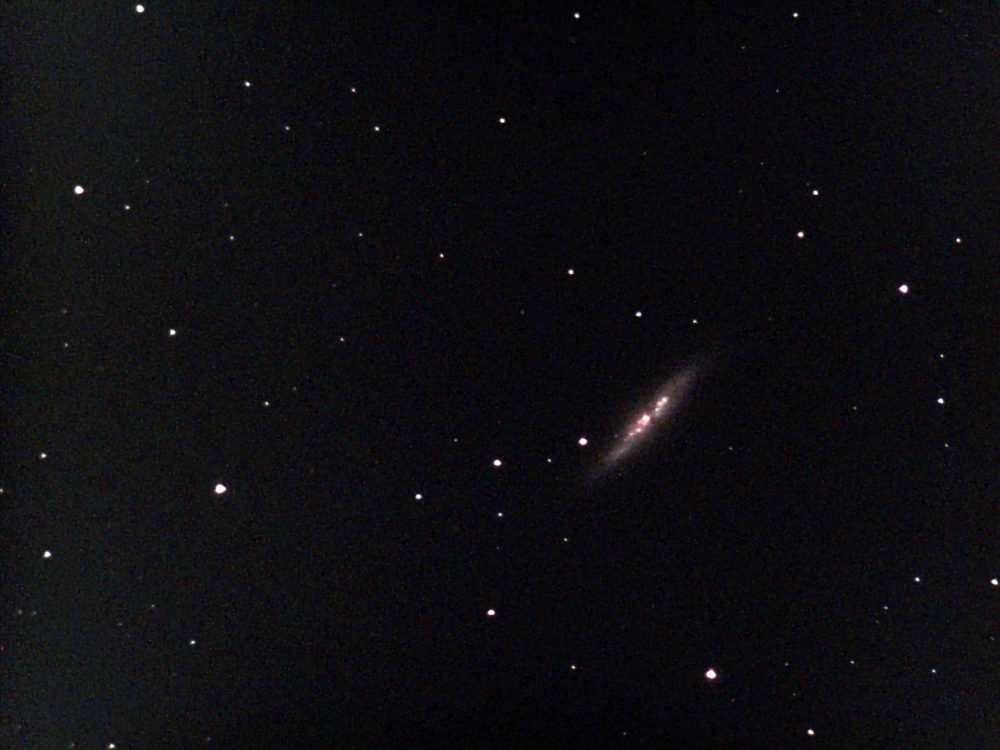
Cigar Galaxy -
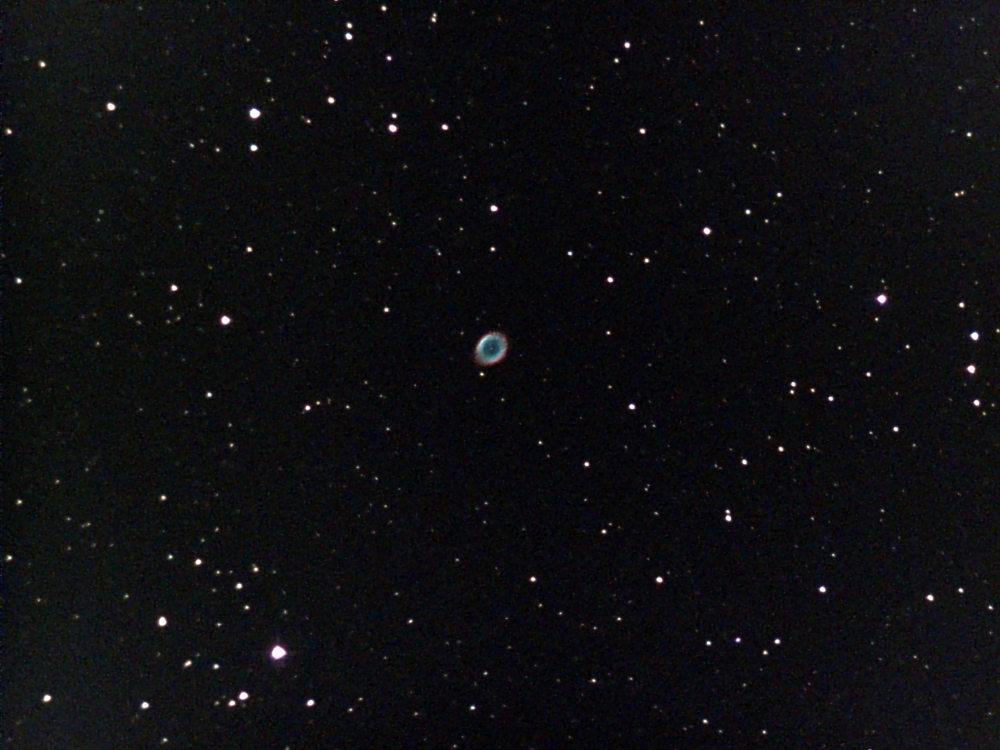
Ring Nebula -
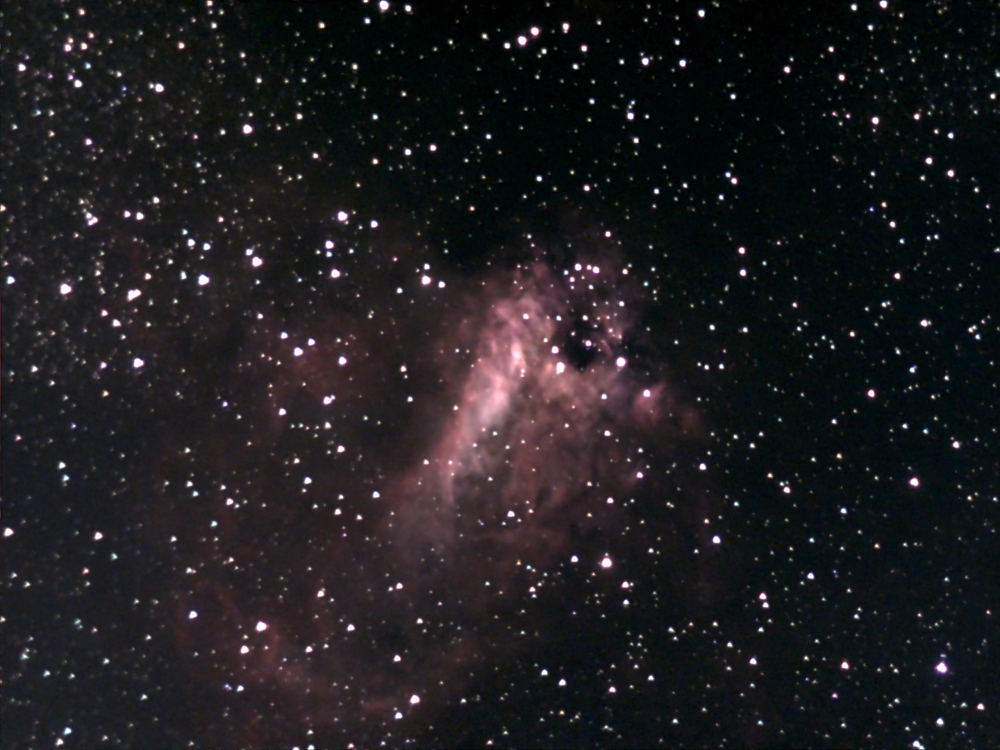
Omega Nebula -
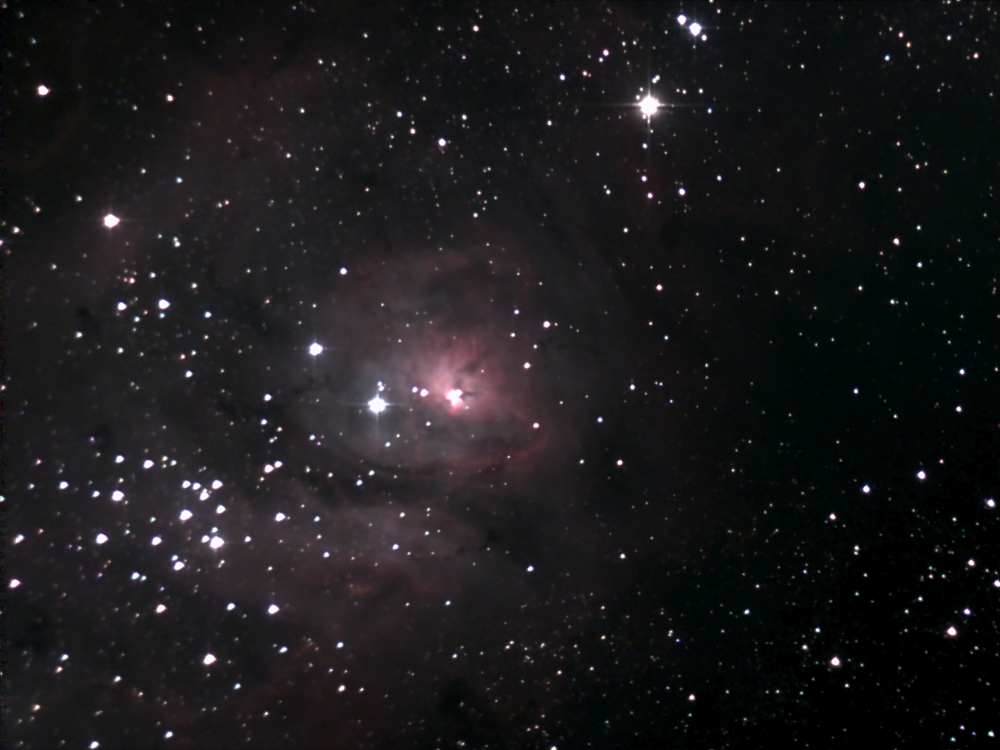
Lagoon Nebula -
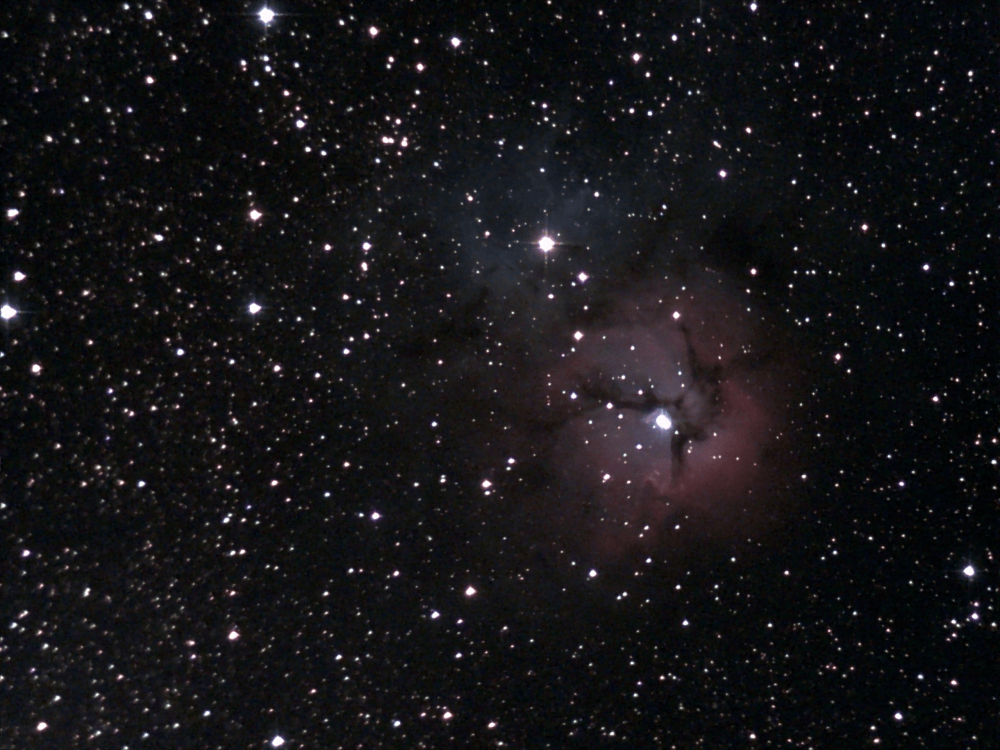
Trifid Nebula
Where Unistellar’s eVscope eQuinox stands out
Unistellar’s eVscope eQuinox stands out in its pure ease of use. It is an all-in-one system that requires no background knowledge or experience with telescopes to start exploring beyond the stars. The ability to use just a phone for everything from tracking, to capturing and stacking is phenomenal. While taking photos with other telescopes requires planning, with the eQuinox you can be set up in minutes, and in less than an hour have stacked and processed photos of a dozen different deep sky objects. The telescope deals with light pollution extraordinarily well. While major cities are far from the ideal location to stargaze, this telescope makes it possible. The eQuinox makes it simple to see objects that aren’t normally visible without the need for the complex systems of a regular telescope.
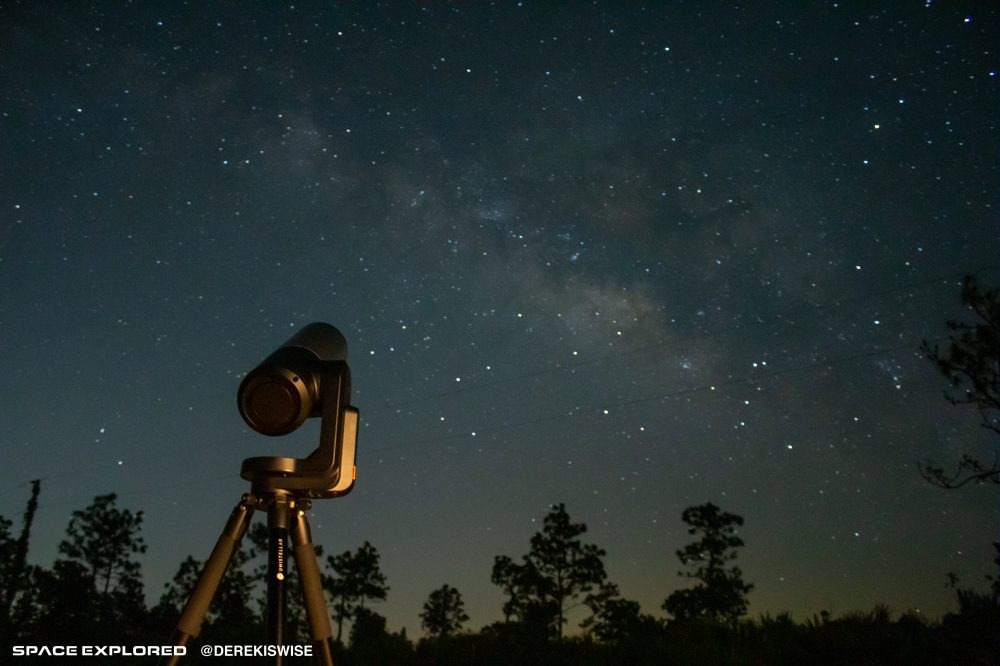
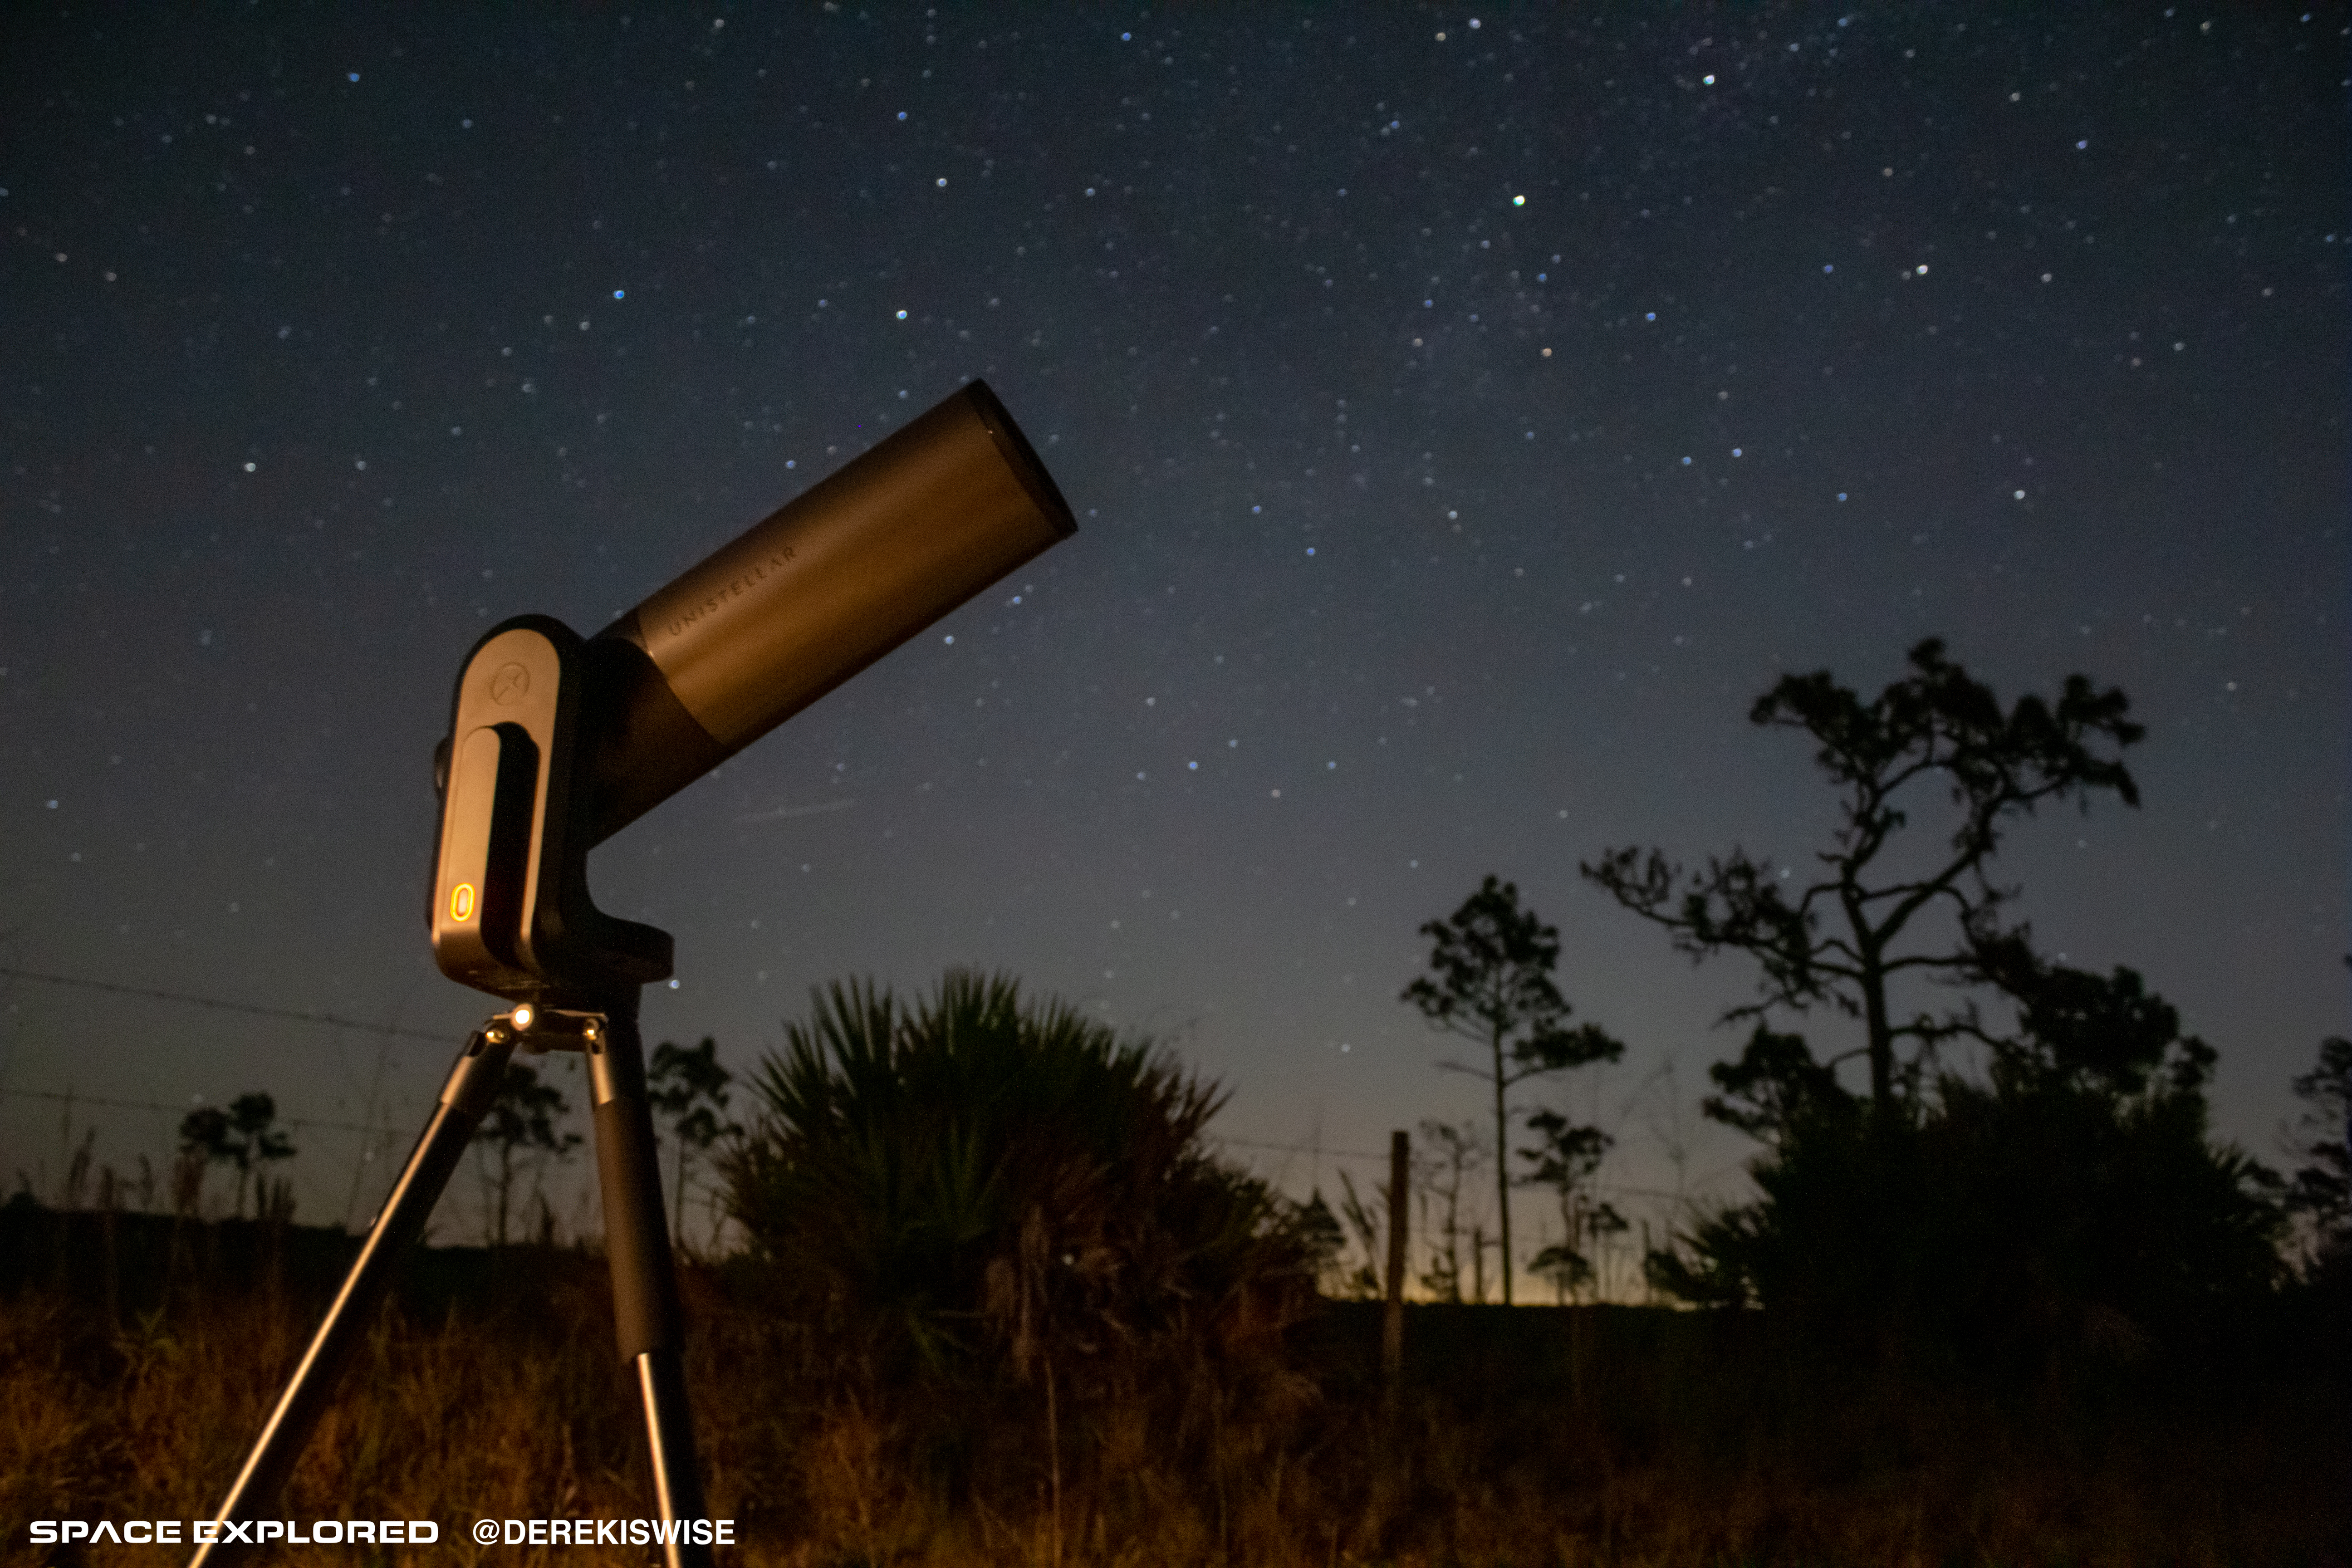
The eQuinox is also extremely simple and elegant in its design, especially with no eyepiece protruding from the tube. The tube is very solid and the computer and battery are housed within the tracking mount. When it comes to design, I would certainly consider it to be the iPhone of telescopes. The power button has an indicator light ring around the outside of it. There is a single USB C port for charging the telescope, and a single USB A port for charging your phone while using the telescope. While the eVscope eQuinox is easy for anyone to use, it’s still simple to do more advanced adjustment to mirror placement if that ever becomes necessary. A tool kit is included with what you need to collimate the scope or disassemble it to clean the mirror.
What the eQuinox lacks
Well, as the eVscope name suggests, the eQuinox lacks any form of an optical eyepiece. Unistellar’s earlier eVscope included a digital eyepiece, but with the eQuinox, even that is gone. While the digital sensor used unlocks a wide array of possibilities, I certainly believe there is something special about being able to look through a telescope and see the actual light being emitted from distant objects. Looking at these objects through a phone screen creates a certain disconnect. That mental disconnect as a result of the digital screen is prevalent enough that in the Kickstarter FAQ for the original eVscope the Unistellar team said, “Yes it is real, we do NOT make any overlay of any preexisting images. The image is formed from photons being collected at the time you are observing. You are doing astronomy, not watching a movie.”
Software changes I’d like to see
For a product so reliant on the software, there are certainly some improvements I would like to see that could dramatically improve the user experience. While, to their credit, Unistellar has been expanding the number of objects listed in the database, I think the two most helpful things to add for each object would be an image and a recommended Enhanced Vision time based on the light level at the user’s location.
By adding an image, it will allow the user to get a better idea of what they were looking for in the sky. I was exploring the app and decided to try to capture a picture of the Cats Eye Nebula, only to realize a few minutes into Enhanced Vision that at the eQuinox’s 450mm there was no notable detail in the nebula, which instead appeared rather like a large star. Likewise, when set to go to an object, I would like if the telescope would be better at centering the objects. During one attempt at the Whirlpool Nebula, it was aligned partially outside the field of view of the telescope.
Access to the raw images
While many users will be pleased with the stacking that occurs within the app, as users become more familiar with astrophotography, they may wish for control over the post-processing of their images. This is why access to the raw photos taken would be a great upgrade. Access to raw images, as well as an API that could allow users to have more control over the eVscope, were referenced back in the 2017 fundraising campaign for the original eVscope, but have still not arrived. The ability to “Download Raw Data” is also shown as an option in the user manual, yet remains unavailable in the actual Unistellar application.
Better Citizen Science integration
While Citizen Science takes up a major part of Unistellar’s website, it is not well integrated into the app. As described in an extensive how-to guide, currently, you must visit the website in order to gather information on the events, then input a number of data points into the app to start recording. After you complete gathering the data, you upload the data within the app. That’s not the end of it, for the asteroid events you then need to go back to the Unistellar website to fill out a Google Docs form including your name, email, which event you were observing, and your devices serial number. With app-integration, that process could be massively simplified in order to increase the number of “Citizen Astronomers” who are actively searching for near-Earth objects.
Reliability
This is by far the most important change I would like to see as I recommend this telescope. A night of looking at deep sky objects should not be interrupted by the app itself crashing, or the phone and telescope disconnecting. As Unistellar improves the reliability of the connection, as I’m confident they will, the eVscope becomes a very compelling all-in-one solution for a night of great stargazing.
Who is the eVscope eQuinox for?
This is the question I keep coming back to. It is hard to recommend the eQuinox to most professional astrophotographers who will prefer to gather raw images with modified DSLR bodies, tracking mounts, and more manual processing. At $2,999, it’s definitely on the expensive side for people only casually interested in astronomy, but if an all-in-one solution is what you’re after, the eQuinox is the way to go.
To gather the most simple deep sky images on any other telescope would require numerous accessories and planning, but with the eVscope eQuinox, it’s just a few clicks away. It could also be a compelling addition to science outreach programs such as Experience Daliona’s Sidewalk Science Center. The simple app interface could allow children of almost any age to choose an object in the sky they want to see and aim the telescope at it. Additionally, the ability to connect 10 devices at once allows many people to connect to the scope solely as viewers. This functionality could be helpful for group events.
Unistellar eVscope eQuinox specs
Cost: $2,999 USD + $59 Shipping
HARDWARE
- Optical Magnification: 50x
- Digital Magnification: up to 400x (150x recommended maximum)
- Max Magnitude: <16 in medium quality night sky in under a minute, up to 18 in excellent conditions in a few minutes
- Separating power: 2 arcseconds
- Mirror Diameter: 4.5 in
- Focal: 450 mm
- Motorized Alt-Az Mount with extreme tracking accuracy thanks to Automated Celestial Tracking with Feedback
- Weight: 19.8 lbs (9 kg) including tripod
ELECTRONICS
- Sensor Technology: Sony Exmor with NIR technology
- Sensor Model: IMX224
STORAGE
- Storage capacity: 64 GB
Purchasing the eVscope eQuinox
The eVscope eQuinox is currently available for Pre-Order on Unistellar’s website.
Shop Telescopes on Amazon to support Space Explored Writers.
Directly support Derek by becoming a member of their Patreon.
Help others find us by following in Apple News and Google News. Be sure to check us out on YouTube, Twitter, Facebook, and Instagram, join our Discord, and don’t forget the Space Explored podcast!
Author: Derek Wise
Source: 9TO5Google


