

Who doesn’t remember PC games such as Maniac Mansion, the King’s Quest series and the dubious adventures of Leisure Suit Larry or software such as Microsoft Works and Lotus Smart Suite?
These titles originally came from the 80s and 90s, ran under MS-DOS or Windows 3.1 and were delivered on floppy discs or—very modern back then!—CD-ROMs.
In our guide, we want to breathe new life into these treasures from the past and get them running on a current PC with Windows 11.
We describe two scenarios:
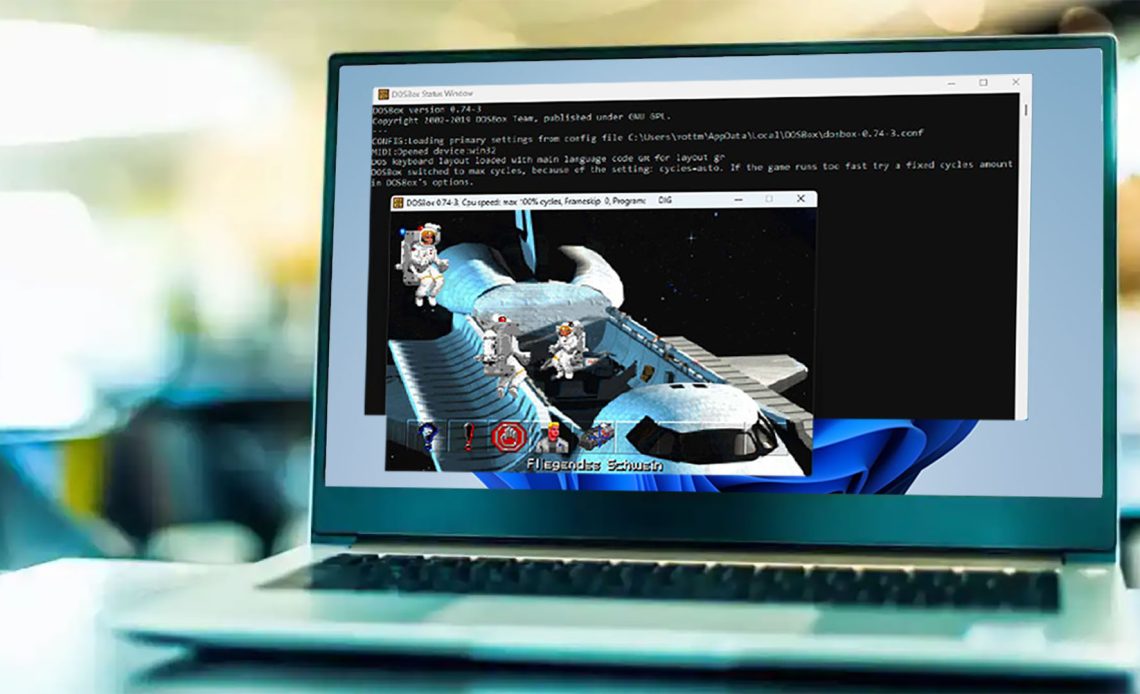
To run old applications and games under Windows 11, you need an emulator such as DOSBox.
This command line tool, which was primarily developed for games, provides the MS-DOS platform and simulates an IBM PC-compatible computer with an x86 processor, the speed of which you can adjust.
This means that old 16-bit programs can also be run under DOSBox, and you can even install Windows 3.1 and then run compatible software on it.
DOSBox also provides the required hardware environment: In addition to mouse and keyboard, the tool controls input devices such as joysticks and gamepads, which is indispensable for games.
It also supports (virtual) CD-ROM drives and sound cards for audio output. The emulator works independently of the actual equipment of the PC on which it’s running.
The operation of DOSBox requires rudimentary knowledge of command line tools. However, you can always call up a short introduction and the help function each time you start it, and there are excellent instructions on the project website.
There is also an alphabetically sorted list of supported games at www.dosbox.com/comp_list.php.
For the sake of clarity, install DOSBox in a newly created directory called Oldies on your hard drive “C:\” and create another folder called DOSSoft in which you’ll later store your games and applications.
When naming folders, please note that DOSBox, like MS-DOS itself, abbreviates all names that are longer than eight characters. As you’ll have to type the folder names into the command line later, you should therefore avoid names that are too long.
For our article, we first want to run the MS-DOS game Shadowlands (1992), which we still have the original 3.5-inch floppy disc for, under DOSBox.
Next, install Windows 3.1 from the original floppy discs and install the graphics program Aldus Photostyler (1991) – available on four 3.5-inch floppy discs – and an image of Microsoft Works (1988).
To read the media, use a USB floppy drive that is mounted in DOSBox, i.e. make it available to the emulator as a physical drive. To do this, start the program and type for the USB floppy drive
This preserves the drive’s letter A. The “-t” and the subsequent designation stand for the drive type that is mounted. The drive letter is capitalized. Otherwise, upper and lower case is not important.
If the mount was successful, a corresponding message appears. Please be patient, however, as the process may take a few seconds.
Important: Every time you exit DOSBox, you must remount your drives. In addition, the contents of the mounted drives and folders are not updated. So if you copy new files into a mounted directory, you must remove it with mount -u : and then remount it.
By the way: If you still have programs on 5.25-inch floppy discs, installation can be difficult or even impossible. We did not find any external drives for this in our research, and the current mainboards do not have the controllers for used internal devices.
So if you want to use a program that originally comes on 5.25-inch floppy discs, you have to get the ISO from the Internet. But more on this later.
The fantasy role-playing game Shadowlands was released in 1992 for MS-DOS, Amiga and Atari, and we want to run it from the original 3.5-inch floppy disc in DOSBox.
After mounting our floppy drive as described above, we must do the same with our installation directory. So we type
– the folder now has the drive letter “C:” -, then change the drive letter with
to the floppy drive and install Shadowlands using the command
into our game folder.
A “SHADOW” folder is automatically created. The message “Install Complete” appears as confirmation, and we switch to the next folder with
to automatically switch to the SHADOW folder. With
to display the contents and finally start our game with shadow.
By the way: If there are several subfolders, the cd command is used to change the subfolder manually. You can go one level higher with cd . (two dots).
After starting Shadowlands, select the resolution, i.e. whether we want VGA with 640 x 480 pixels or EGA with 640 x 350 pixels. We prefer the “newer” VGA.
Shadowlands then starts with sound output and lets us create a hero for our epic adventure.
Conveniently, we can use the mouse, as DOSBox can provide this as well as the keyboard. While you’re in an emulated game, the mouse and keyboard are disabled for your “real” PC. You must then exit the game or briefly interrupt it with Ctrl-Alt-Del to restore functionality.
If you then want to switch back to the game, simply click with the mouse in the relevant window.
By the way: If you want to install an old game from CD, mount the corresponding drive with
whereby the drive retains the letter E. Then switch to it with E:, display the contents with dir to find the setup file and then execute it.
Proceed in the same way if a game can be started directly from CD. Then run the start file instead of the installer.
Next, we want to install Windows 3.1 from our seven 3.5-inch floppy discs under DOSBox. To do this, mount our floppy drive and the installation folder as described above.
With
to display the contents of the first floppy disc and then start the installation with
The familiar screen appears and you can run through the installation. Change the discs when the installation wizard prompts you to do so. The data is automatically stored in your installation directory in a (new) folder called WINDOWS. To start the operating system, mount this folder as drive F, for example, with
mount, then change to the directory with F: and start Windows 3.1 with
to start it. To return to DOSBox, click on “File” and “Exit Windows” in Windows 3.1.
Caution: Older floppy discs in particular may no longer be readable!
In this case, you can alternatively obtain an image of the desired program from the Internet. Remember, however, that you cannot legally use the software without a valid serial number!
In the case of Windows 3.1, for example, we found what we were looking for at winworldpc.com. After downloading and unpacking the ZIP file, move the six disc images to a newly created folder called Win31, which you then move to your installation directory.
Also unpack the IMG files so that all installation files are in one folder. Now mount the directory as drive E with
then change to the directory with E: and carry out the installation with setup. As with the installation via floppy discs, a folder “WINDOWS” is created, which you must mount in order to install from it with
to start the operating system.
To install a program under Windows 3.1, you’ll need to store the installation files in a folder to which we have access under Windows 3.1.
This is the case for your installation directory, so create a folder called Aldus for Aldus Photostyler and copy the files from the Aldus discs into it.
Under DOSBox, change to the (newly) mounted drive “C:” and make sure that the folder is also available. Then start Windows 3.1 in DOSBox and open the “File Manager” in the “Main Group” folder.
Find your “Aldus” folder in the “C:” drive, and then open it. Start the installation with the “pssetup.exe” file. Then close the file manager using the button of the same name and find Aldus Photostyler in its own folder. Double-click on the icon to start the application.
Next, to install the Microsoft Works 2.0 image proceed in the same way as with the Windows installation: Download the ZIP file from winworldpc.com, unzip it into a previously created “Works” folder in your installation directory and unzip the eight disc images into it so that all the files are in the Works folder.
Then remount the folder in DOSBox, start Windows 3.1 and open drive “C:” via the file manager as already described. In the “Works” folder, start the installation via the “setup.exe” file.
Author: Verena Ottmann
Source: PCWorld
Reviewed By: Editorial Team
