
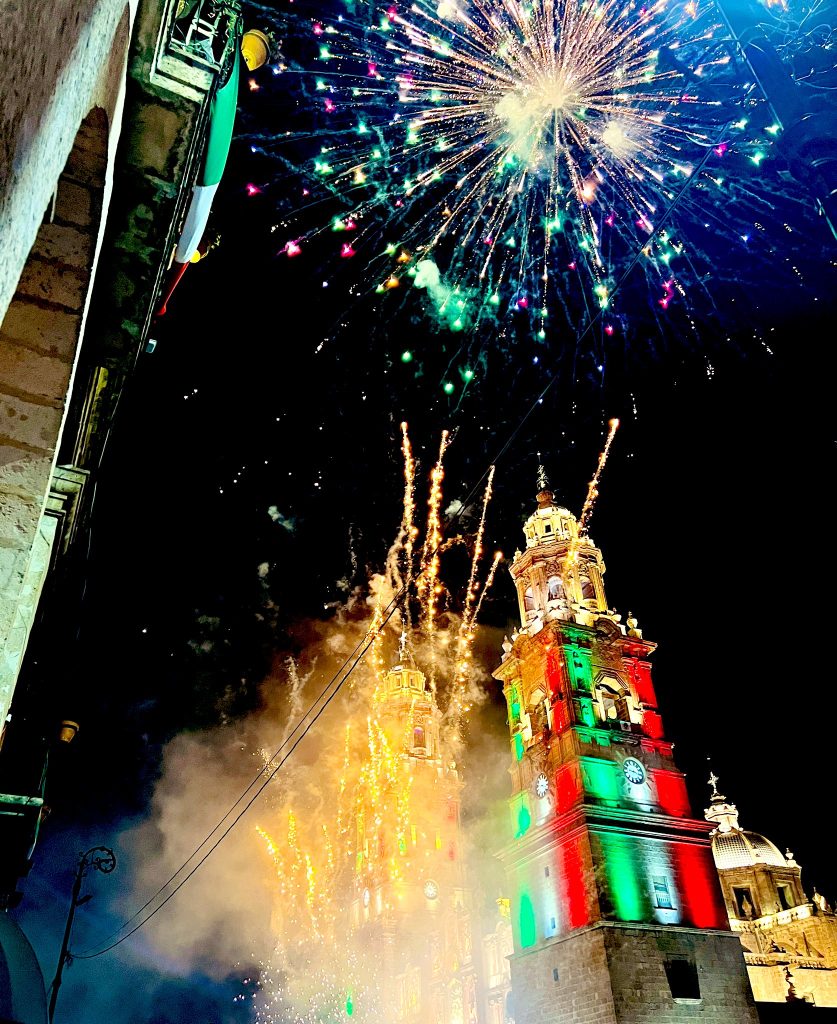
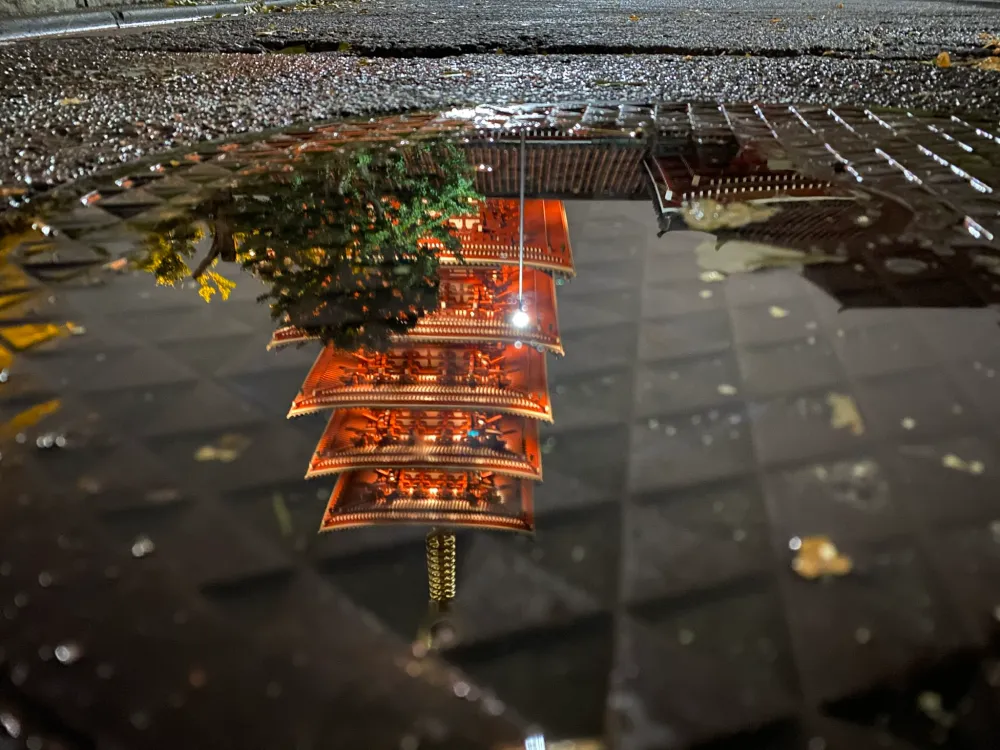
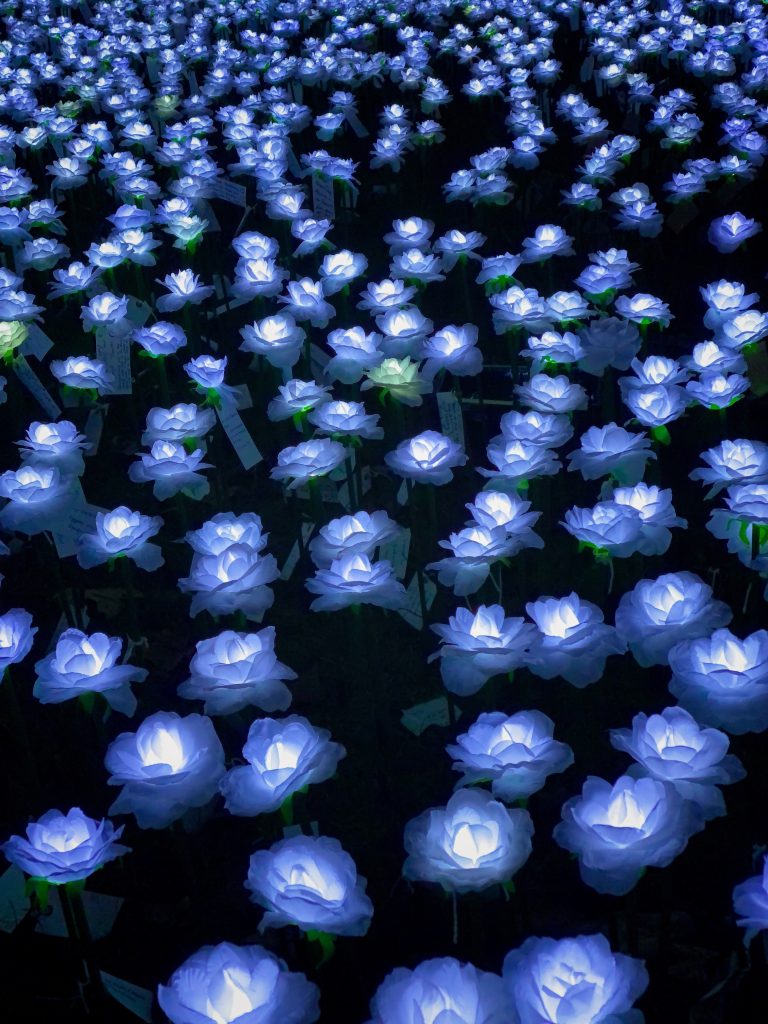
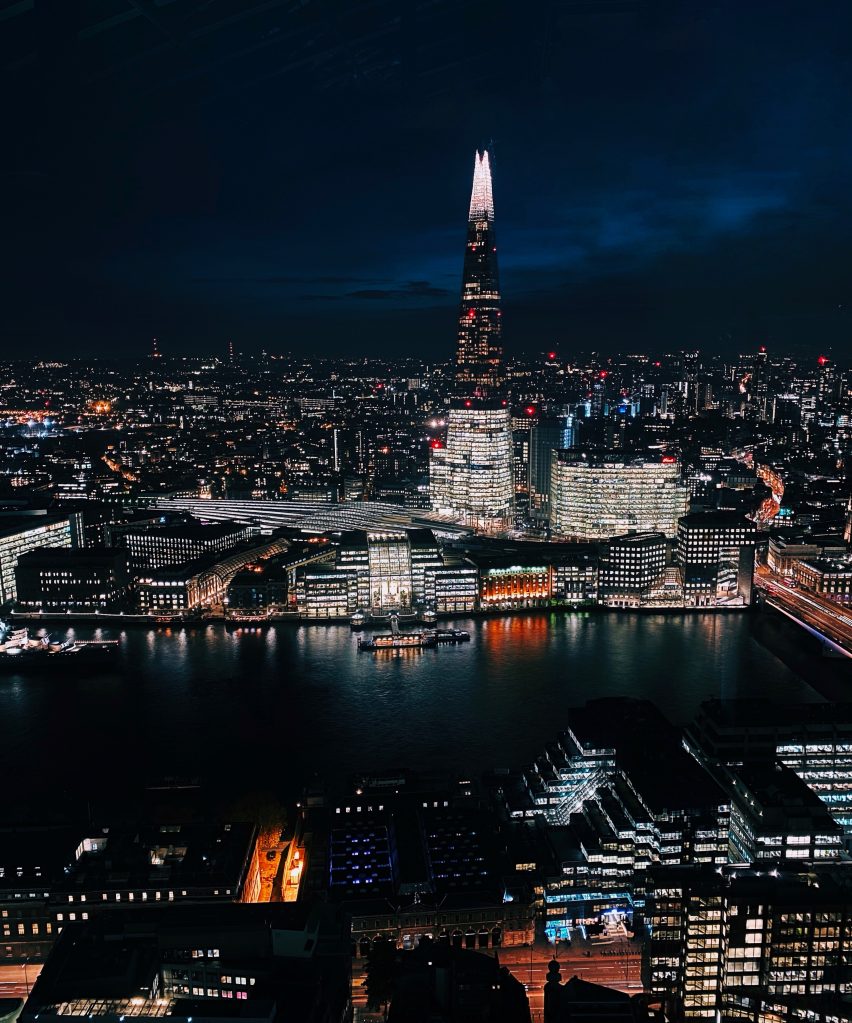
Night mode remains one of the iPhone’s most impressive camera system features, despite recent concerns about how unnatural post-processing can make photos look. We recently asked the 9to5Mac community on Twitter to reply with their best nighttime shots; below are some of the most awe-inspiring replies. Read on to see how you can use Night mode and the best photos I’ve seen with it.
You may not have even noticed your iPhone has a dedicated Night mode. Unlike other Camera app modes, you don’t need to swipe or toggle between a Night mode photo and a normal one. Night mode turns on and adjusts automatically when it senses a low-light environment.
When enabled, it vastly improves photos by increasing the exposure time of your iPhone’s camera. The result can be some pretty incredible low-light shots.
How to use Night mode
Note: Night mode is available on all iPhone 11 models and newer, as well as iPad Pro.
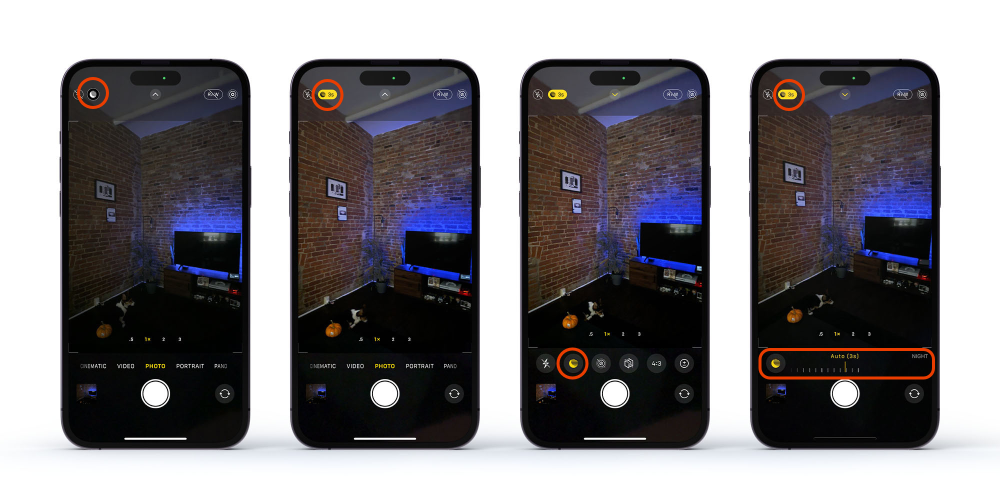
Since you can’t manually turn on Night mode for any setting, you’ll need to be in a low or medium-light environment for that gray or yellow moon icon to appear.
Here’s how it works:
- Open the Camera app and navigate to the photo mode. Look for a moon icon in the upper left (bottom left in landscape orientation).
- If it’s grayed out, it means that Night mode is available, but not auto-enabled as the scene is too bright.
- If the moon icon is highlighted yellow, it means it’s auto-enabled for your scene and ready for use.
- Next, tap the upward-facing arrow and then the yellow moon icon at the bottom to adjust the exposure time.
- Lastly, hold your iPhone as still as possible during your Night mode capture. The yellow moon icon indicates for how long, and a countdown will also appear above the shutter button.
Night mode gallery
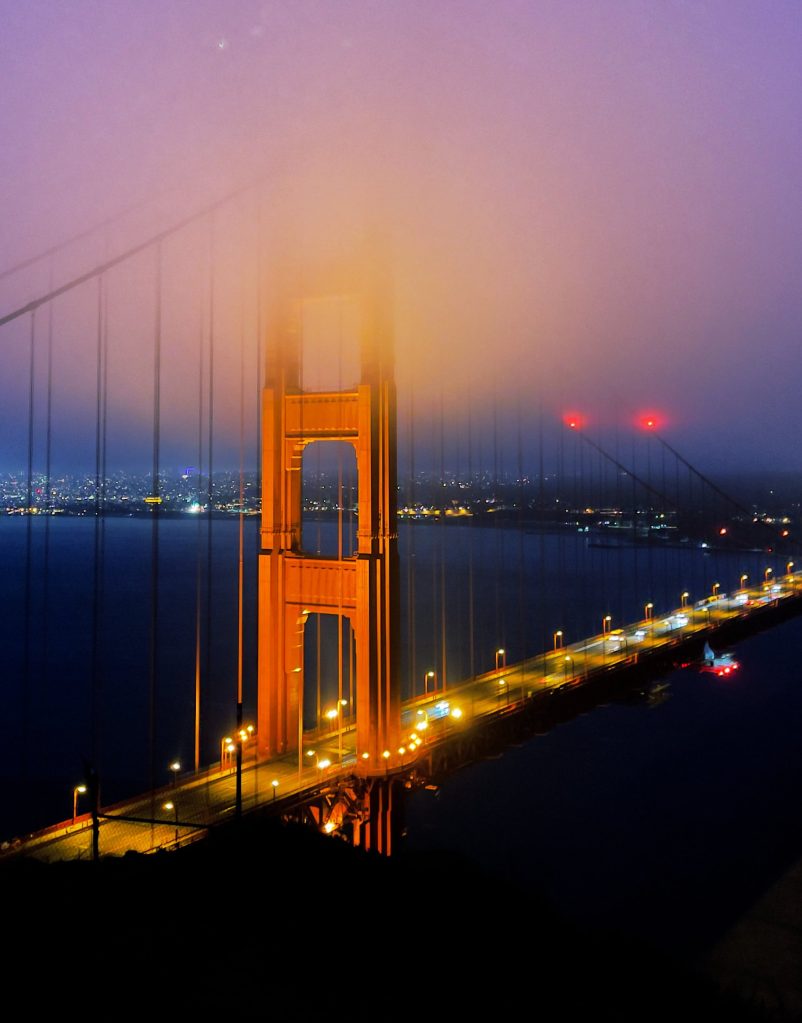
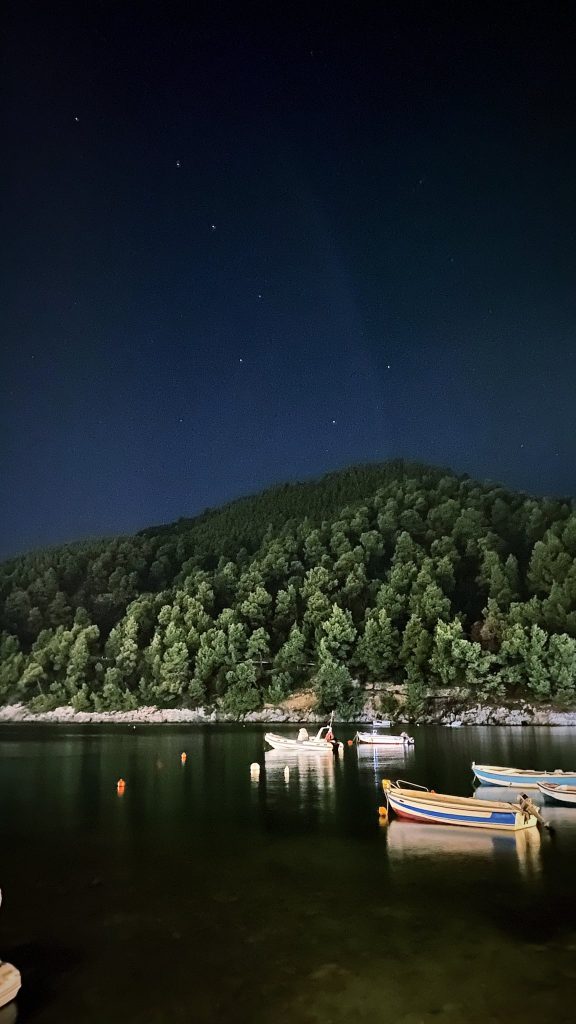
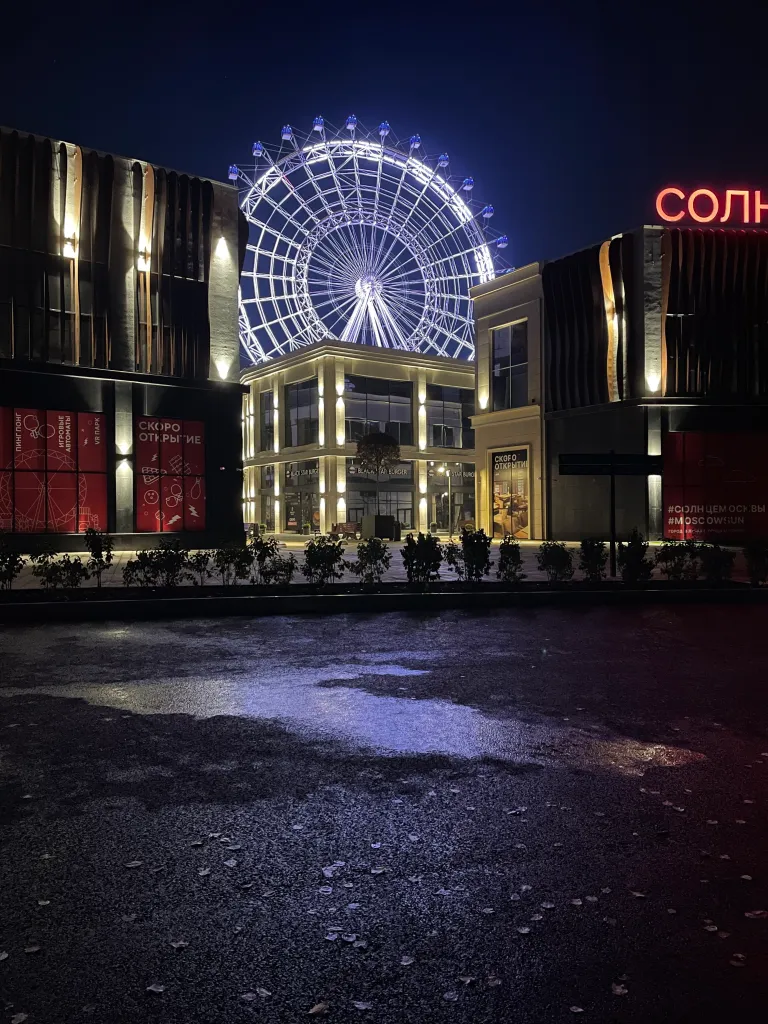
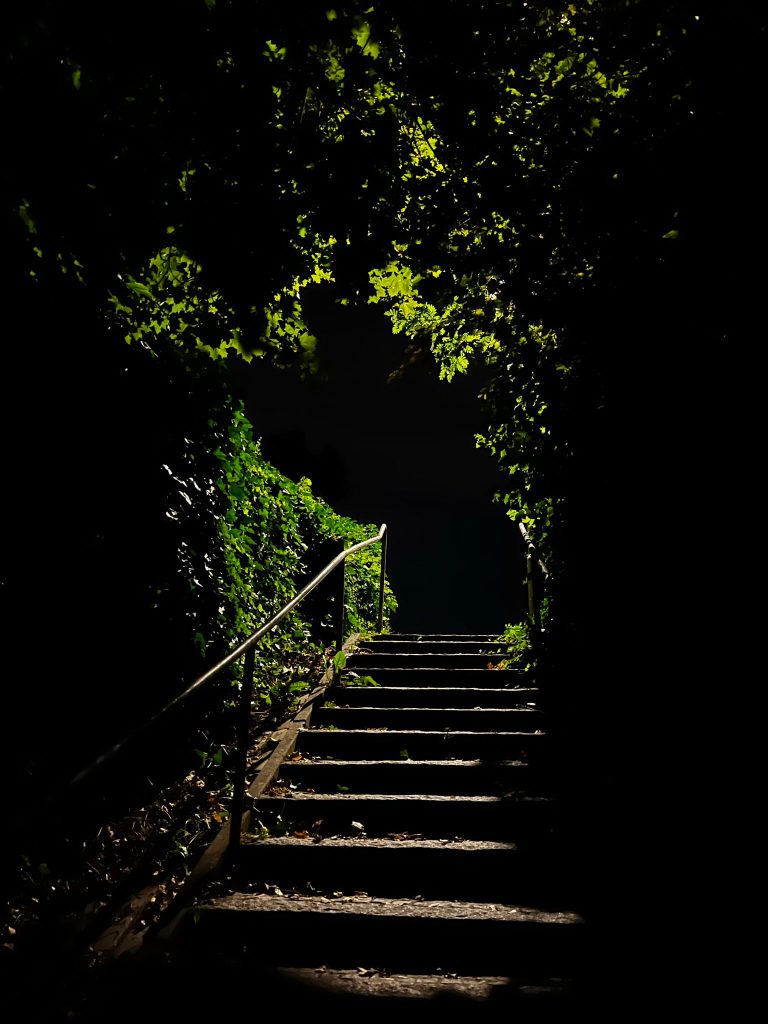
Here are some of the best Night mode captures shared with us on Twitter. You can see hundreds more from the 9to5Mac community in our tweet.
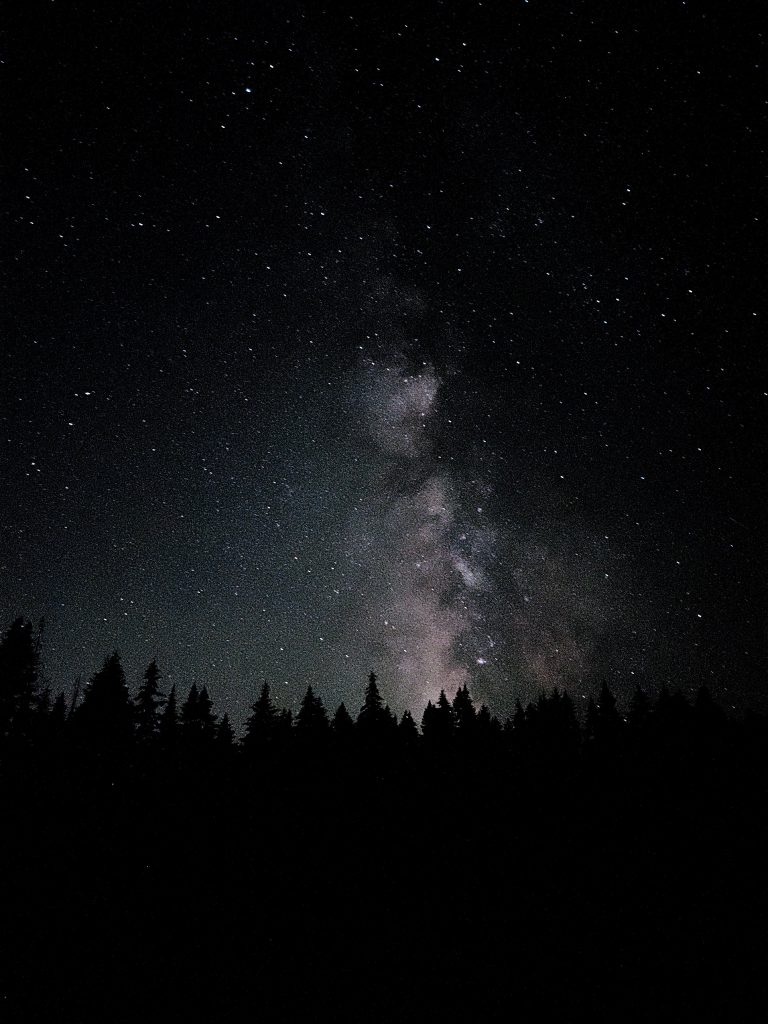
Wilson (@Wilson_boi_101) – iPhone 12 Pro Max

Add 9to5Mac to your Google News feed.
google-news
Author: Arin Waichulis
Source: 9TO5Google


