![]()
In the two-plus decades I’ve been a photographer, finding the right light modifiers for the varied work that I did was a challenge. In the small community I lived in, my subject matter ranged from commercial photography to weddings and portraits. Each subject required its own type of lighting.
In my effort to find the right ones I tried many different styles, but I finally found the ones that worked best for my style of photography and for the subject matter I was hired to photograph. I will try to impart some of the things I had to consider when searching for the right modifier and hopefully this will make your quest easier.
Table of Contents
Getting Started
Capturing natural light for your subject can be a challenge that is dependent upon a few factors in order to create the best light for your subject. Direction, quality (hard or soft), window light, direct sunlight, and open shade are just some of the factors you have to take into consideration when putting a subject into that light.
If your inspiration happens to come when the sun has set, then you’ll have to create and control your own light source. Sure you have a flash but with the addition of a light modifier, like an umbrella or softbox, you can have greater control over the light falling on your subject. Let’s explore some simple, effective modifiers you can attach to your speedlight or a large studio flash.
If you’re just starting out with photography, you probably have a speedlight that you can attach to your camera via a hot shoe. The next step is to purchase a light stand with the appropriate cold shoe connection that will allow you to attach your flash to it. You can find these from various manufacturers at varying prices.
The Umbrella
![]()
Besides attaching a flash you’ll have to make sure you can add an umbrella so you can point the speedlight into it. Now you’ll have to choose which size and type of umbrella. Westcott, as well as Lumiquest, are excellent manufacturers for these types of modifiers and they all have varying sizes and functions that will give you a different quality of light.
Size
First, let’s talk about the size of the umbrella. I’ve had various sizes in my collection ranging anywhere from 12” to 72”. Each one delivers something a little different when it comes to light falling on your subject. A smaller umbrella will deliver a harder light than a 72”
umbrella.
The larger the umbrella, the wider the light source will become as compared to the tiny bulb in the flash. As well, if you’re shooting large groups of people you will need a larger umbrella or possibly more than one flash and modifier set up depending on the subject. These umbrellas come with various linings like silver, white, or gold. The silver umbrella will produce a harder light while the white will deliver a softer quality. A gold-lined umbrella delivers a warmer light that can somewhat mimic sunlight. Each has its advantages depending on what you want to achieve with your subject matter.
Reflective vs Shoot Through
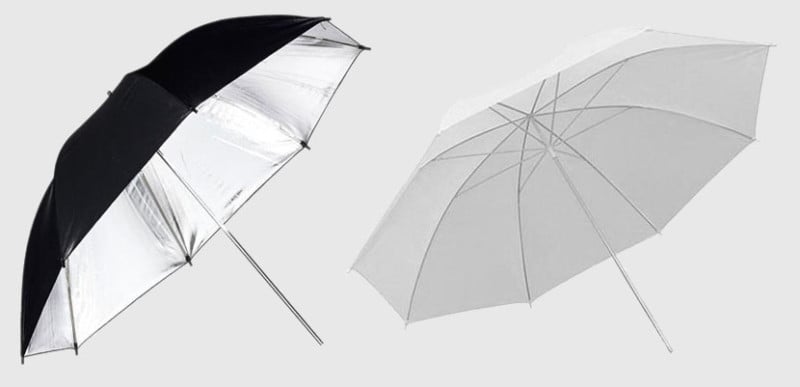
The next consideration is whether you’ll want a reflective umbrella or a shoot-through.
The reflective umbrella is meant to have the flash shoot into the center of them and has an opaque interior reflecting the light and bouncing it onto the subject. This allows you to have more control over the light placing it right where you want it to fall without it bouncing all around the room. By moving the umbrella closer to the subject you can produce beautiful, soft light effects on your subject.
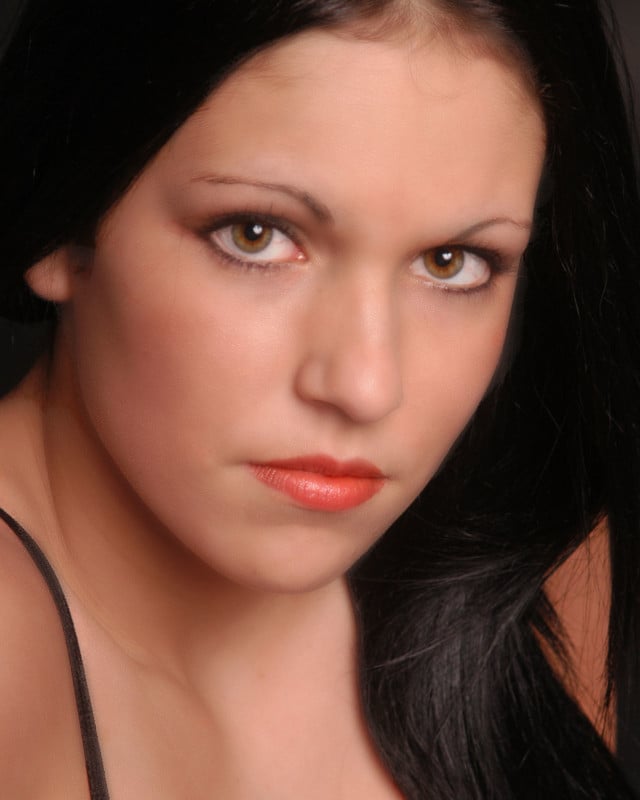
Silver-lined umbrellas will have little effect on the color temperature of the light and intensify its effect. A white umbrella interior with a black exterior will produce a light quality that is achromatic but it doesn’t quite reflect as much light as the silver umbrella but the light is of a softer quality.
Often a white umbrella will have a removable black backing allowing you to have both a reflective and shoot-through umbrella. Shoot through umbrellas provide the softest light and are often the preferred choice for portraiture. Again, the larger the umbrella you shoot through the softer the light and you’ll also have the option of moving the light closer to the subject producing which will wrap the light around the subject producing an even more flattering light.
Shape
Another consideration is the shape of the umbrella. As I mentioned previously, they can come as small as 12” and as much as 7’! You can also get an umbrella that can be both an umbrella and a softbox. We’ll get to that in a moment.
All umbrellas are made up of panels that reflect and focus the light. An umbrella with a parabolic shape is larger than regular umbrellas and has more panels comprising the shape. These extra panels produce a light with a distinct focal point and at the same time provide a wrap-around light that can impersonate natural light like the window light we spoke of. Also, a parabolic umbrella is deeper than a standard umbrella; thereby focusing the light making it more directional than a regular umbrella.
Keep in mind: The larger the umbrella the more flash power you’ll require to produce the aperture you’ll want.
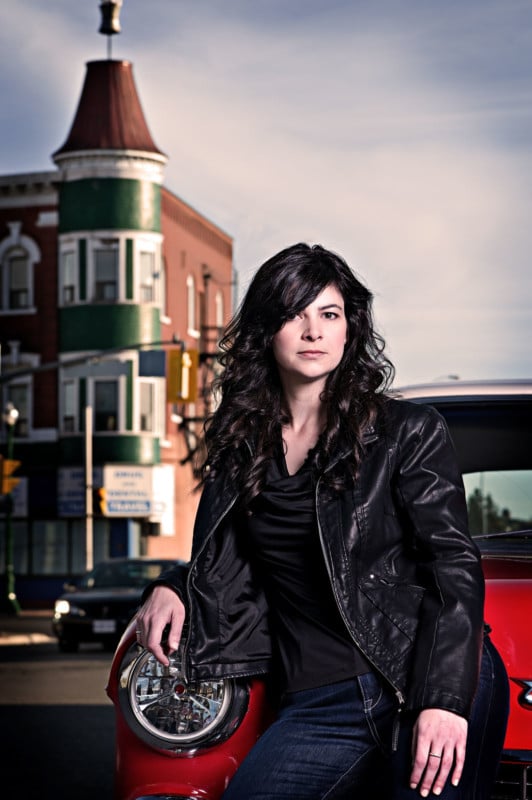
A great economical light modifier I recommend for speedlights is a combination of both an umbrella and a softbox. They have a piece of diffusion material that covers the opening of the open end and usually has a tie that you can cinch around your flash so light doesn’t escape. This extra layer of diffusion will provide a softer light. If budget is an issue you can purchase a translucent piece of fabric that you can drape over the front and attach with some clothespins or fold back clips from an office supply store. If you like the effect then you can make the investment into a combination unit.
The Softbox
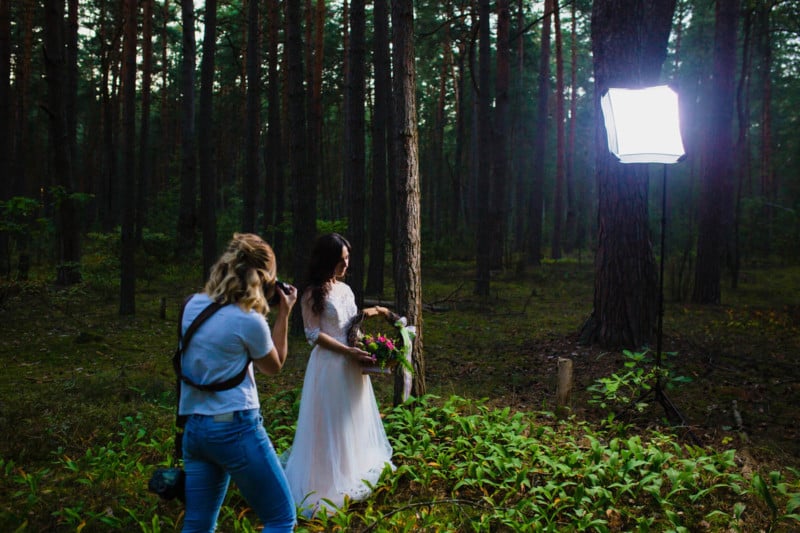
The next light modifier is a softbox. Like an umbrella the softbox does essentially the same thing – make a small light source bigger and softer. One of the key differences is that a softbox can control the light direction even more than an umbrella and it keeps the light contained to the box and has little to no spill.
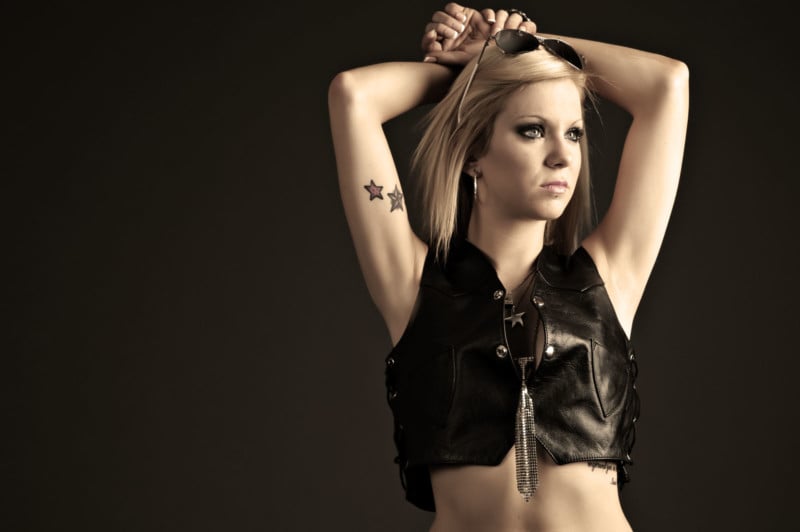
Shape and Size
Their shape is primarily rectangular or square which makes them great for creating that window light many photographers have come to know and love. Softboxes also come in many sizes and shapes like square, rectangular, octagonal, and long and very narrow like 1’x4’ (often referred to as a strip light). Photoflex and Chimera make excellent models that are made specifically for speedlights and are quite portable. Let’s take a look at which type and size are best for your chosen subject matter.
![]()
A smaller softbox off-camera is great when you’re shooting a single subject and your flash-to-subject distance is close range. But if you’re going to be photographing a full-length portrait or groups then you’ll need a larger softbox. A good way to think about what size to use is that it should be approximately the size of your subject matter. So a headshot would require one in size anywhere from 20” to 24”. If it’s a full-length or 3/4-length portrait, then something in the 48” or larger range. If you’re doing a group portrait, depending on the size of the group, you may require two softboxes minimum or more.
If you are very particular about the shape of the catchlights in your subject’s eyes (yes, some photographers are) then you may want to consider a round or octagonal softbox.
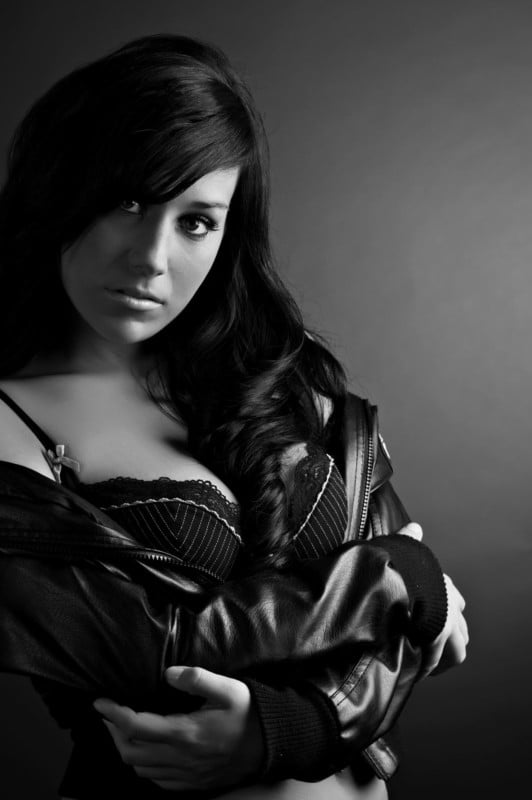
Features and Accessories
Additionally, some have the capability to add a second diffuser inside between the flash and the exterior diffuser. This again will give you an even softer light source.
One more thing that can be added to the front of your softbox would be a grid diffuser. This device is made of fabric in a square graph pattern that can connect to the front diffuser with Velcro or you can even use your trusty clips to attach it. Some softboxes come with them. The grid will focus the light on the subject and prevents light from illuminating the background and from spilling in unwanted directions.
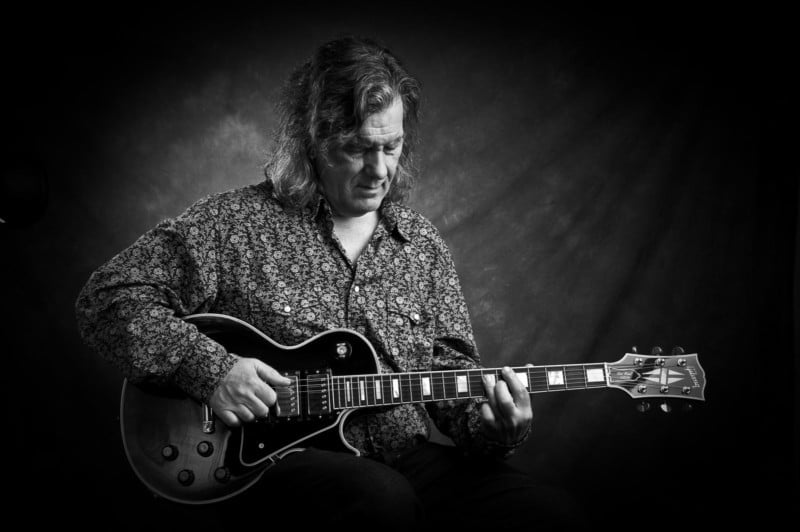
Photographers will also use a grid as a rim light providing separation from the background. This brings us to the type of modifiers you’ll need in a commercial photography studio.
Studio Photography
The modifiers I have been writing about so far are those designed for the small speedlights that you attach to your camera via a hot shoe. But you might be growing your business and doing more studio photography. For that, you may have to have a few modifiers at your disposal for the various subjects, both human and still life, that can light them effectively producing a commercial quality image.
If you find yourself at this stage, know you’ll need some more powerful studio flash units that can come in either a monoblock type (in which the flash contains the lamp, power, and cooling) or the studio pack and head type (in which the head and power pack is separate). These units can deliver variable power giving you complete control over your lighting ratios and power outputs.
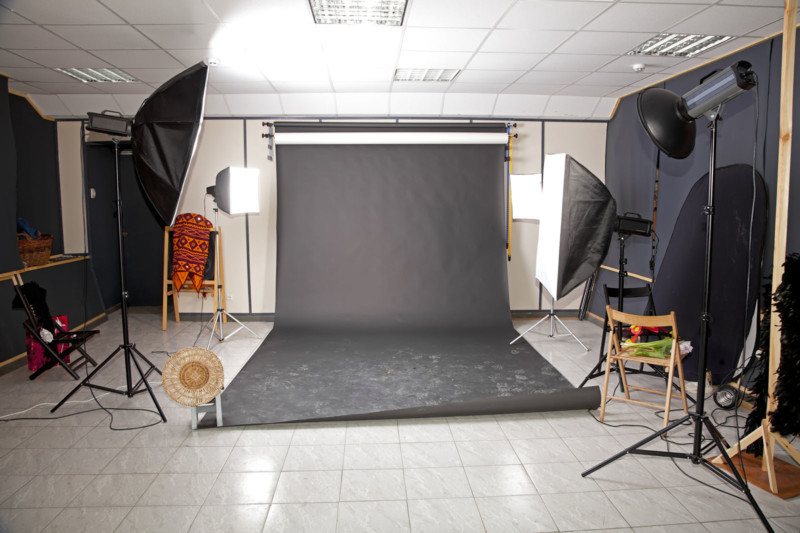
In a studio setting, you’ll need a couple of different sizes of softboxes. When I operated my studio I had two 20”x24” softboxes with internal diffuser panels. These were great for single and couple portraits and I would use two of them if I was photographing groups of 4 or more.
A 36”x48” softbox was great for full-length work and excellent for creating a window light type portrait because I could bring it in close to the subject and use a reflector on the opposite side for some fill. The other modifier was a large 48” umbrella that I used as an on-axis fill.
Again, with the variable power monoblocks, I could dial in exactly the amount of fill I needed. The last one was a 7’ umbrella with a diffuser panel that wrapped the subject matter. This one was great for creating super soft directional lighting. I also used it for an on-axis fill that I kept directly behind me parallel to the subject. It provided a complete wrap-around lighting and due to its size, I wouldn’t cast very soft shadows, providing the most embellishing light.
Having two smaller or medium-sized softboxes in the 16”x20” to 20”x24” size range is also great for producing super-soft, two-point lighting for portraits that so many publications and clients demand. You can place one directly in front of and pointing down on the subject within a couple of feet; another can be placed below the subject and in front of the subject as a fill.
In a commercial studio setting, you need to have the right modifiers to produce the lighting the client is looking for. Remember the grid attachment for the softboxes? This is something else that can be added to your light setup and is good to have around when you need to control the amount of light falling on the subject.
Another type of light modifier that you might want to consider when working in the studio, that delivered a great light that really made your portraits stand out, was a lantern-type softbox. They come in various sizes but the common ones are 25” and 30”. They look just like the round Chinese lanterns made of paper that we’ve seen decorating restaurants and during festivals.
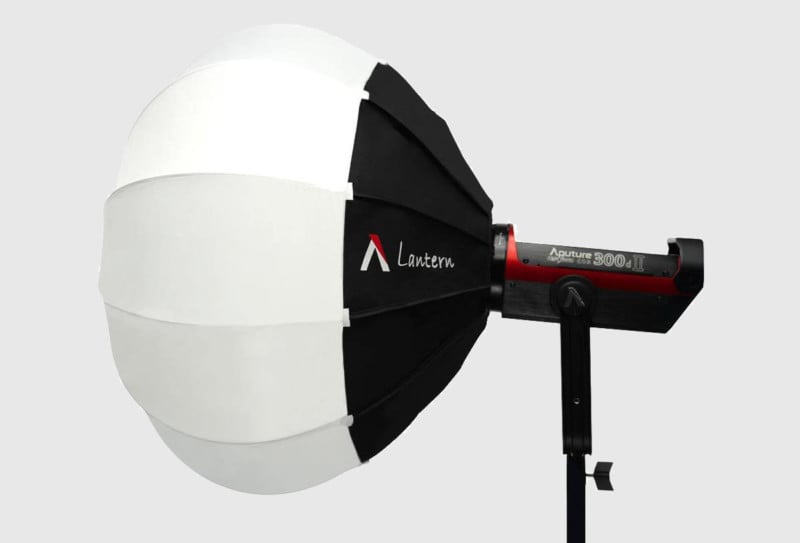
These are often used to create an ambient light style. Photographers who do interior or real estate photography will use them because they have a very non-directional light with big spill. The omnidirectional light they give off is due to their lantern shape. You can use them by pointing them directly at the subject or mounting your flash on a boom stand and positioning them high and above just like a lamp in a home location.
The Beauty Dish
![]()
There are a few more modifiers that you might end up purchasing when you’re just starting to get into using these handy tools. Let’s talk about the beauty dish. This modifier is meant for studio strobes of whatever style you may have. They come in sizes anywhere from 16” to 20” and are a silver-lined, reflecting dish with a smaller dish suspended in the center right in front of the bulb of the flash so as to direct the light through the dish and onto the subject.
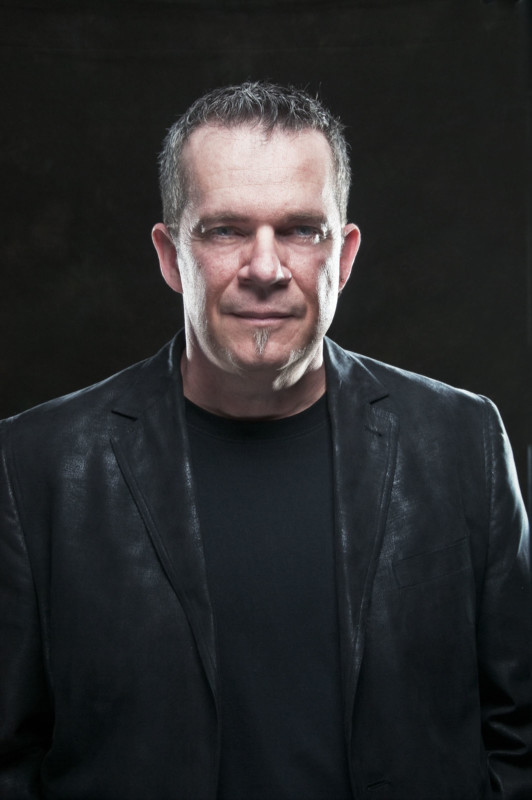
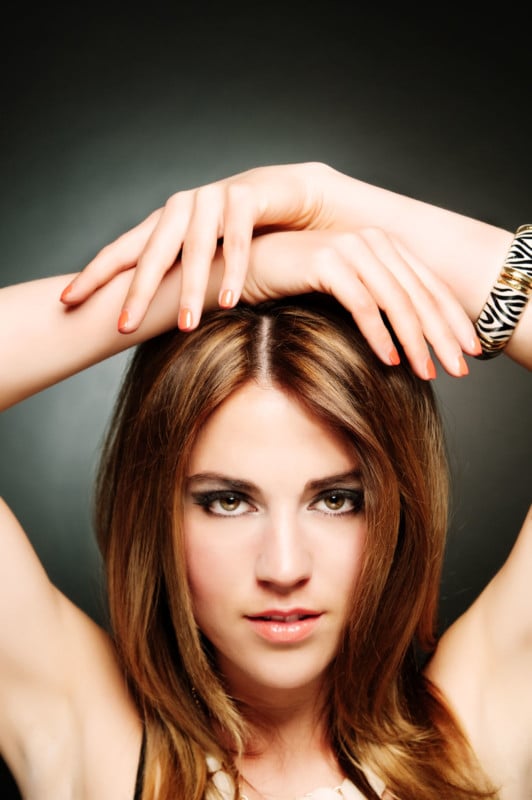
You’ve probably seen beauty dish lighting in fashion magazines where it’s used often. You will have to find a dish that is compatible with your studio flashes as they are not universal when it comes to fit.
Start by placing it above the subject and directly in front, similar to the two-point lighting I addressed earlier. What you’ll be looking for is a small shadow that will be under the nose. This is often called ‘butterfly’ or ‘glamour lighting’. If you find the shadows too harsh, you can use a reflector or piece of white foam core to bounce some of the light back under the face filling in the shadows.
The Grid Spot
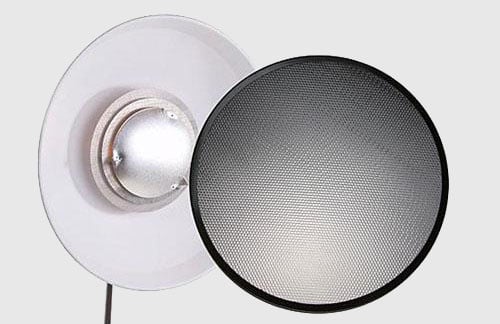
You can also attach a grid spot onto the beauty dish which will focus the light and give you that film noir look to the image. One thing to keep in mind when using this modifier is that because the light is so focused it falls off quickly, so a full or 3/4 length portrait will have deep shadows starting from about chest height down. As well, your background won’t be illuminated so you might want to consider supplementary lighting if you find it too dark.
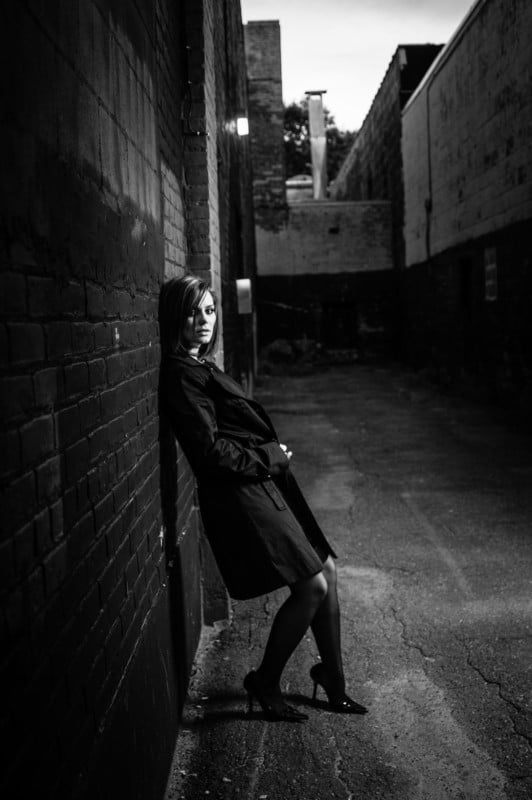
Speaking of grid spots, this is something else you can attach to your speedlights when used off-camera. The great part is that you can use the same ones you have purchased for your studio lights on your speedlight. I fasten mine onto a make-shift snoot and a small bungee cord that I connect to the grid and wrap it around the back of the flash.
You can use these like a beauty dish but they do more represent a spotlight-type light. Again, the light falloff is great with these, and depending on the effect you’re trying to get, you may want to have a reflector of some kind to reduce the harshness of the shadows.
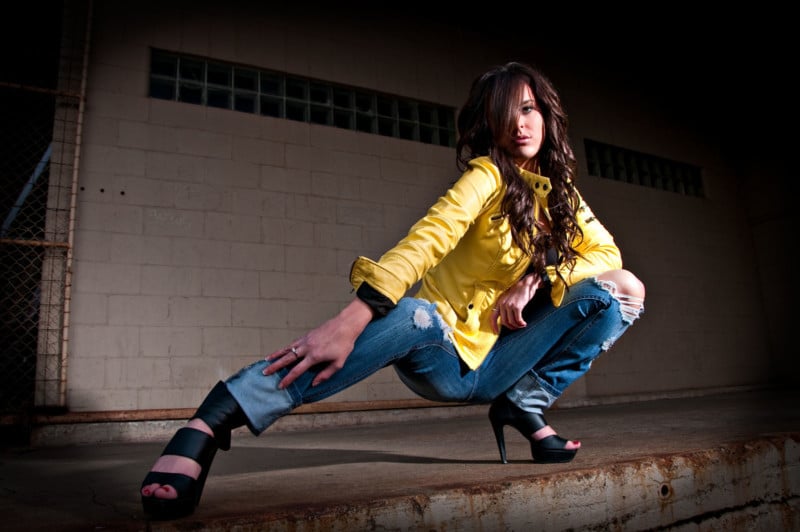
Another inexpensive light modifier to try out in the beginning is the collapsible, small softbox from companies like Lumiquest. When I was a wedding photographer I often used these. They are easy to connect to your flash with Velcro and can even be used when your speedlight is attached directly to your camera or on a flash bracket attached to your camera.
Also, they work great when you incorporate them with an off-camera flash. Again, you’ll have some light falloff so pay attention if those details are important.
The Scrim
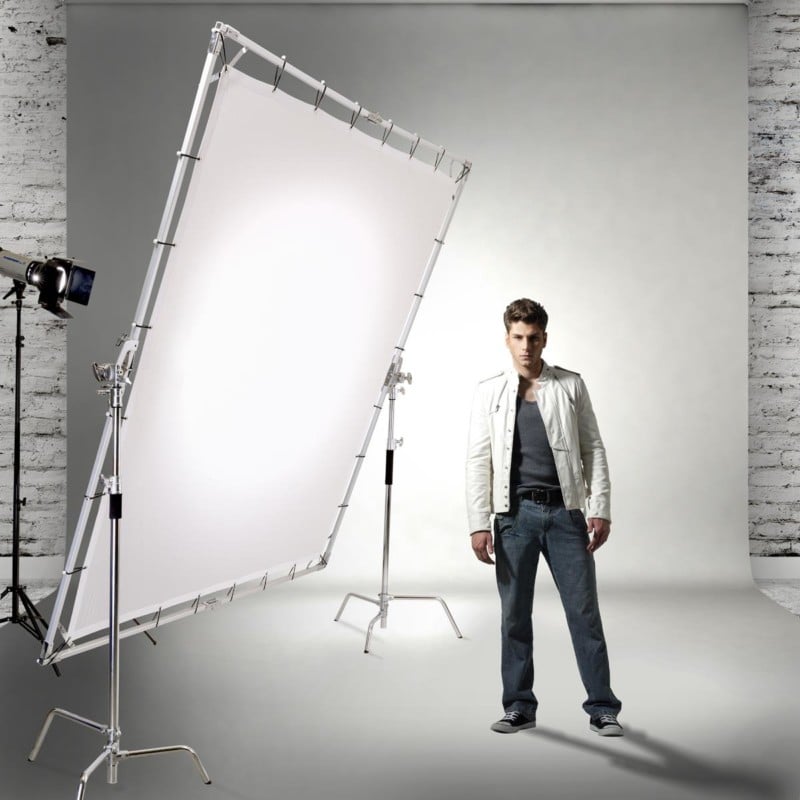
If you are really working on a budget then you might want to consider a scrim. A scrim is a frame with translucent, white material stretched on it. This is a very versatile modifier as it not only modifies flash lighting, you can also use it for natural light outdoors and window light.
The great part of these is that you can make one in a DIY project. There are lots of plans online on how to build one.
You’ll find that is going to be one of the most all-purpose light modifiers you’ll own. Place the scrim in front of your flash; not too far in front or you’ll lose the effect. There are also commercially available diffusers that fold up compact. These can be held in front of your flash or in front of the harsh sunlight by an assistant to soften the light.
Continuous Light Modifiers
A type of lighting that is more popular with filmmaking or video work is the continuous light source. At one time this was all photographers had to work with. They usually had Fresnel lenses for a modifier and you could use that to focus the light precisely. They also had ‘barn doors’ that are adjustable panels on either side, and sometimes top and bottom, that allow you to cut down the amount of spill that might be coming from the light source.
There are complete continuous lighting kits available that have umbrellas or softboxes included, along with the barn doors, to allow you to control your lighting. A bonus with these modifiers is you can even dial in the color temperature and intensity of the light you want or you can add colored gels to the front of the LED panels for special lighting effects.
Those color gels can also be used with your speedlight. You can tape them or use a rubber band to attach them to the front of your light and now you can really affect the mood of your image with a splash of color. They can be used when rim lighting to light around the subject, making them pop off the background.
Read also: 11 Popular Light Modifiers Compared: Which One Is Right for You?
Picking the Right Modifier
To recap on which modifier you should have for your flash:
- Decide how portable you want to be. Some umbrellas and softboxes can become very unwieldy in outdoor locations or in cramped quarters.
- If you’re only using a speedlight-type flash don’t get a modifier that’s too big or you won’t have enough power to get a decent depth of field.
- What is your subject matter going to be? Simple headshots require something from 18” to 24”. For full-length portraits, you’ll be looking for at least something starting at 36” to 48”.
- If you’re photographing groups of people you’ll require more than one flash and modifier to light the entire group properly.
- When it comes to modifiers for studio work you will need a variety of medium to large softboxes and umbrellas. The subjects coming into your studio will be varied and you’ll have to be ready to light that subject, whatever it is, when the client presents it.
- What type of lighting effect do you want to achieve? Is it glamour or beauty lighting? Do you
want a beauty shot with hardly any shadows or are you looking for something dramatic?
My recommendation is to start off with a simple light modifier that can attach to your speedlight. Try it on-camera or on a flash bracket. When you’re ready, purchase a light stand that you can attach your flash to. Now you can use the same speedlight modifier more effectively and achieve a greater range of looks in your images. Don’t forget you’ll need a cord to go from your camera to your flash or a wireless trigger system.
Image credits: Stock photo from Depositphotos
Author: Updated
Source: Petapixel


