

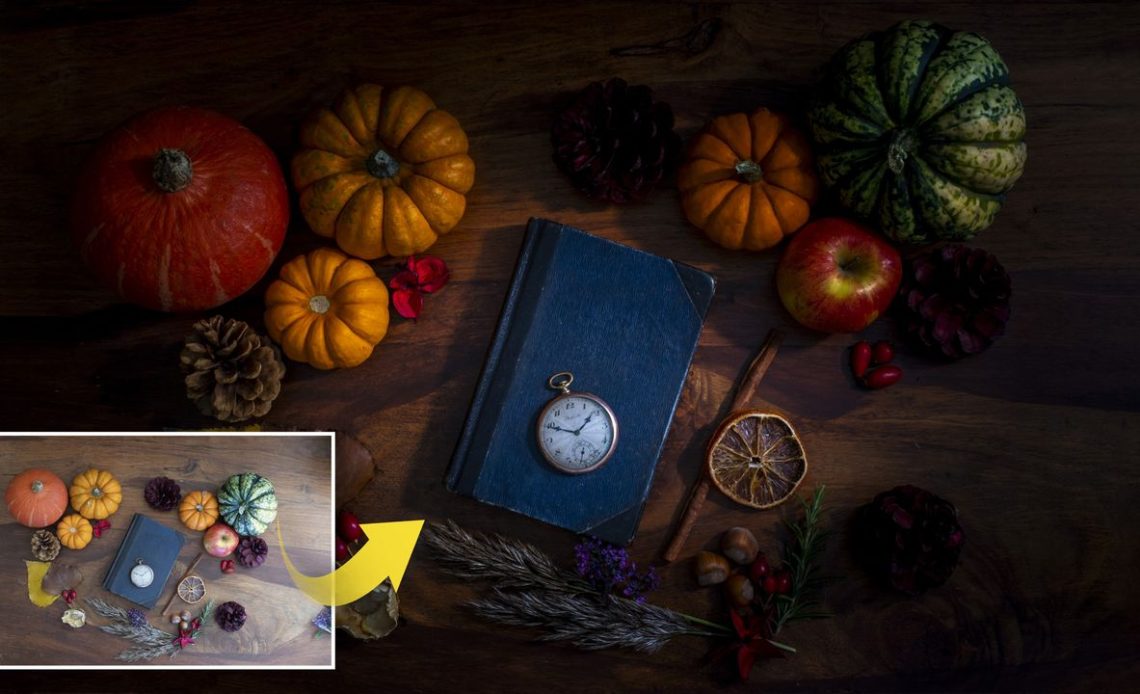
You might think that still life photography requires a large space to operate in and a huge assortment of photography lighting kits, but if you’re a photography beginner or simply want to kill time on a rainy day, you can capture still life photography from the comfort of your own home using window light exclusively.
In fact, drab days can work very well, with soft diffused light flooding through windows, instead of the harsh, direct light you may encounter in the middle of a sunny day. Setting up your still life so it’s side-on to the window will allow you to replicate a classic-looking, single-light effect, illuminating your subject from one side, and forming shadows on the other to add both depth and dimension.
Simple still life tips for beginners:
- Set up with the subject side-on to a window
- Place your arrangement in front of a relatively plain backdrop
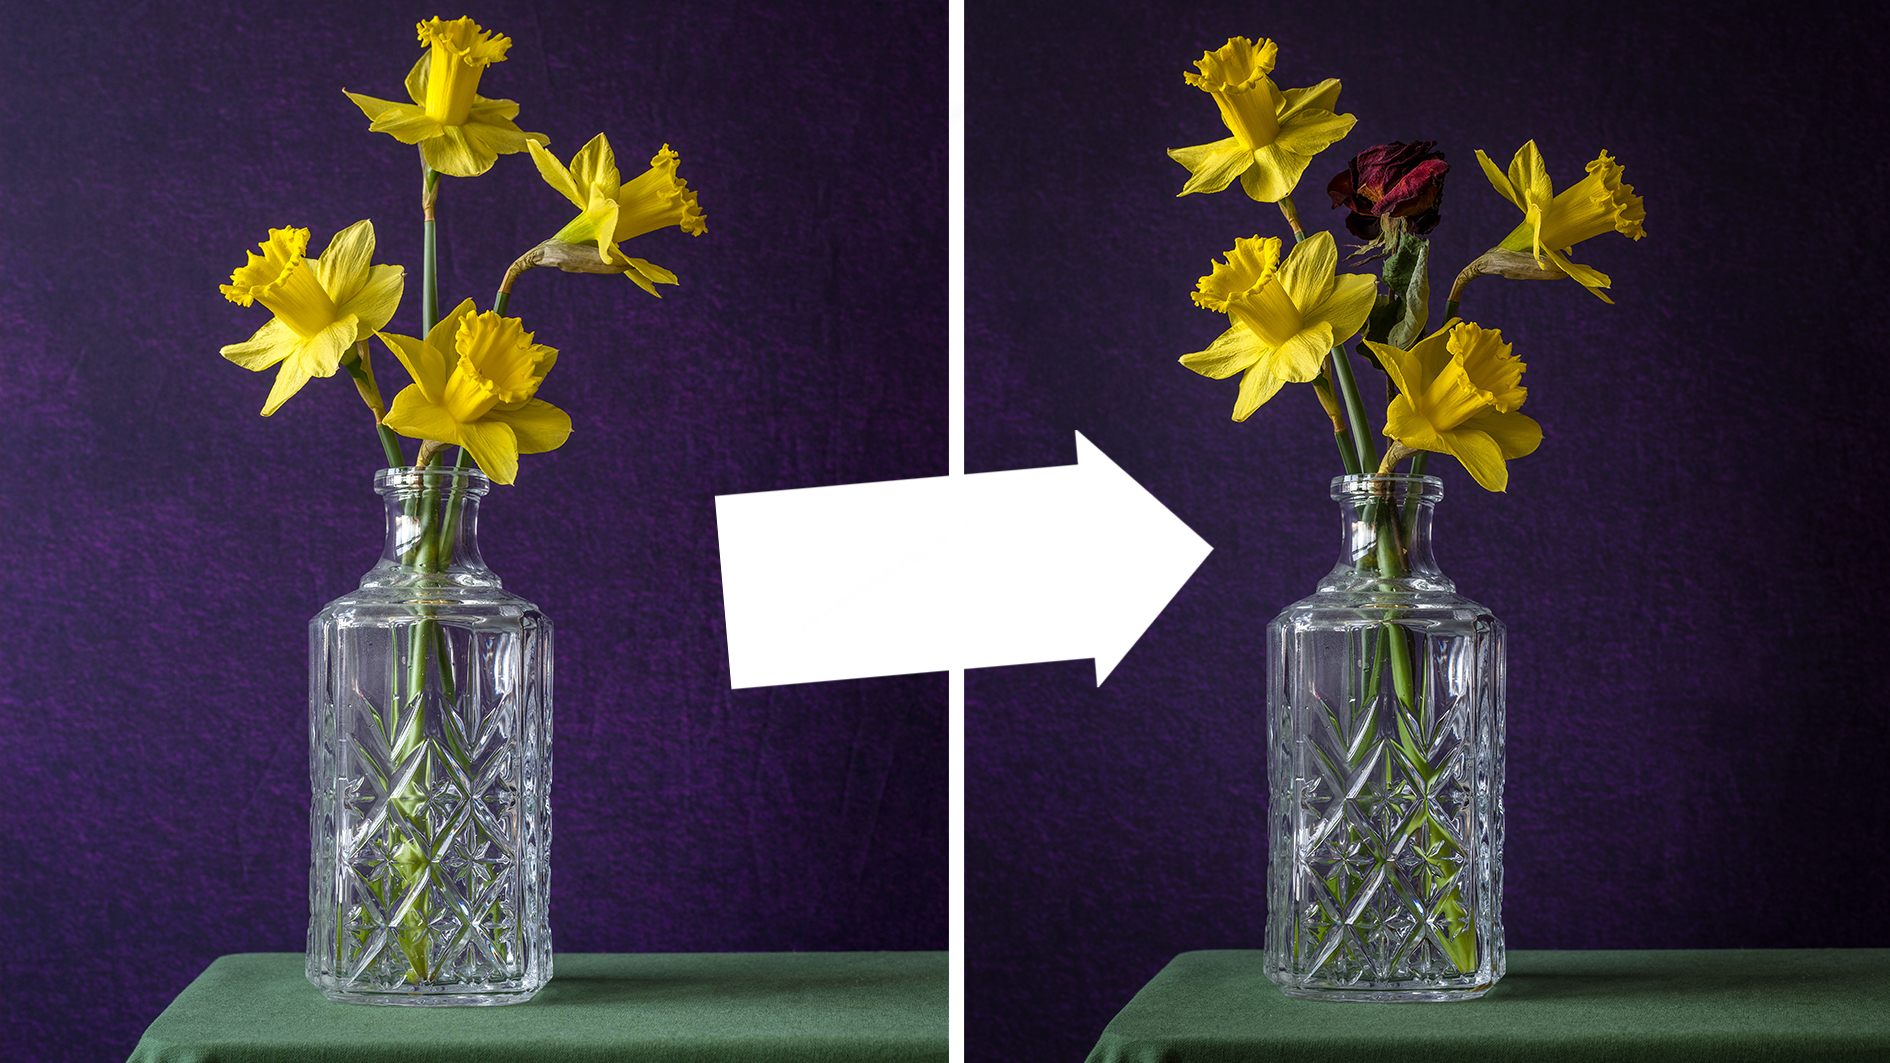
- Think hard about your arrangement: the relationship of the objects, the narrative, the textures, and the colors
- Frame your arrangement with your camera on a tripod
- Use manual mode or aperture priority
- Set an aperture of f/8 or f/11
- Choose a low ISO
- The subject is still so a slow shutter speed won’t be a problem
- Focus on the subject or just in front of it to maximise the depth of field
- Use an exposure delay mode or remote shutter release to avoid camera shake
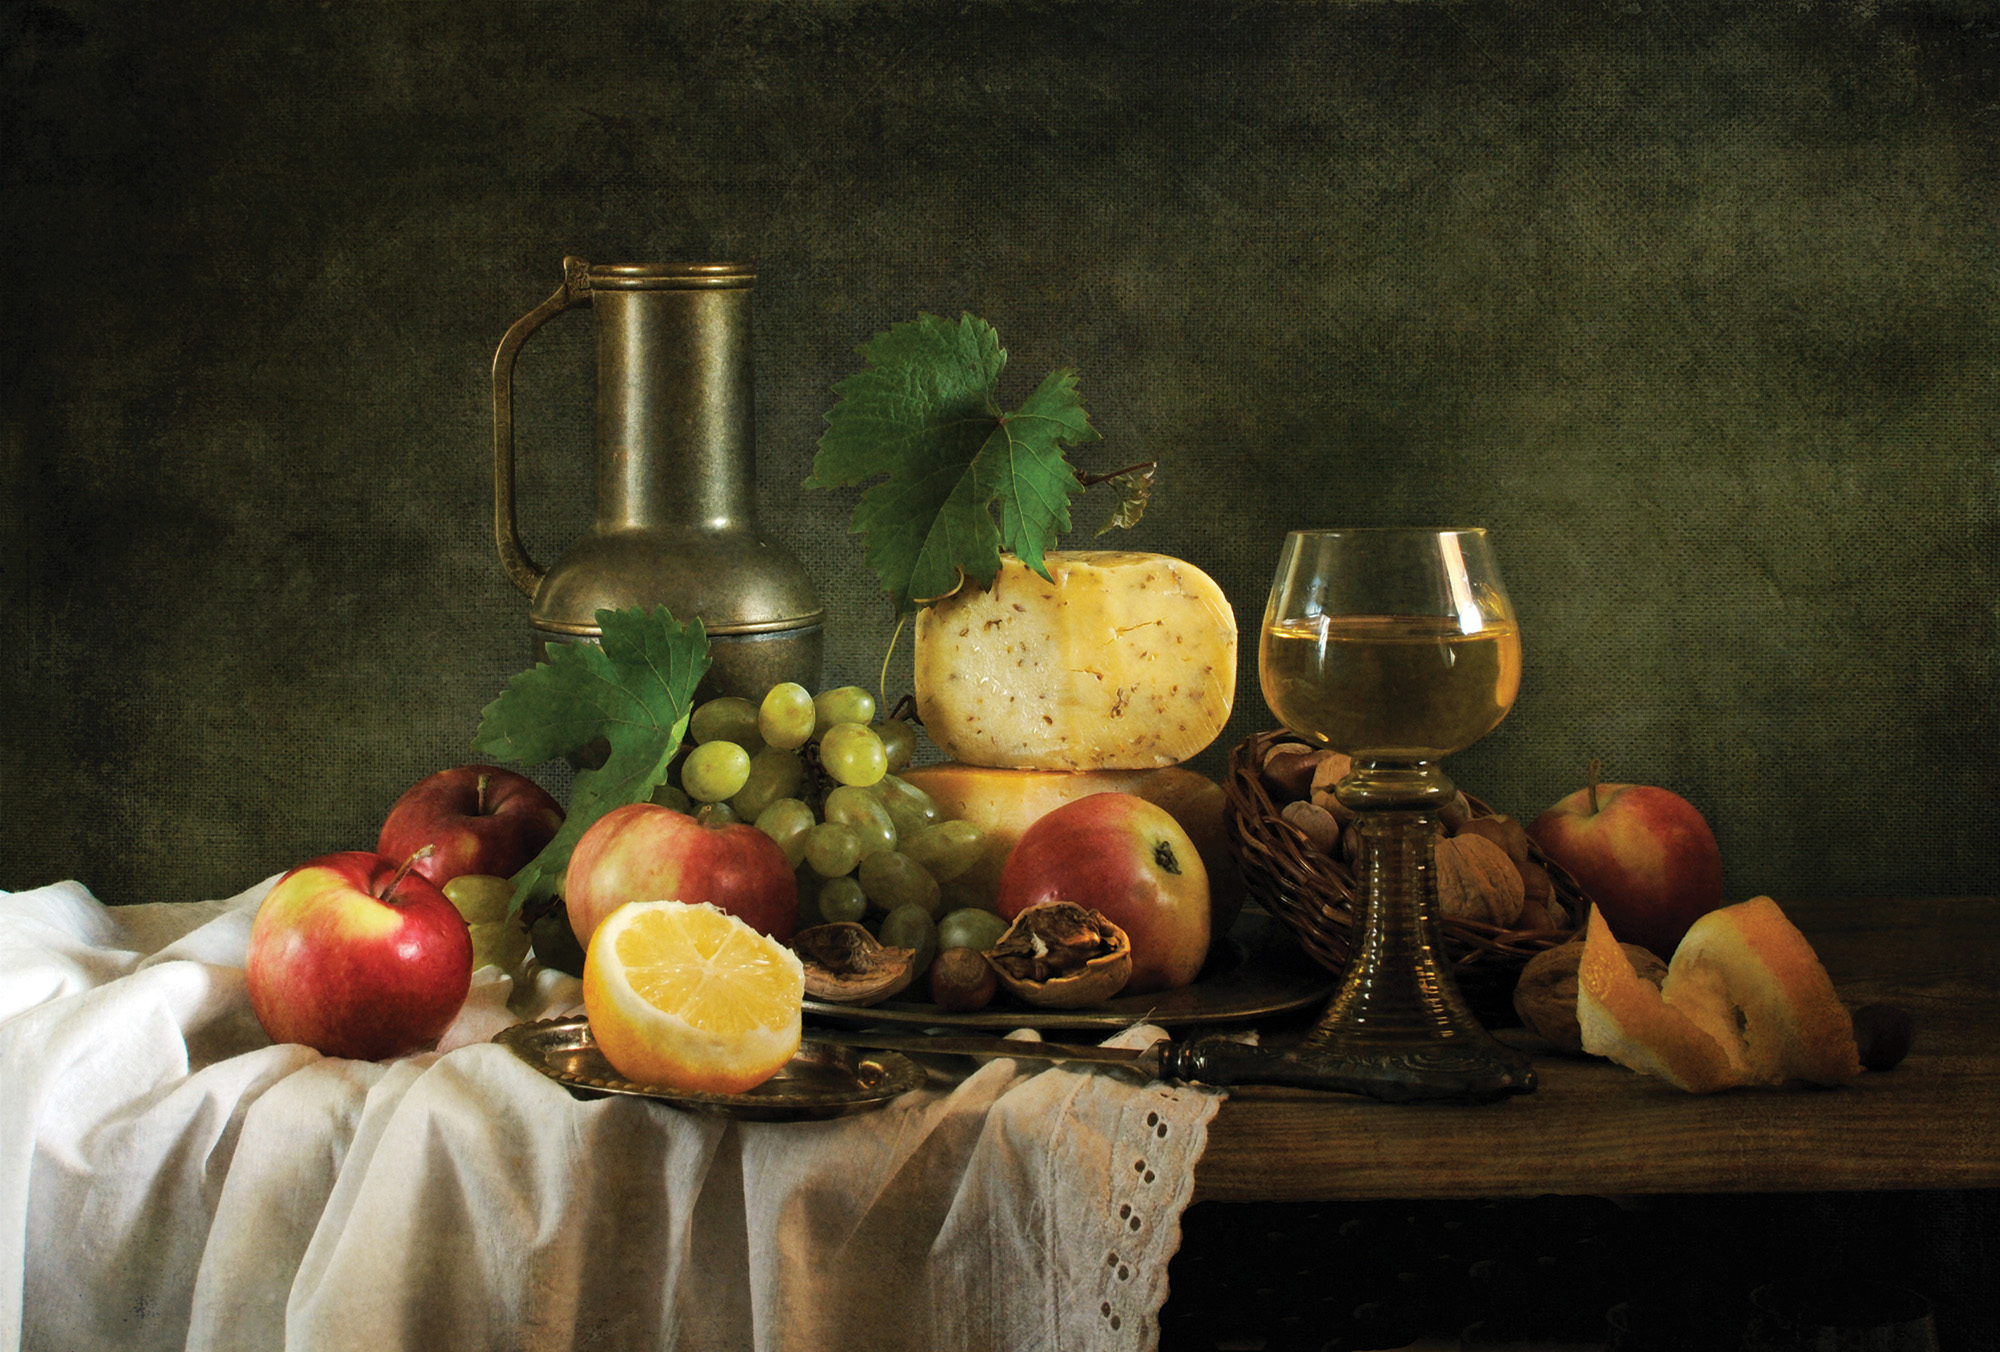
As far as subjects go, you can choose anything you have to hand, but classic still life subjects include pottery, flowers, and fruits. Many classic still-life paintings feature objects that are intended to connote death, referred to as a memento mori, so feel free to use objects to build a narrative. You’ll also want to think about your background. Typically, you’d opt for something that isn’t overly busy. That might be a dedicated photography background, a bare wall, or a piece of cloth.
Getting good at still life photography isn’t just about knowing how to use your camera; in fact, that’s really only a small part of it. The crucial part of any still life photo is the arrangement of the still life, so make sure you spend plenty of time thinking about your layout and what that says to the viewer. Consider elements such as the different textures within your frame, how the colors interact with each other, and the depth of the image.
When it comes to actually taking the photo, you’ll be working in low light, so a sturdy tripod is essential. An aperture of f/8 or f/11 should give you a suitably large depth of field to render your subjects sharp, but don’t be tempted to boost your ISO too high. Because the elements within your frame are, by their very nature, still, you can set a long exposure to gather the light that your camera needs.
When focusing, you may simply opt to focus on the focal point – the main subject – of your image. However, it’s worth taking a few test shots and playing with your point of focus if you want as much of your arrangement as sharp as possible. Sometimes, focusing slightly in front of your intended subject can help to render elements sharper in the foreground of the image, with the depth of field still large enough to render the subject in focus. Focus peaking can help to illustrate this.

If you’re finding that the natural lighting isn’t working for you, you could have a go at light painting. This requires you to set up a long exposure and brush the light from a torch over your arrangement. This is a more advanced technique that may require trial and error, and a little practice, as well as the blending of multiple images in post-production, but it’s a great workaround for those who don’t have dedicated photography lights.
Author: Mike Harris
Source: DigitalCameraWorld
Reviewed By: Editorial Team
