Google has made Android 12L available for developers — and everyone else — to test out and see how well their apps can run on a large device, but not how you might expect. Here’s how to try a version of Android 12L on your own Chromebook.
As part of the 2021 Android Dev Summit, Google announced Android 12L and made a build of it available for developers to test out. However, unlike usual Android versions, Android 12L is focused on large-screen devices like tablets and foldables.
Because of this, Google is not giving their own Pixel phones the usual priority — being the first devices to test Android 12 earlier this year. In fact, there’s no physical hardware that you can run Android 12L on today, as the first beta device, the Lenovo Tab P12 Pro, has not been formally released yet.
Instead, to try Android 12L for yourself, whether just for fun or to develop apps optimized for tablets/foldables, you’ll have to use the built-in emulator that’s included with Android Studio. Luckily, Google has made it relatively easy to install and use Android Studio on Chromebooks, thanks to Chrome OS’s Linux apps support.
System requirements
Before you go trying to install the Android 12L emulator onto your Chromebook, know that Android Studio is not available for all Chrome OS devices. As of now, you can only install Android Studio on Chromebooks with a processor from Intel or AMD, which means the many affordable devices with Mediatek or Snapdragon processors will not work.
Beyond that, we highly recommend having at least a mid-range performance device, preferably something with at least an Intel Core i3 or AMD Ryzen 3, along with 8GB of RAM. You might be able to get away with less, but you’ll certainly experience slowness in the Android 12L emulator.
Google offers an official list of Chromebooks they consider good enough for Android Studio’s emulator, but you may find it still works well enough on a device that isn’t listed. The only way to know for sure is to try it.
How to install the Android 12L emulator on your Chromebook
- Enable Linux apps support
In order to use Android Studio on your Chromebook, you’ll need to enable the use of Linux apps, which sets up the “Terminal” app.
To do this, open the Settings app, and on the left-hand panel click “Advanced” to show more options, then click on “Developers.” This will scroll the main window down to the option you want to click, “Linux development environment.”
On this page, you’ll be able to go through the simple set up for using Linux apps on your Chromebook. This part of the setup is up to your preference, but we recommend allotting more storage than the 20GB Chrome OS suggests by default, as Android Studio and its emulators use a good bit of space.
Once done, you should have the Terminal app available on your Chromebook.
- Install the Java Development Kit
Next, before we can install and run Android Studio, you’ll need to get the Java Development Kit — or “JDK” — installed on your device, along with a few additional dependencies. To do this, simply run the following command in Terminal:
sudo apt -y install default-jdk libnss3
This step will likely take a few minutes, so be patient with it.
- Download the right version of Android Studio
This step is where things can go a little off the rails, so be mindful.
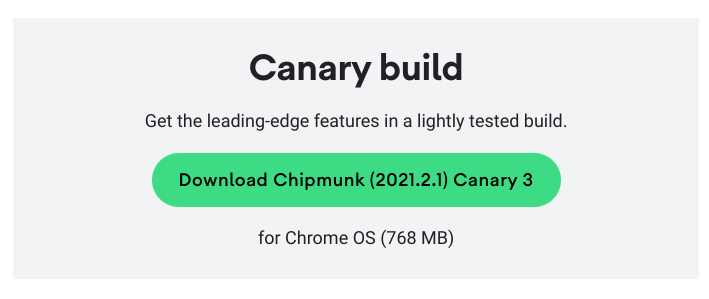
Android 12L is not currently available in all versions of Android Studio. Instead, you’ll need the latest pre-release Android Studio, codenamed “Chipmunk,” which is currently in Canary testing.
Head to the Android Studio preview site, and download the latest Canary build.

- Install and set up Android Studio
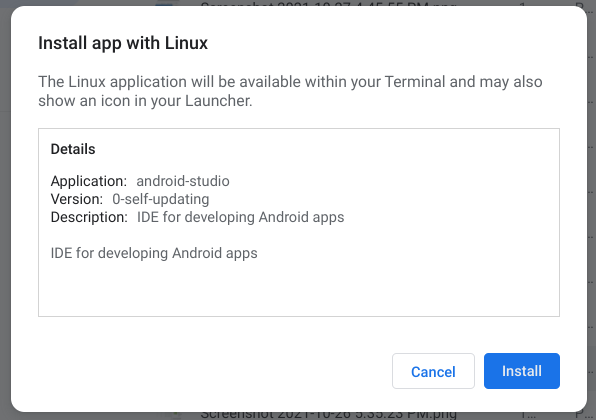
Once you’ve downloaded the correct version, it’s actually dead simple to install Android Studio on your Chromebook. Simply double-click the “.deb” file that you downloaded in the last step. It should have a file name similar to the following:
android-studio-2021.2.1.3-cros.deb
Chrome OS will confirm that you want to install Android Studio. Click “Install” to confirm. The installation will take a few minutes.

Once installed, you’ll have “Android Studio” available from your Chrome OS apps list. Open Android Studio and follow along with the setup process. You can leave all of the options as the defaults.
When you’re finished, you’ll see a small Android Studio window offering to start a new project or customize your settings.
- Install the Android 12L Emulator
In the main Android Studio window, click “More actions” to open a menu of options. In this menu, click “Virtual Device Manager.”
Here, you’ll see a mostly blank window, with a “Create device” button in the corner. Click that button to begin the process of setting up an Android 12L emulator.
First, you’ll be given the choice of what size and shape of device you’d like to make. To make the most of Android 12L’s features, you’ll want to pick something large like the Nexus 7 or Pixel C, which is under the Tablet category on the left-hand side. Another good choice would be one of the many foldable options in the Phone category. Unfortunately, Android Studio’s new Resizable emulator does not work correctly on Chrome OS today.
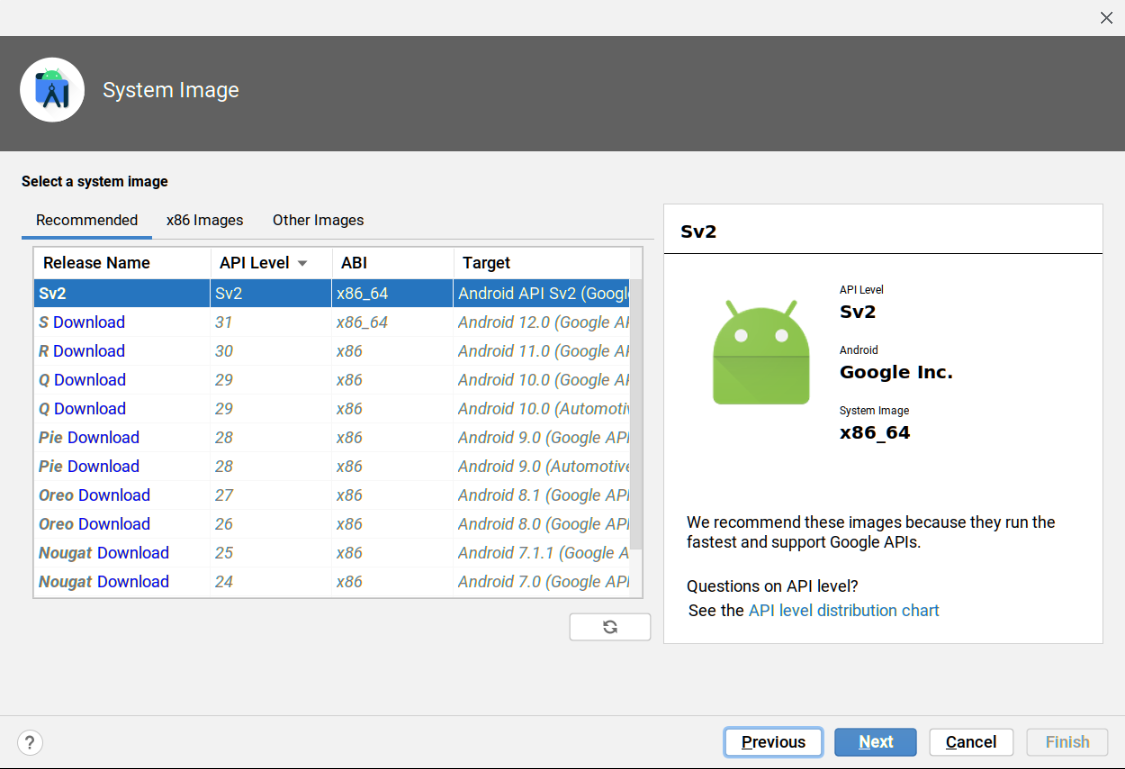
Next, you’ll get to choose which “System Image” you’d like to use with the emulator. At the top of the list, you should see “Sv2” which is how Google internally refers to Android 12L. Next to Sv2, click the button that says “Download.” Android Studio will immediately download the files it needs to run Android 12L.

Once fully downloaded, hit “Next” to continue. Android Studio will ask to confirm your settings. Click “Finish” to finalize the creation of your Android 12L emulator.
- Check out Android 12L
Once set up, you’ll be back at the Virtual Device Manager window. Next to your new emulator, you should see a green play button. Click this button to start the emulator.
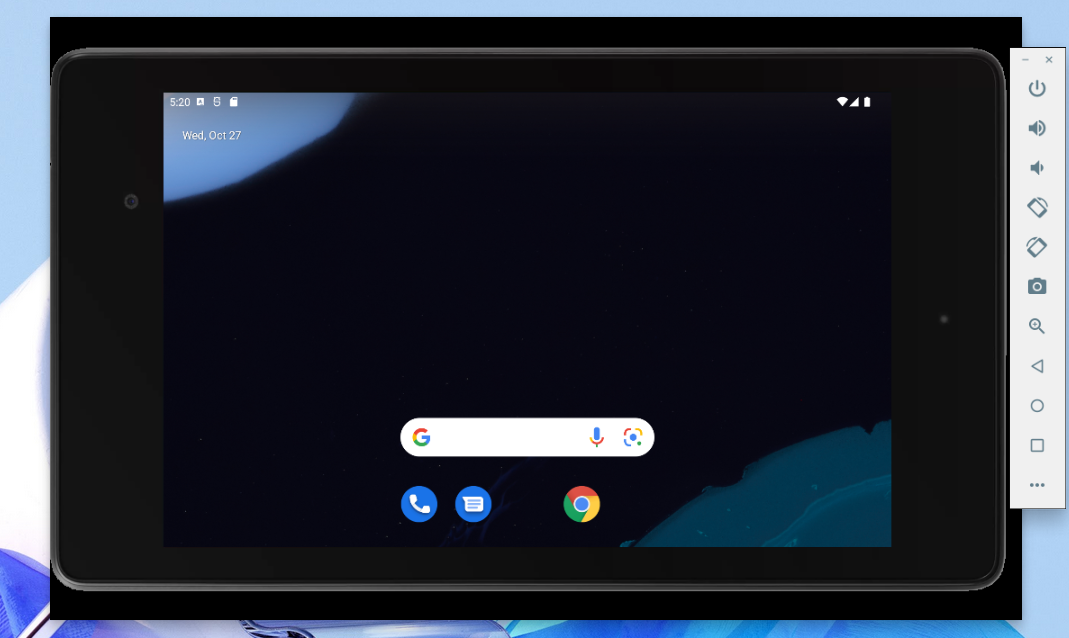
Starting the emulator for the first time will take a few minutes, especially on older hardware, so be patient. Within a minute or so, you should see a white startup screen with the Google G logo, just like a Pixel device. Some time after that, you’ll be able to access Android 12L and play around with features or sideload apps.
How well things run will of course be determined by the specs of your Chromebook. On the plus side, Chrome OS is all too happy to pass your touchscreen presses through to the emulator, making for a decent simulation of using a real Android 12L device.

Once you’re ready to stop testing Android 12L, simply click the small ✕ in the little window to the side of the emulator. Everything you were doing will be saved for the next time you start up the emulator.
To open the emulator again later, simply open Android Studio, click “More Actions,” then “Virtual Device Manager.” Here, you can click the play button once again to reopen Android 12L.
More on Android 12L:
- Android 12L adds Unicode 14 support, preview the 37 new emoji today [Gallery]
- Here’s how the Android 12L taskbar works and what it looks like on the Galaxy Z Fold 3 form factor [Gallery]
- Google confirms Android 12L features will be ‘coming soon’ to the Galaxy Z Fold 3
- Android 12L is also coming to phones, Beta Program for Pixel coming later
Author: Kyle Bradshaw
Source: 9TO5Google


