There are countless reasons to take a screenshot. To save something on social media that might be deleted. To help someone with an app remotely. To draw arrows or circle things on your screen. Regardless of the reason, taking a screenshot is a basic function you should know how to perform, so here’s how to take a screenshot on an Android phone.
How to take a screenshot on Pixel, most Android phones
The process to take a screenshot on Android can differ a bit between models, but most of them are pretty similar. The Google Pixel series is how Android is supposed to be, and as a result the screenshot method that works for Pixels generally works on most other Android phones.
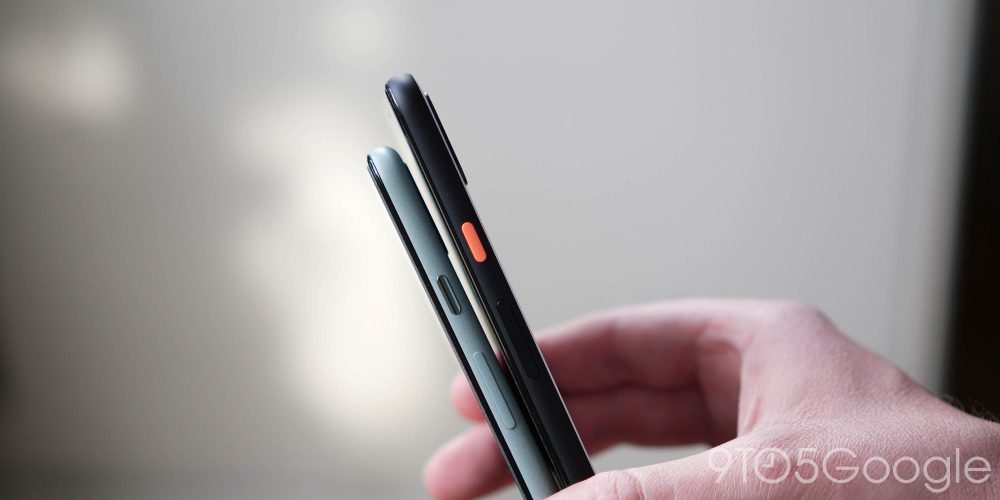
There are two ways to take a screenshot on a Pixel, the first being with hardware buttons. You need to long-press both the volume down and power buttons at the same time. After about a second, the screenshot will be taken. On most Android phones running Android 11 or newer, too, there’s an editor for the screenshot that appears when you take the screenshot.

Beyond the hardware buttons, there’s also a software method. In Android 11, the multitasking screen has a dedicated screenshot button which captures a shot of the first app in view without the status bar or navigation bar being visible.


How to take a screenshot on Samsung Galaxy phones
Usually, taking a screenshot on an Android smartphone is as simple as long-pressing the volume down button and power buttons at the same time, but that’s not the case by default on the most recent Samsung Galaxy phones.
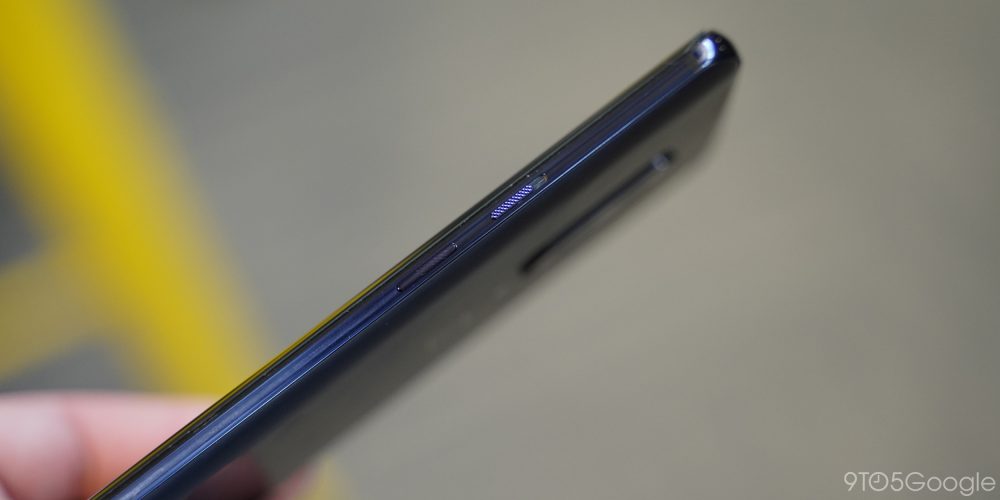
Since the Galaxy Note 10, Samsung has decided to consolidate the functions of its side buttons, specifically merging Bixby into the new “side key.” Now, when long-pressing volume and power buttons, you instead trigger the power menu with the default behavior.
So, how do you take a screenshot on the Galaxy S20? Simply press the volume down button and side key at the same time quickly. A quick tap of both buttons at the same time will trigger the device to take a screenshot of whatever’s currently on your display.

Once you’ve taken a screenshot, an action bar will appear at the bottom of the display with shortcuts for editing the screenshot, tagging it, or sharing it through messaging, social media, and other apps on your device. This bar even contains an option for capturing an extended screenshot!
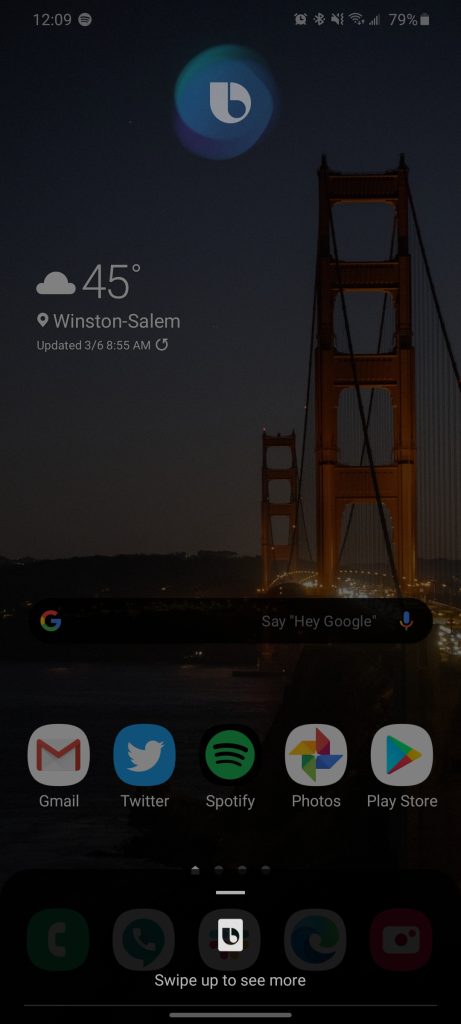
Alternatively, you can ask Bixby to take a screenshot for you! While Samsung’s voice assistant generally isn’t loved by users, it is exceptionally good at controlling device functions and settings. One of those is to take a screenshot. If you’ve not changed any settings relating to Bixby, simply long-press the side key and when Bixby starts listening, ask it to take a screenshot.

How to take a screenshot on OnePlus phones
Like Samsung, OnePlus makes a notable tweak to how to take a screenshot on its Android phones. In OxygenOS, the power button is used by default to access Google Assistant on a long-press, pushing the power menu back to a power + volume up long-press.
Luckily, the process of taking a screenshot is clean and simple on a OnePlus phone. Long-pressing the power + volume down isn’t actually necessary. Rather, you can just press the power and volume down buttons just once at the same time. It’s faster than stock Android, although you might take a few more accidental screenshots as a result.

Alternatively, OnePlus phones on Android 10 can take a screenshot through a shortcut in the power menu. On Android 11, that same button can be found in an overflow menu in the power menu as pictured below.


On any of the devices we’ve mentioned here, you can find your screenshots in any gallery app. In Google Photos, they’ll either be in your main photo library or under Library > Photos on Device > Screenshots.
Author: Ben Schoon
Source: 9TO5Google


