

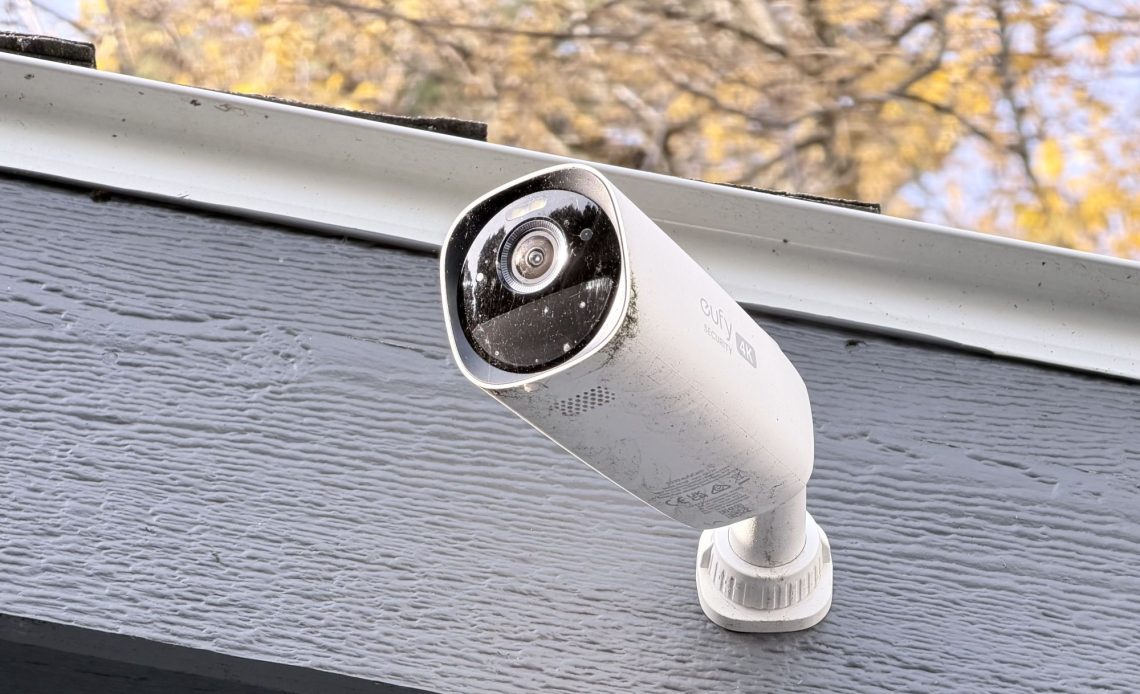
You tap the alert on your phone just as someone steps onto your porch, then the screen locks up. The figure freezes midstride, the image pixelates, and before you can make out a face, the camera goes dark. A few seconds later, the app tells you what you already know: camera offline. But is the problem your camera, your Wi-Fi, or both?
Chances are, it’s not the camera. It’s your Wi-Fi. Outdoor security cameras push the limits of your home network more than any other device. Their signals must punch through walls, windows, and sometimes half the expanse of your yard just to stay connected. Add interference from neighboring routers or even a nearby microwave (yours or your neighbors’), and that live view can turn into a slideshow.
The good news is you don’t need to tear down walls or replace all your gear. Most Wi-Fi problems can be fixed with smarter placement, minor changes to settings, or, if you’re ready to invest, a few well-chosen hardware upgrades. This guide walks you through each option, from quick tweaks to full coverage solutions, so your camera stays online when it matters most.
Before you start buying Wi-Fi extenders or rearranging hardware, take 10 minutes to figure out what’s actually going on. Most connection problems aren’t mysteries. You just need a quick signal check.
Stand where your camera is mounted and use a Wi-Fi analyzer app on your phone to measure the signal strength, shown as RSSI (received signal strength indicator). A reading of about –67 dBm or better means your connection is strong enough for real-time video. Anything lower and your camera will likely stutter, freeze, or drop offline. While you’re at it, run an upload speed test from that location. Outdoor cameras rely on upstream bandwidth to send video; most need around 2 Mbps per 1080p stream, and the total adds up fast if you’re running multiple cameras at once.
Next, walk the path between your router and the camera. Watch how the signal changes as you move. Note where speeds dip or the connection drops—those are your dead zones. This quick survey gives you a map of your network’s weak spots and helps you decide what to fix.
If the signal is strong but the video still skips, the problem’s likely in the camera settings—things like resolution or frame rate, which we’ll address further down. But if your Wi-Fi fades long before the camera location, you’ll need to focus on coverage with better placement, an extender, or a mesh node.
You can often fix weak outdoor Wi-Fi without spending a dime just by tweaking how your router is set up.
Start with placement. Routers send signals in every direction, so burying one in a corner cabinet or behind a TV wastes half its range. Move it to a central, elevated spot, ideally on a shelf or wall, out in the open–ideally, in the center of your home. Avoid thick walls (especially if they’re made of brick or other types of masonry), metal appliances, glass surfaces (including doors and windows), and fish tanks that will reflect or absorb the signal.
Next, check which band your camera is using. If the camera is far from your router, the 2.4GHz frequency band will usually hold a connection better than 5GHz, which trades range for speed. But signals traveling over higher frequencies are more apt to be absorbed by things like building materials; lower-frequencies, on the other hand, can more easily penetrate walls.
Some routers automatically switch devices between the two frequencies, but a router’s “band-steering” can confuse smart cameras. If setup keeps failing, try separating the bands on your router by giving them unique names, so you can connect the camera to its 2.4GHz network by name instead of allowing the router to pick.
If you’re changing camera settings to connect to your router’s 2.4GHz band, make sure your router is using channels 1, 6, or 11 on that band, which are the only ones that don’t overlap. Many routers default to “auto,” which can land you on a noisy channel shared with every neighbor on the block. While you’re in the settings, make sure the channel width is set to 20MHz. Wider channels sound better on paper but often create more interference, especially around Bluetooth devices and microwaves.
Finally, if your router uses DFS (Dynamic Frequency Selection) to expand the number of 5GHz channels it can use, consider turning that feature off (if you can; not all routers allow this). Some of those channels are also used for radar, satellite communications, and weather radar. Since government regulations assign those uses the highest priority, wireless routers must immediately switch to a non-DFS channel when they detect those types of traffic. Wi-Fi cameras don’t always react well to being assigned to a new channel, which can cause problems.
Wi-Fi signals don’t just fade with distance, they can also be blocked or absorbed–attenuated–by whatever’s in their path. Some building materials are worse than others; knowing which ones are the most hostile to radio waves will save you a lot of frustration.
Cement, concrete, and brick are the biggest offenders, especially if they’re part of an exterior wall. Plaster with metal lath—a common feature in older homes—acts like a shield, with the plaster absorbing some of the signal and the metal bouncing it back. Even modern touches like Low-E or metal-coated glass, found in energy-efficient windows, can sap an otherwise strong connection. Inside the house, tile, mirrors, and large metal objects such as filing cabinets or refrigerators all reflect or absorb Wi-Fi. And yes, even that big aquarium in your living room can mess with your signal—water absorbs radio frequencies better than almost anything else.
When you’re positioning routers, extenders, or mesh nodes, think about what’s between them and the camera. A few feet of open air is worth more than a fancy antenna if your signal is going through stone and glass. Wherever possible, plan a path around dense materials instead of through them. If you’re deploying a range extender, a mesh node, or a wireless access point, consider connecting it to your router with an ethernet cable so that the only wireless connection is from that extender device to the camera.
Once you know where your Wi-Fi drops off, it’s time to decide how to fill the gap. There’s no one-size-fits-all fix, and choosing the right gear depends on how big the problem is and where.
Wi-Fi extenders (also called repeaters) are the cheapest option for patching a single dead spot. They grab the existing signal and rebroadcast it farther out. The trade-off is performance: every wireless “hop” cuts your available bandwidth roughly in half while adding lag. Extenders also don’t handle device roaming gracefully, so a phone or camera moving between zones can drop the connection before picking it back up. Think of an extender as a short-term patch, not a permanent fix.
If the weak spots cover multiple rooms, floors, or parts of the yard, a mesh Wi-Fi system is a superior alternative. Mesh routers use several linked nodes (with either wired or wireless connections to the router, and wireless connections to clients) to pass traffic among themselves, creating one continuous network name. Devices roam smoothly from node to node, and speeds stay more consistent than with Wi-Fi extenders. For most homes, installing a mesh Wi-Fi network is the best long-term upgrade.
To push coverage outdoors, consider a weatherproof Wi-Fi access point (AP) or outdoor mesh node. Mount it under an eave or on a shed wall and, if possible, use PoE (power over ethernet), so you don’t need to depend on an outdoor outlet (which might not be located where you need it). I’ll explore this option a bit more later, but a dedicated outdoor node puts Wi-Fi coverage exactly where your cameras need it.
For cameras on detached structures such as a garage or barn, a point-to-point wireless bridge can outperform any standard extender. It creates a direct link between two antennas, ideal when there’s a clear line of sight. Add a small access point on the far end, and you’ve effectively built a private Wi-Fi link to that building.
Sometimes Wi-Fi isn’t the real problem; the camera is just generating more data than your network can comfortably handle. A few quick setting tweaks can lighten the load and keep your video smooth.
Start with resolution, frame rate, and bit rate. Many cameras default to their highest settings, which look great if your network can handle it, but these settings also eat up bandwidth. Dropping from 4K to 2K—or even 1080p—can cut data use dramatically without rendering footage useless. Likewise, lowering the frame rate to around 15 to 20 frames per second keeps motion clear while trimming bandwidth.
Consider that a typical video stream in 1080p resolution encoded with the H.264 codec consumes 2– to 4 Mbps of bandwidth. A camera that supports the more efficient H.265 codec can reduce that bandwidth consumption by as much as half, depending on the scene.
If both your camera and viewing app support H.265, it’s worth turning that codec on, because it compresses video more efficiently than H.264. That means smaller file sizes and smoother streaming on slower connections. Just check that your phone, NVR (network video recorder), or your preferred cloud service supports it—not all older devices do.
If the video still skips even with a strong signal, look for any option that automatically adjusts stream quality—something labeled “Auto,” “Adaptive,” or “Dynamic bit rate.” These settings let the camera lower its data use when the network gets congested, preventing dropouts without your needing to tweak resolution or frame rate manually.
Finally, fine-tune motion settings. Use activity zones to monitor only areas where motion matters—like your driveway, not the tree line—and switch from 24/7 recording to event-based recording if your camera allows it. That alone can slash data use and reduce lag, especially on marginal connections.
Sometimes the best fix for bad Wi-Fi is no Wi-Fi at all. If you can, run an ethernet cable to where your camera or outdoor access point is mounted. A wired connection eliminates the radio interference, channel congestion, and signal drop-offs that make wireless tricky, especially at the edge of your network.
I touched on this earlier, but many outdoor cameras support PoE (power over ethernet), which sends both data and power through a single low-voltage cable. That means you don’t need a nearby outlet, just a clean line back to your router or switch. It’s a one-time job that can save you endless troubleshooting later, particularly if you’re running several cameras.
If wiring every camera isn’t realistic, even wiring just one camera or one outdoor access point can make a big difference. It gives your cameras a strong local signal while keeping the heavy traffic off your main wireless network. Either way, a little cable goes a long way toward stability you can count on.
A security camera can’t protect much if it can’t stay connected. Fortunately, most Wi-Fi problems don’t need an expensive fix, just a little attention to how your network really works. A few small changes can turn a glitchy outdoor feed into a steady, reliable connection and make the difference between missed footage and peace of mind.
This story is part of TechHive’s in-depth coverage of the best home security cameras.
Author: Michael Ansaldo
Source: PCWorld
Reviewed By: Editorial Team
