Google recently announced that going forward, accounts would need to have 2-Step Verification (2SV) enabled. According to the company, the first wave of accounts are already being transitioned into this security measure. Many companies already employ this feature, though under the name 2-Factor Authentication (2FA). Fortunately, Google’s 2-Step Verification is easy to set up, and just as easy to use.
Table of contents
What is Google 2-Step Verification?
In an effort to bolster up security efforts among devices, many companies employ a common security measure called 2-Step Verification. What this does is require input from a different and trusted source when trying to log in. For instance, with Google, if you were to log in for the first time on an unknown device, Google will push a prompt to a trusted device tied to that account asking you to verify your identity.
This form of security prevents outsiders from logging in even if they have a username and password. The feature also comes in handy in that instance since it shows the account holder that someone has attempted to log into their account without permission.
How to enable 2-Step Verification
Thankfully, enabling 2SV for a Google account is straightforward and painless. Even though Google is automatically turning the feature on if the user has a verified device, you may want to go in and enable it beforehand, so you can set up the necessary preferences. Here’s how to do it:
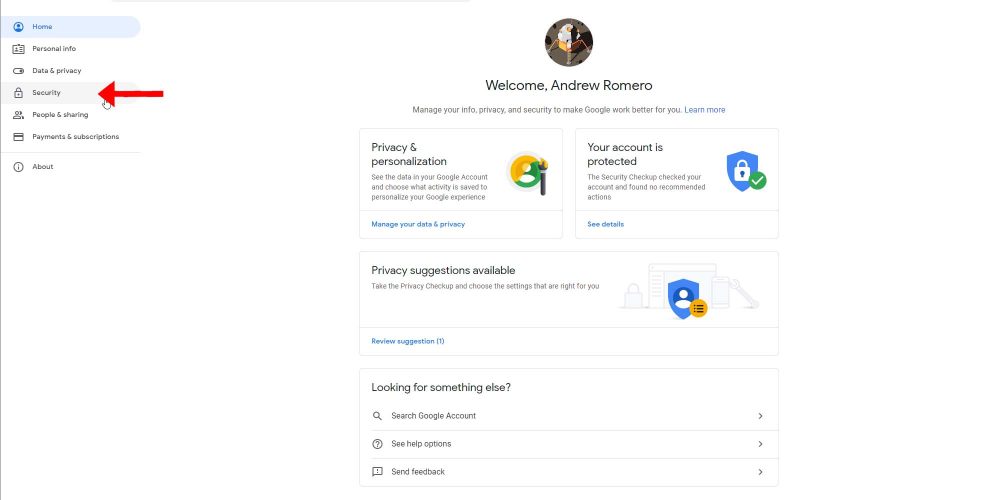
- Head to your Google account security preferences. You can get there by going to your Google account, hitting your photo in the top right, and selecting “Manage your Google account.“
- Head to the Security tab, either in a side-scrolling menu on the top of the screen or on the left-hand side in a menu.
- In the “Signing in to Google” section, tap on 2-Step Verification.
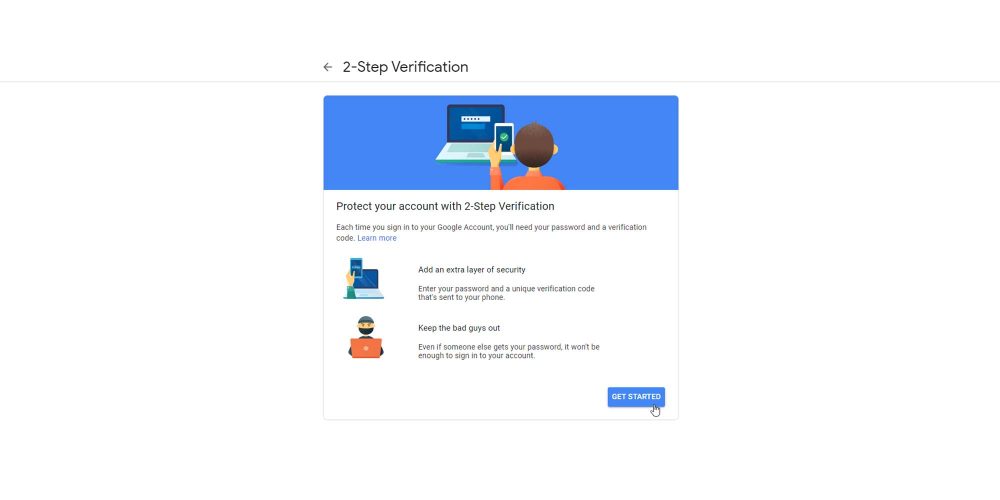
- Enter your password to confirm it’s you and hit Get Started on the next page where Google explains 2-Step Verification.
- The next page shows you what devices you’ll be able to use to sign in. These are devices Google has deemed secure based on your login history. If the list looks right, hit Continue.
- Verify your current phone number as a backup option then enter the code sent to you in order to verify that number.
- Lastly, hit Turn On and you’re done! Google 2-Step verification has been set up.
Other forms of 2SV
Google’s 2-Step Verification isn’t limited to prompts appearing on trusted devices when logging in. Users can add other – even more secure – options to verify their identity. These options include:
- Backup codes
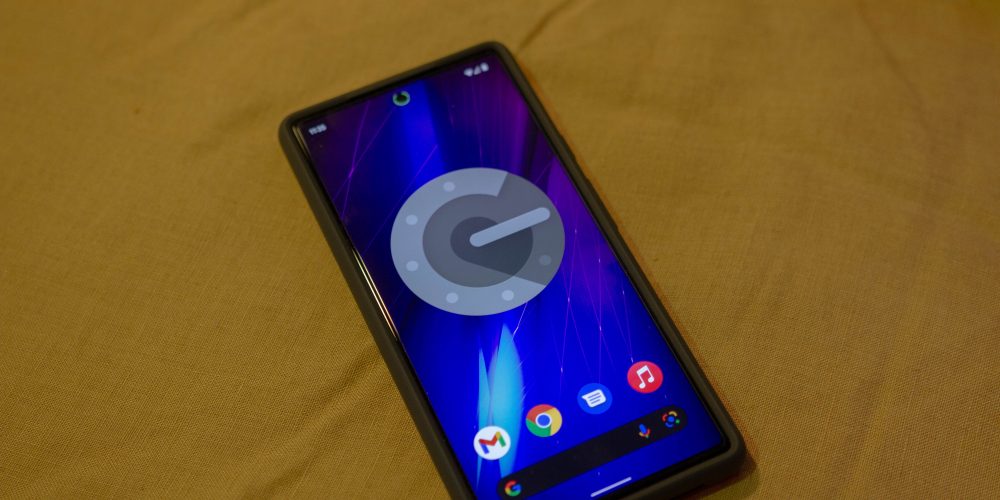
- Google Authenticator app
- Security keys
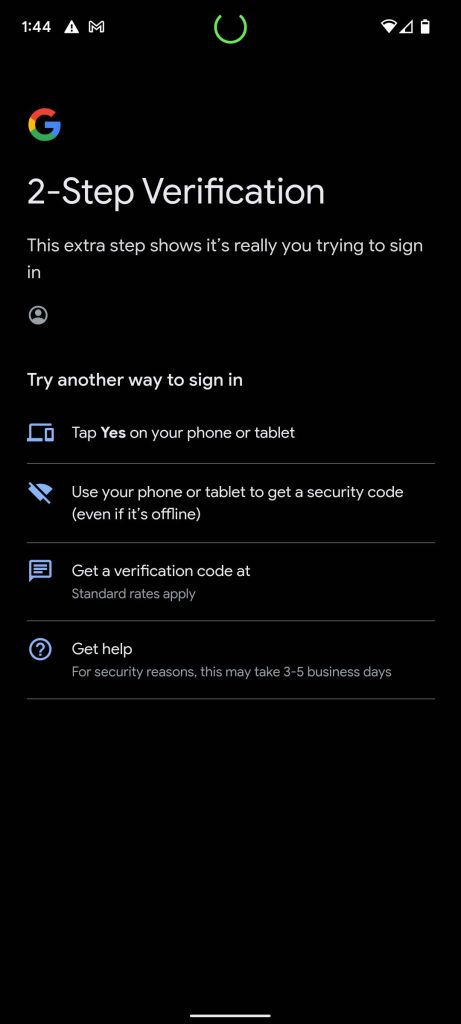
Backup codes are pretty straightforward. Google will give you a list of codes to save and keep secure as a backup option if you need to verify your identity. The Authenticator app will prompt you with codes when trying to sign in, even if your device is offline. Lastly, Google allows you to convert one of your devices into a security key. For instance, using Bluetooth and location data, a can be used to sign in to your account with ease, as long as you also have your password. The only issue is that the security key works only with Google Chrome.
How to sign in with 2-Step Verification
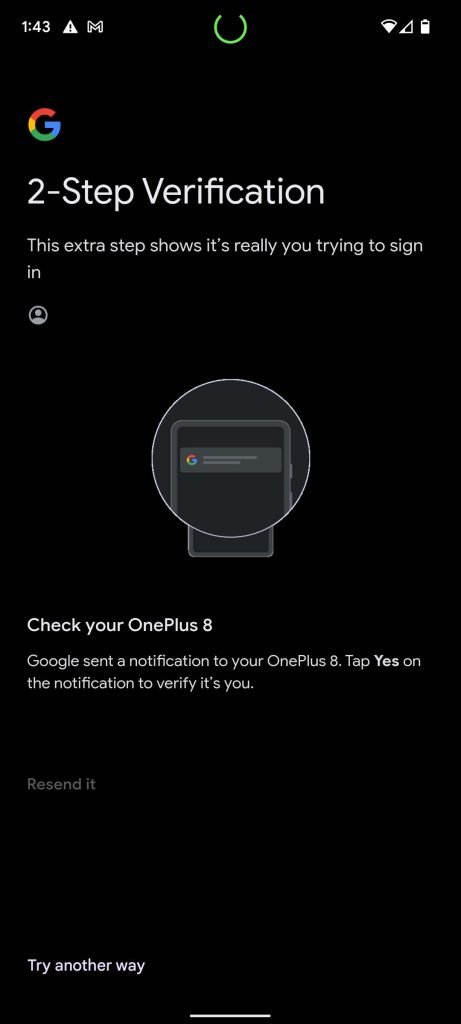
When Google’s security measures are properly set up, signing in to your account from a new device only requires one or two extra steps. After signing in with Google prompts enabled (the default 2-Step Verification method), the page will notify you that a prompt has been sent to another device. Selecting Yes, it’s me or No, don’t allow will verify your identity. If it was you, then congratulations, you’ve now been logged in using Google prompts!
Similarly, if your security method is coded text messages, then Google will send a text when you log in from an unknown device. Enter the code and you should be up and running in no time.
Maintaining high security
It’s probably a good idea to check back every so often and make sure devices that you’ve long since sold or moved on from aren’t still listed under Google’s trusted devices. You can easily do this by going back to the main Security tab in account preferences and looking under Your devices. By managing these and keeping tabs on what’s still active, you can easily make sure your Google account is kept secure.
Even though Google is automatically turning on 2SV for account holders in waves, the company will allow users to switch 2SV off afterward. Though, we don’t recommend it since doing this makes the account much less secure.
Author: Andrew Romero
Source: 9TO5Google


