![]()
Looking to improve your food photos ahead of this holiday season? If you stick to a few simple tips, there’s no reason why your photos shouldn’t go from no-go to “wow.”
My name is Tajda (pronounced thai-dah) and I’m an award-winning food photographer and recipe developer based in the United Kingdom. With the holiday season just around the corner, I prepared five simple tricks you can use to instantly improve your photography. Let’s dive in!
1. Observe & Learn
As a professional photographer, I often hear people say I have an especially “good eye” for food styling, colors, or editing. The actual truth? It’s all about learning how to observe.
![]()
In fact, the biggest reason why I managed to improve my images is that I learned how to become what I call “The Quiet Observer”.
Best of all? Most of it can be done for free.
I read countless blog posts (like this one!), watched YouTube videos covering food styling, props setting, and editing, flipped through those handy recipe magazines you can pick up from your local groceries shop, and dug through any old cookbook I could find.
![]()
When I saw a food photo that struck me as beautiful, I asked myself – why do I like this image so much? What kinds or props (plates, utensils, bowls, napkins) are they using? What are the main colors in the image? What kind of backgrounds work especially well?
You’d be surprised how important it is to observe and analyze images.
If you’re just starting out, try searching for a photo you love and recreating it yourself!
Don’t let Instagram be your only source of inspiration. Google, Pinterest, YouTube, podcasts & food blogs can teach you so much too! You’ll get to see a much greater variety of styles (not just the clean, white, minimal IG aesthetics) and draw inspiration from a wider variety of photographers.
2. Hands
I often find that images that consistently resonate most with my blog readers, followers & clients are those that include a human element. And none more so than hands!
![]()
A hand reaching out for a stack of cookies. A hand dipping your favorite appetizer into a cheesy, creamy sauce. Or a hand grabbing those fluffy pull-apart breads. The options are endless.
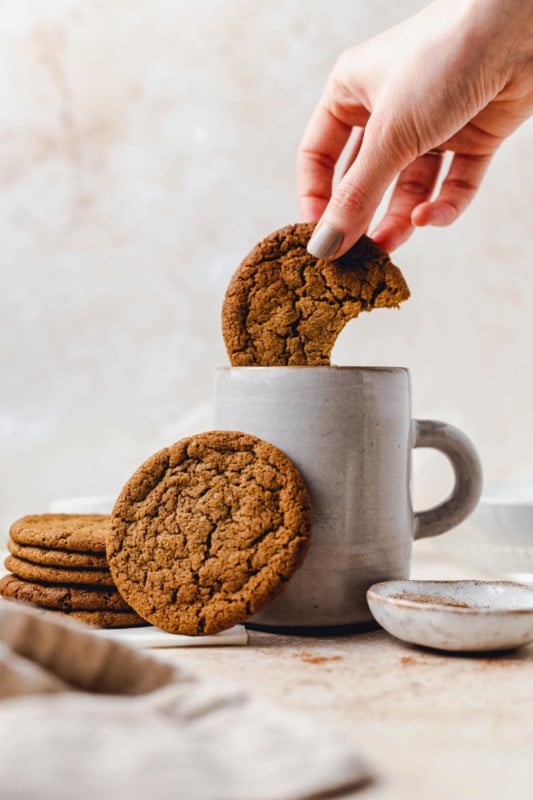
When it comes to Thanksgiving or other winter holidays, hands can help communicate the idea of community, family, and friendship. They take your images from static to fun and dynamic.
3. Lights! Camera! Action!
One of the simplest and most effective things you can do to make your holiday photos POP? Adding an element of action. An illusion of movement where time has been stopped for an instant.
![]()
There are many ways you can capture movement without needing an expensive camera.
It’s a classic concept that photographers have been using ever since the dawn of the first cameras.
This is how:
- A cake? Show a slice just about to be taken out!
- A slice of brownie/cake/pie? Show a drizzle of sauce being poured on top.
- Shooting cupcakes? Show icing sugar being dusted on top.
- A hot drink? Show how you’re adding whipped cream or a sprinkle of chocolate shavings.
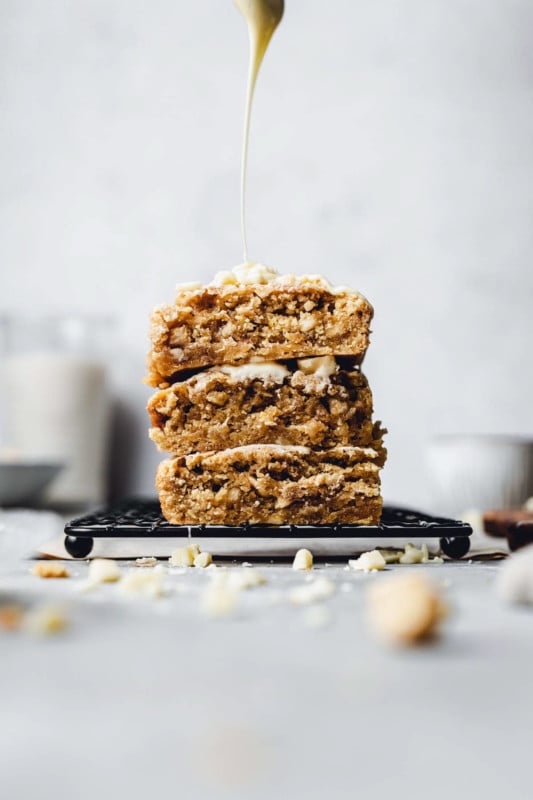
This will be easiest if you’ve got a helpful assistant – so grab a family member and let them be the secret star behind the photo. P.S. — kids love to get involved!
4. Sell the Story
Food photography is not just about making the viewer hungry with images of juicy burgers, gooey cookies, or fudgy brownies.
It’s also about telling the audience a wider story. It’s about setting the right atmosphere, bringing your viewer a step closer, making them feel like they’re part of the scene.
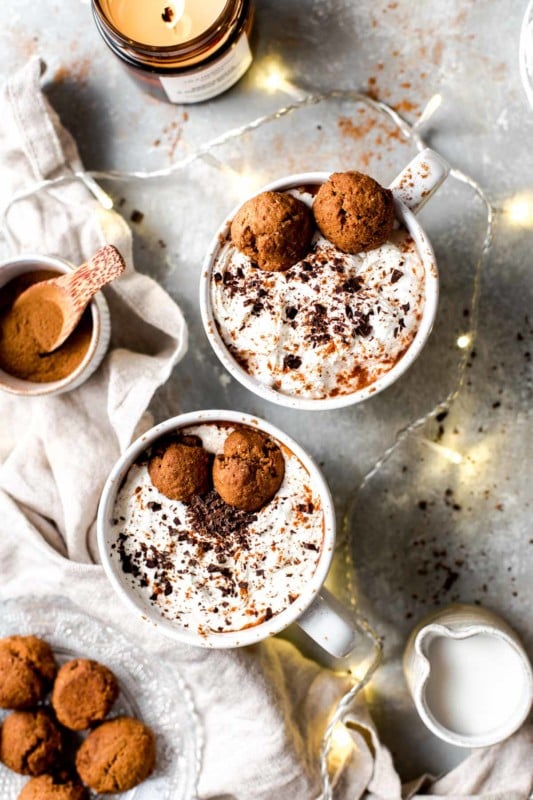
Atmosphere is what transports the viewer closer to your scene, immediately making them feel a part of it, giving them a sense that they could just reach out straight into it.
And never more so than during the festive season.
![]()
Luckily there are some simple tricks anyone (yes, even beginners!) can use to help tell a story through food photography.
When it comes to holiday scenes, I love adding props like fairy lights, candles, seasonal ginger biscuits, and sparklers to bring out a celebratory feeling.
Even small details like red nail polish & Christmas poinsettia plants can act as powerful tools in bringing out that cozy, warm festive atmosphere.
5. The “Ooomph” Edit
You don’t need fancy or expensive editing apps to edit your images and give them that extra “oomph.”
There are some amazing FREE ways to do so including mobile apps & websites like VSCO, Snapseed, Canva & Adobe Lightroom app.
They’re all super user-friendly, plus, they often allow you to use FREE presets that take your image from zero to hero within 1 click.
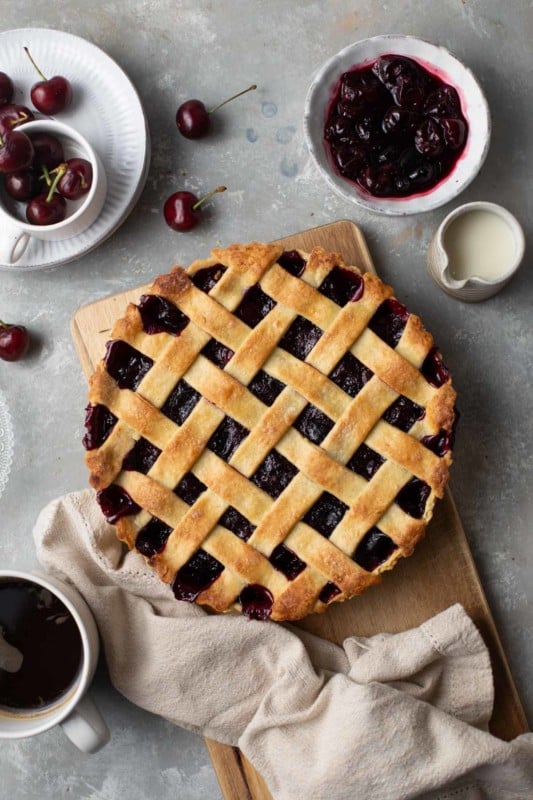
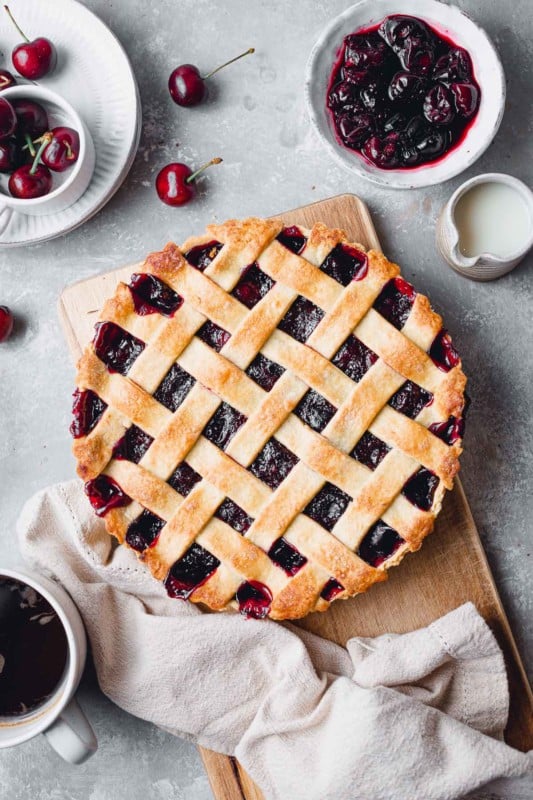
For those looking to edit on a bigger screen, I couldn’t recommend the free Adobe Lightroom app enough.
Whatever app I’m using these are some of the settings I always play around with:
- Brightness: I love my images bright & airy so I increase the brightness slider.
- Tone Curve: I always create a very slight S-curve by bringing the Darks slider down and the Lights slider up in your Tone Curve. This will help create a better contrast & make your images stand out.
- Colors: The settings will depend on your image, but don’t be afraid to play around with the HSL (hue, saturation, luminance) panel. If you’re editing a pumpkin pie, make those orange tones pop. When you’re adding a red cherry brownie, bring out those punchy red tones.
- Sharpness: Finally, when I’m happy with my edit, I like to bump up the sharpness slider a little.
This brings us to the end! I hope my five tips have inspired you to pick up your (phone) camera and get creative behind the lens.
About the author: Tajda Ferko is an award-winning food photographer and recipe developer based in the United Kingdom. On her website My Vegan Minimalist, she shares drool-worthy recipes and free tips on food photography.
Author: Tajda Ferko
Source: Petapixel


