

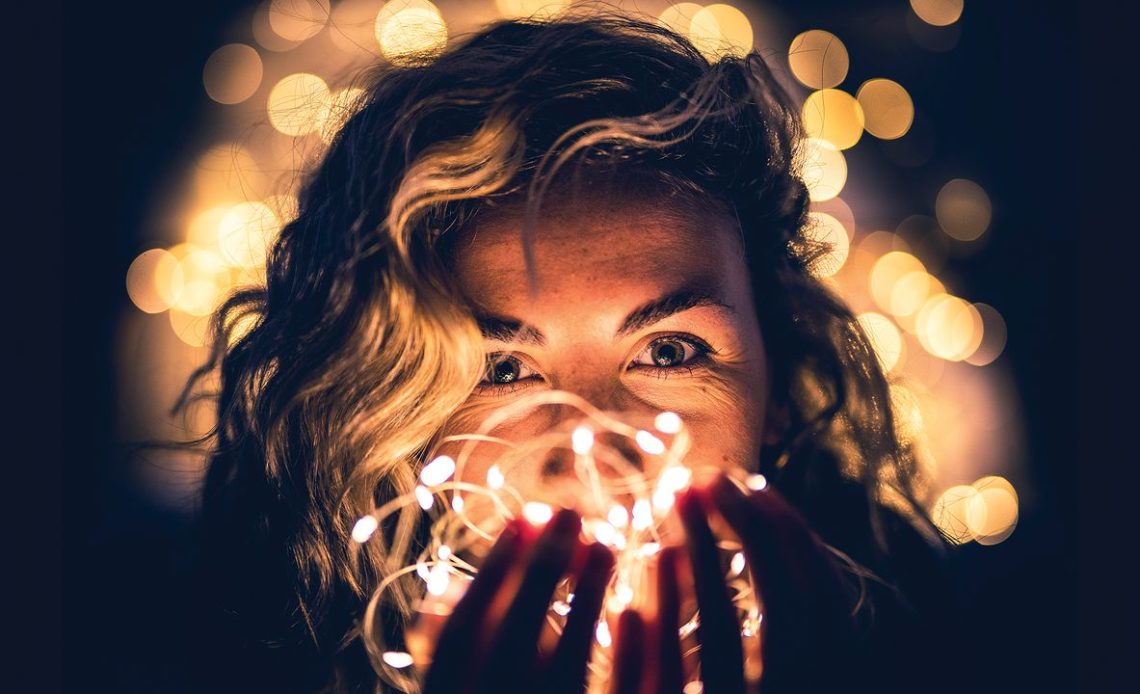
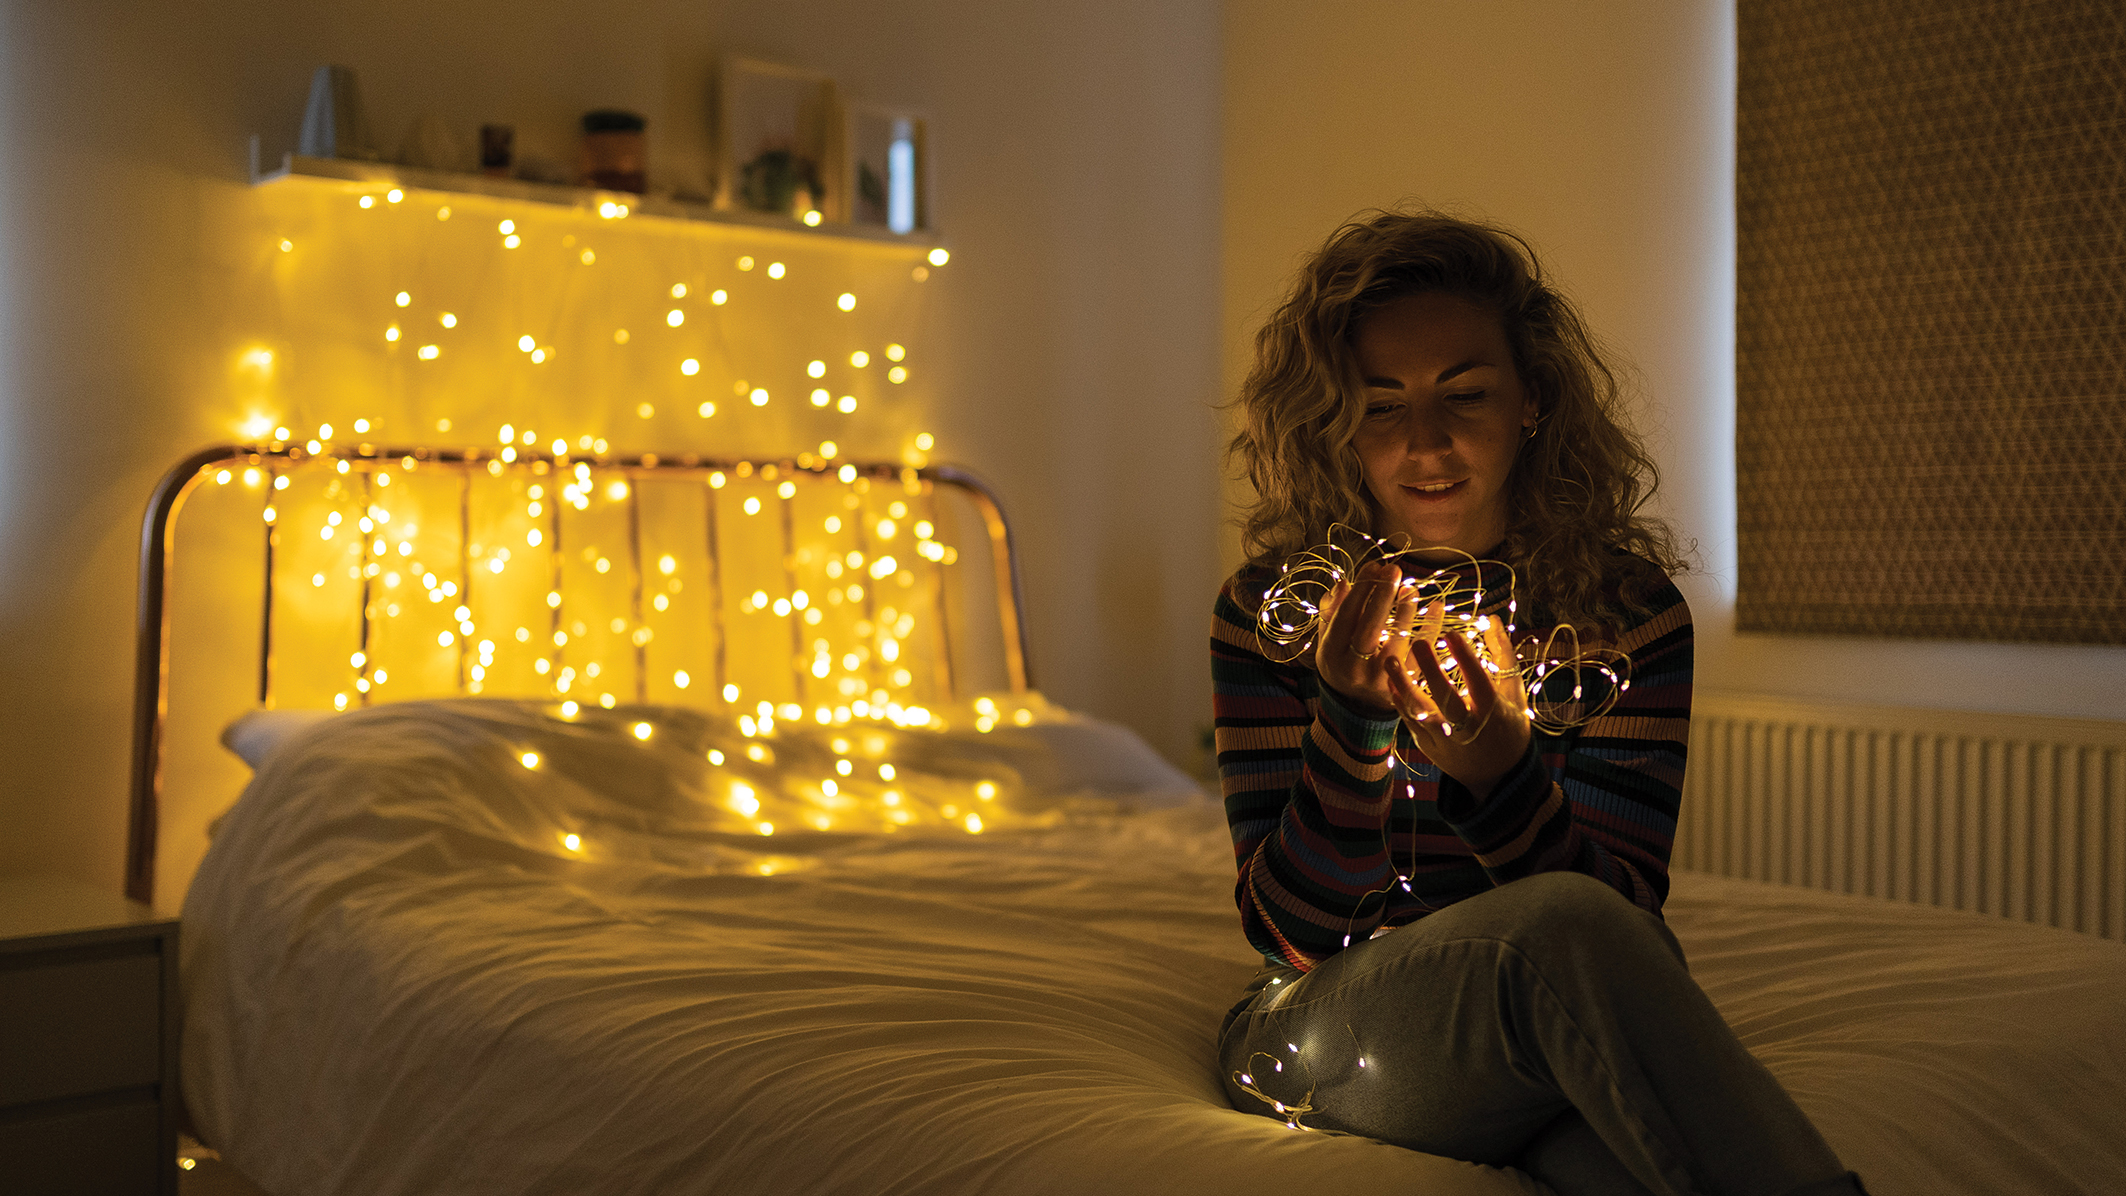
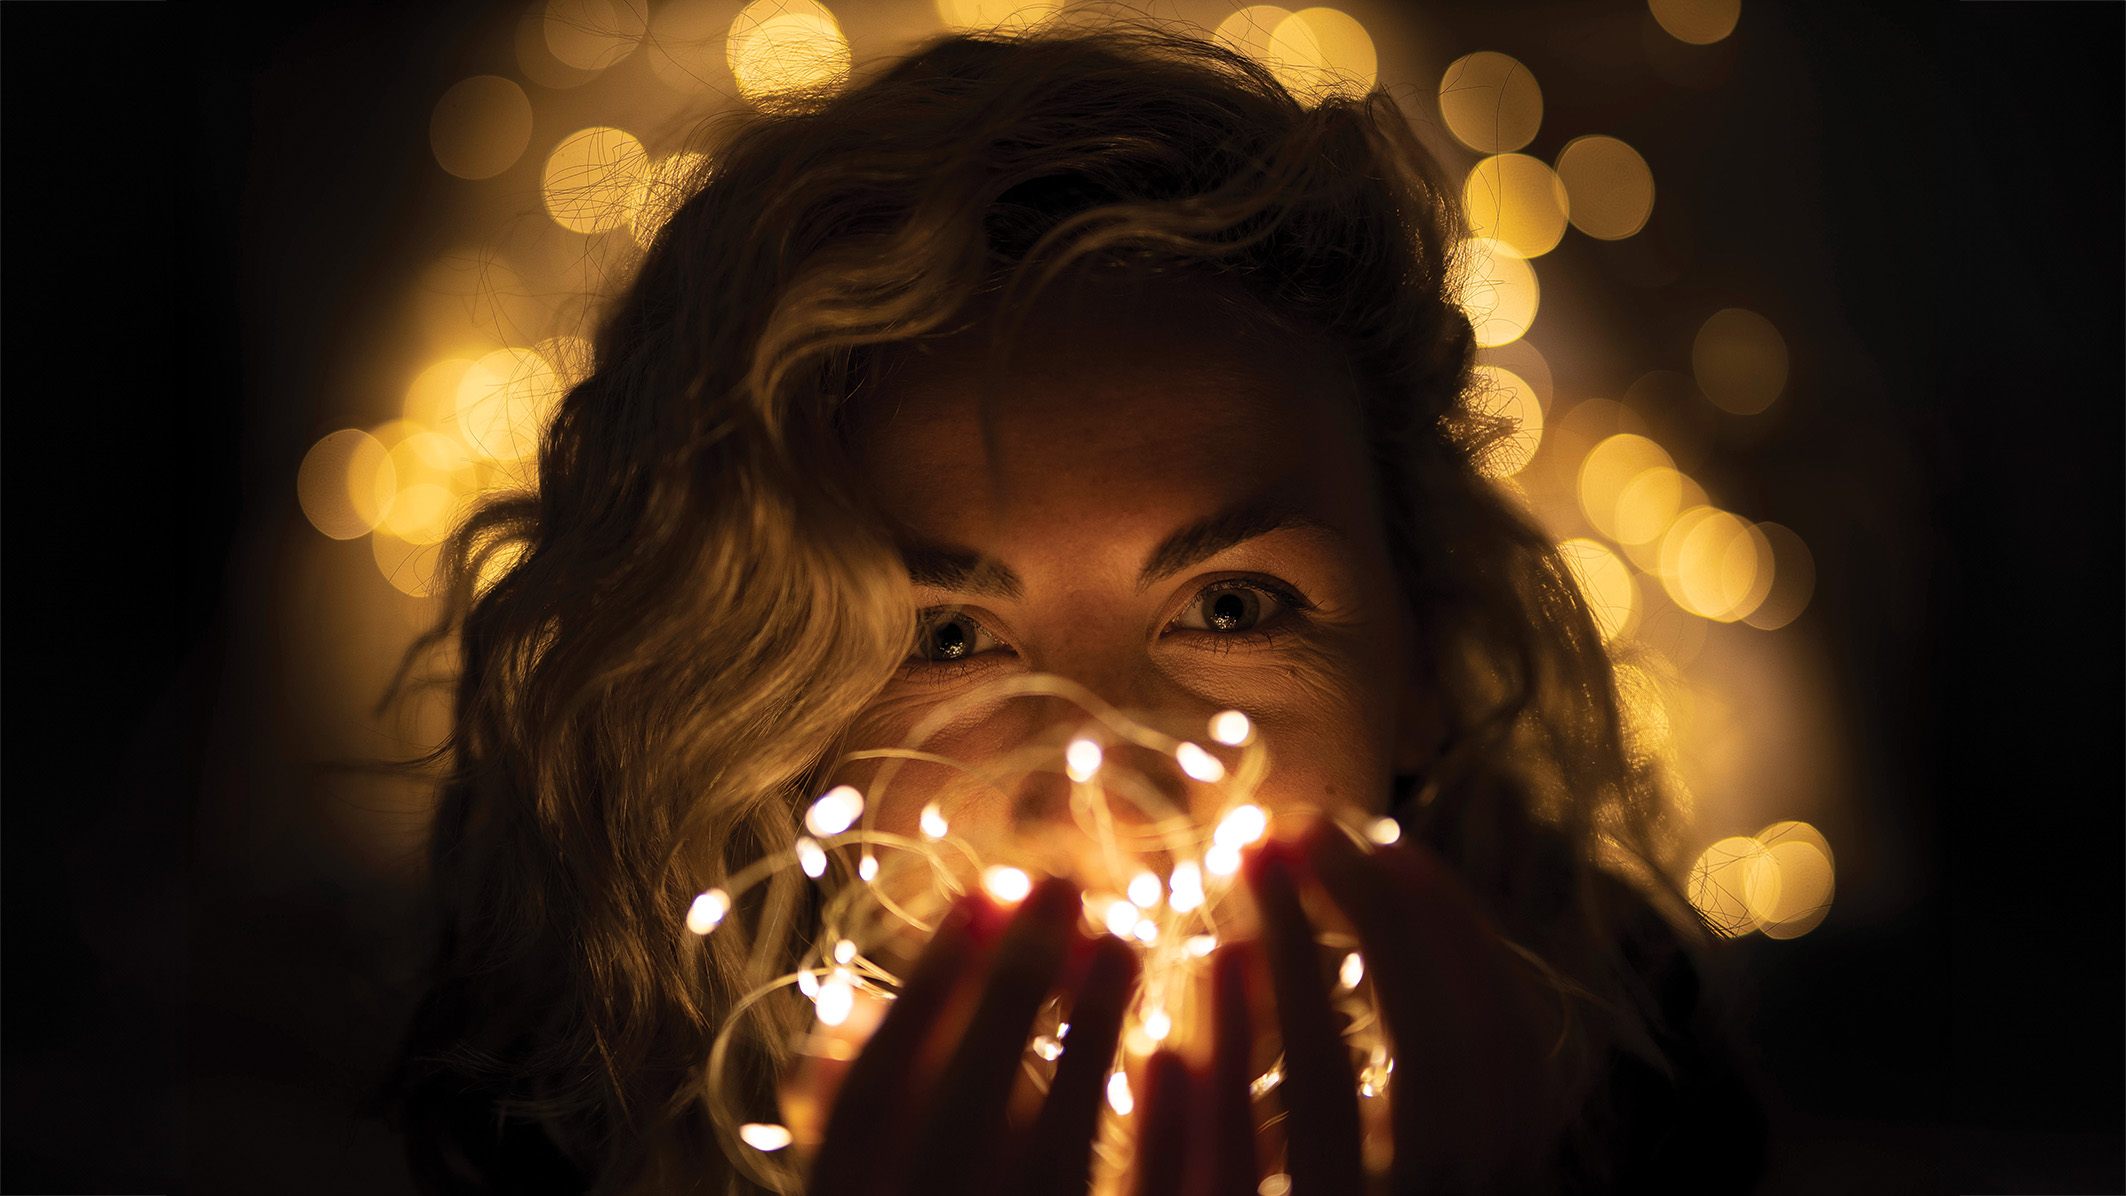
What’s more festive than transforming a room in your house into a dreamy, fairy-lit world, perfect for a spot of creative portrait photography?
The concept is simple – by sticking a fast prime lens onto the front of your DSLR or mirrorless camera and taking advantage of its super-wide aperture, we’ll be able to create a nicely blurred background to transform those tiny, twinkling points of light into beautiful bokeh balls.
This project really is as quick, easy, and fun to do as it sounds.
Essentially, all you need is your camera, a fast lens (be that a prime or a zoom with a wide max. aperture between f/1.4 and f/2.8), a few strings of fairy lights, and a willing volunteer to pose for you.
Professional photographer and videographer Tom Calton shows how to bag the shot and demonstrates a simple but effective colour treatment in Photoshop to make it really stand out.
The setup
Warm lights
We’ve opted to use warm fairy lights to give the shot a cosy, wintry feel. However, you could experiment by using white or multicoloured lights (or a mixture of the two). Just ensure the lights that are used are bright.
Twinkling backdrop
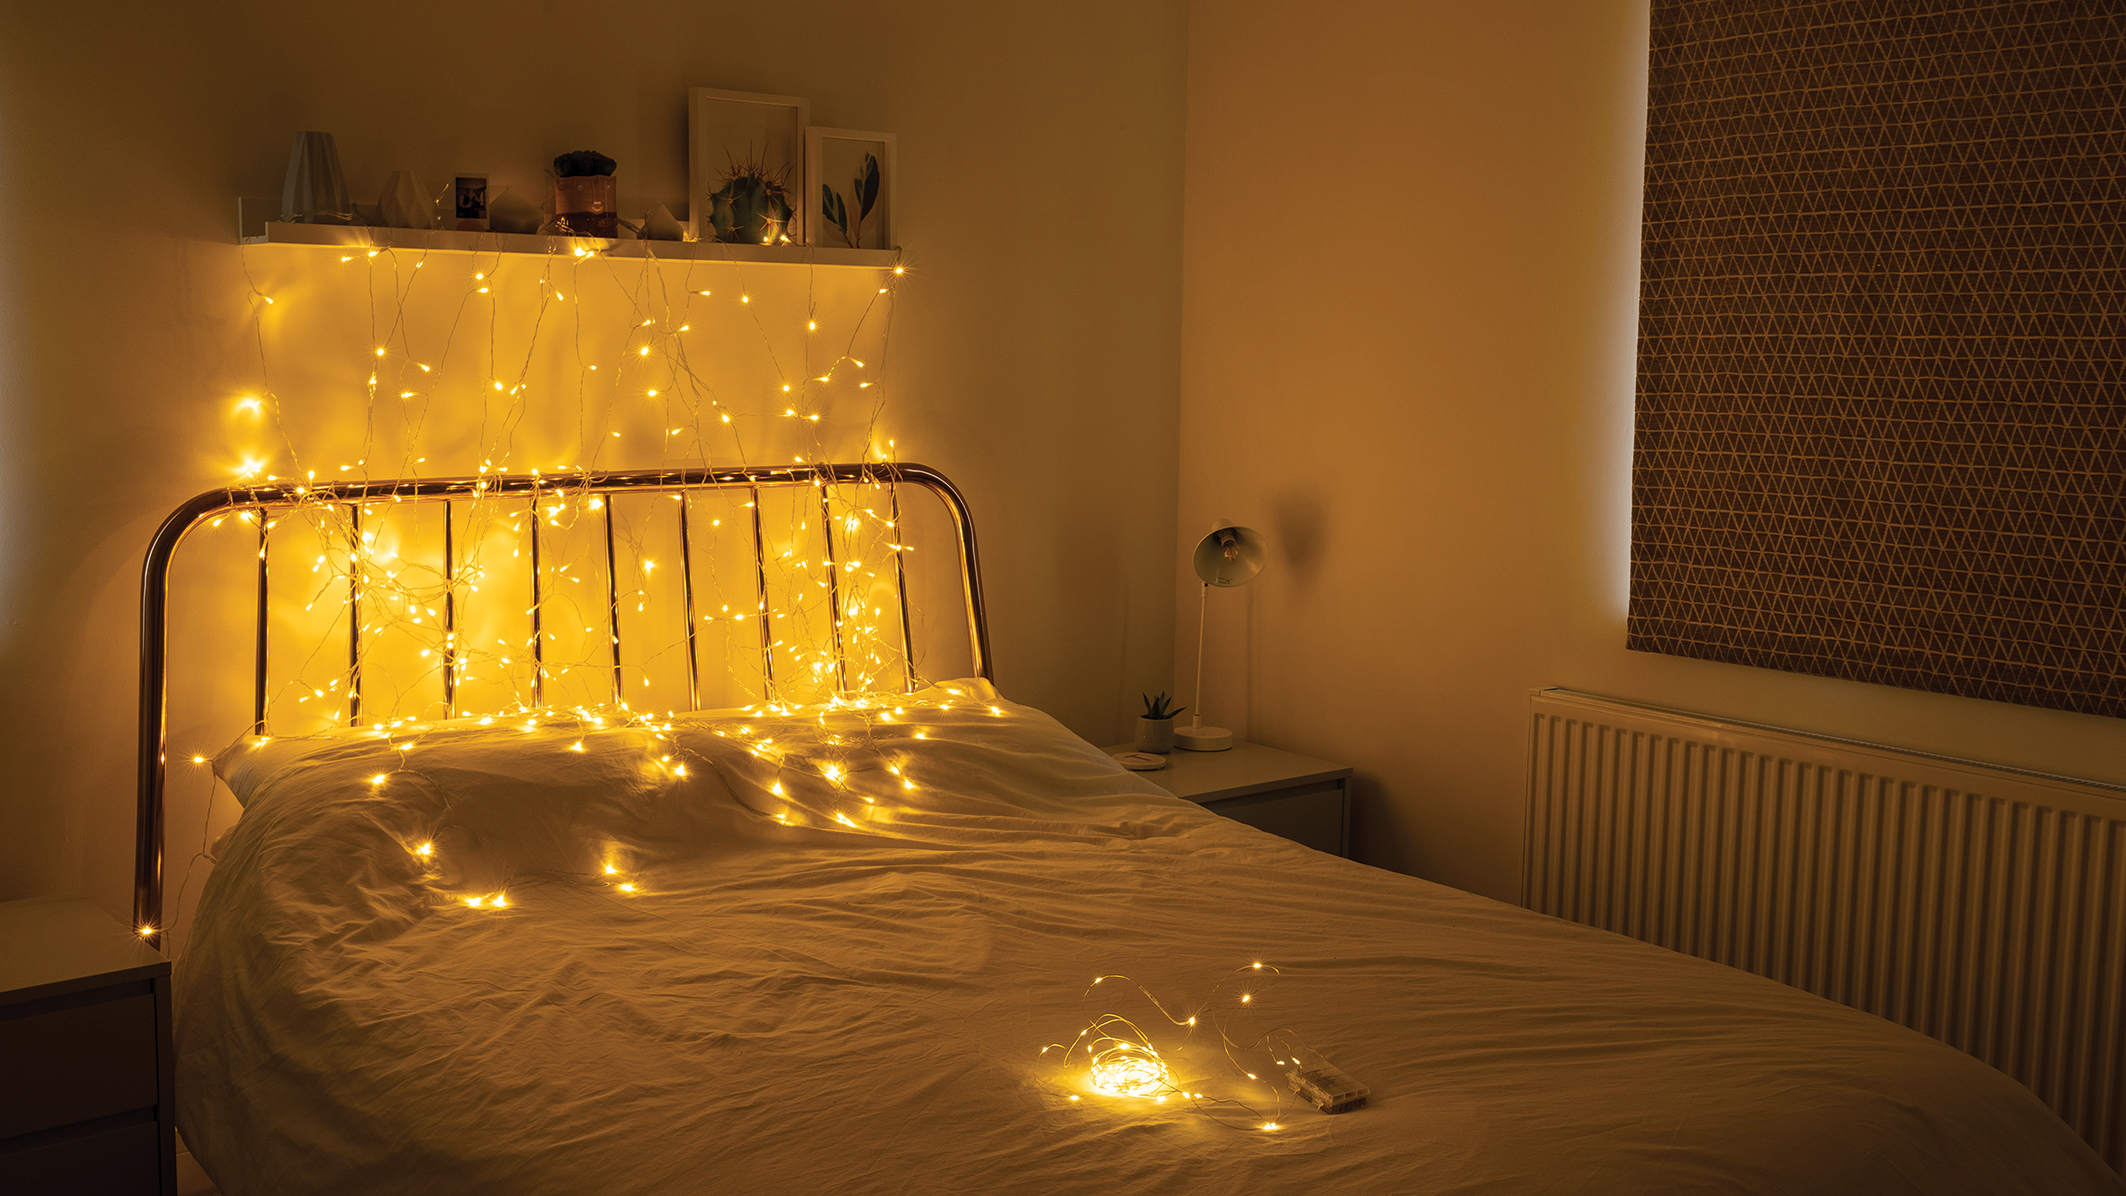
Our background is a simple net of fairy lights hung against a blank wall that is free from hanging ornaments and picture frames.
More lights
A few additional strings of lights are needed for the model to hold to illuminate their face. You can also try draping lights across the bed and elsewhere in the room to increase the effect.
Blackout
To capture the full effect of the fairy lights, it’s important that they are the only light source in the room. Turn off all the room lights and block out the windows.
Shooting steps
1. Block out the light

To get started with this photograph, make sure that the fairy lights will be the only source of light in the room. Block out any window light and close all of the blinds and curtains. Switch off any room lights and lamps as well.
2. Set up the background

The next step is to hang the net of fairy lights in the background to create a nice, twinkly backdrop for our shot. Hang the lights from a shelf above the bed, or alternatively, try and drape them over a backdrop stand or hang them between two light stands.
3. Use a fast lens
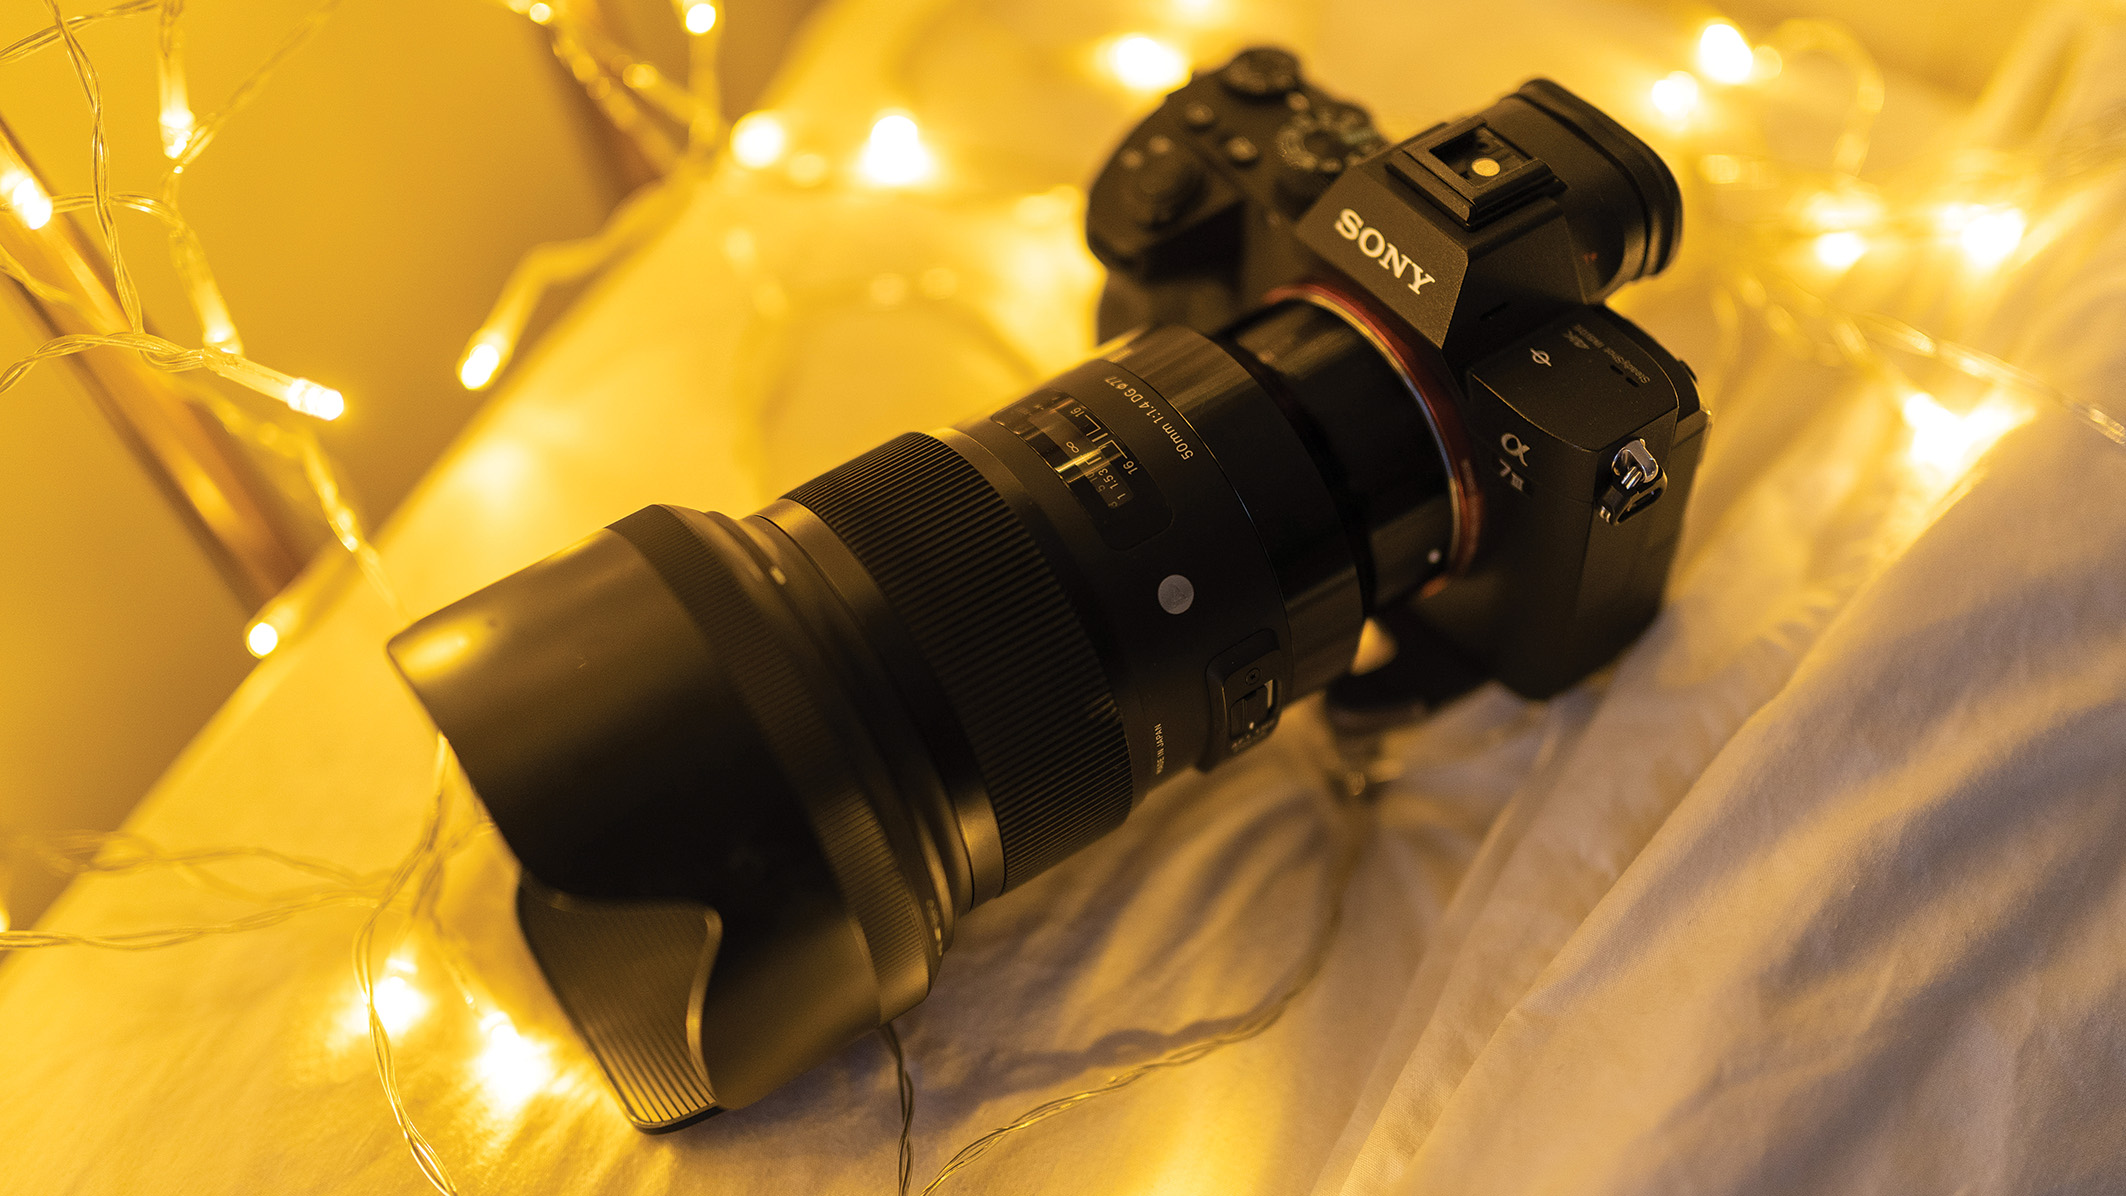
In order to turn the fairy lights into twinkling orbs in the shot, use a lens with a wide aperture. Prime lenses are the best choice, as they generally offer a wider maximum aperture than zooms. Here we used a FE 50mm f/1.4 GM lens on a Sony A7 III, which is a great option for portraits in general.
4. Add more fairy lights

Ask the model to sit in position. Drape one set of fairy lights around where they are sat and then carefully ball-up a second set of lights and place them in the model’s hand – these will be used to illuminate the model’s face.
5. Camera settings
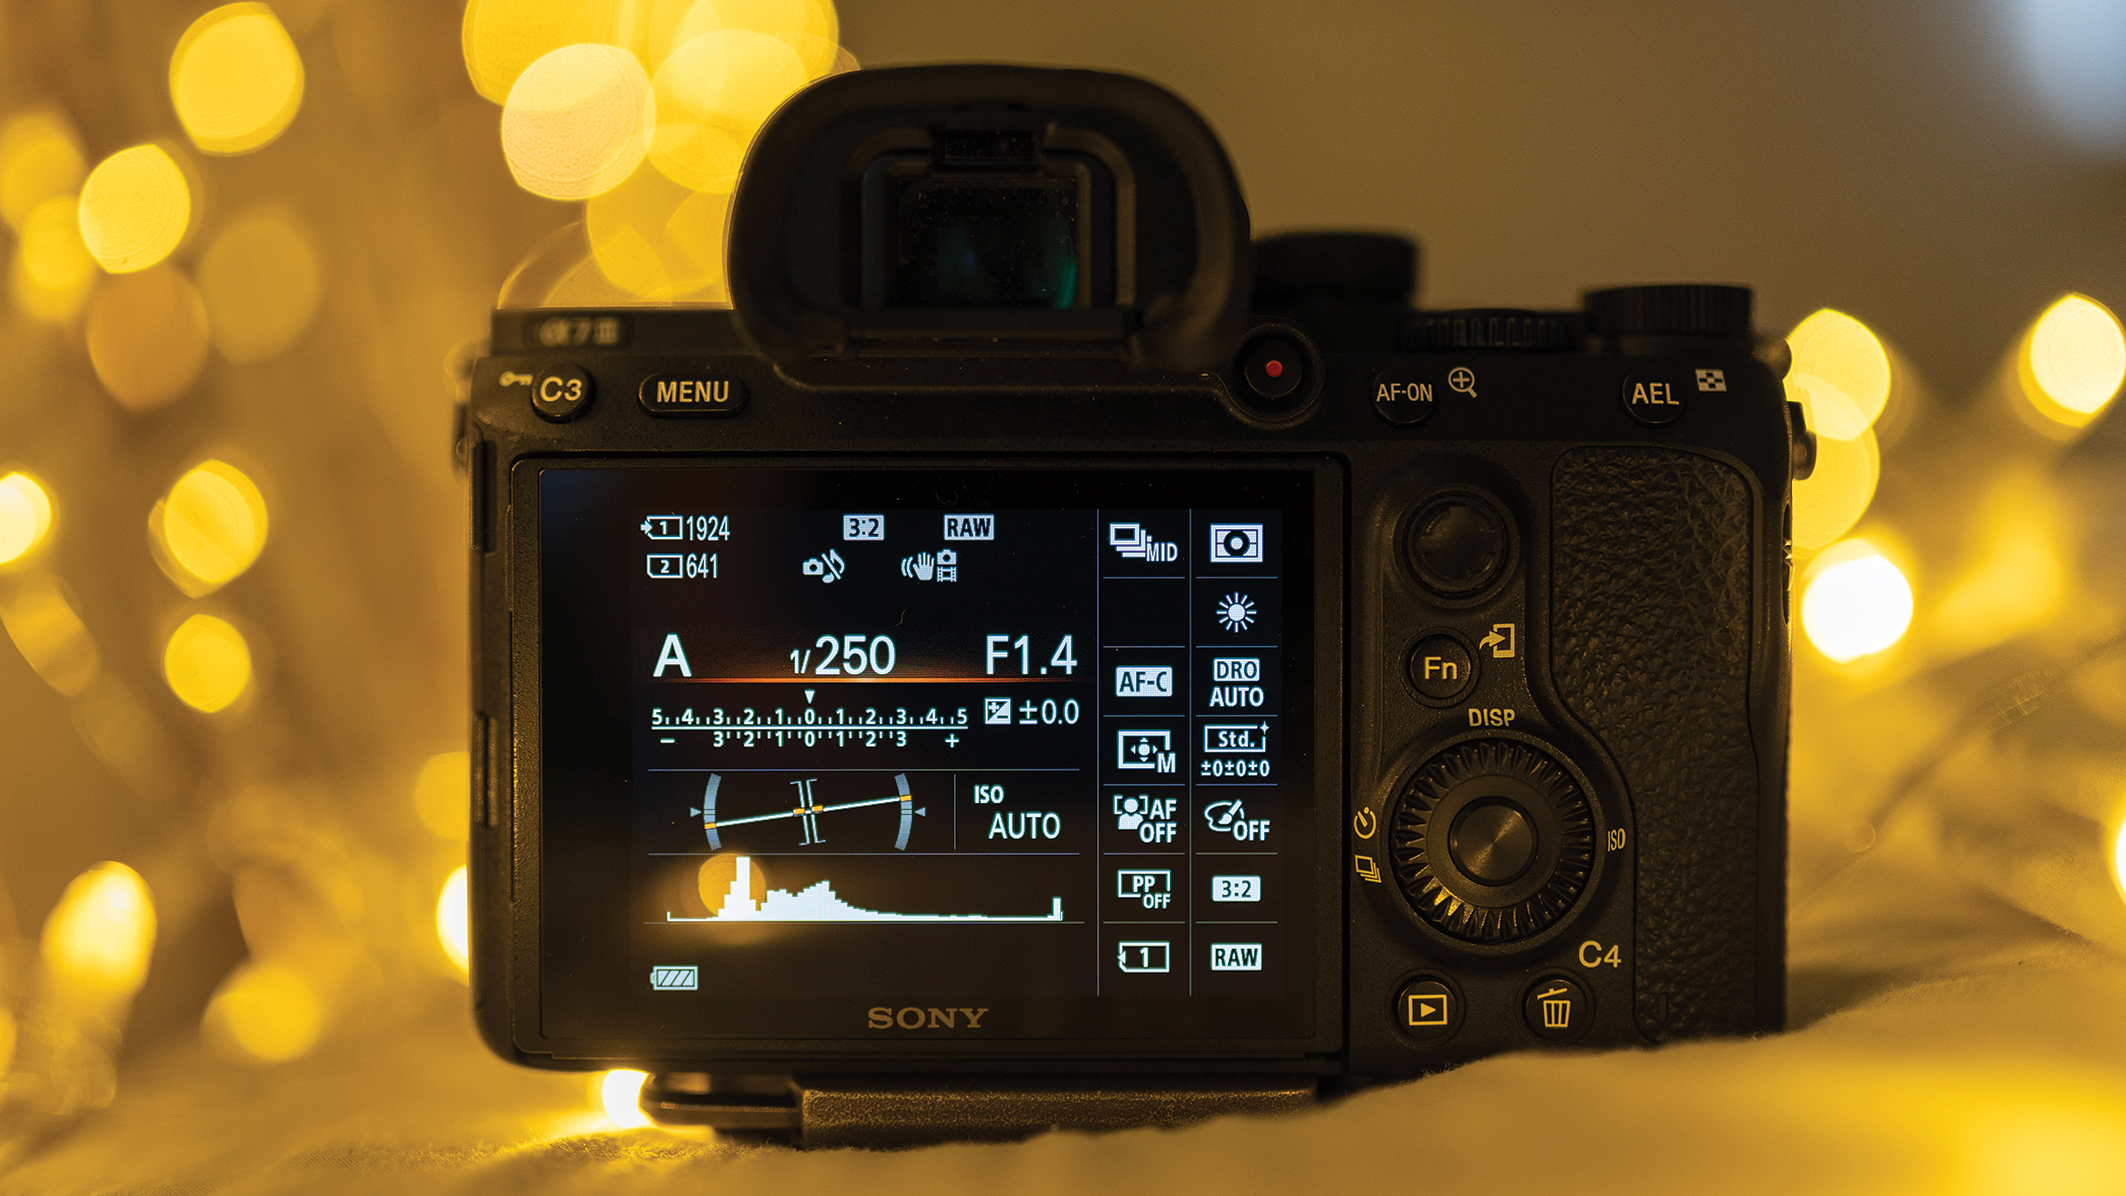
Switch the camera to Aperture Priority mode, and then set the widest aperture possible. Frame up the shot and adjust the ISO until the shutter speed is reading a value of 1/250sec or faster. This will help to ensure a sharp shot while shooting handheld. Finally, set the camera so that it shoots in RAW.
6. Take the shot

Frame up the shot and make sure that the active AF point is positioned over one of the model’s eyes. Then focus and take the shot. Check the results to make sure that the model is sharp and in focus, and repeat the shot if necessary.
Pro Tip
Keep your distance
Although using a wide aperture will give you the best chance of transforming all of those small points of light in the background into big, beautiful orbs, distance is also another factor you’ll need to keep in mind.
In short, the greater the distance between the lights and your point of focus (the model’s face), the more blurred the background will become and the bigger the orbs of light will be. So bear this in mind while setting up your shot.
Editing steps
1. Contrast and color

Open the RAW photo in Photoshop, and the Camera Raw Interface will appear. Crank the Contrast slider to +100 and the Clarity to +50. Then, set the Vibrance to +30 to bolster the colors.
2. Lift the shadows
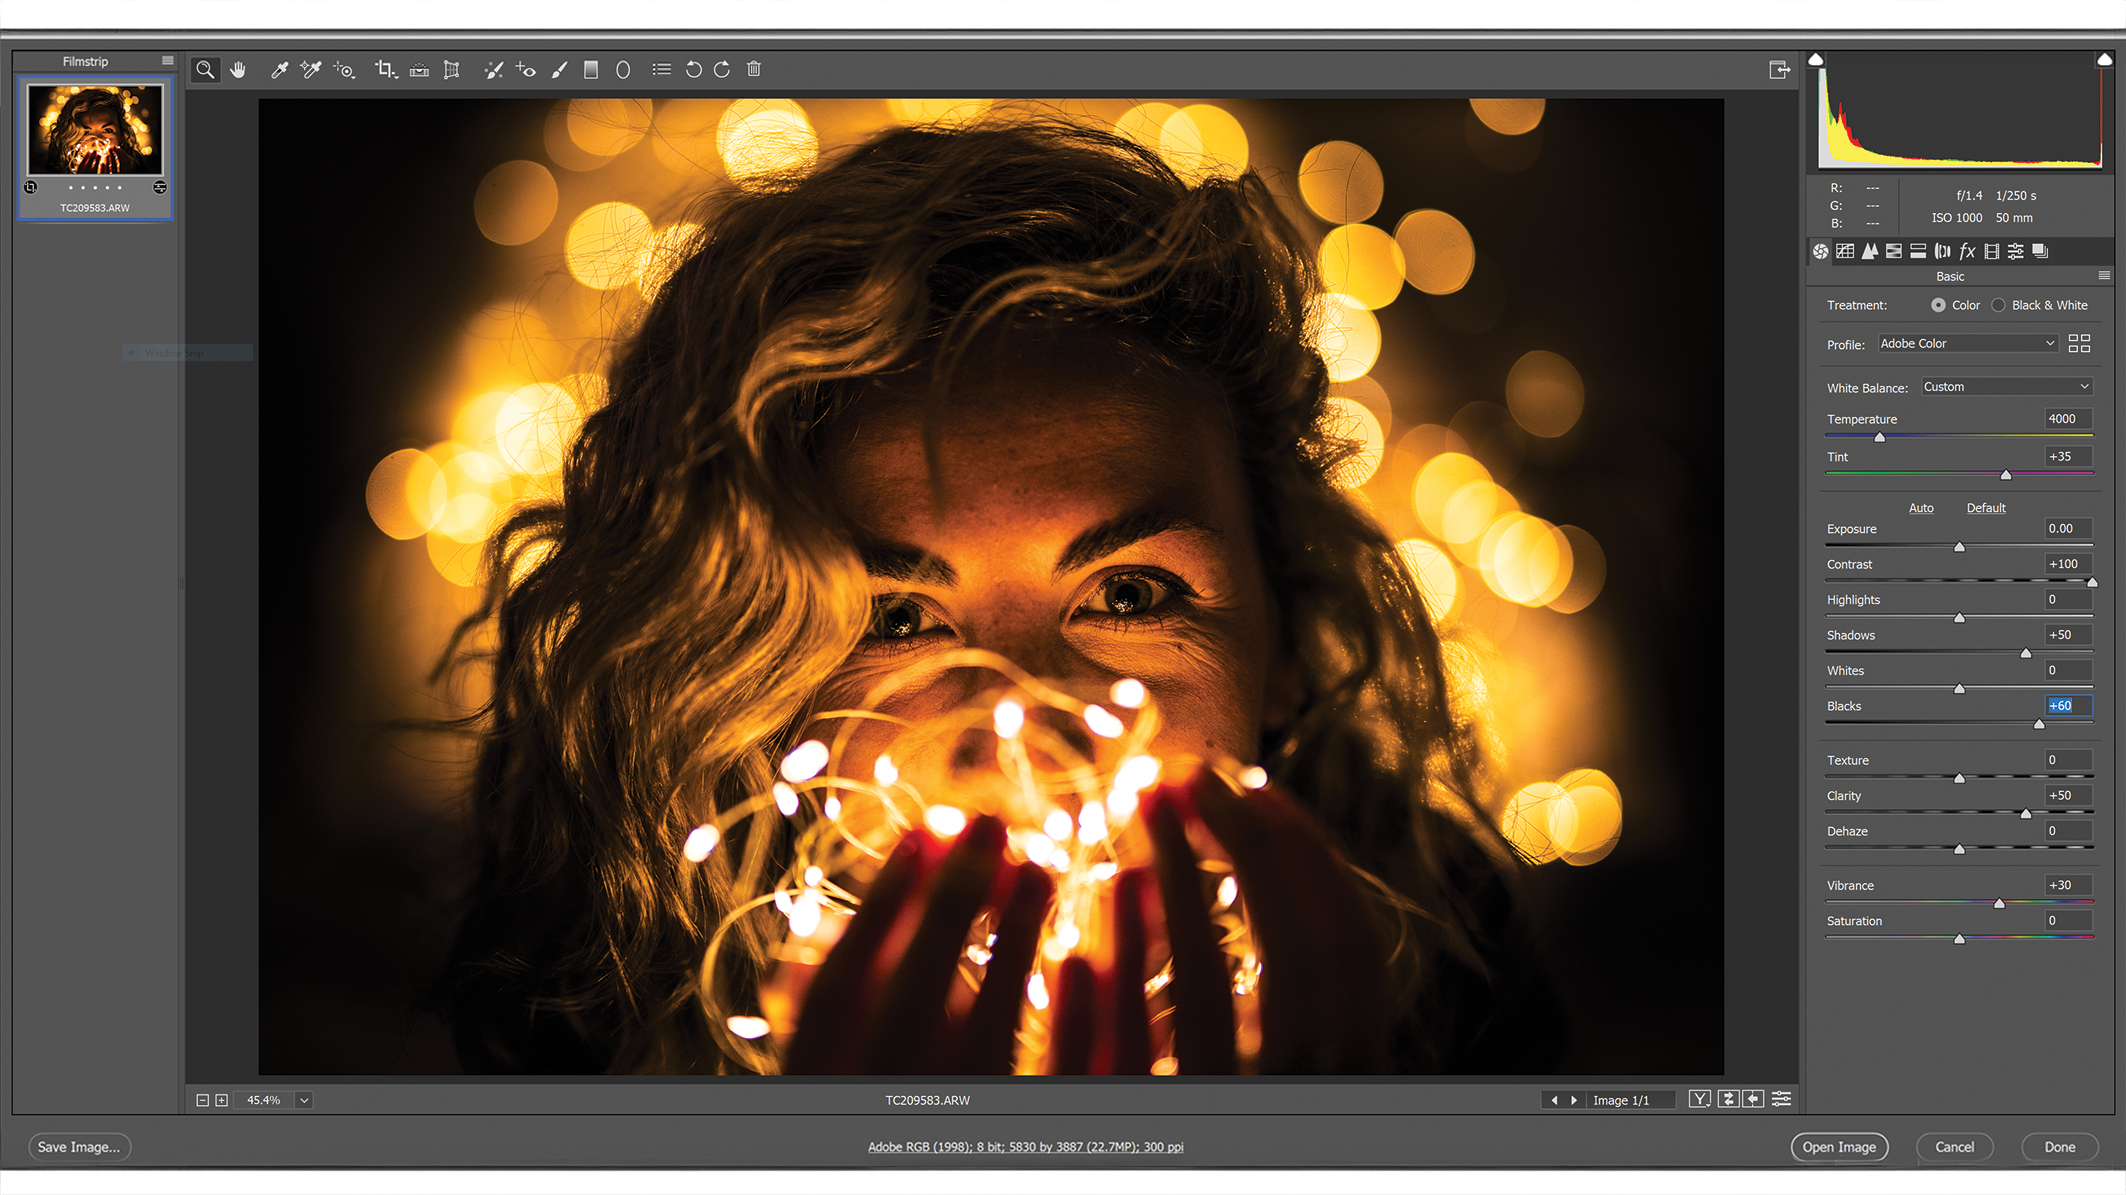
Don’t worry if the photo has too much contrast as this can easily be fixed by increasing the Shadows +50 and the Blacks to +60. This will brighten the shadow detail for a more balanced result.
3. Split toning
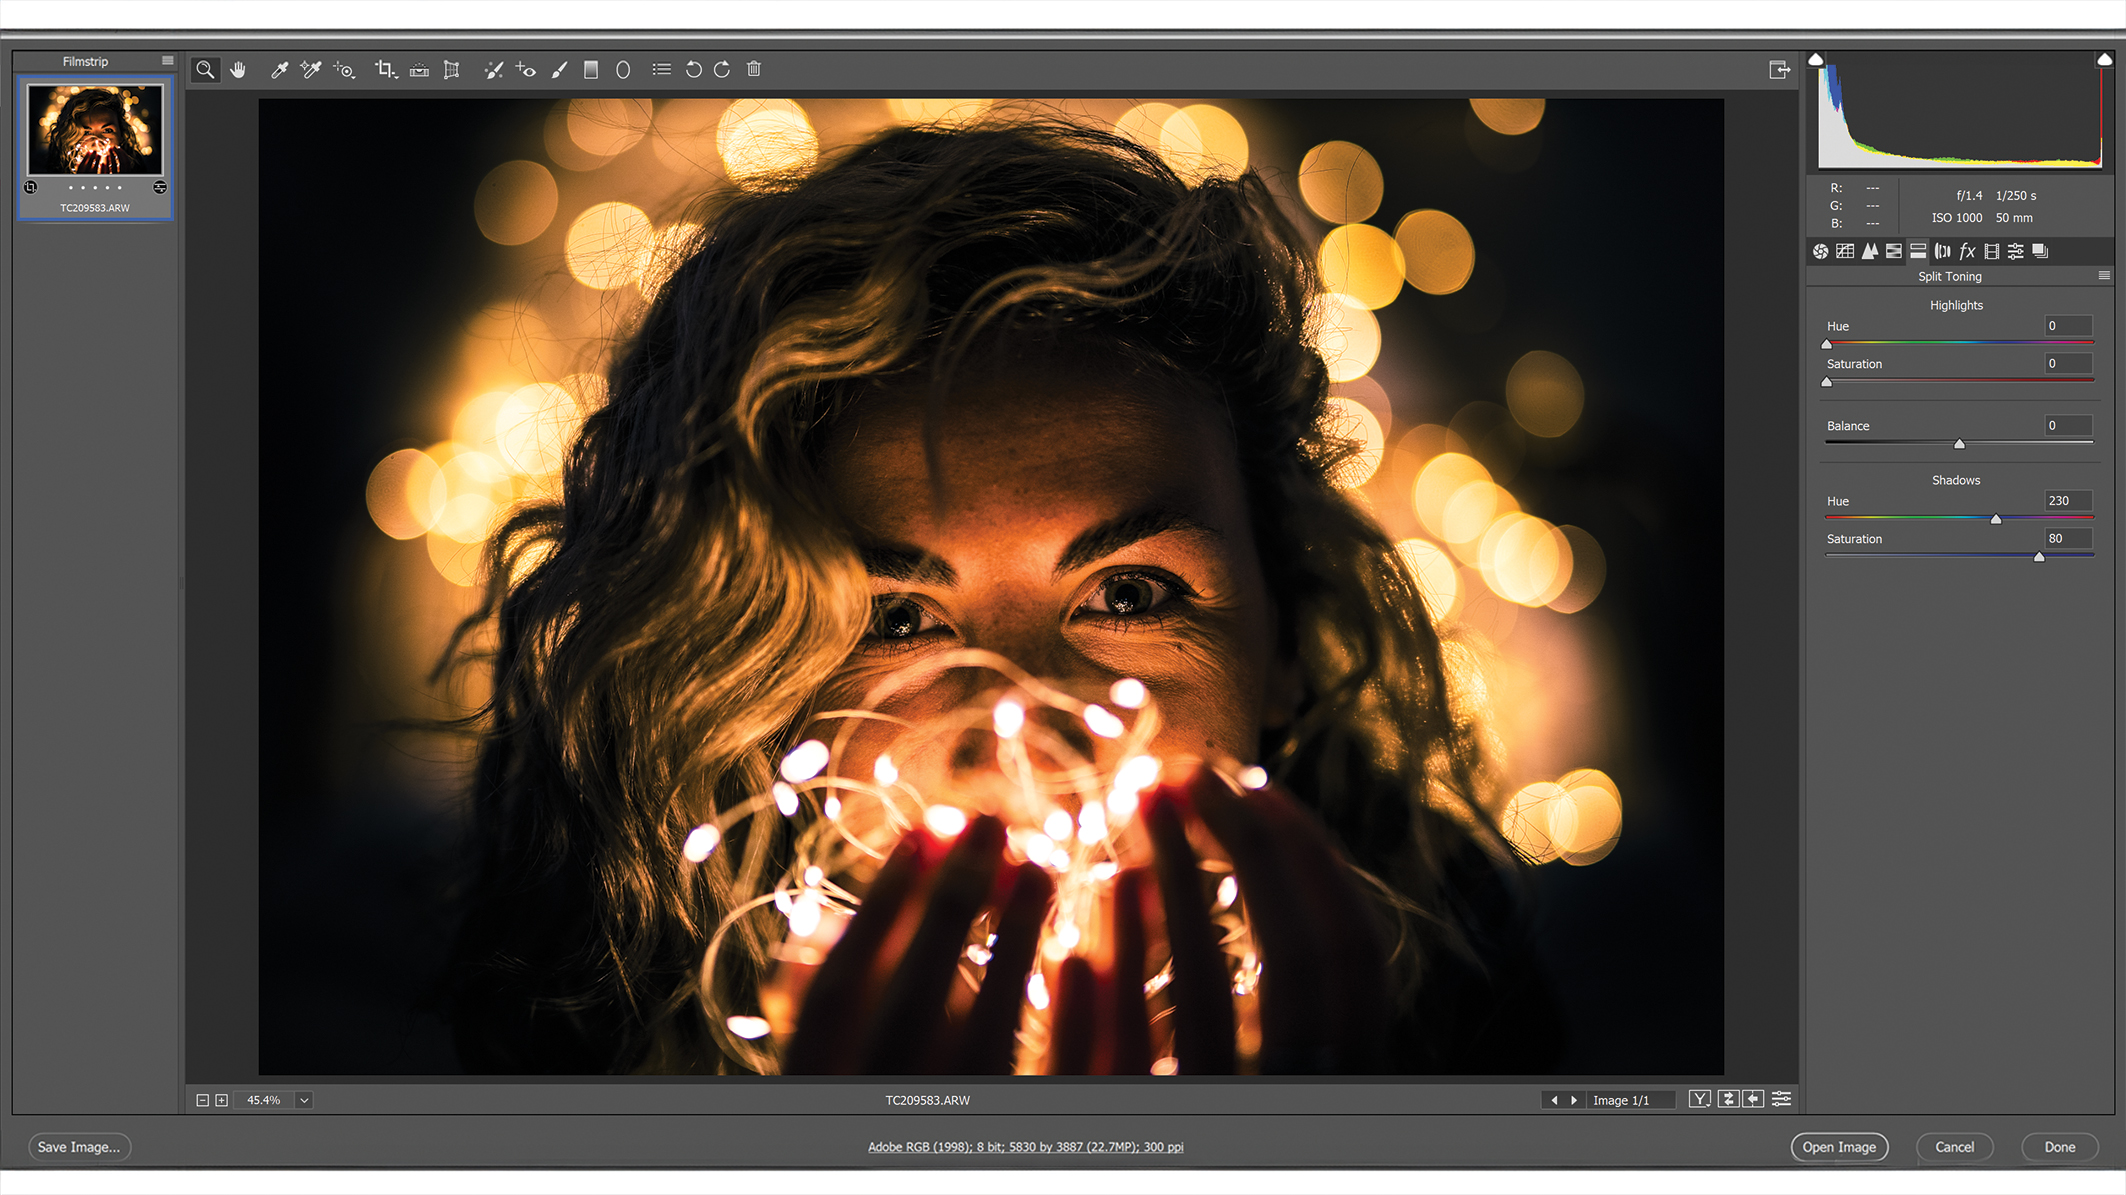
Click the Split Toning tab at the top right of the screen (beneath the histogram). Under the Shadows section, set the Hue to a value of 230, then increase the Saturation to 80 to turn the shadows blue.
4. Curves
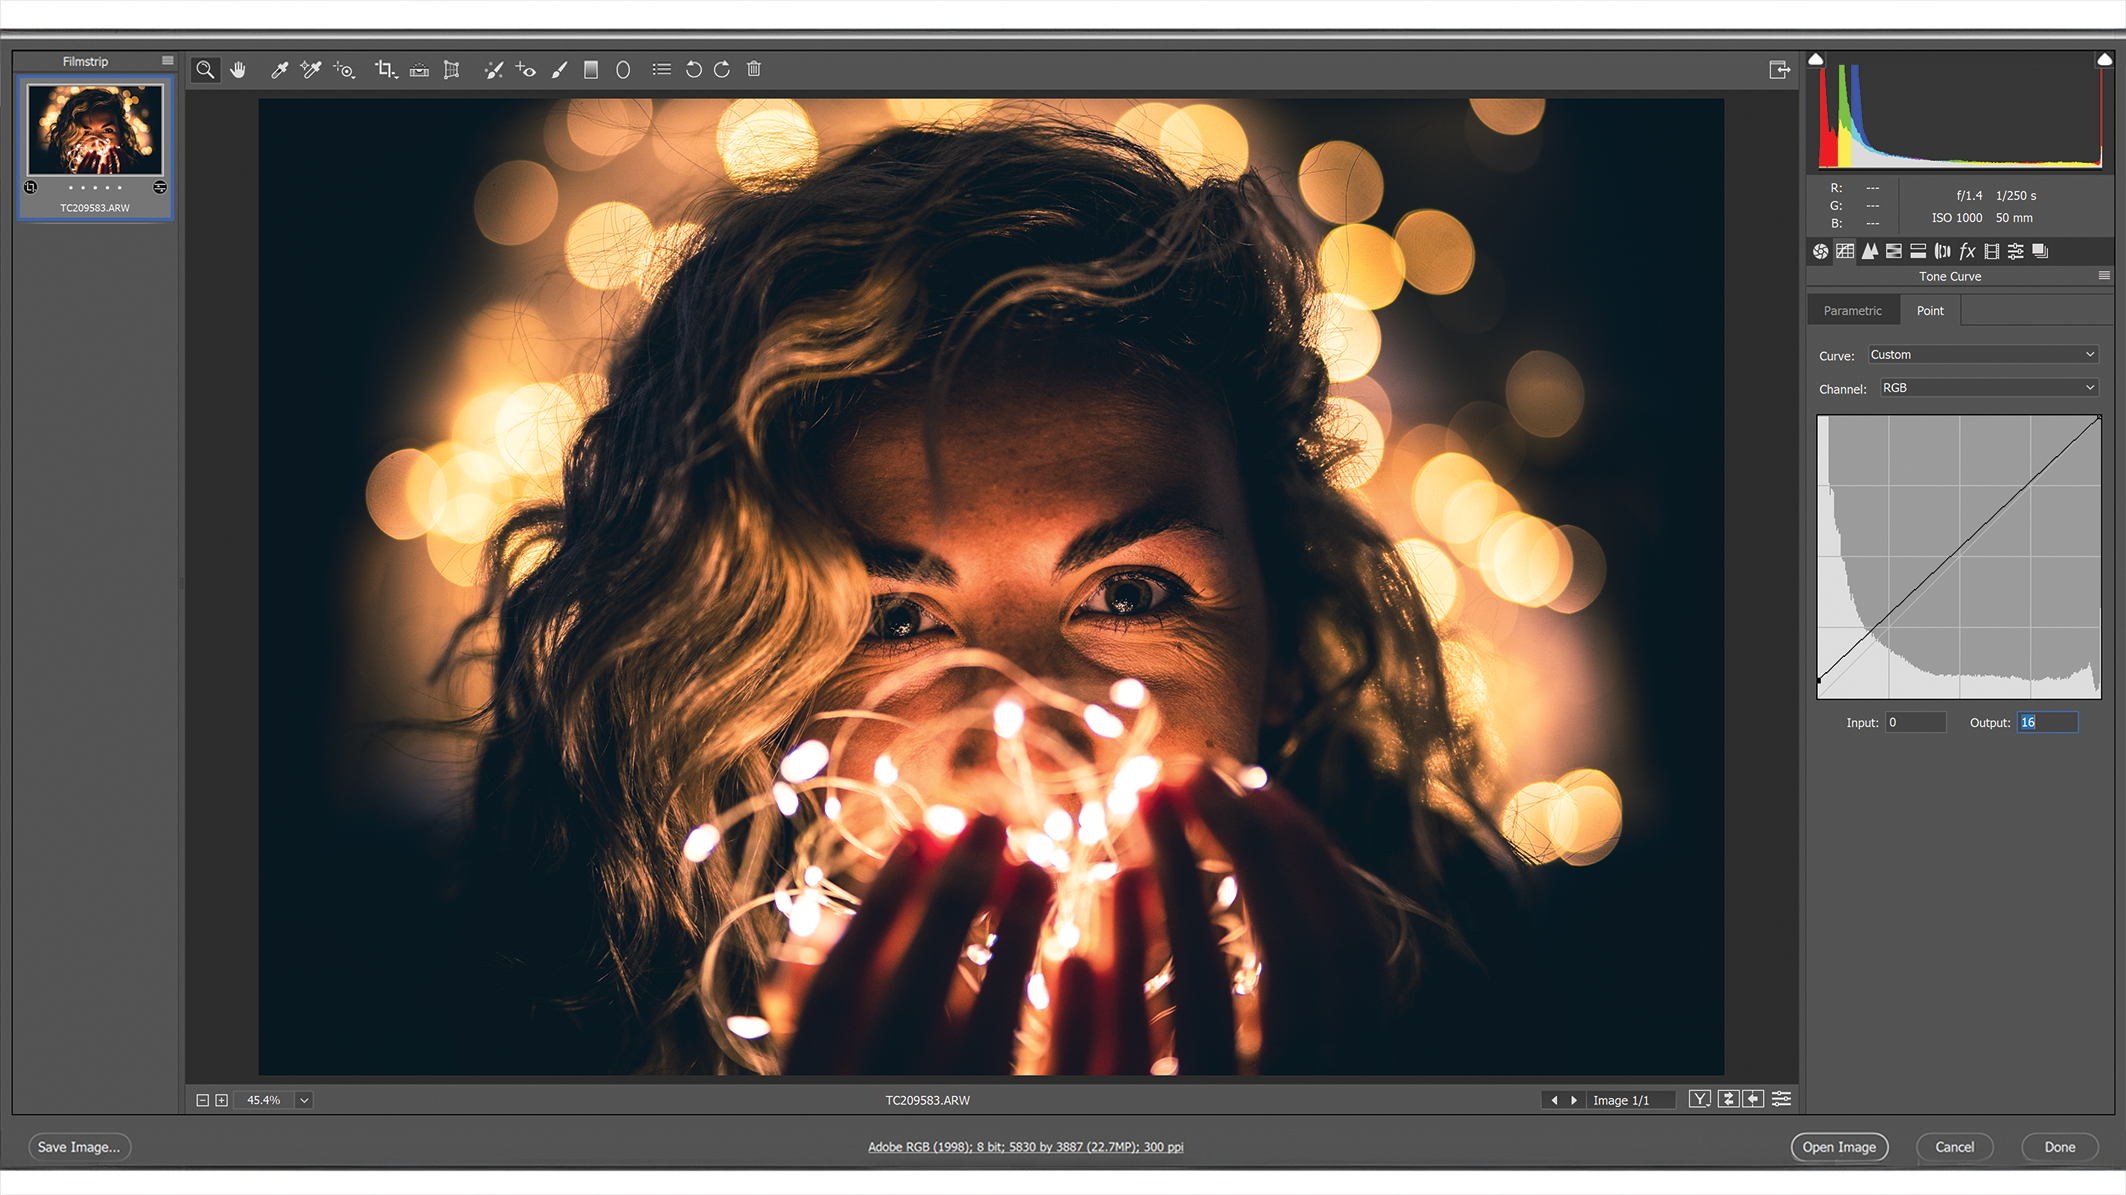
Click the Curves tab at the top, then underneath the Curves diagram, find the Output box and set it to a value of 16. This will crush the blacks within the image to give it a much softer appearance.
5. Blue curves

Staying in the Curves tab for the moment, locate the Channel option above the Curves diagram and change it from RGB to Blue. Then, set the Output to 10 in order to add more blue to the shadows within the image.
6. Brighten the model
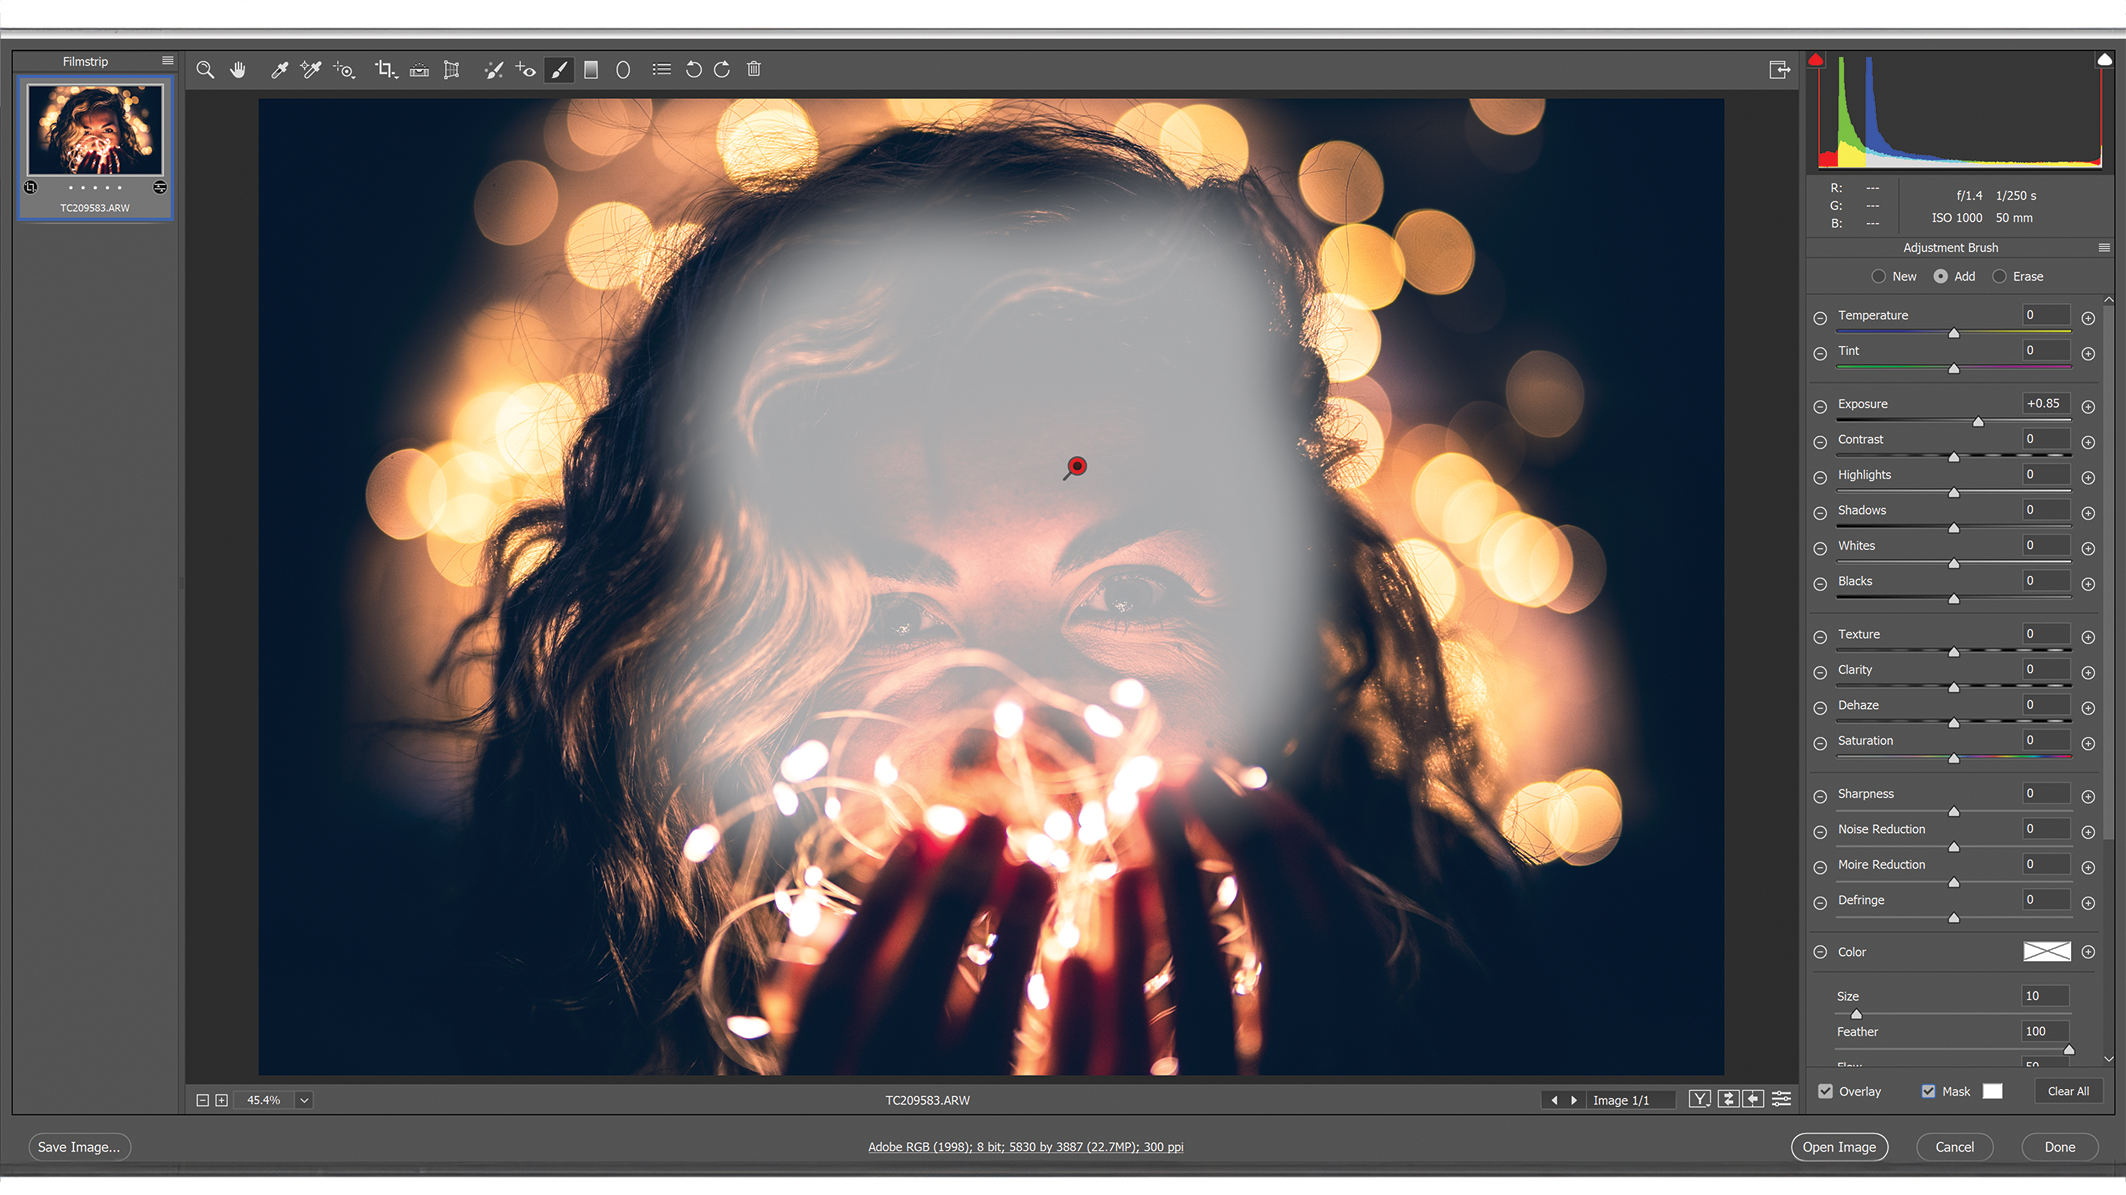
Finally, grab the Adjustment Brush from the toolbar at the top of the screen and brush over the model’s face. Pull the Exposure slider to the right to brighten their face – a value of +0.85 worked for our image here.
Before/After

Author: Kim Bunermann
Source: DigitalCameraWorld
Reviewed By: Editorial Team
