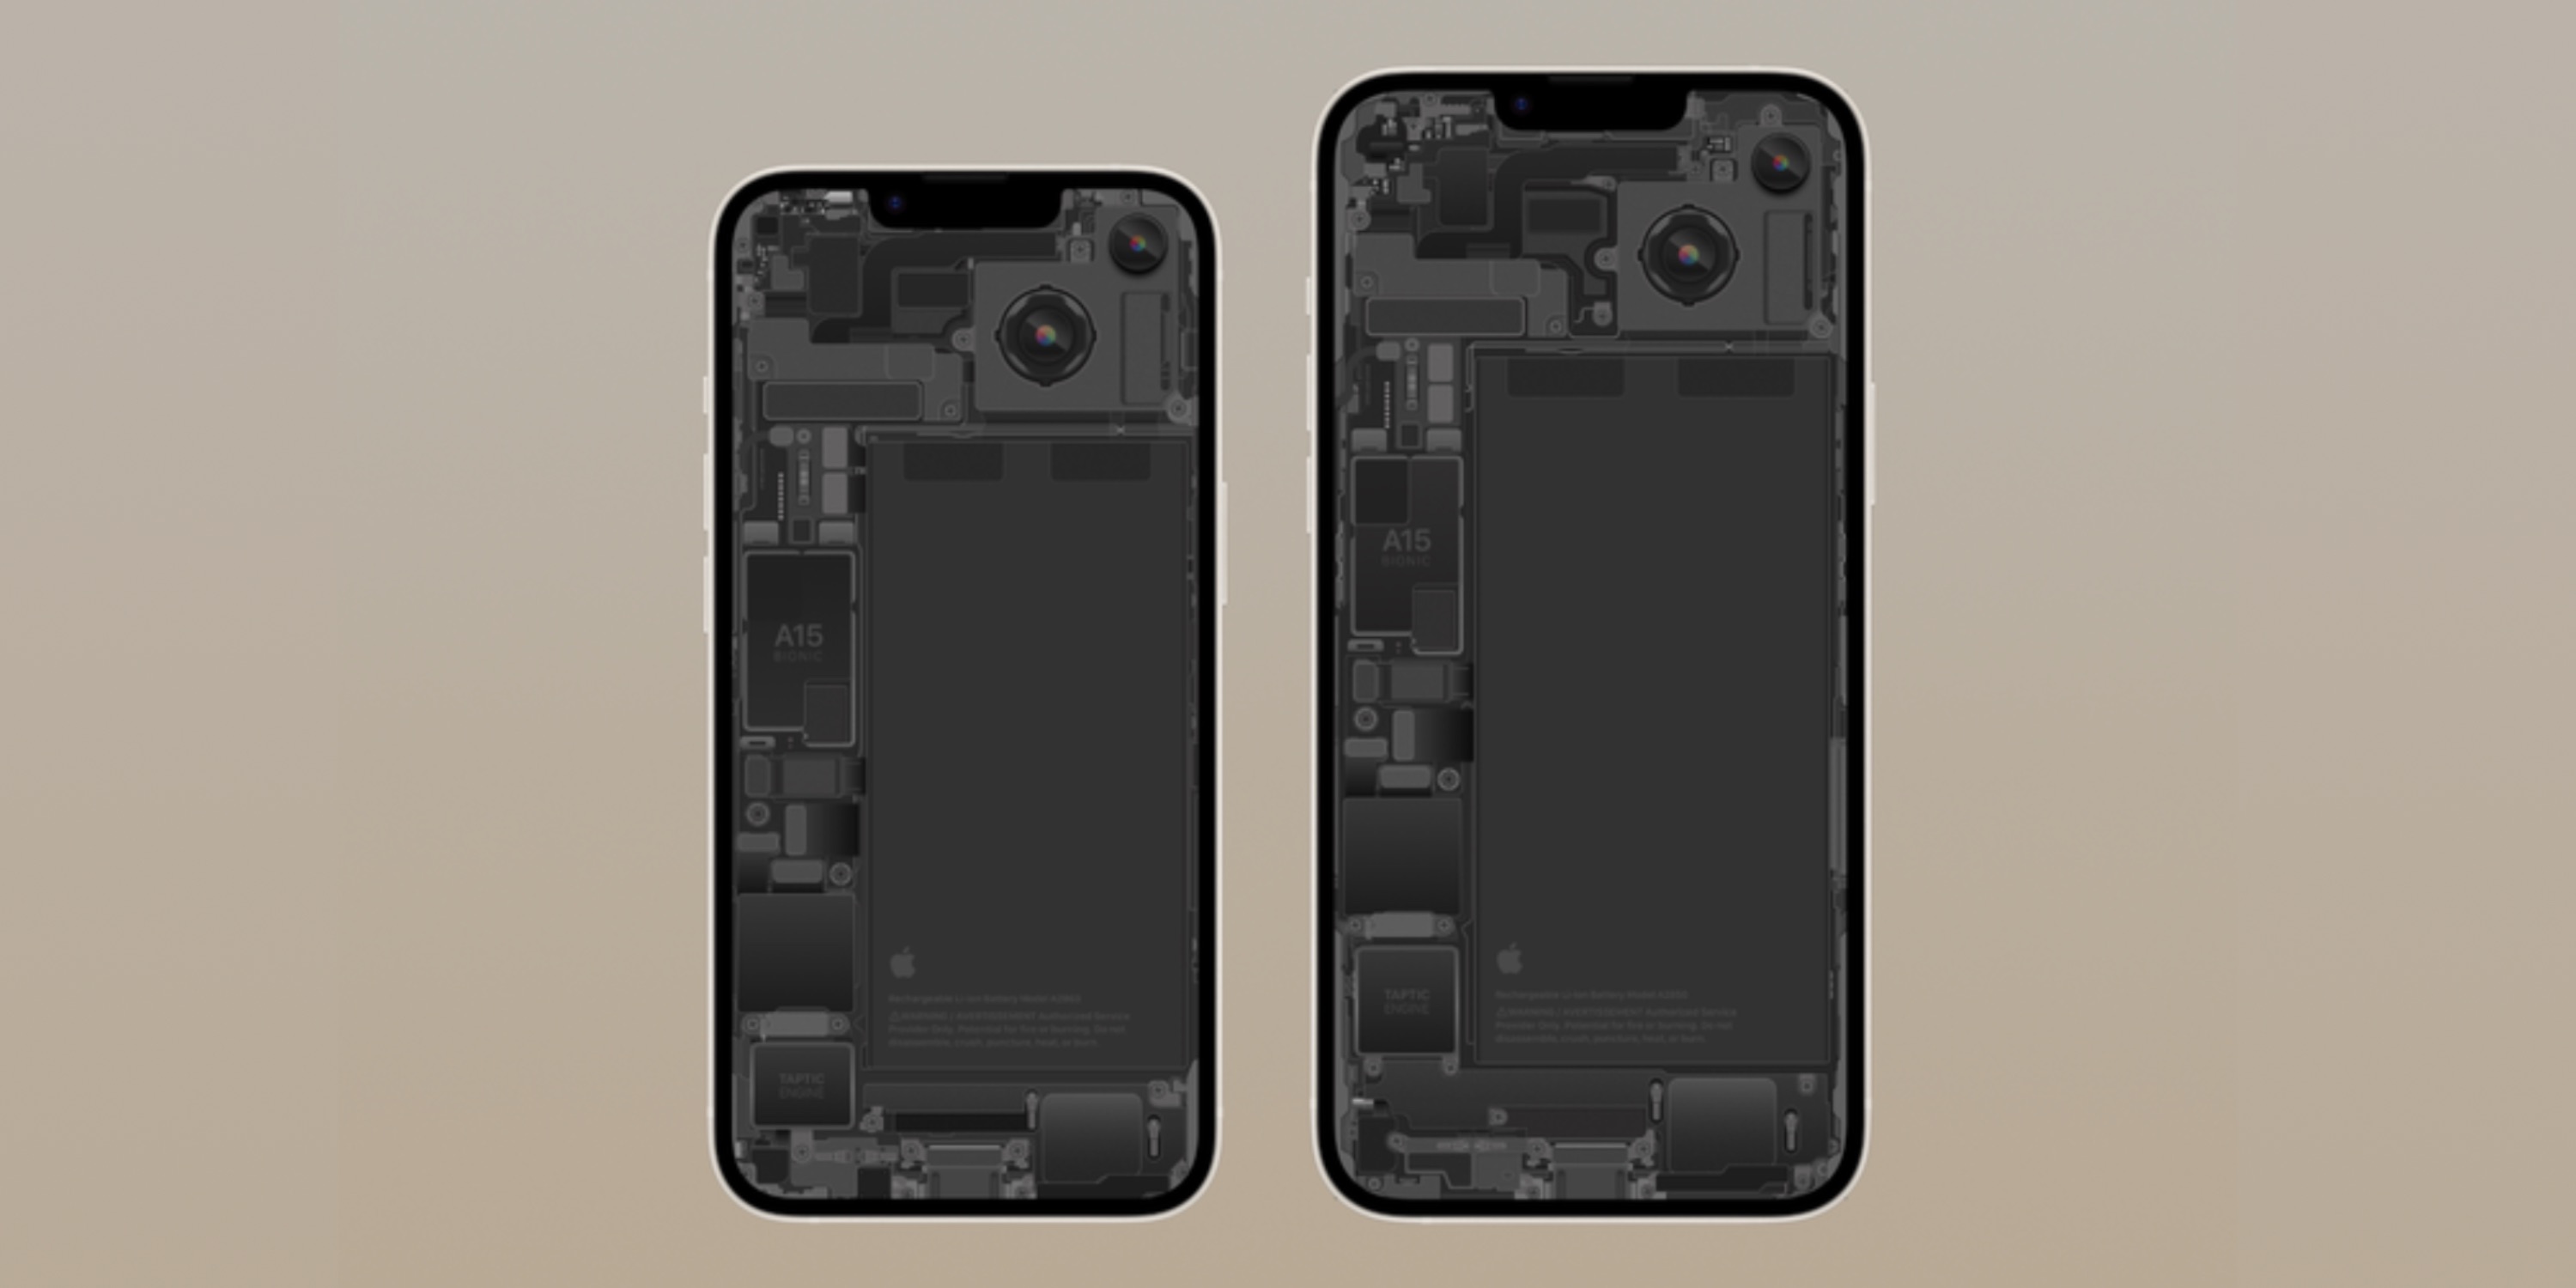
Design wizard Basic Apple Guy is back with his latest creation – incredibly detailed, layered iPhone 14 schematic wallpapers in a variety of colors. Check out the work that went into this project below and download the new wallpapers for your iPhone.
Basic Apple Guy shared the new wallpapers for free on his blog (support him with a tip here) and detailed the incredibly precise weeks worth of work that went into them.
“At long last, my iPhone 14 schematics are done! This includes schematics for the iPhone 14, iPhone 14 Pro, iPhone 14 Plus, & iPhone 14 Pro Max. This project has been months in the making, and I am so happy that:
- I am finally done.
- You get to see all the work I’ve been doing behind closed doors these past few months, and;
- I can finally rest my very strained eyes for a minute.
This project began on September 21, just a few days after the iPhone 14 became publicly available and the teardown started to come out. The photos released by iFixit were indispensable in this project, so I thank them once again for making these publicly available!”
How to download the iPhone 14 schematic wallappers
- You can find the five different colored wallpapers at the bottom of Basic Apple Guy’s post (even the RAW files too)
- If you value the amazing work and want to say thanks, here’s his tip jar : )
- iPhone 14 Pro and Pro Max schematics will be available on Nov 23

Background on the creative processs
Basic Apple Guy shared the challenges to making these creations:
“One significant design decision to point out about the iPhone 14 & iPhone 14 Plus schematics is that it’s are both backward and horizontally flipped. This decision, I’ll explain more in a moment, was made because the iPhone 14 has received a significant redesign to its enclosure to improve its repairability. With previous phones, and as is still the case on the iPhone 14 Pro, damaging the back of the device would require replacing everything but the display; essentially, a new phone. But with the iPhone 14, Apple introduced a protective aluminum panel sandwiched between the display and back of the device, allowing the two sides to be repaired far more efficiently. This still allows the glass front to be exchanged, but it now allows the back glass to get the same treatment without replacing most of the internal components.
From a design perspective, this means that if I were to make a traditional schematic as though you were looking through the glass at the components, all you would see is the aluminum shield and not much else. Pretty boring. So instead, what I did was remake the schematic as though you were opening the phone from the back, allowing you to see the camera and components in an entirely new way. This is what I meant when I referred to the schematic as flipped.
The decision to tackle the schematic this way also presented new challenges as I tried to make these my most detailed schematics to date. And by far, the more intricate pieces on the iPhone 14 & iPhone 14 Plus were the camera modules. Drafting these involved tinkering with layers & multiple fills to create a sense of depth to construct new elements & textures like the camera sensor, glass cover, and sensor shift mechanism.
Other parts of the design process included crafting hundreds of components with overlapping layers, shading, and textures that all needed to fit together perfectly. And even if each component takes just 2-3 minutes to make, by the time I hand-made all 482 individual pieces (iPhone 14 Plus), I was looking at a project that took north of 20+ hours PER SCHEMATIC!”
Fortunately, the iPhone 14 & 14 Plus shared a lot of similarly shaped components, so thanks to that and good layer management on my part (phew!), once I finished the iPhone 14 schematic, I was able to draft one for the iPhone 14 Plus in about half that time.”
Author: Michael Potuck
Source: 9TO5Google


