![]()
Browsing through an antique shop, I stumbled upon a Kodak slide projector with a very peculiar attachment: a large lens. This particular lens caught my eye as it was an absolute behemoth. It was heavy and had “ISCO GERMANY” engraved into it.
After seeing the price of only $10, I had no choice but to bring it home with me. My intentions were realized but not well thought out; remove the lens and convert it to fit on my DSLR.
After poking and prodding the projector, I assumed the lens was removable and went at it with a screwdriver. Thankfully this assumption was right, and it was removed easily. The lens is nearly a foot long, the front glass has a diameter of four inches and it is HEAVY. The aperture is fixed at f/3.5 and the focal range is an adjustable 300-400mm.
After a quick clean of the glass, I began to think “how the hell am I going to attach this thing to my camera?”.
![]()
With the lens now removed, cleaned, and still the same gargantuan hunk of glass and metal it was beforehand, it was time to see if it could even work on a modern DSLR. The rear diameter of the lens and element looked similar in size to that of my Helios 44/2, which uses an M42 mount.
The Helios 44/2 is a vintage Soviet lens and M42 is a lens screw mount that was common on older film SLRs, and it is easily adapted to most modern DSLRs. Measuring and comparing the rear elements and lens diameters with calipers confirmed that they were nearly identical to each other.
Fueled by curiosity, I removed the M42 to EOS adapter from the Helios lens and attempted to attach it to the rear of the Isco lens with tape, which didn’t work (surprise, surprise). I don’t give up very easily (yes, I do) so I decided to keep going.
Screwing just the M42 adapter into my DSLR allowed me to use live mode with no lens attached. With the camera now in live mode, I held the Isco lens about an inch or so in front of the hole where a lens should be attached. To my surprise, I could see, and I could vary the focus by changing the distance between the lens and the camera. It was crude, unsafe, and dumb but it worked!
Now I needed to design an adapter that would be a little less crude than this setup.
![]()
![]()
![]()
My initial design was a simple barrel focusing system, so I began by modeling a few tubes in CAD; easy, right? The first tube was 40mm long, and the inner diameter was only a hair larger than the rear outer diameter of the lens barrel. This allowed the tube to be pressed over the rear of the lens, about 8mm down, and held in place via friction.
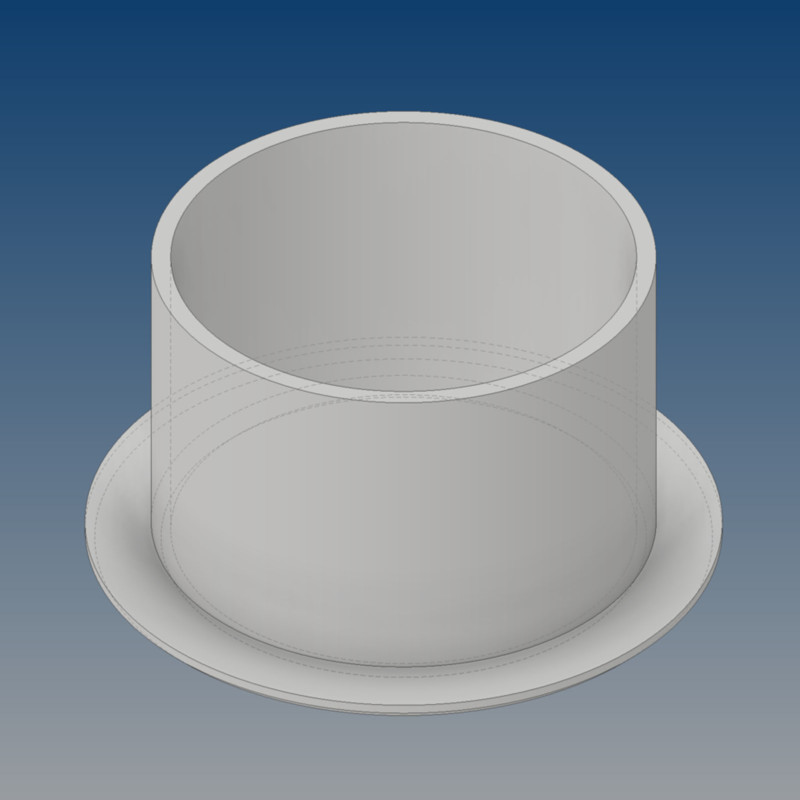
With what I’ll call the male side complete, I began work on its female counterpart. Fortunately, it was just another tube with an inner diameter slightly larger than the male tube’s outer diameter, allowing it to slide freely when inserted. I also added a base to the bottom outer diameter, which would allow me to glue an M42 to EOS adapter to it, so it could be mounted to the camera.
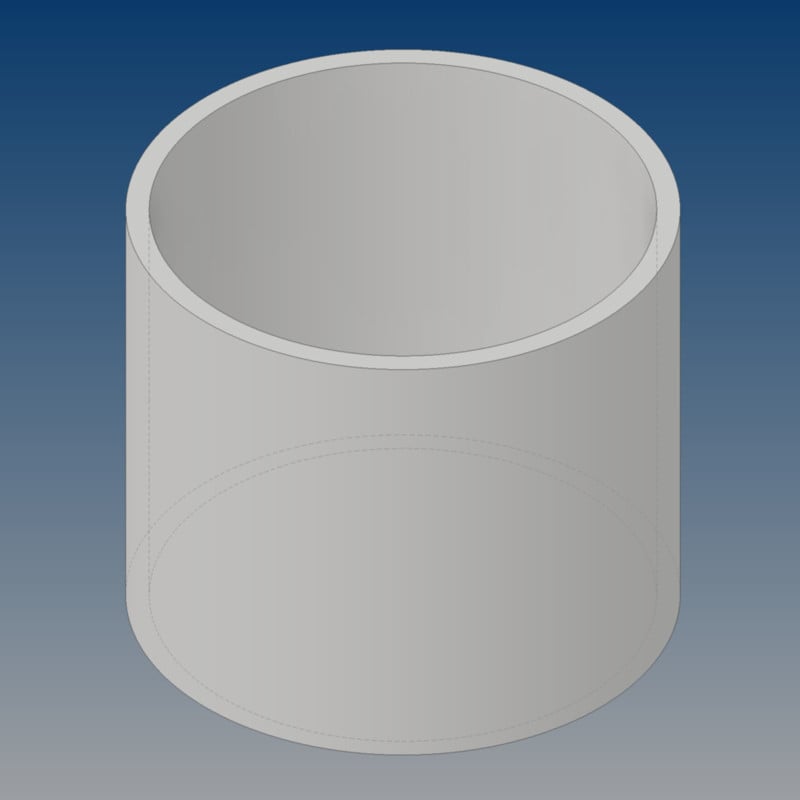
I exported the models and 3D printed them in black PLA. After a bit of sanding and cleanup, I glued the M42 adapter to the outer female base, pressed the male side of the adapter over the rear of the lens, and then slid over the female side of the adapter. To my surprise, everything fit well and worked!
Focus was obtained by sliding the lens further or closer to the camera, like using a handheld telescope. The focal range was correct for just a guess, and I was able to take plenty of interesting photos with it. However, it was difficult to obtain accurate focus as it was tedious to use.
Moving a heavy, awkward-shaped lens just the right amount to get an image in focus was difficult, as I found I would pull the lens too far out of the barrel or push too far inward. This led me to rely on moving myself rather than the lens to get images in focus. I also had a fear that the glue at the base and the M42 adapter would fail and sheer the lens from the camera.
To solve these problems, I adopted a helicoid design for the focusing barrel and integrated the EOS mount, so there was no need to glue one on. Helicoid focusing barrels make use of a simple spiral or thread to guide the lens in the barrel. This threaded barrel allows you to screw or unscrew to bring the lens closer or further away from the camera’s sensor to focus the image.
The updated helicoid design was a simple one, sticking with the initial barrel adapter premise, I just added some threads, and changed a few dimensions. The female end of the adapter was extended, totaling 48mm, and I incorporated a receiving thread to the inner diameter. The receiving thread is 1.5mm wide and deep, essentially a half-circle, with a pitch of 40mm.
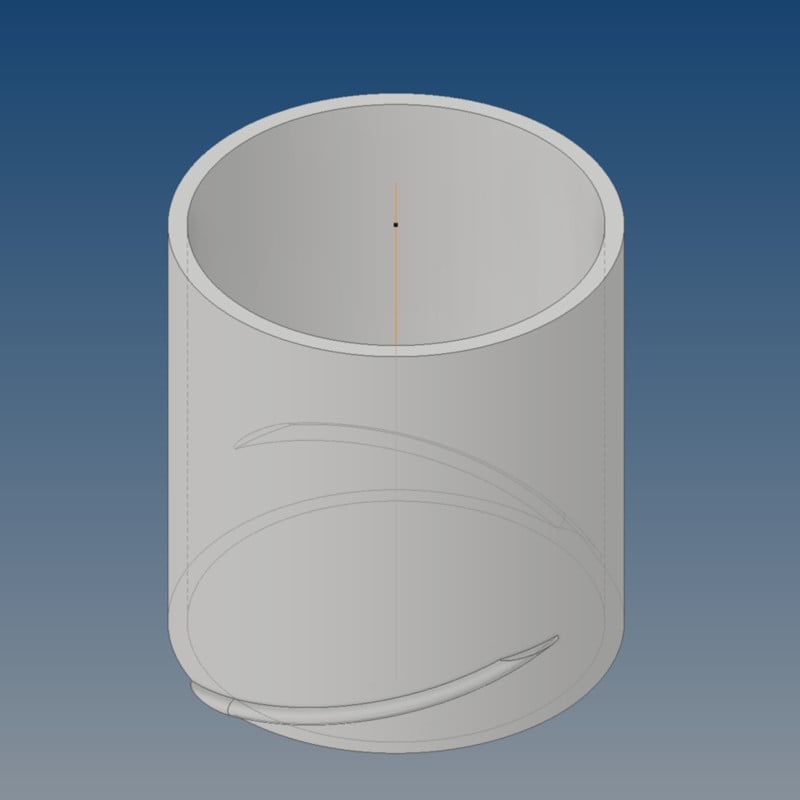
Since the pitch was so great, I was able to add another thread of the same dimensions directly across, forming something similar to a double helix, for more stable threading. I then modeled an EOS adapter where the outer base was in the previous design, so there was no need to glue one on.
The male end of the adapter was also extended, and I added threads to the outer diameter of the barrel. The threads were made 1mm wide and deep for clearance, with the same pitch of 40mm.
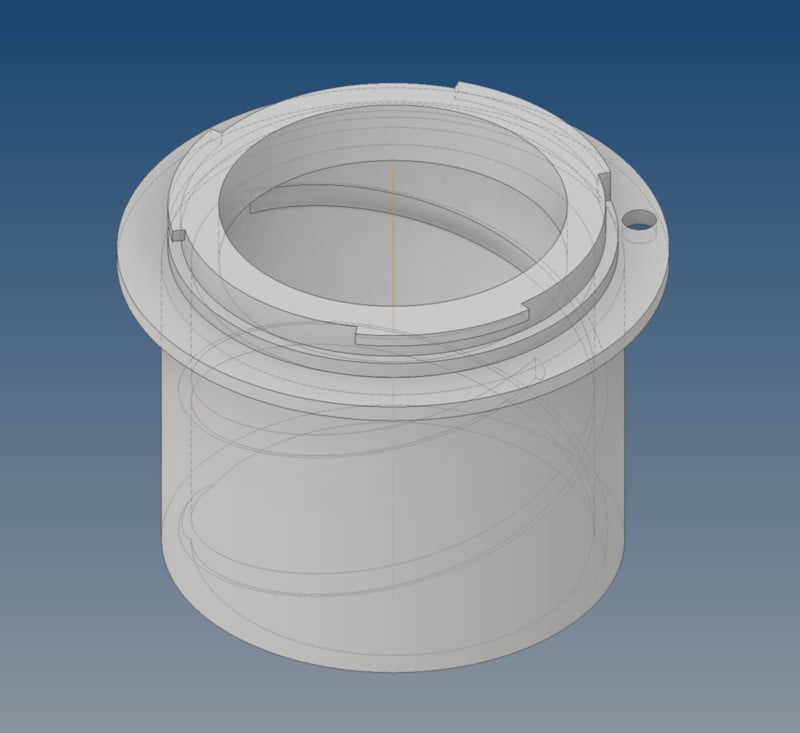
The overall length of the barrel is 50mm, but I only modeled threads on the first 10mm. This allows the adapter to be screwed fully in and able to travel the entire focal range without the threaded male section exiting the barrel.
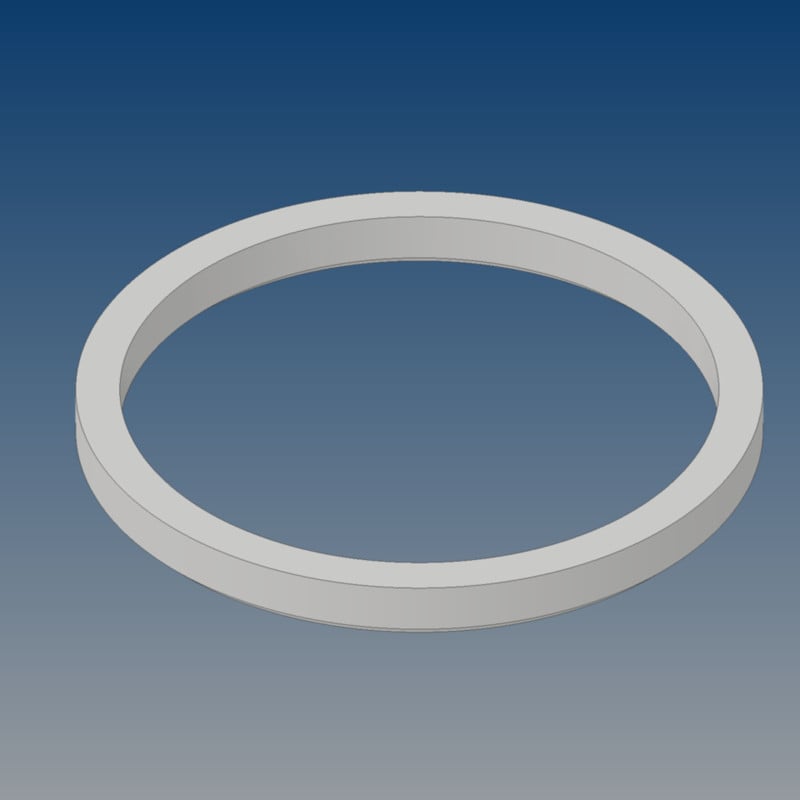
I was able to add a “stop” to the end of the female barrel, so the lens could not be unscrewed so much that it would fall out. This stop was a simple ring with the same inner and outer diameter of the female barrel that had no threads on the inner diameter. Once the male end was threaded in, the stop was glued in place.
Phew, that was a lot. However, after exporting the files from CAD, printing in the same black PLA, and assembling everything together, the results were in!
![]()
![]()
![]()
![]()
![]()
![]()
![]()
It worked better than the initial design. It’s much easier to focus and there’s no fear of the adapter breaking; plus, it’s a little more “refined” looking. All in all, this was a fun project to follow through and I can’t wait to take more photos with this setup.
About the author: Nicholas Morganti is a photographer and tinkerer who always has too many projects to finish. He is currently a student studying electrical engineering, and his passions outside of his studies include photography, filming, writing, and the arts. You can find more of his work on his website and Instagram. This article was also published here.
Author: Nicholas Morganti
Source: Petapixel


